2 layers114.3 × 102.9 mm
Truss PCB
practable/truss
The truss remote laboratory has been designed for use with Structural Engineering and Engineering Design courses at the University of Edinburgh.
208 partsAGPL-3.0

 practable/truss
The truss remote laboratory has been designed for use with Structural Engineering and Engineering Design courses at the University of Edinburgh.
Truss connector breakout is an open-source printed circuit board by practable, from the practable/truss repository on GitHub, published under the AGPL-3.0 licence. It is a 2-layer board of 34.3 × 99.7 mm with 14 parts on 38 nets, routed with 111 tracks and 2 vias.
It belongs with the interfaces and adapters boards of this library.
The truss remote laboratory has been designed for use with Structural Engineering and Engineering Design courses at the University of Edinburgh. The truss consists of 6 members, each with a full-bridge strain gauge arrangement using two biaxial strain gauges (Kyowa KFGS-2-120-D16-11). Strain gauge voltages are converted to digital signals using the HX711 ADC and this HX711 library is used to read and tare the gauges. The truss is loaded using a linear servo.
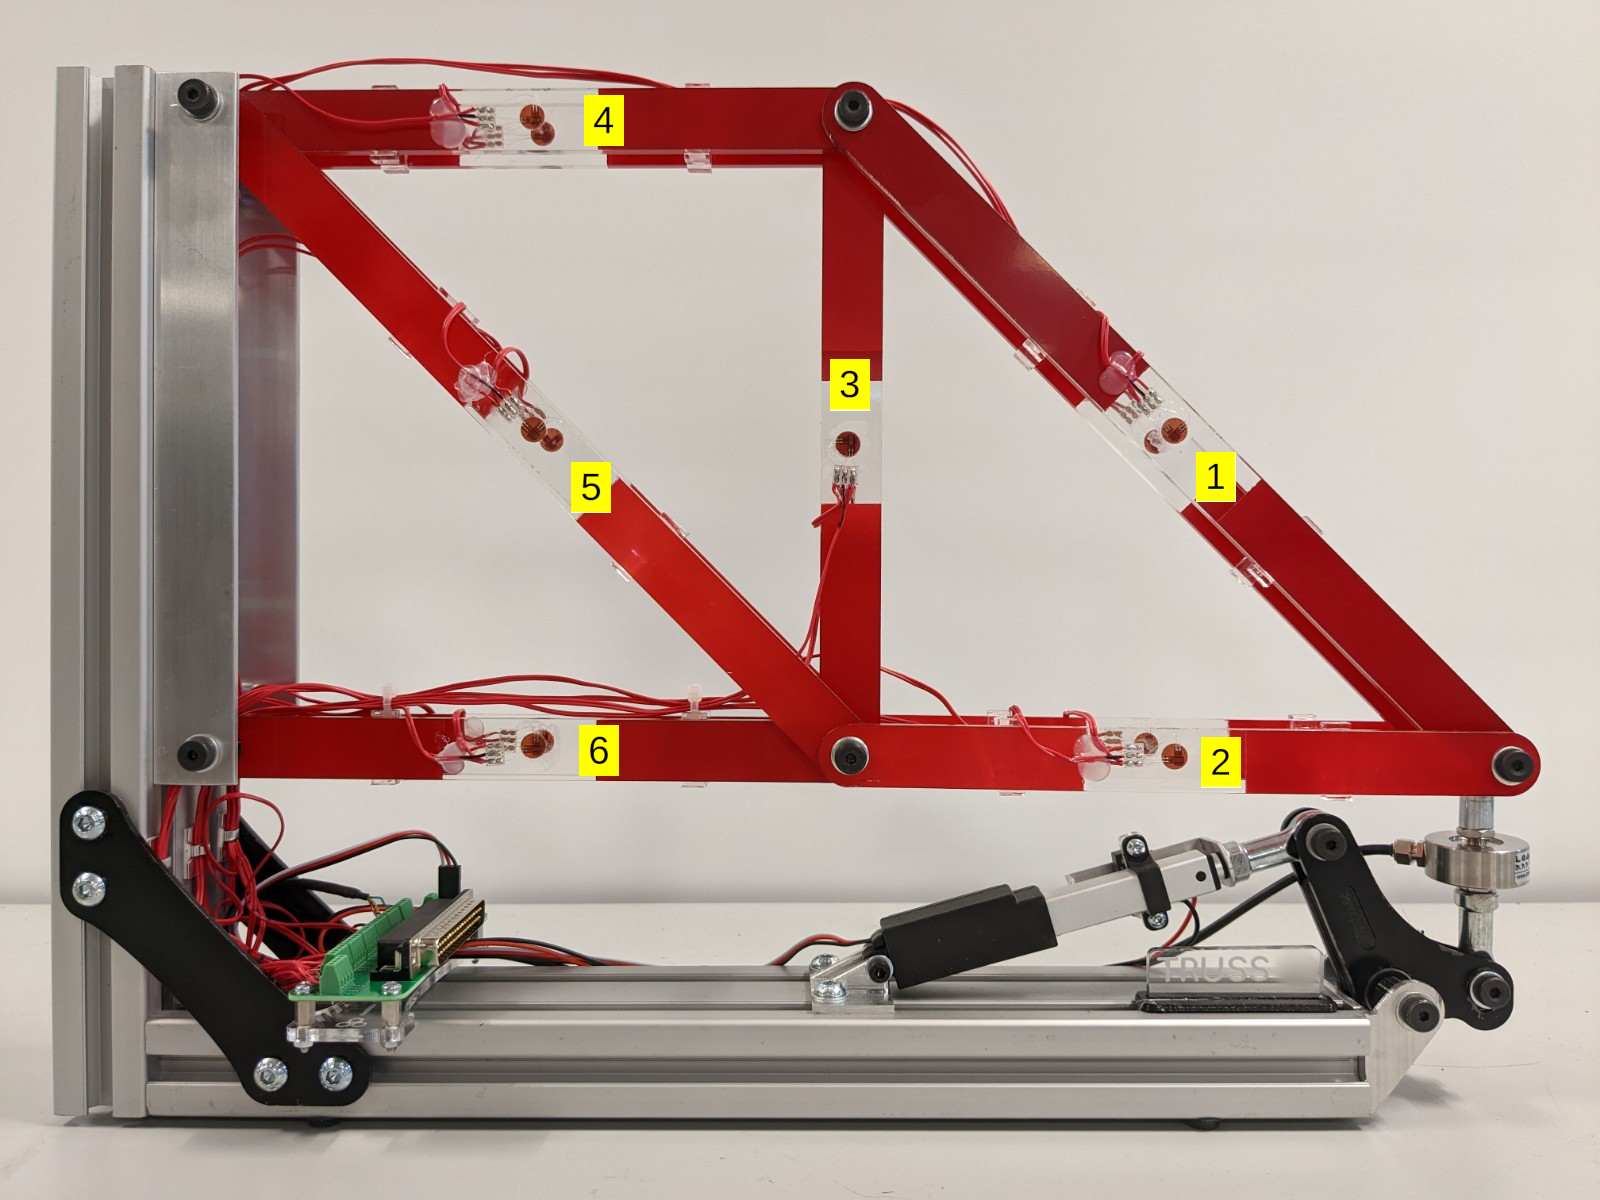
User Interfaces have been designed with Vue3.js and built with Vite. There are currently three distinct versions of the UI that are built for production:
See here for details of the differences.
The differences in the above UI versions amount to very simple changes in the Vue files.
The load force can be controlled with either a slider or simple buttons (as well experimental versions of a skeuomorphic display and gamepad control). Simply update the loadControlVersion parameter in App.vue.
loadControlVersion: 1, //0 => input field, 1=> slider, 2=>simulation of physical knob, 3 => direct commands typed, 4 => GamePad, 5 => open day, simple buttonsTo change whether the load force is displayed or the theoretical strains are available, update the boolean parameters in src/modules/uiStore.js:
show_force: false,       //should force values be displayed on the UI
show_theory: false, //should the theoretical values component be available on the UIThe truss remote lab has been designed around the Arduino Nano 33 IoT. The firmware uses a state machine with 11 states, including reading, writing, taring and resetting strain gauges and moving the linear actuator. A single microcontroller performs both reading and writing of data. The state machine will remain in the READ state until a user command to change state. Upon performing that state the state machine will return to READ. The required libraries are included here.
The firmware sends and receives JSON messages, eg:
Mode control, received from UI through Serial (for all commands see SerialCommands:
{"set": "position", "to": value}
{"set": "mode", "to": "move"}
{"set": "mode", "to":"tare_all"}
Sending data to UI through Serial:
{"load_cell":"20.0", "gauge_1": "100.0", "gauge_2": "100.0", "gauge_3": "100.0", "gauge_4": "100.0", "gauge_5": "100.0", "gauge_6": "100.0", "state":"1", "pos":"10"}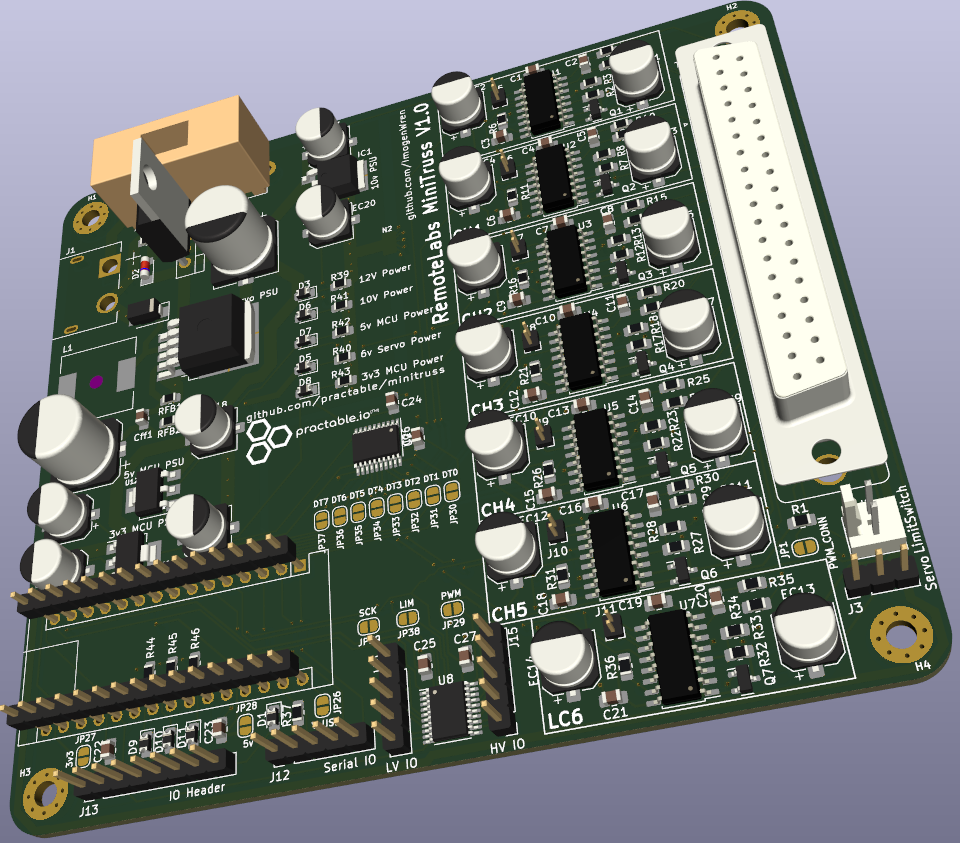
The PCB requires a 12V input and provides output voltages for different components: 10V (load cell excitation voltage), 6V (linear actuator power) and 5V (strain gauge excitation voltage). Details of jumper requirements for setting up the PCB in different modes will be added (TODO).
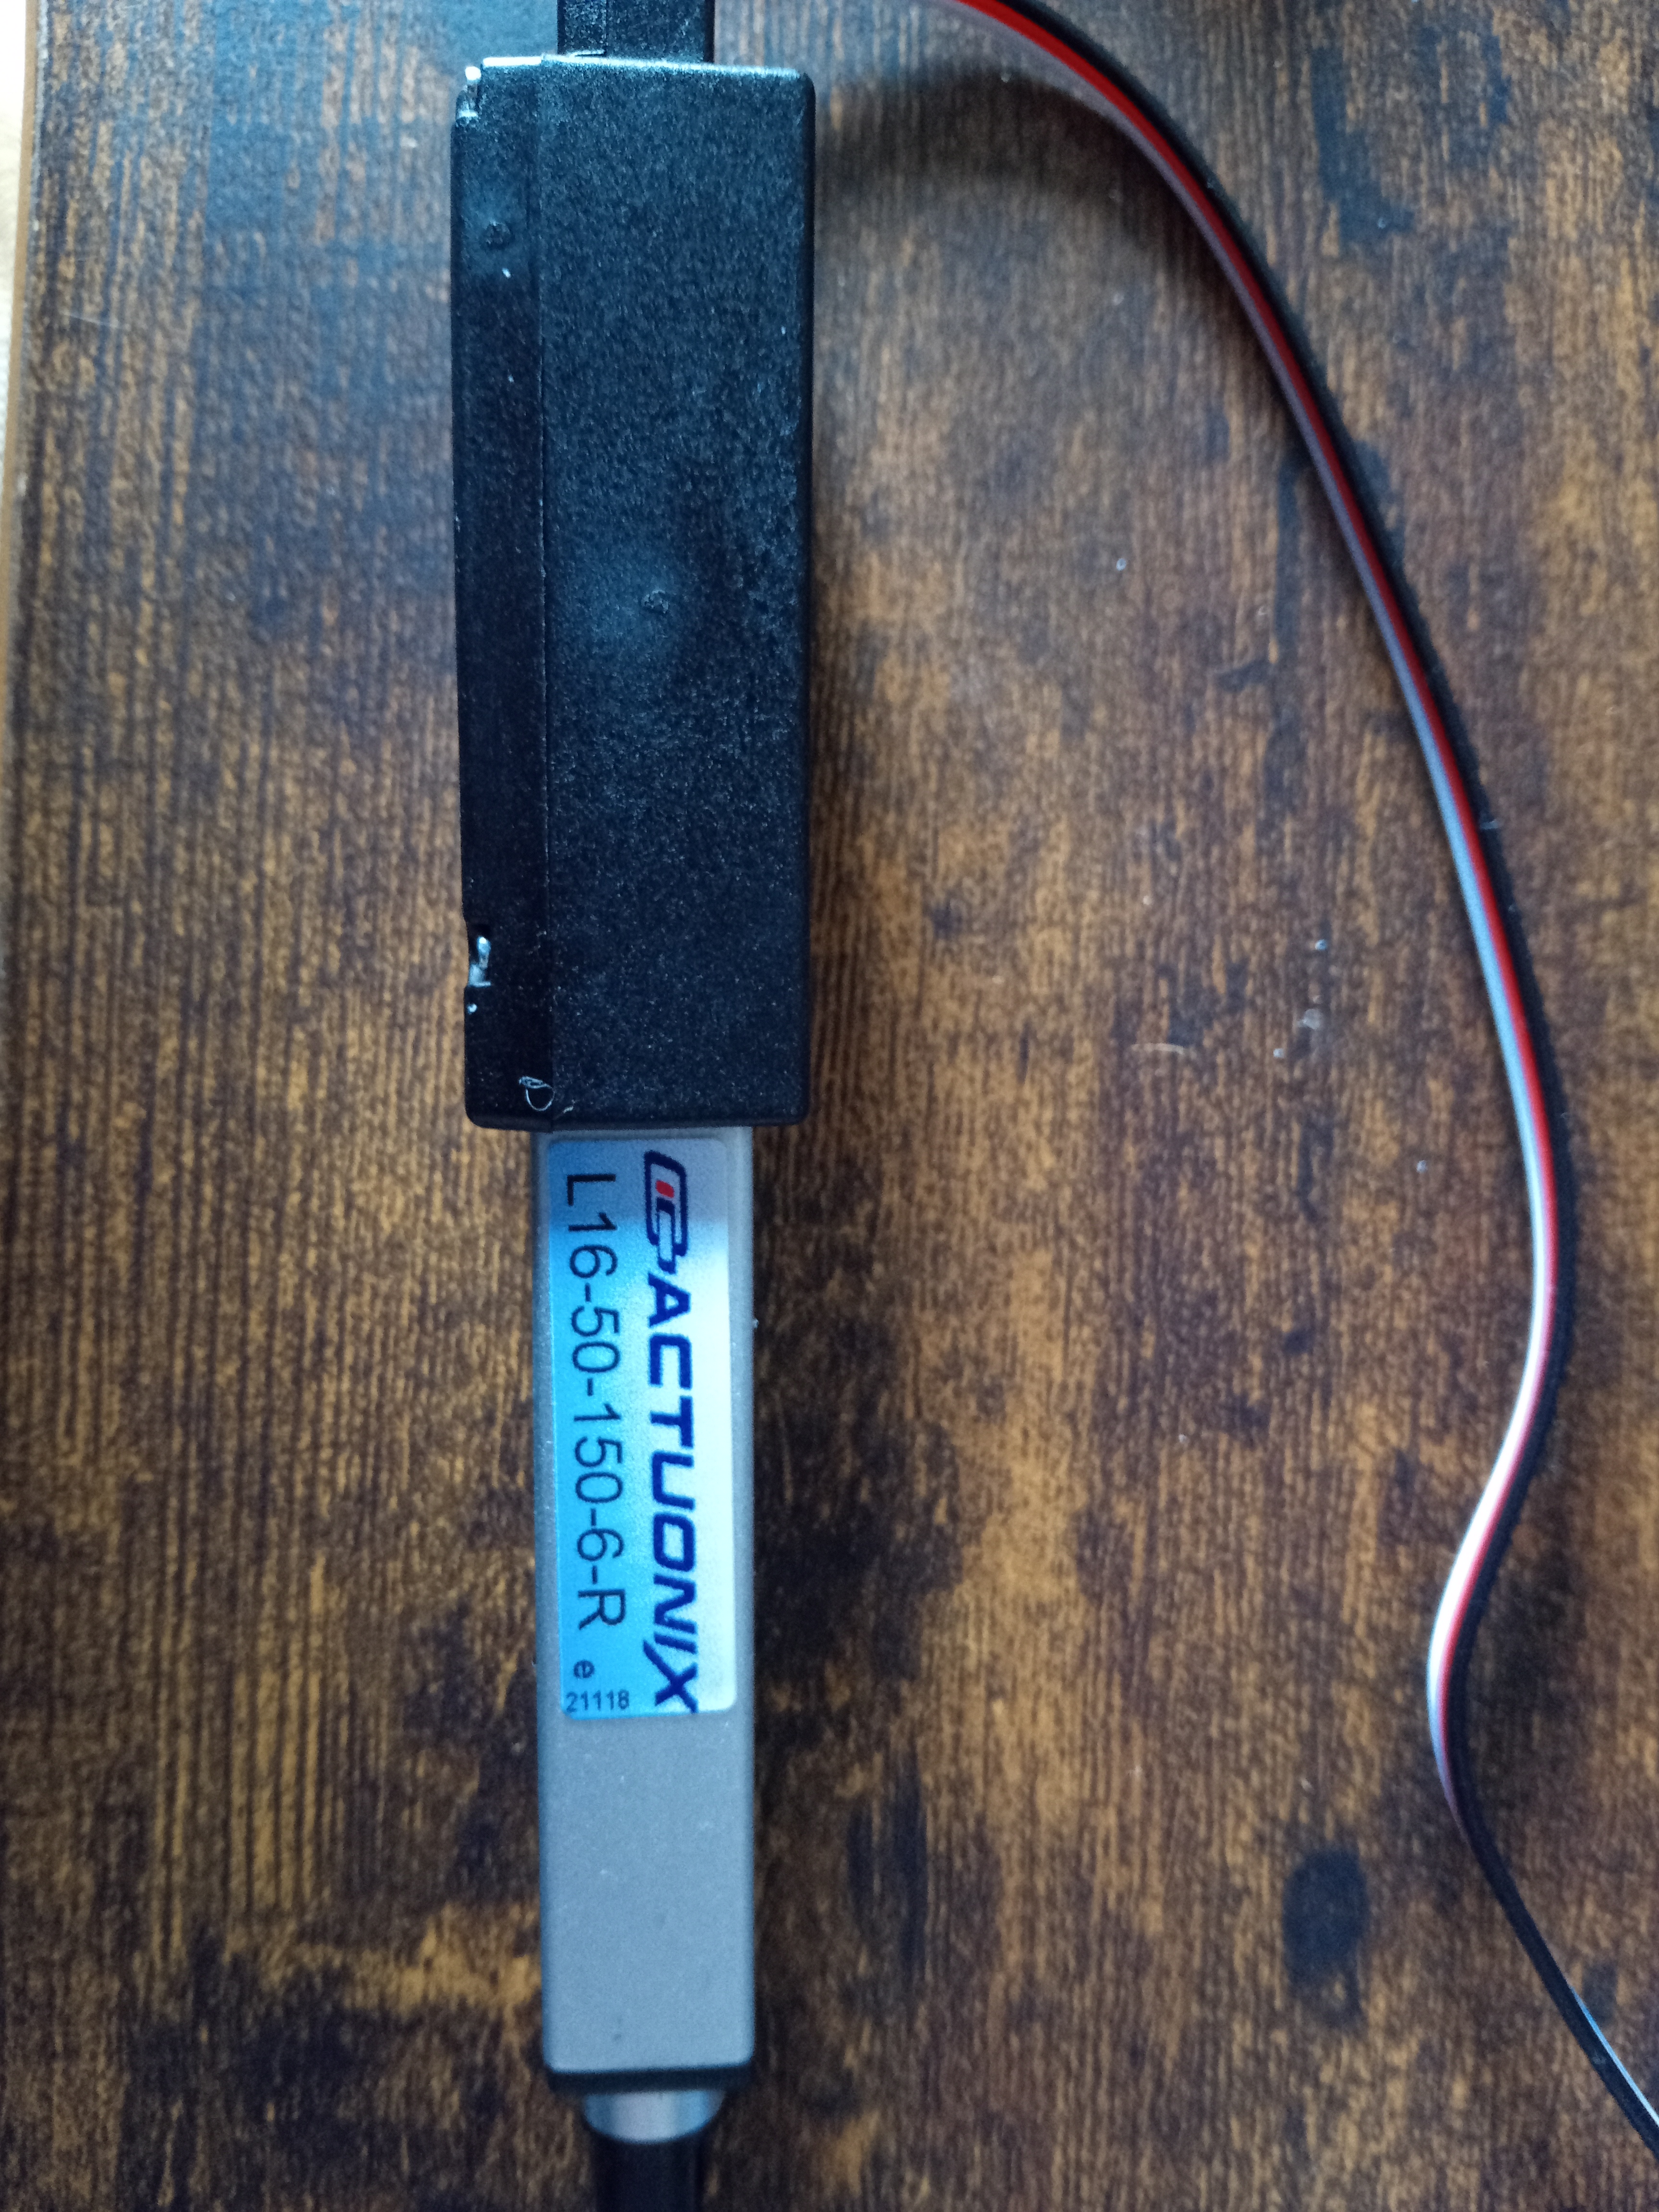
The Actuonix L16 linear actuator uses the custom library LinearServo for setting its position. It has a 50mm stroke length, but is limited in this remote lab to a maximum of 20% extension (providing around 150N of load on the truss).
If a strain gauge value no longer reads an acceptable result (within your experimental tolerance) then the scale factor needs to be updated in the firmware.
Using the debug UI (or any other means of sending a JSON command through Websocket to the experiment): send the new calibration data:
{"set":"cal","to":[2.0,2.1,2.2,2.3,2.4,2.5,2.6],"auth":"foo"}Using the auth code that you set up initially.
Then reset to the STARTUP state so that the firmware loads the new calibration data:
{"set":"state","to":"STATE_STARTUP"}| Qty | Value | Footprint | References |
|---|---|---|---|
| 4 | MountingHole_M3 | MountingHole:MountingHole_3.2mm_M3_Pad_Via | H3, H3, H4, H4 |
| 1 | D0 | TerminalBlock_Phoenix:TerminalBlock_Phoenix_MPT-0,5-4-2.54_1x04_P2.54mm_Horizontal | J7 |
| 1 | D1 | TerminalBlock_Phoenix:TerminalBlock_Phoenix_MPT-0,5-4-2.54_1x04_P2.54mm_Horizontal | J8 |
| 1 | D2 | TerminalBlock_Phoenix:TerminalBlock_Phoenix_MPT-0,5-4-2.54_1x04_P2.54mm_Horizontal | J9 |
| 1 | D3 | TerminalBlock_Phoenix:TerminalBlock_Phoenix_MPT-0,5-4-2.54_1x04_P2.54mm_Horizontal | J1 |
| 1 | D4 | TerminalBlock_Phoenix:TerminalBlock_Phoenix_MPT-0,5-4-2.54_1x04_P2.54mm_Horizontal | J2 |
| 1 | D5 | TerminalBlock_Phoenix:TerminalBlock_Phoenix_MPT-0,5-4-2.54_1x04_P2.54mm_Horizontal | J4 |
| 1 | D6 | TerminalBlock_Phoenix:TerminalBlock_Phoenix_MPT-0,5-4-2.54_1x04_P2.54mm_Horizontal | J5 |
| 1 | LimitSwitch | TerminalBlock_Phoenix:TerminalBlock_Phoenix_MPT-0,5-2-2.54_1x02_P2.54mm_Horizontal | J6 |
| 1 | Servo | Connector_PinHeader_2.54mm:PinHeader_1x03_P2.54mm_Vertical | J3 |
| 1 | Truss Connector | Connector_Dsub:DSUB-37_Male_Horizontal_P2.77x2.84mm_EdgePinOffset9.90mm_Housed_MountingHolesOffset11.32mm | J10 |
practable/truss
The truss remote laboratory has been designed for use with Structural Engineering and Engineering Design courses at the University of Edinburgh.

google/mozc-devices
Circuit diagrams and firmware source code for Gboard DIY keyboards


hackclub/OnBoard
💡 Join 1,000 teenagers and make your first PCB with a $100 grant!


Twotoz/C5VRX
Ultra-minimal, zero-CPU 5.8 GHz analog FPV video receiver using ESP32-C5 Wi-Fi 6 PHY MODEM_DIAG, BitScrambler WBFM demodulation & resistor DAC CVBS


It measures 34.3 × 99.7 mm and has 2 copper layers, 1.6 mm thick.
14 parts. The full list of its parts is on this page, with links to each part's symbol and footprint where PCBKit's library has them.
From the practable/truss repository on GitHub, at the commit this page was made from: the board is mini-truss-pcb/truss_connector_breakout/truss_connector_breakout.kicad_pcb and its schematic mini-truss-pcb/truss_PCB-backups/TRUSS PCB VERSION 1/actuator_sch.kicad_sch. PCBKit opens the board in the browser, with nothing to install.
Its repository publishes it under the AGPL-3.0 licence: you may reuse it on that licence's terms (keep the author's notice, and for a copyleft licence share your changes alike).