2 layers47.6 × 27.3 mm

 pjgpetecodes/pico-streamdeck230
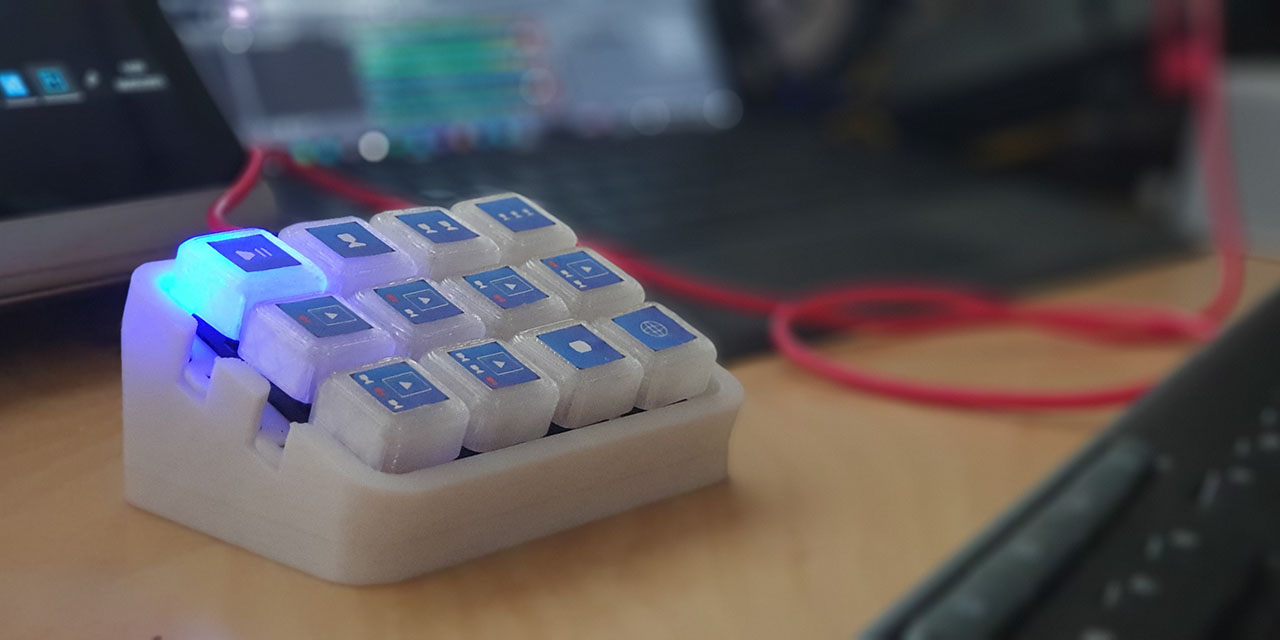
This project is an OBS Controller using a Raspberry Pi Pico and CircuitPython.
PicoProducer is an open-source printed circuit board by pjgpetecodes, from the pjgpetecodes/pico-streamdeck repository on GitHub, published under the MIT licence. It is a 2-layer board of 80 × 61 mm with 27 parts on 60 nets, routed with 335 tracks and 30 vias.
Its parts include 12 diodes and 12 switches. It belongs with the RP2040 boards of this library.
This project is an OBS Controller using a Raspberry Pi Pico and CircuitPython.
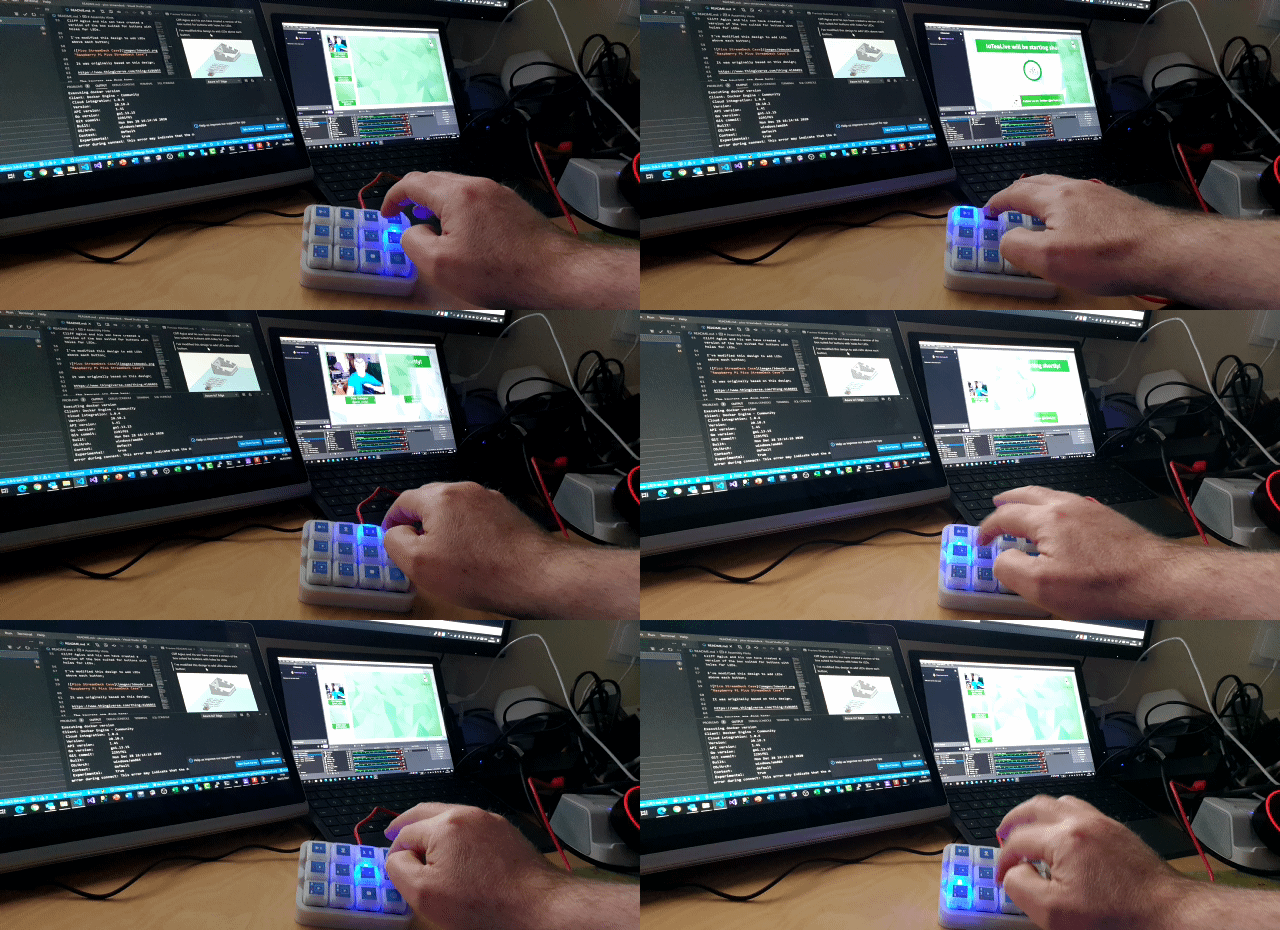
The Raspberry Pi Pico Producer has been featured in the following publications;
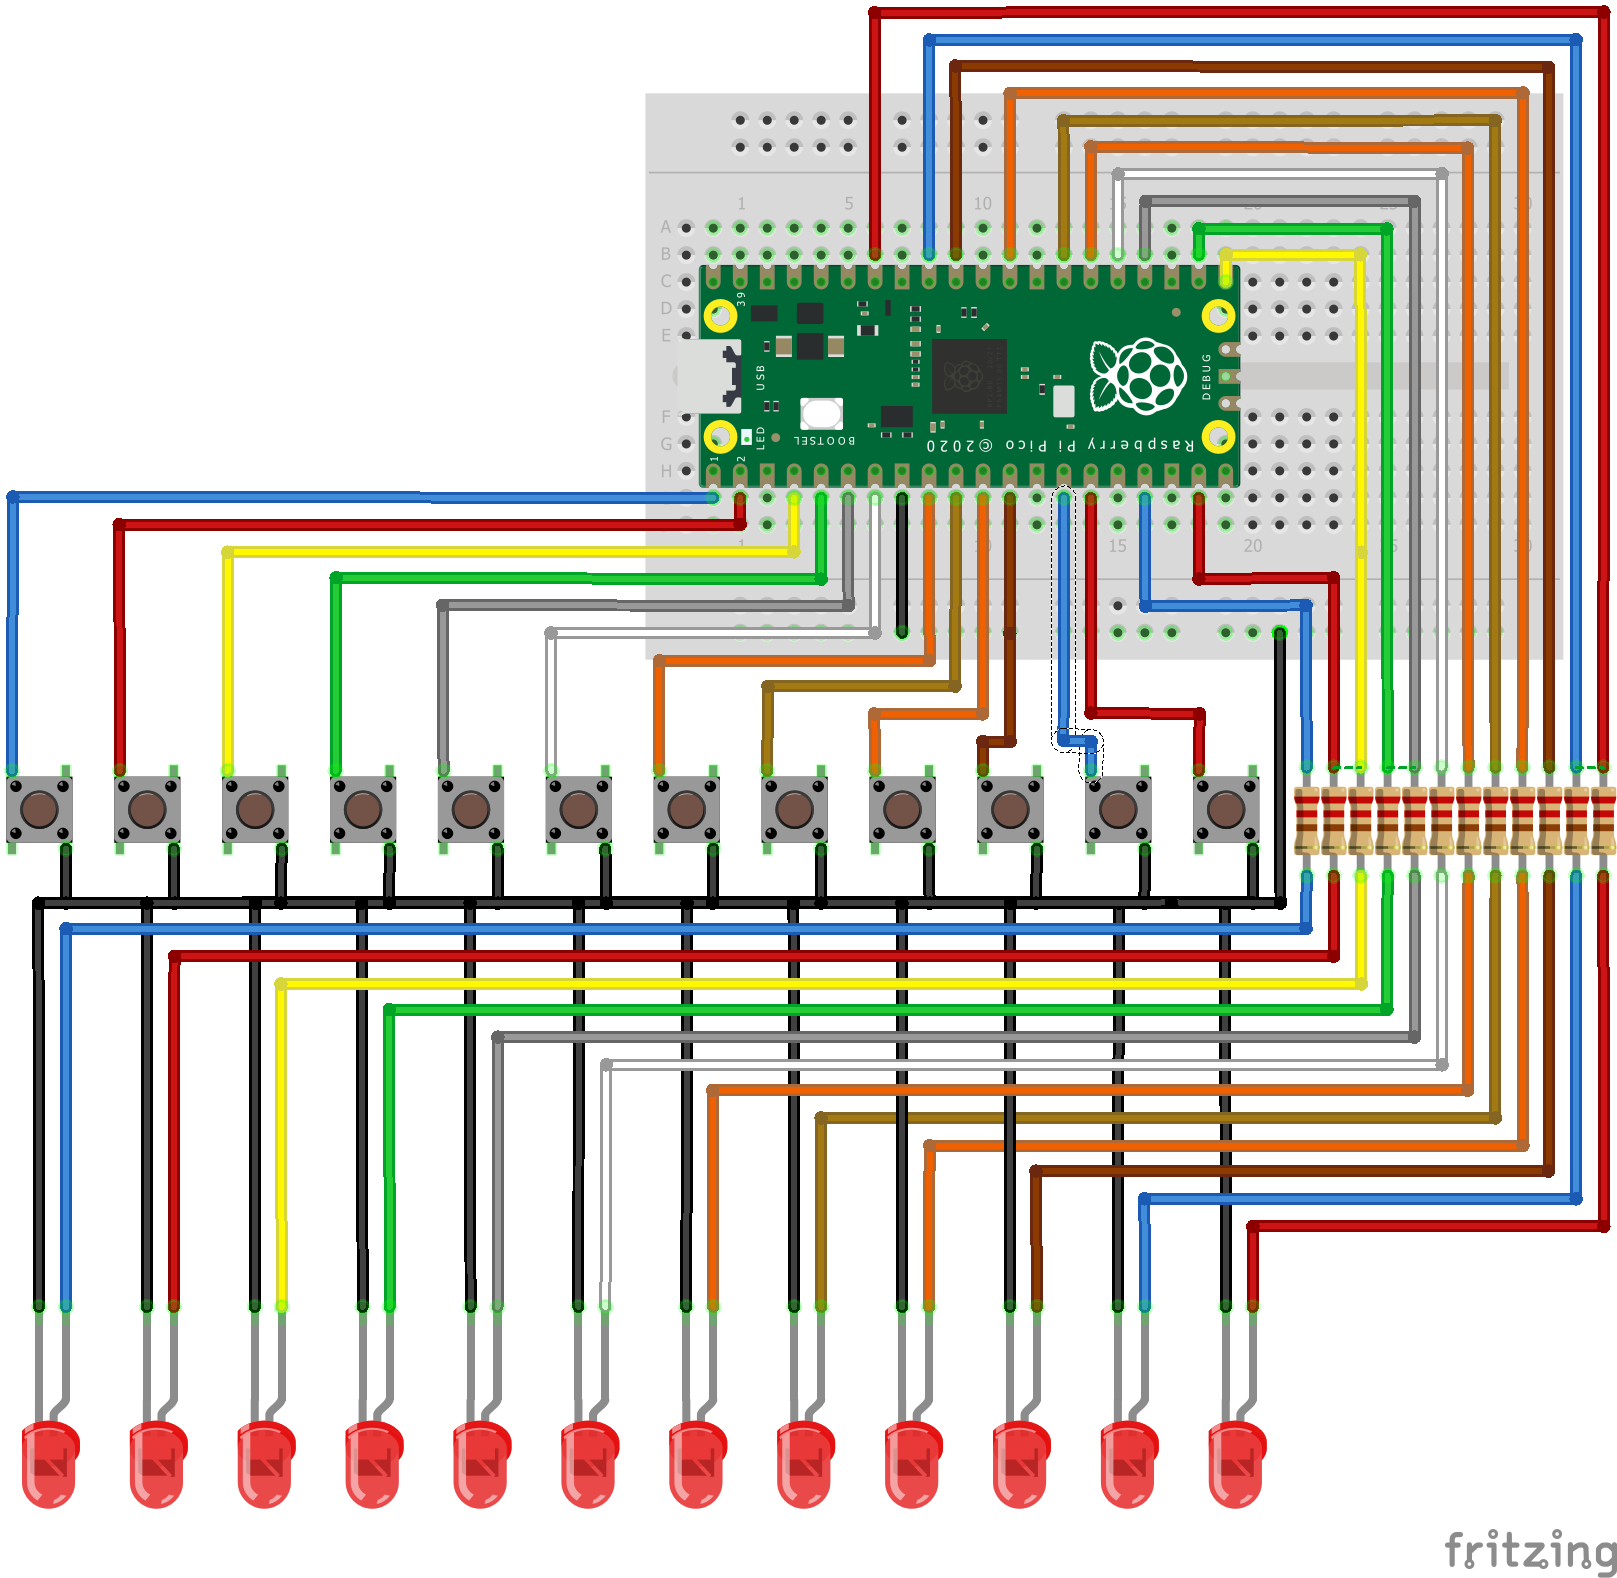
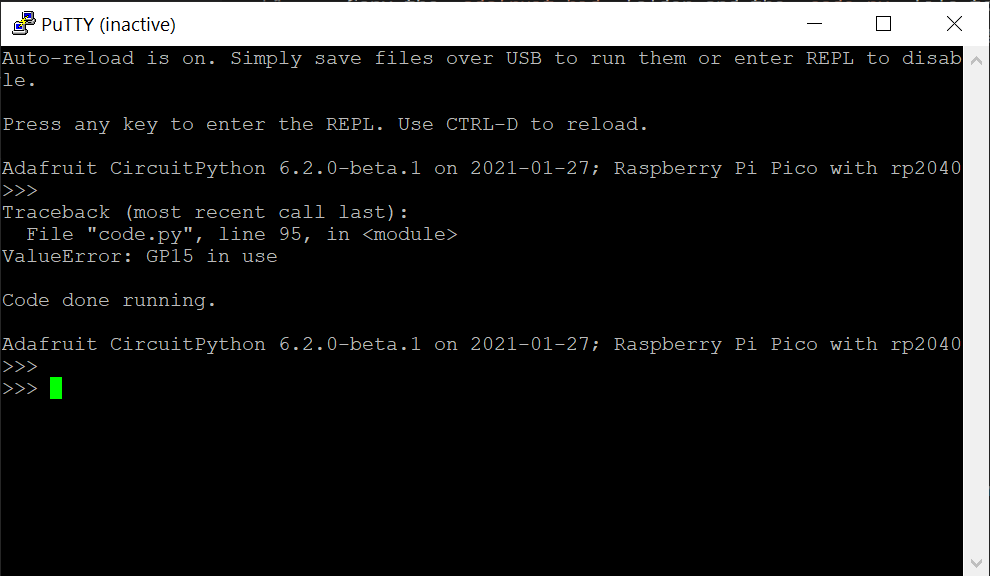
I've avoid GP15 as it's assigned a USB function... Using GP15 results in the following error at startup;
"ValueError: GP15 in use"
Front
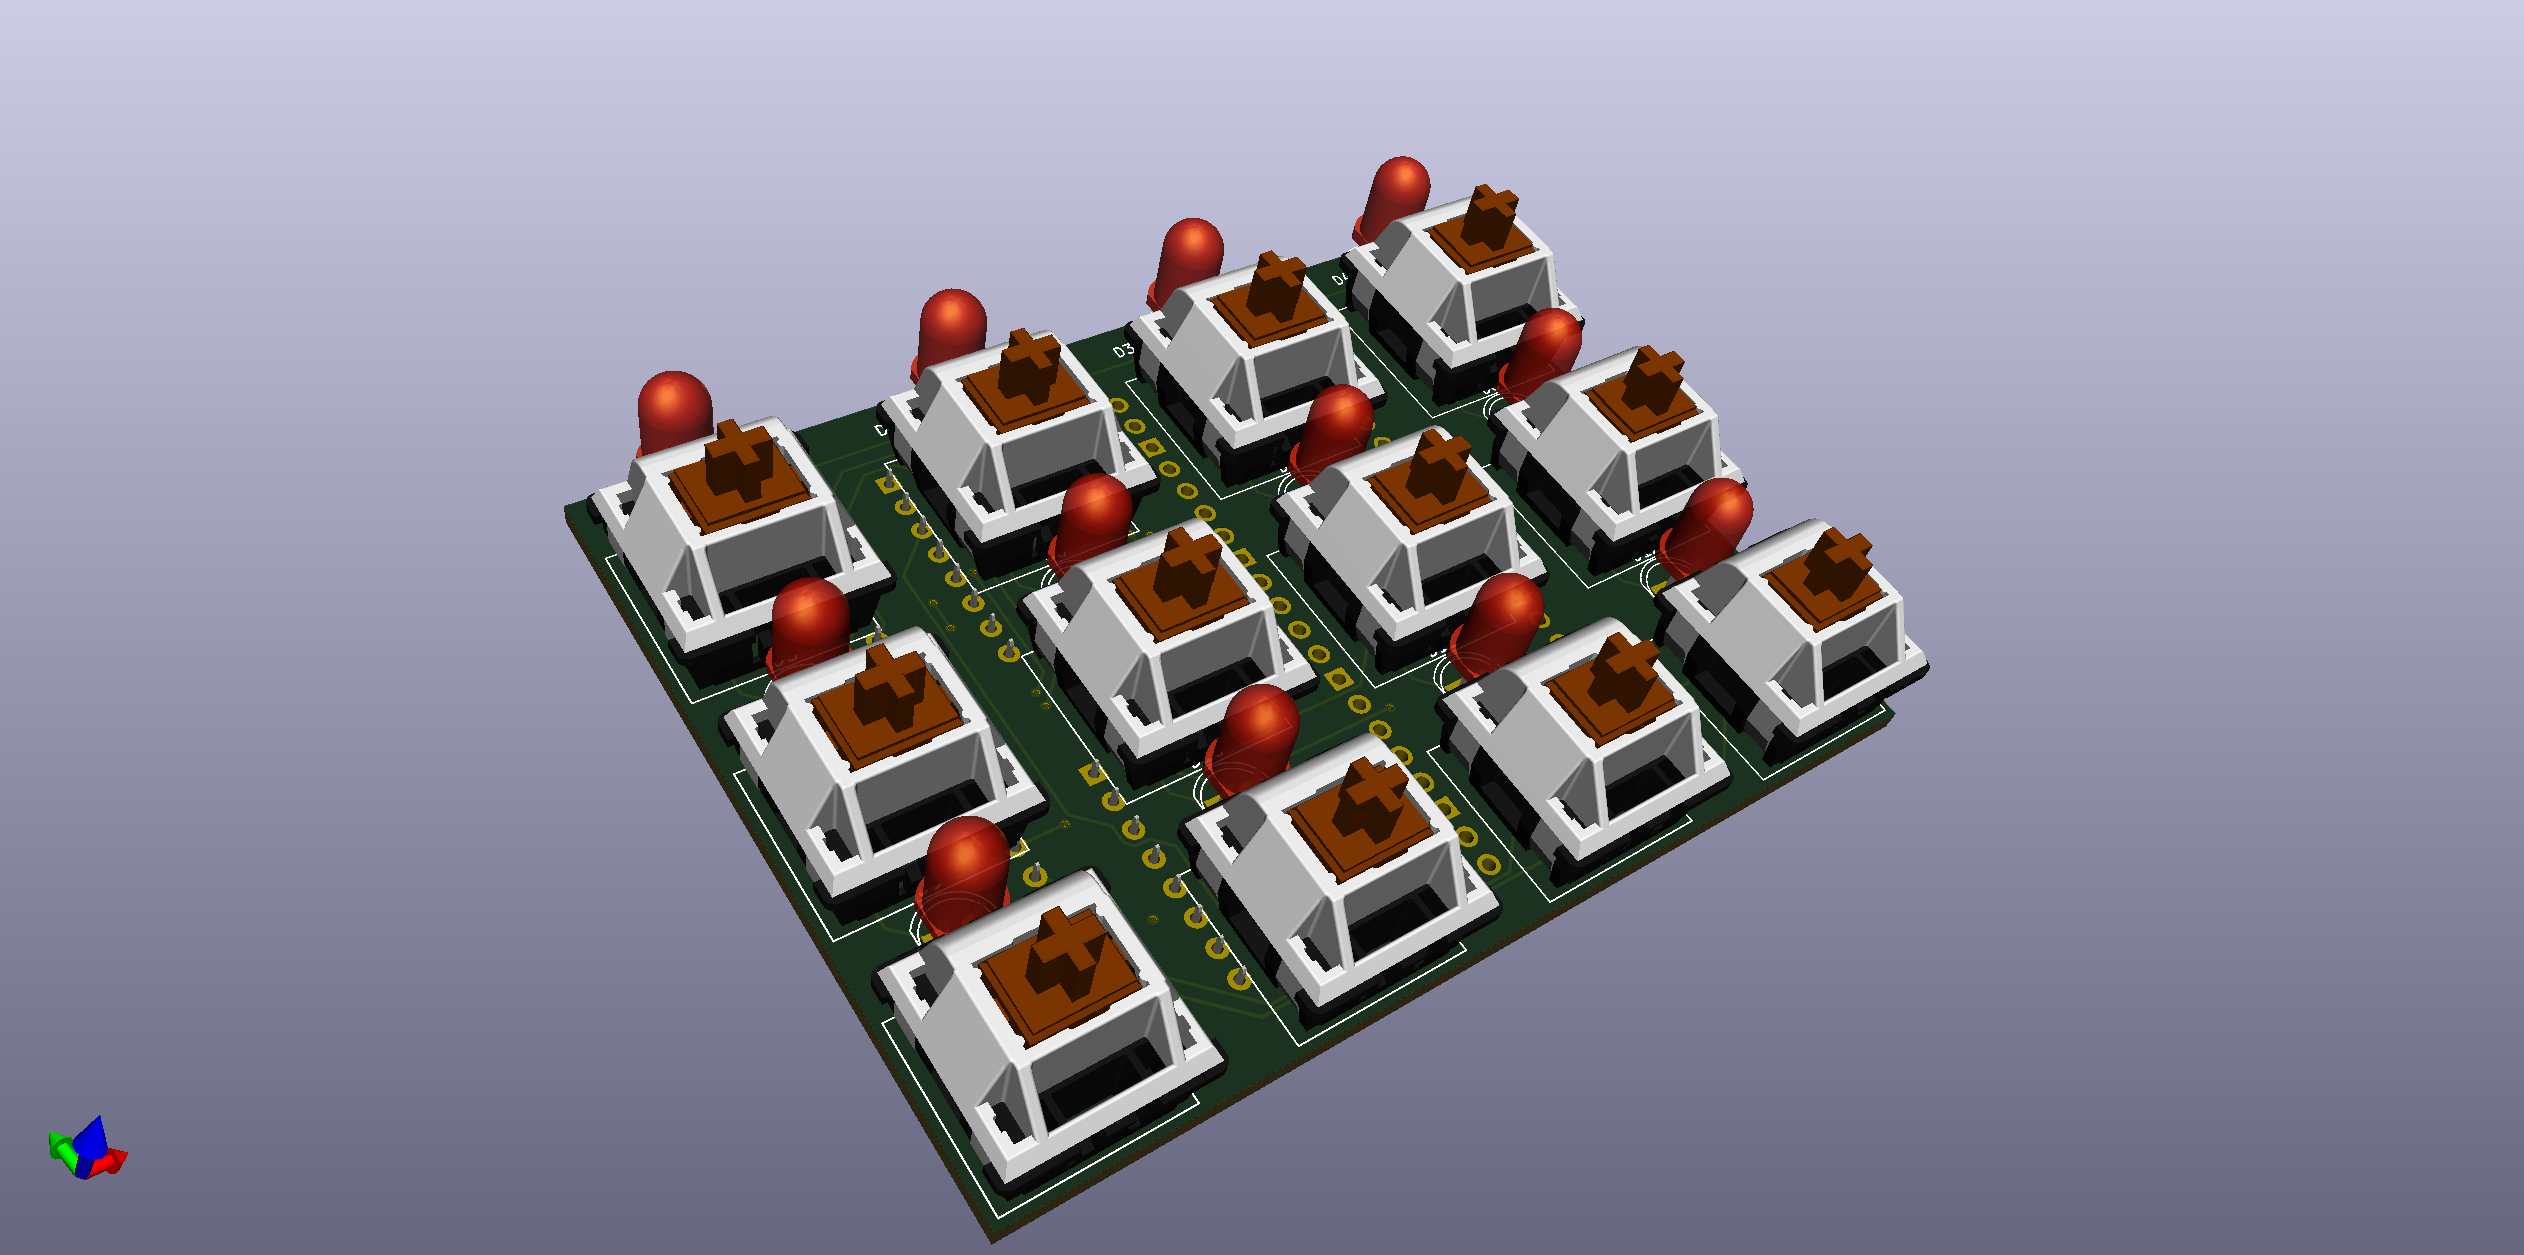
Back
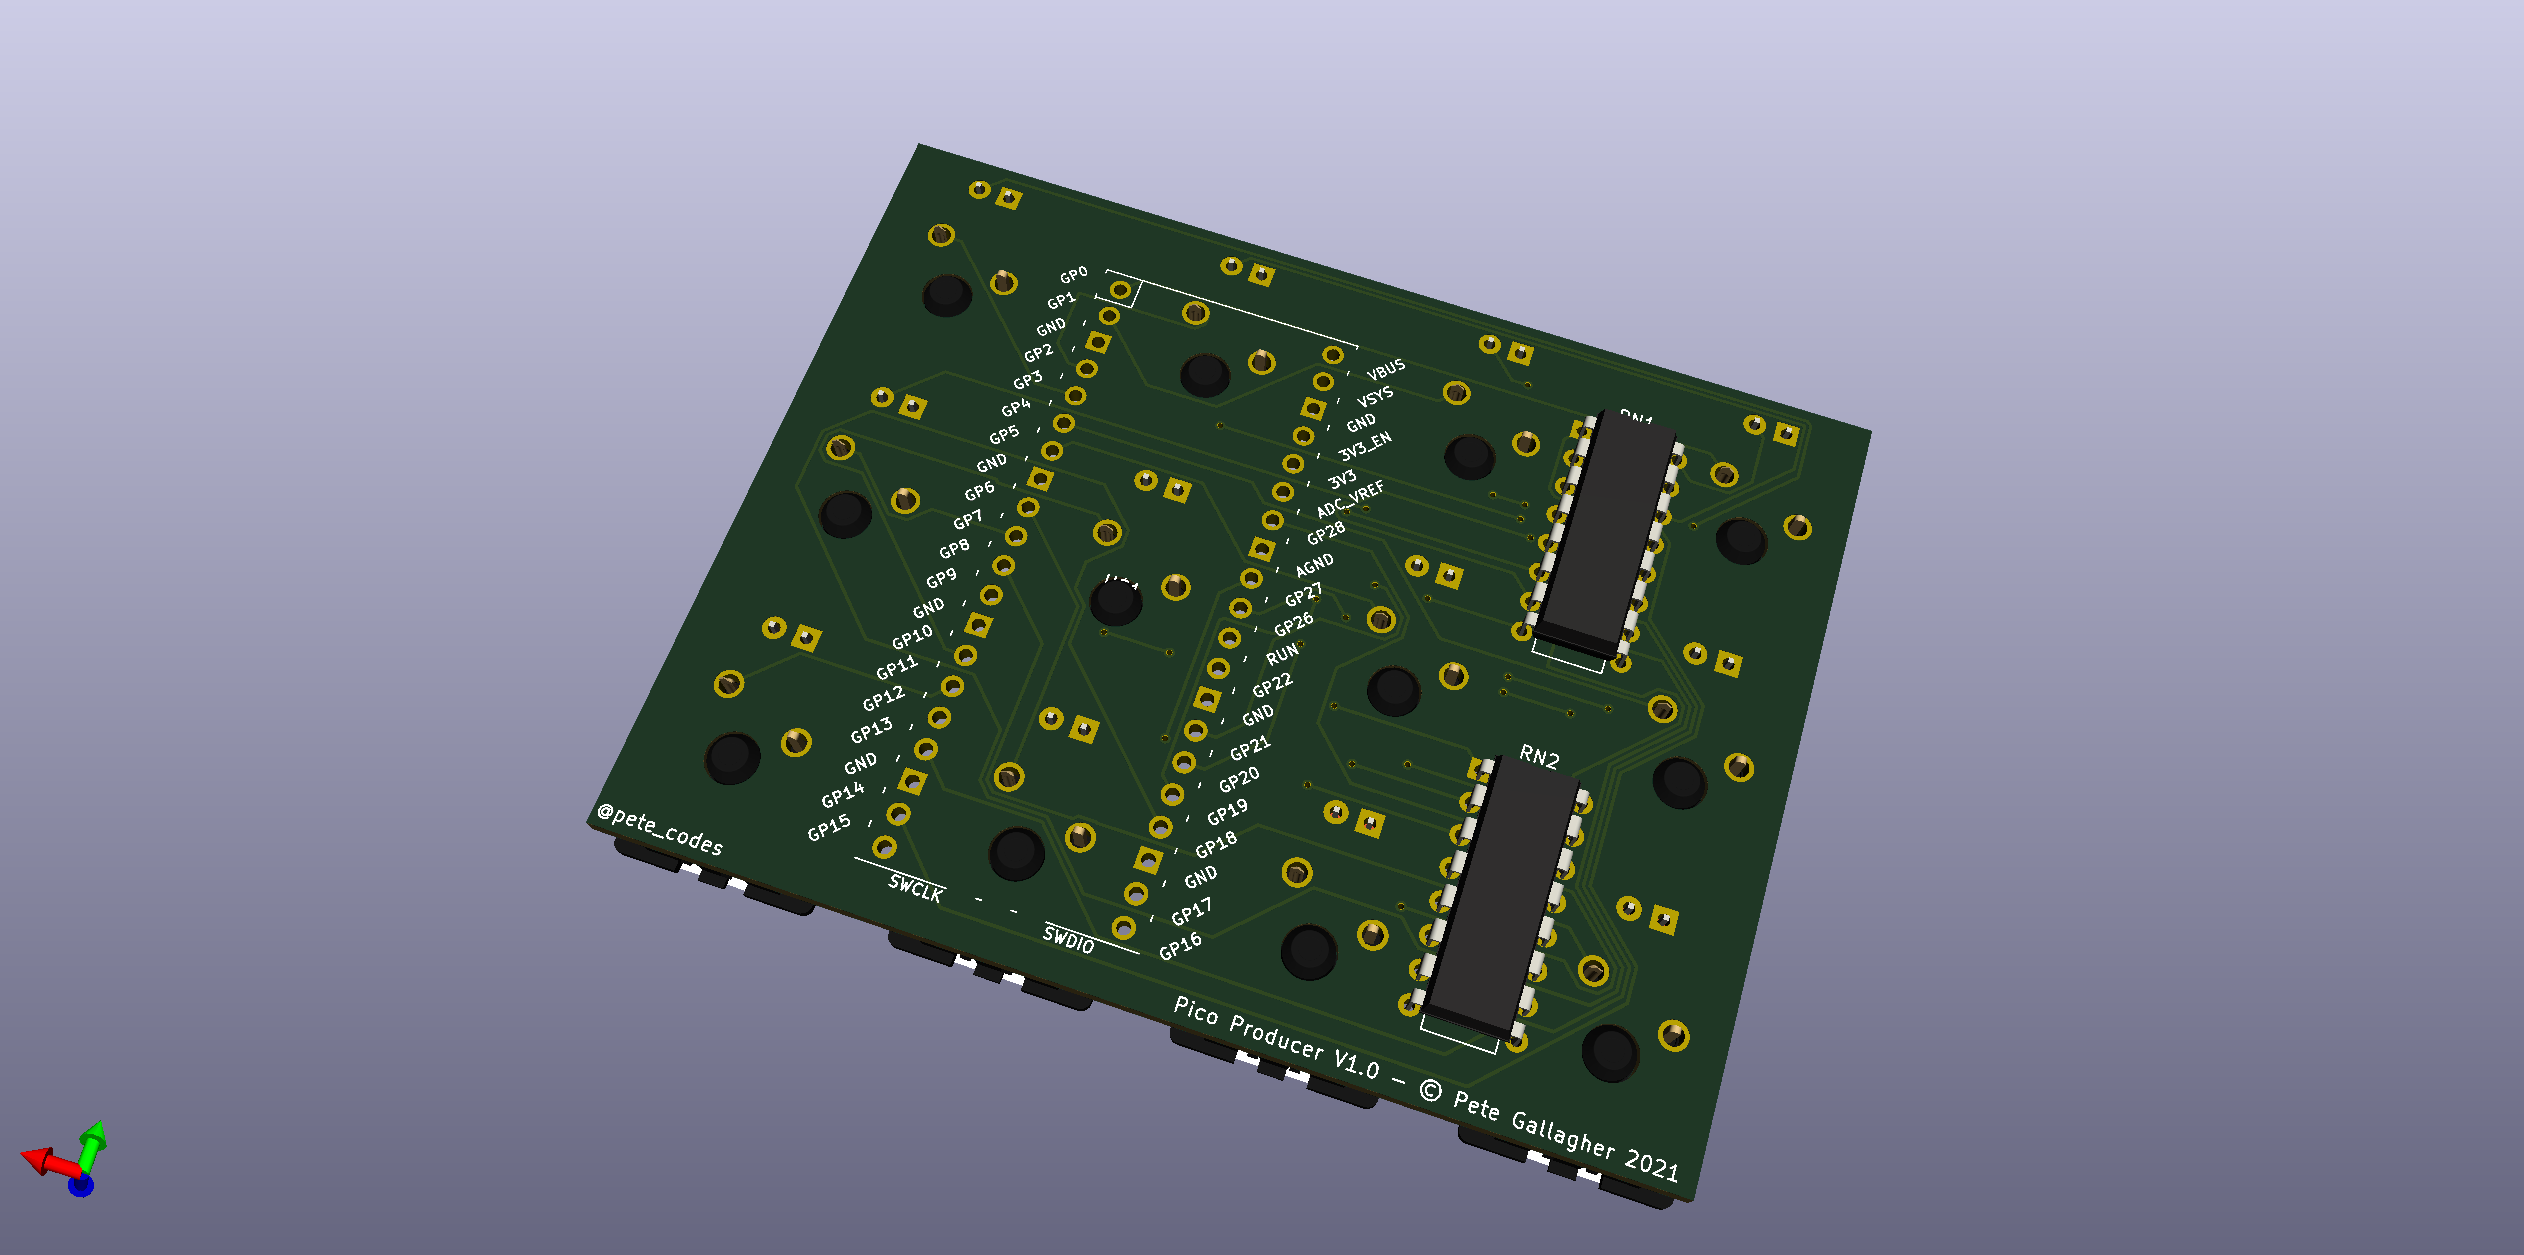
PCB
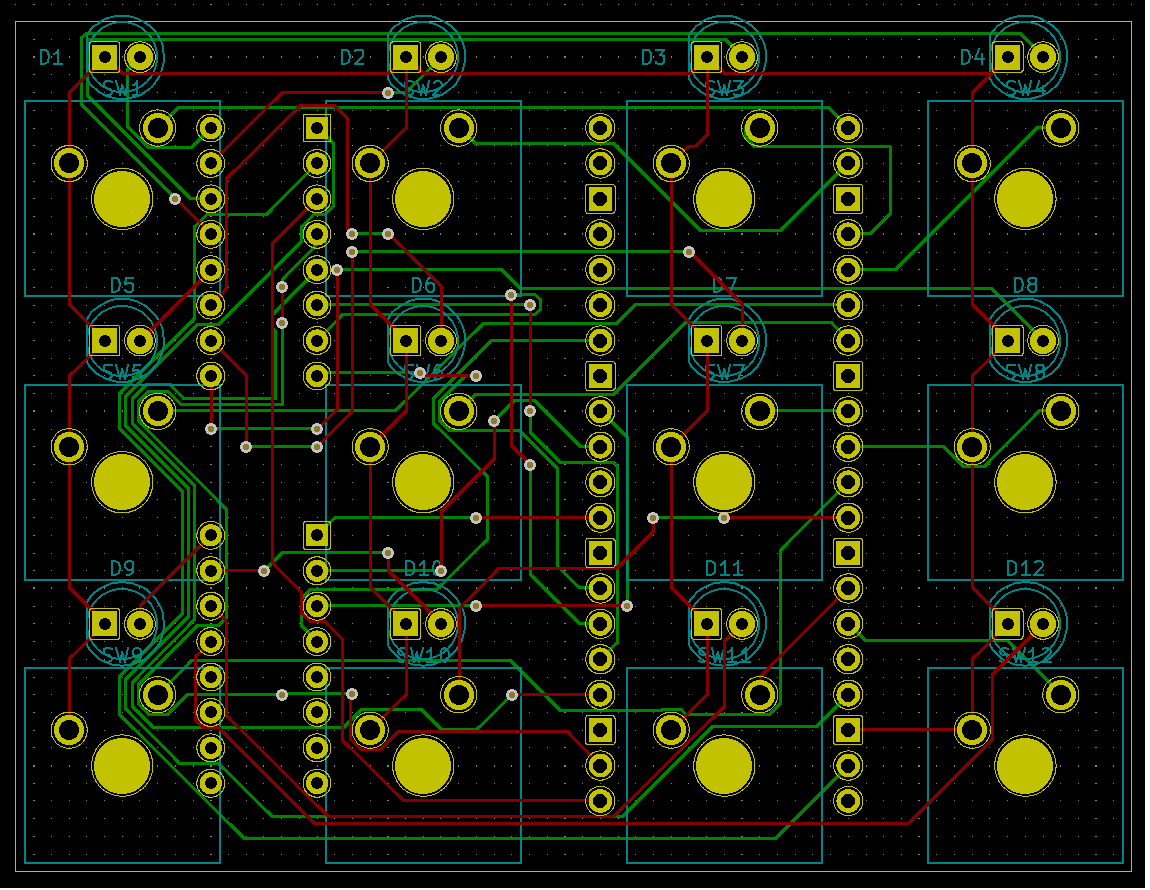
You can have your PCB made at OSH Park here;
https://oshpark.com/shared_projects/UNP0qi2U
| Part | Qty | Link |
|---|---|---|
| PCB | 1 | https://oshpark.com/shared_projects/UNP0qi2U |
| Cherry MX Keycaps | 12 | https://amzn.to/2Oo1nLP |
| 3mm LED | 12 | https://amzn.to/3rAqNEV |
| 220 Ohm 8x Isolated Resistor Pack | 2 | http://bit.ly/picoproducerresistorarray |
| Raspberry Pi Pico | 1 | http://bit.ly/pimoroni-pico |
| 20 pin Male PCB Header | 2 | https://amzn.to/3sUr8lN |
| 3D Printed Case | 1 | https://www.thingiverse.com/thing:4800253 |
Notes:
We now have two different case designs....
Cliff Agius and his son have created a version of the box suited for buttons with holes for LEDs.
I've modified this design to add LEDs above each button;
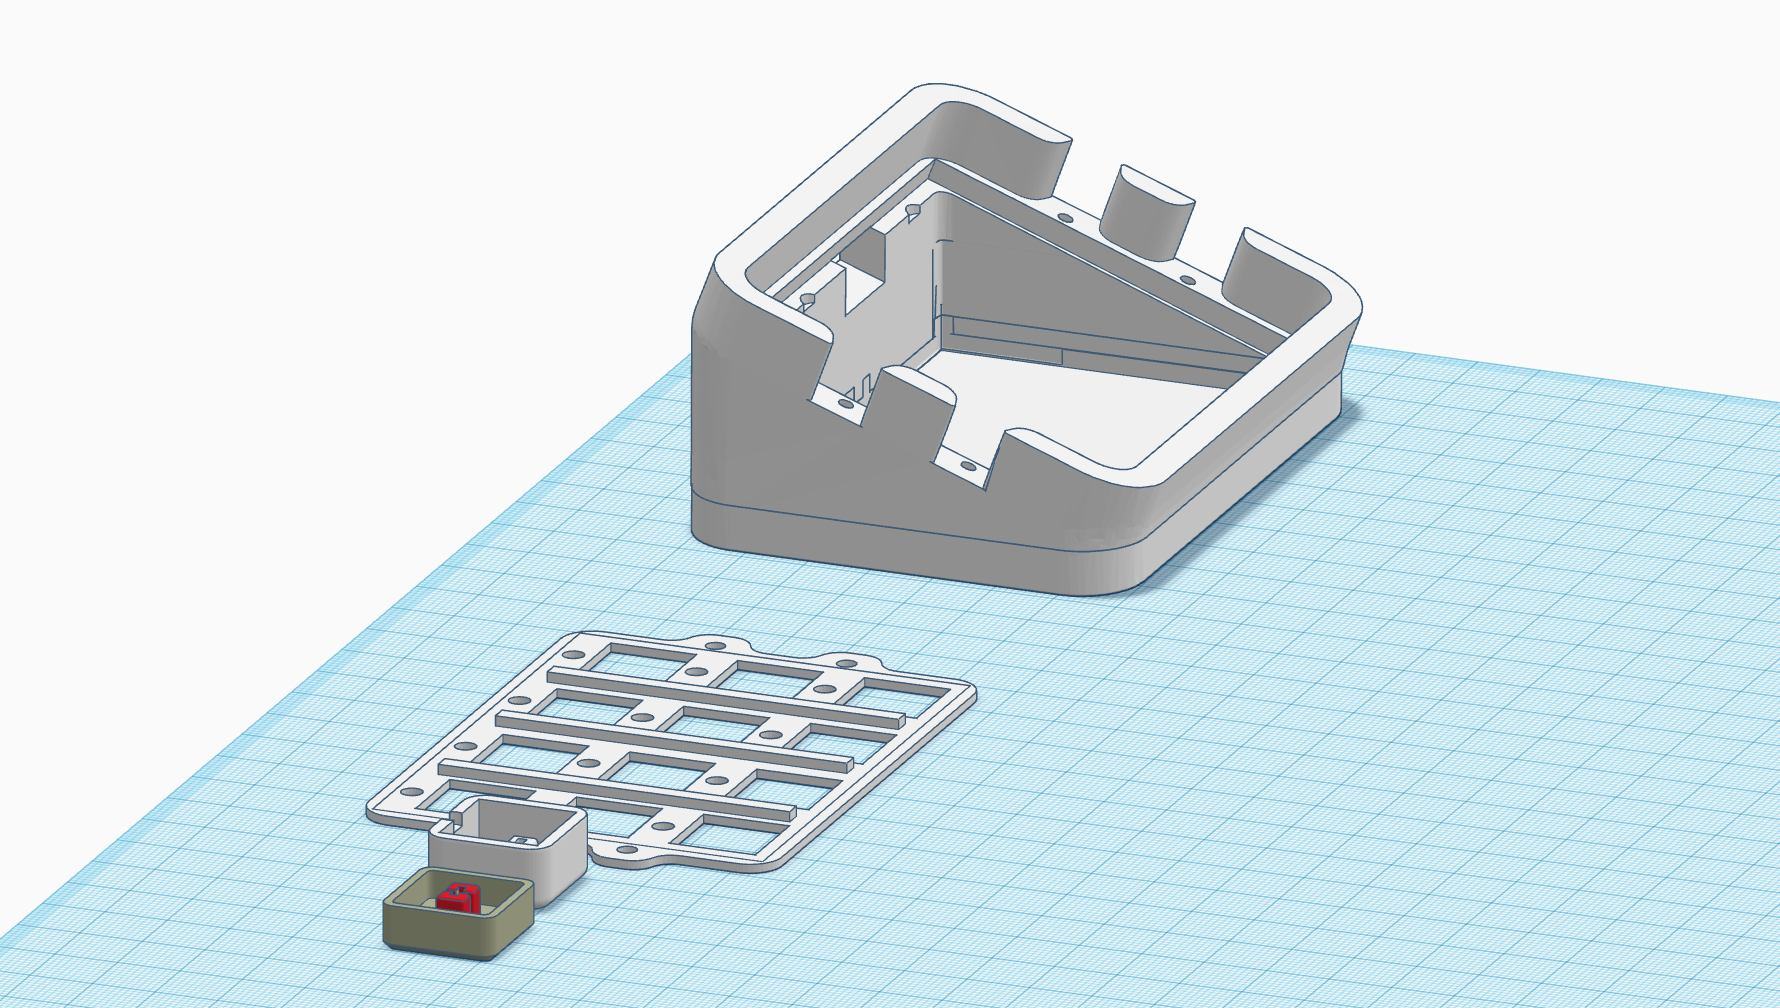
It was originally based on this design;
https://www.thingiverse.com/thing:4186055
The keycaps are from here;
https://www.thingiverse.com/thing:4186055
You can find the project on Thingiverse here;
https://www.thingiverse.com/thing:4800253
You can find some more info about the CircuitPython KeyMappings here;
https://circuitpython.readthedocs.io/projects/hid/en/latest/_modules/adafruit_hid/keycode.html
adafruit-circuitpython-raspberry_pi_pico-en_US-6.2.0-beta.1.uf2 file to the Picoadafruit_hid folder and the code.py file to the PicoScene 1 = ctrl + F1
Scene 2 = ctrl + F2
Scene 3 = ctrl + F3
Scene 4 = ctrl + F4
Scene 5 = ctrl + F5
Scene 6 = ctrl + F6
Scene 7 = ctrl + F7
Scene 8 = ctrl + F8
Scene 9 = ctrl + F9
Scene 10 = ctrl + F10
Scene 11 = ctrl + F11
Scene 12 = ctrl + F12Circuit Python creates a virtual COM port, so you can use a terminal Program set to 8N1 9600 Baud to debug the code... Just hit the enter key at teh prompt, and the terminal will echo there.
It might help to put a large enough delay at the start of your code to give you time to initialise the terminal.
The HID control code is based on a nice blog post by Hriday which shows how to get the Pico working as a HID device, emulating a keyboard;
Thanks to Cliff Agius and his son for the original 3d Files. Thanks to John Furcean for refactoring the code. Thanks to frankalicious for fixing some spelling checks.
| Qty | Value | Footprint | References |
|---|---|---|---|
| 12 | MX | Button_Switch_Keyboard:SW_Cherry_MX_1.00u_Plate | SW1, SW2, SW3, SW4, SW5, SW6, SW7, SW8, SW9, SW10, SW11, SW12 |
| 11 | LED | LED_THT:LED_D5.0mm | D1, D2, D3, D4, D5, D6, D7, D8, D9, D10, D11 |
| 2 | R_Pack08 | Package_DIP:DIP-16_W7.62mm | RN1, RN2 |
| 1 | LED5MM | LED_THT:LED_D5.0mm | D12 |
| 1 | RPI_PICO-SMD | Raspberry Pi:RPi_Pico_SMD_TH | U$1 |
It measures 80 × 61 mm and has 2 copper layers, 1.6 mm thick.
27 parts. The full list of its parts is on this page, with links to each part's symbol and footprint where PCBKit's library has them.
From the pjgpetecodes/pico-streamdeck repository on GitHub, at the commit this page was made from: the board is pcb/PicoProducer.kicad_pcb and its schematic pcb/PicoProducer.kicad_sch. PCBKit opens the board in the browser, with nothing to install.
Its repository publishes it under the MIT licence: you may reuse it on that licence's terms (keep the author's notice, and for a copyleft licence share your changes alike).

hackclub/OnBoard
💡 Join 1,000 teenagers and make your first PCB with a $100 grant!


CRImier/MyKiCad
My KiCad boards. Can't be bothered uploading individually anymore, so here you go.

freeDSP/freeDSP-aurora
freeDSP ADAU1452 with 8 analog input, 8 analog outputs, S/P-DIF I/O, ADAT I/O, USB Audio Class2, WiFi, Bluetooth

ugcs/ddc
Drone Show Software is software designed for drone shows, allowing flight path planning as well as control of dozens of drones simultaneously in a synchronized manner.
