2 layers31.1 × 27.9 mm
CRSFJoystick tiny
mikeneiderhauser/CRSFJoystick
Arduino code that runs on a Pi Pico (2040) to emulate a USB HID Joystick
9 parts231GPL-3.0

 mikeneiderhauser/CRSFJoystick231
Arduino code that runs on a Pi Pico (2040) to emulate a USB HID Joystick
CRSFJoystick is an open-source printed circuit board by mikeneiderhauser, from the mikeneiderhauser/CRSFJoystick repository on GitHub, published under the GPL-3.0 licence. It is a 2-layer board of 61.6 × 30.5 mm with 10 parts on 39 nets, routed with 30 tracks and 1 via.
It belongs with the RP2040 boards of this library.
https://github.com/mikeneiderhauser/CRSFJoystick
Named CRSFJoystick as it indicates the wire protocol between the microcontroller (pi pico) and receiver).
Arduino code using the mbed core that runs on a Pi Pico (2040) to emulate a USB HID Joystick
Pirmarily developed to use and ExpressLRS receiver and a HID Joystick for Sim use! It will work with both Tracer and Crossfire as well.
Shout out to CapnBry for the Crsf Library
https://github.com/CapnBry/CRServoF
Shout out to RealRobots.net for the Gamepad Library
https://gitlab.com/realrobots/PicoGamepad/-/tree/master
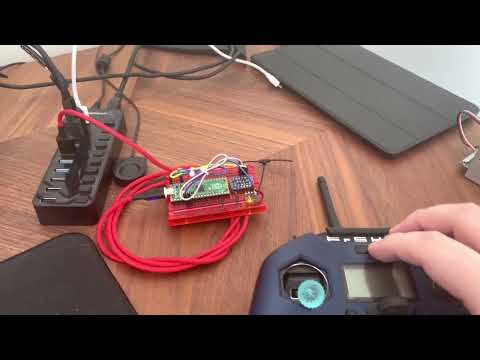
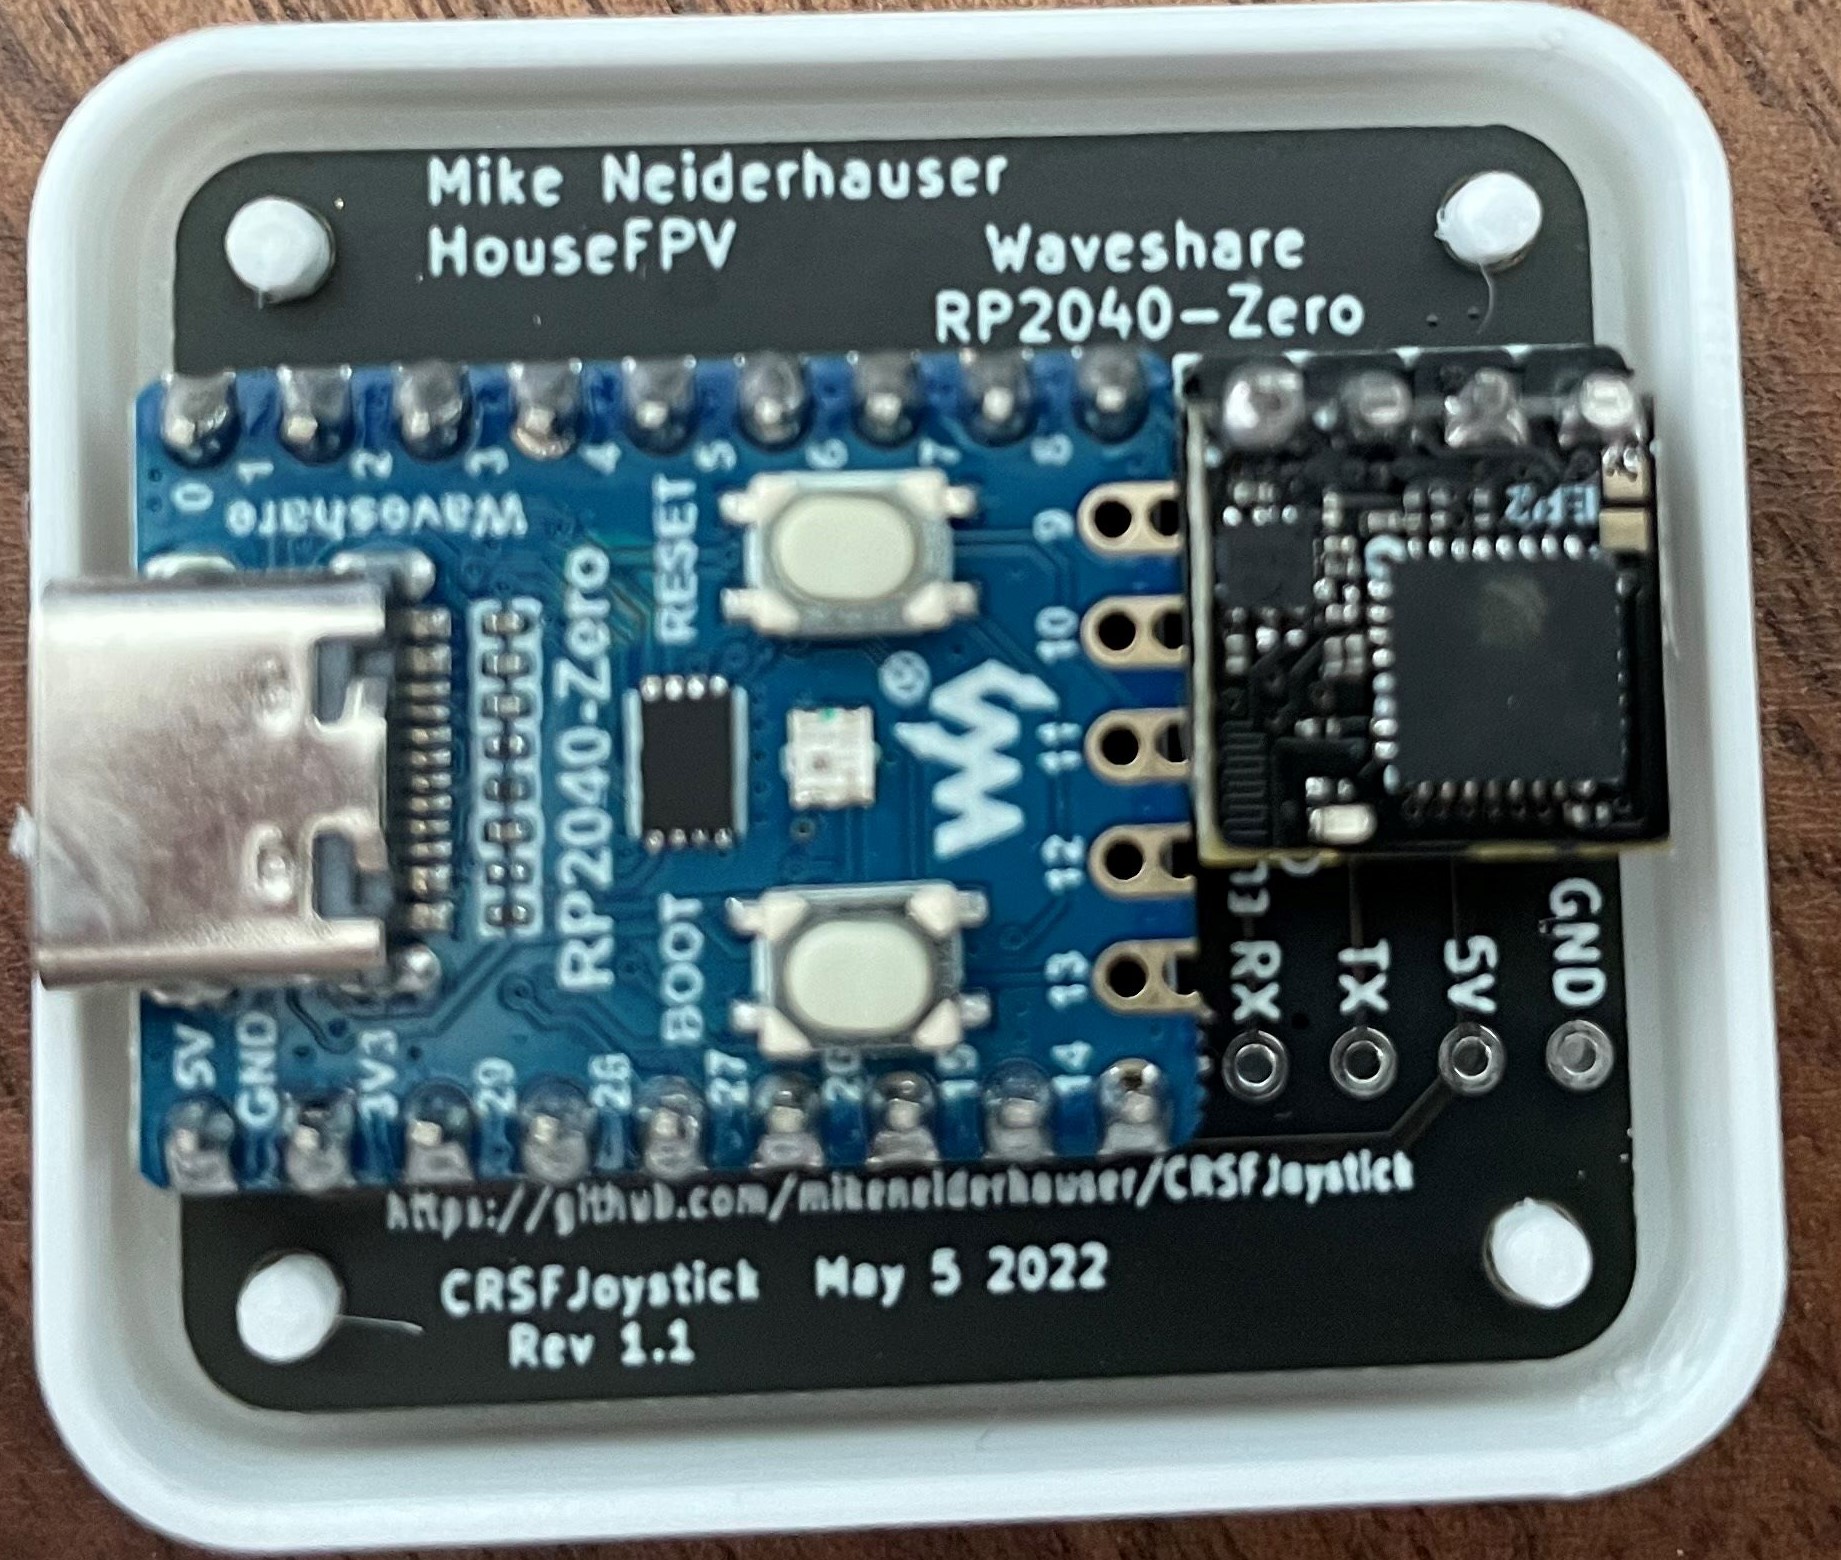
Originally offered of FPVExchange, but that is no longer an option. Please send me an email for availability, purchase, or to get additional info!
You can also contact me on discord HouseFPV
A few boards that I believe are based off of this project:
This project was designed primarily with ELRS usage in mind, however this code base has also been tested with TBS Crossfire Receivers (915MHZ) (last tested v6.16) and TBS Tracer Receivers (2.4GHz) (last tested v6.17) and both appear to work! Flight was teseted in the Liftoff simulator.
I no longer have TBS Crossfire nor TBS Tracer TX modules or Receivers so future tests will have to be conducted by others.
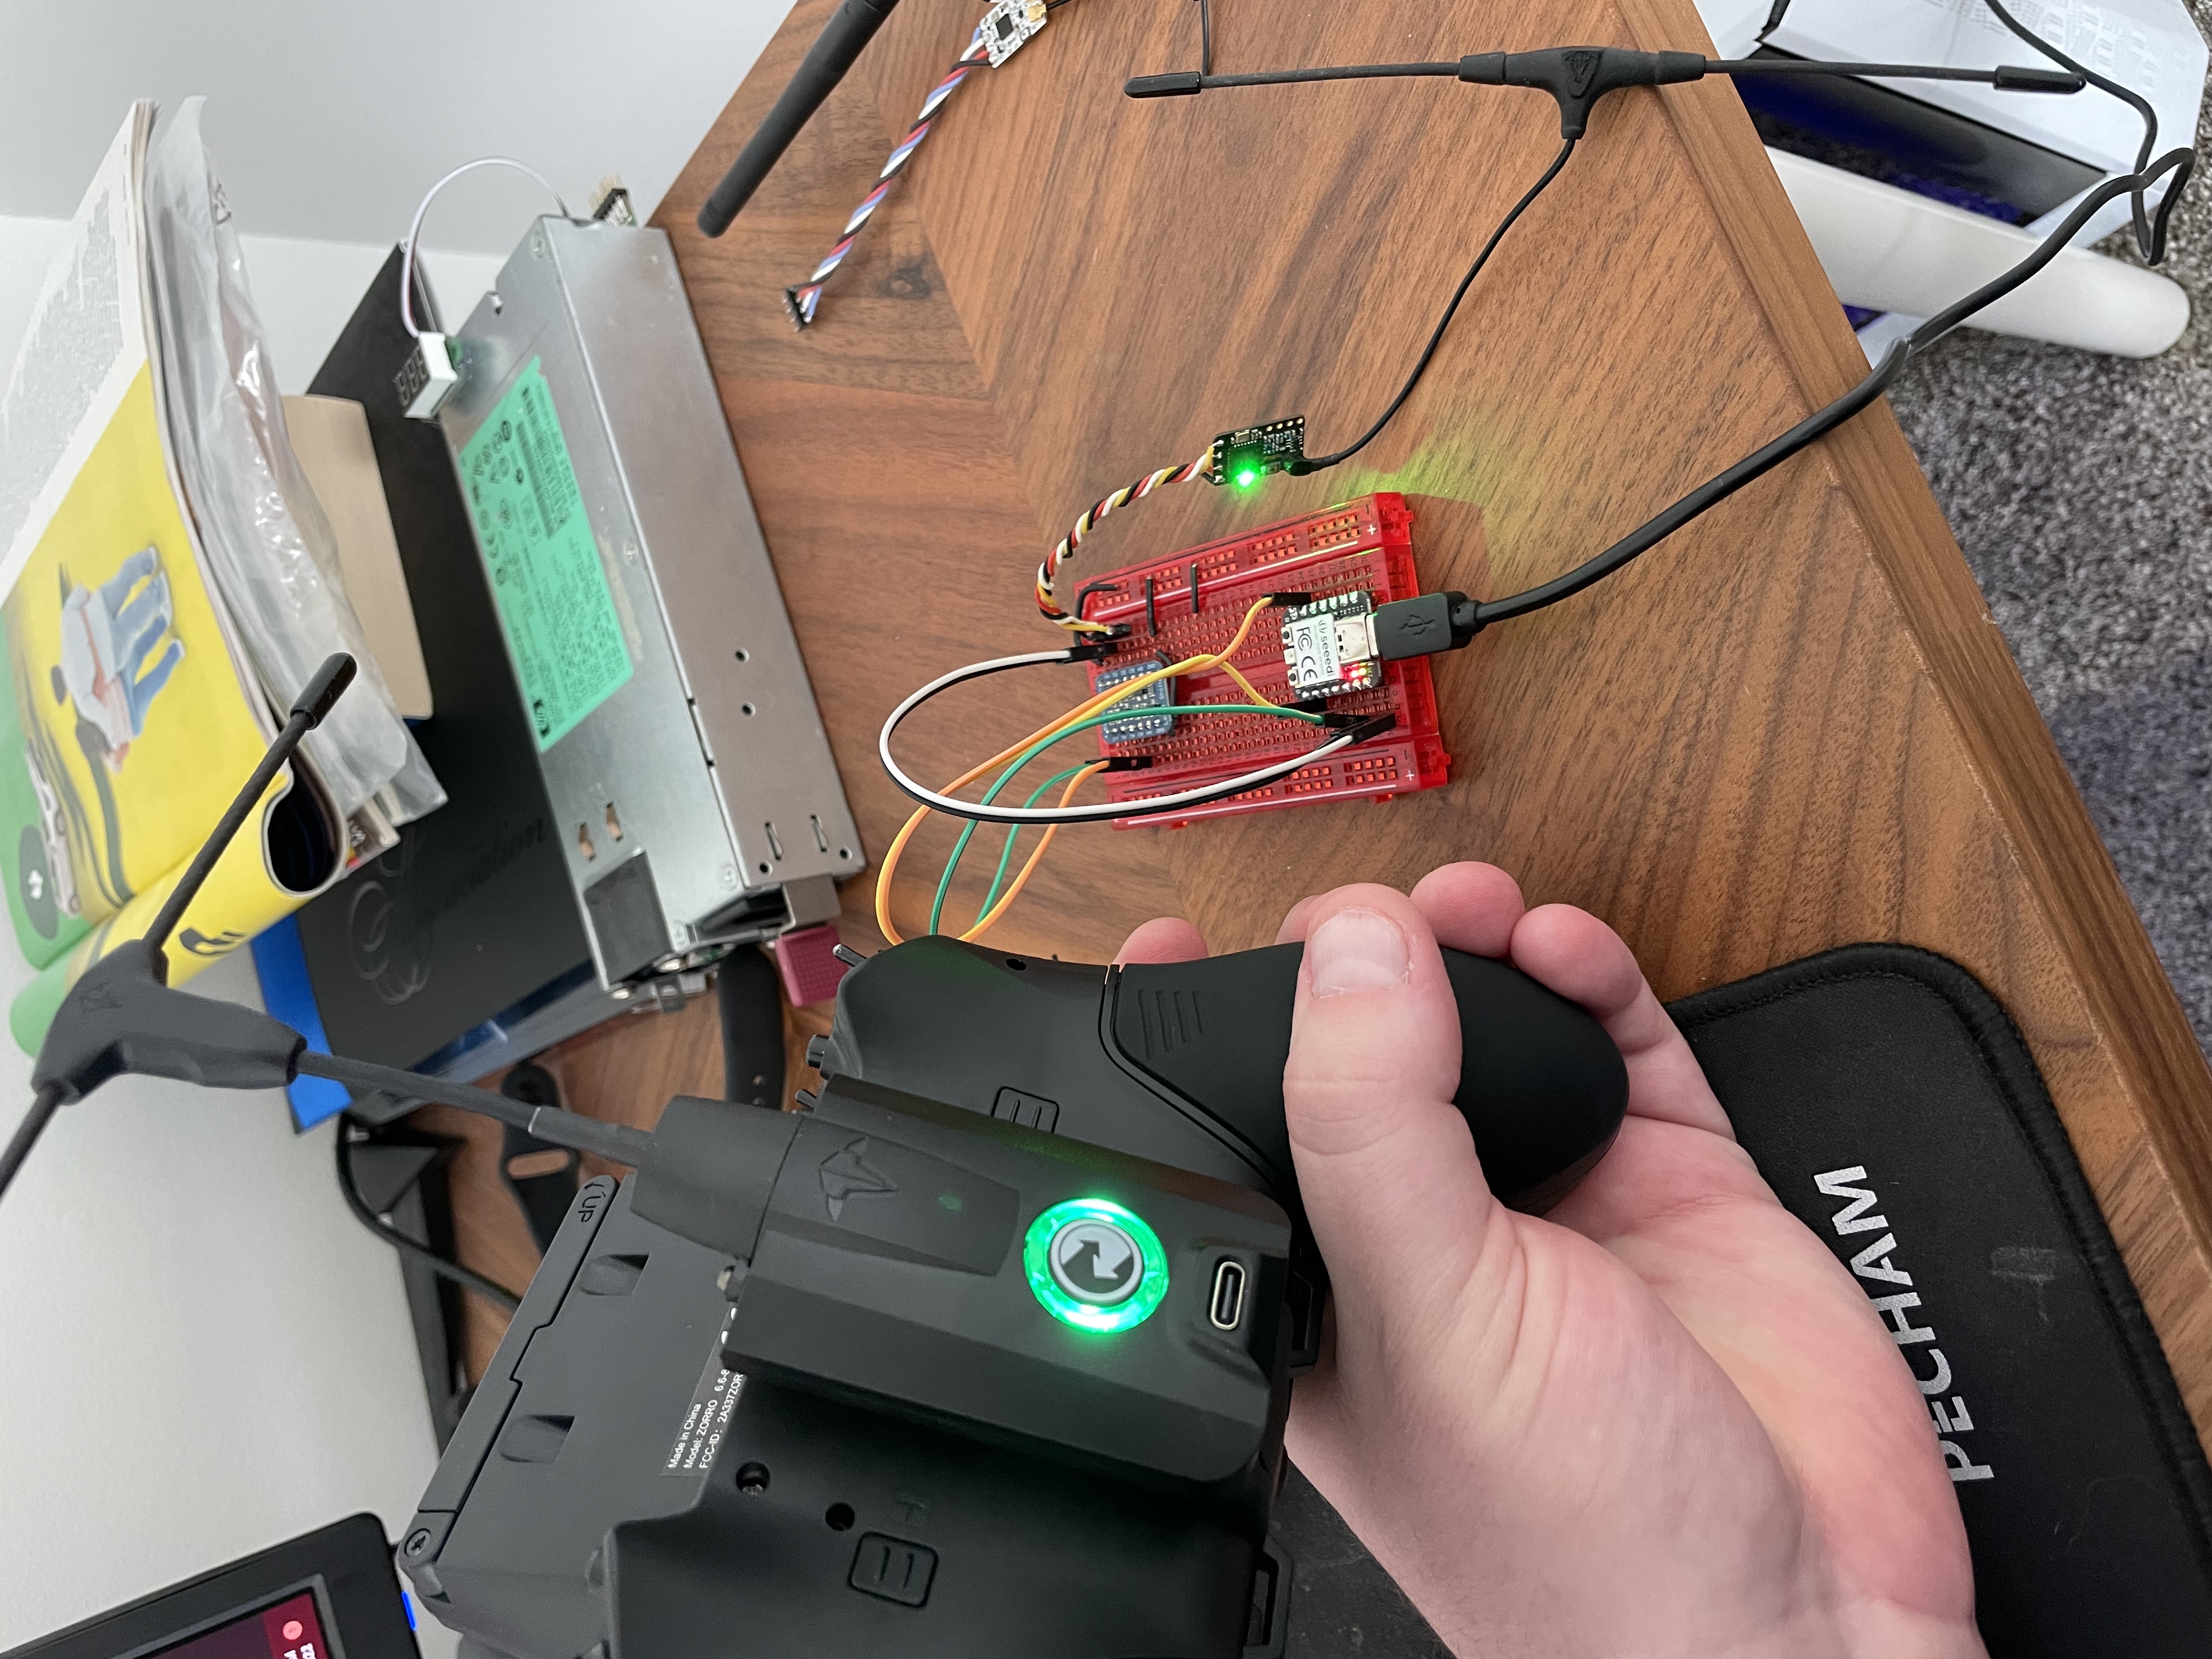
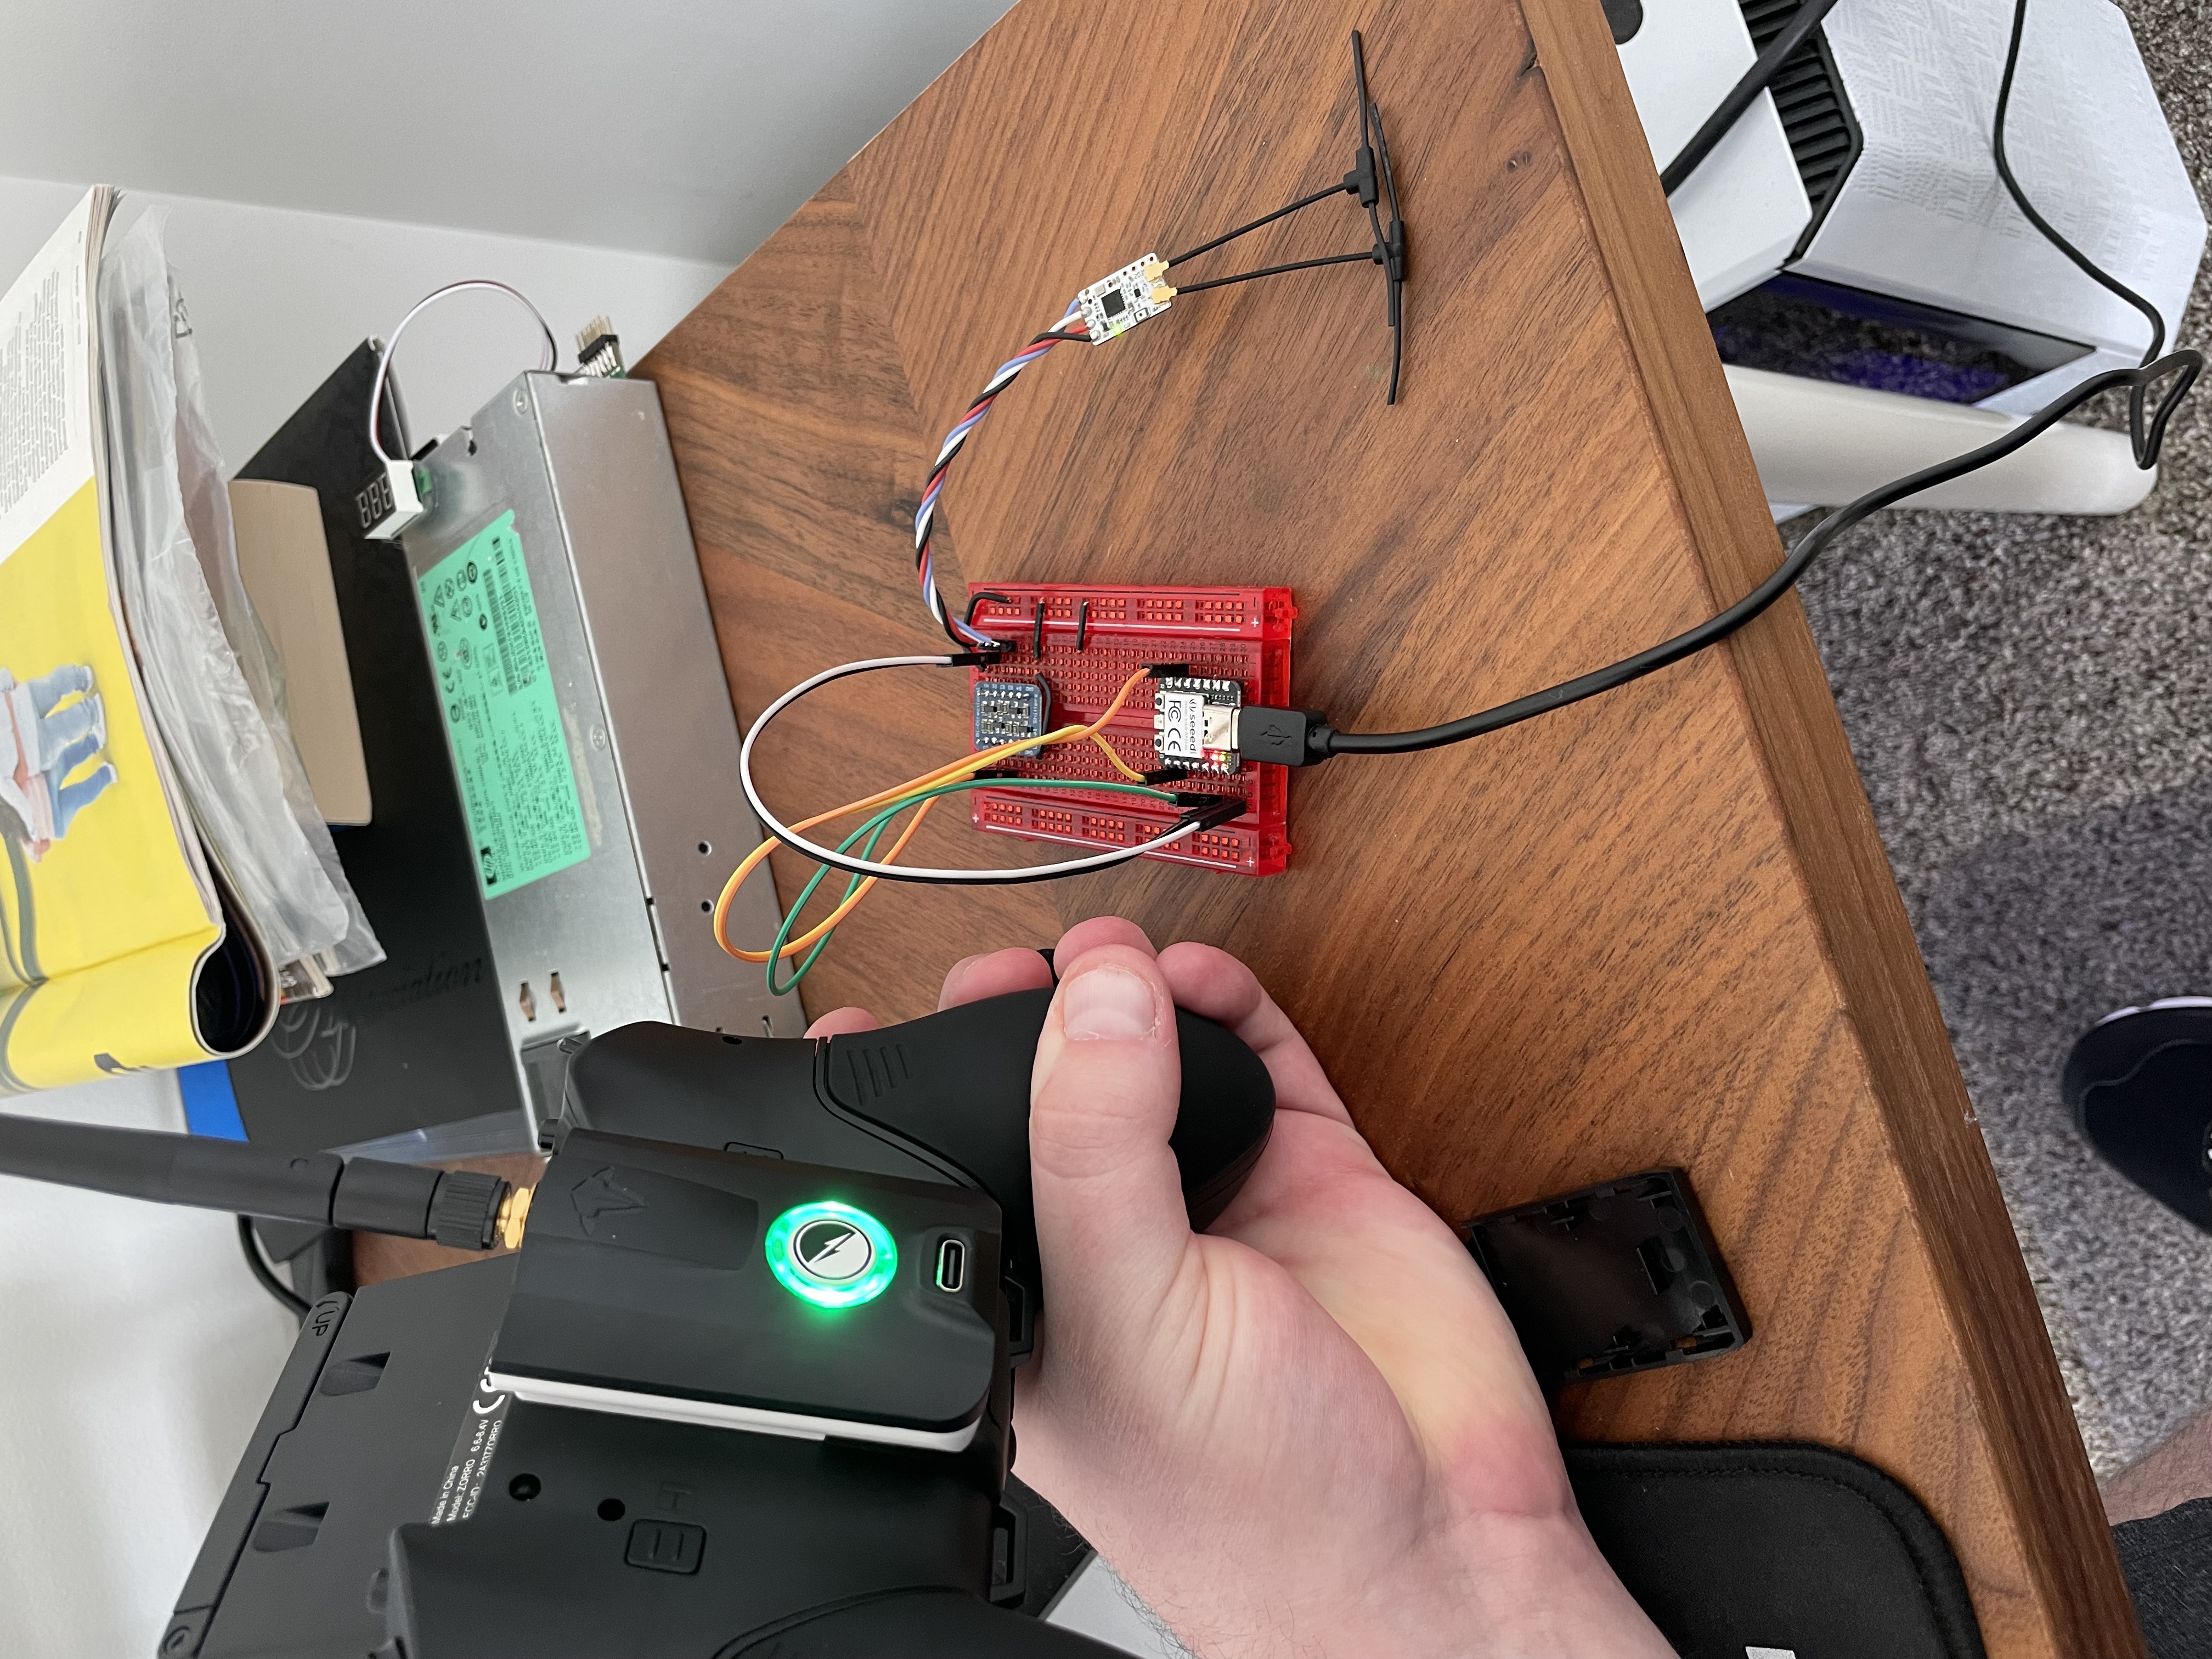
I recently converted the projet to PlatformIO to aid in building, board management, etc. PlatformIO has some known quirks with PiPico boards and I'm going to leave some breadcrumbs here for later.
https://platformio.org/install/ide?install=vscode
At the Bottom of VSCode you will see a tool bar. Look for Default (CRSFJoystick). Building in this state will build for all boards / environments defined in the platformio.ini file. To target a sepecific board, Click on Default (CRSFJoystick) and select an appropriate option (Note, selection pops up at the top of vscode).

Click on the Checkmark on the bottom toolbar to build for the board / environment you selected.
Click on the -> on the bottom toolbar to upload to the board. If upload fails to find your board, please see bothe the alternative upload section as well as the driver section.
This is one of the standard advertised methods for uploading firmware to a pipico based microcontroller board.
Press and hold the bootsel button on your board and either plugin/power on the board or if the board is already powered press and release the reset button.
This will put the board in RP2 Boot mode.
A removable device should pop up or become available on your computer. Drag and drop the firmware.u2f file from the .pio/build/wavesharerp2040zero/ directory into this device on your computer. Note replpace wavesharerp2040zero with the environment for your board.
Drivers can be hit or miss for the pipico board and platformio.
You may need to use zadig to get vscode+platforio to be able to upload directly to the board. https://github.com/platformio/platform-raspberrypi/issues/2#issuecomment-828586398
Below are the drivers I have working on my Windows 11 machine. You may need to modify the driver selection via zadig and or device manager to get it working.
Right Click -> Properties -> Update Driver -> Browse my computer for drivers -> Let me pick from a list of available drivers on my computer
Depending on the device you are using, your target may be different. For all of the DIY version's I've made, I used the HappyModel EP2 Rx. Other vendors may vary.
https://www.expresslrs.org/software/updating/betaflight-passthrough/
If your receiver is wifi enabled you can also flash it via wifi
https://www.expresslrs.org/software/updating/wifi-updating/
For a quick test of functionality, I typically go to GamepadTester.
Once the Radio is bound to the RX, it should show up in GamePadTester.
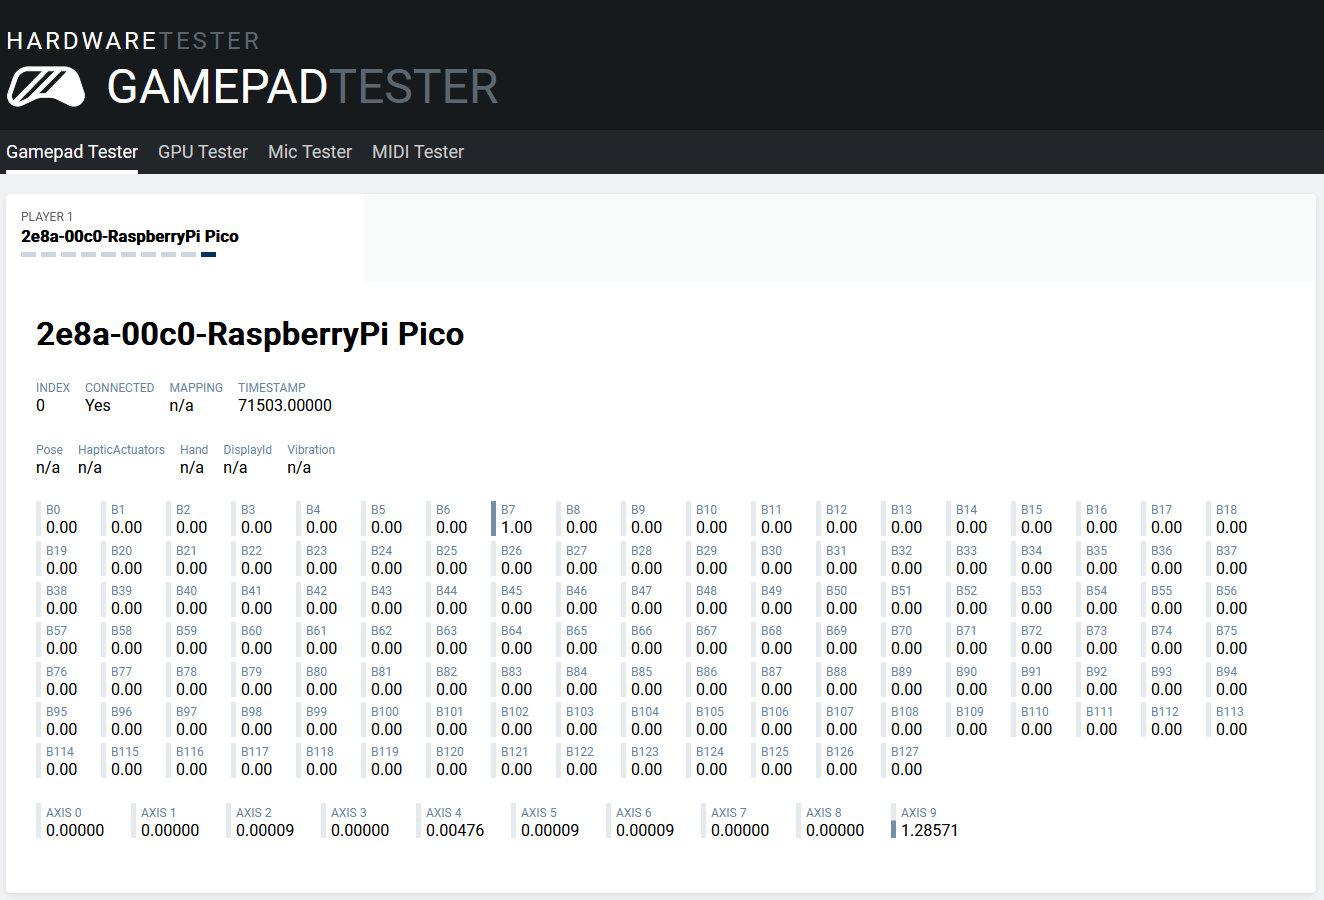
This was a quick map and is not fully featured.
On link up/down the onboard Pi Pico LED will light indicating connection
NOTE Channel 5, 6, 7, and 8 are mapped both to analog axis as well as joystick buttons.
| Channel | Logical Mapping | Joystick Mapping |
|---|---|---|
| 1 | A | X |
| 2 | E | Y |
| 3 | T | Rx |
| 4 | R | Ry |
| 5 | Channel 5 (Full) AND AUX1 (1510-2011) | Z AND Button 0 |
| 6 | Channel 6 (Full) AND AUX2 (1510-2011) | Rz AND Button 1 |
| 7 | Channel 7 (Full) AND AUX3 (1510-2011) | S0 AND Button 2 |
| 8 | Channel 8 (Full) AND AUX4 (1510-2001) | S1 AND Button 3 |
| 9 | AUX5 (1510-2011) | Button 4 |
| 10 | AUX6 (1510-2011) | Button 5 |
| 11 | AUX7 (1510-2011) | Button 6 |
| 12 | AUX8 (1510-2011) | Button 7 |
| 13 | Not Used | Not Used |
| 14 | Not Used | Not Used |
| 15 | LQ - Not Used | Not Used |
| 16 | RSSI - Not Used | Not Used |
Note additional button mappings can be created in caliration.h
In a nutshell, wire the ELRS RX up to a uart on the pipico, 5v, and gnd.
| Raspberry Pico | ELRS/CRSF Receiver |
|---|---|
| VBUS (PIN 40) | 5V |
| GND (PIN 38) | GND |
| GP4 (PIN 6) | RX |
| GP5 (PIN 7) | TX |
Other boards are supported, see the board_defs.h file.
| Part | Link | Approx Cost |
|---|---|---|
| Pi Pico | https://www.pishop.us/product/raspberry-pi-pico/ | $4 (Approx $6 with shipping) |
| Waveshare RP2040 zero | https://www.amazon.com/RP2040-Zero-Development-Microcontroller-Multi-Function-Integration/dp/B09SBCKYSC/ref=sr_1_1_sspa?crid=1NDXW0KFV39DX&keywords=waveshare+rp2040+zero&qid=1697989796&sprefix=waveshare+rp2040+zero%2Caps%2C66&sr=8-1-spons&sp_csd=d2lkZ2V0TmFtZT1zcF9hdGY&psc=1 | $10 |
| Tiny 2040 (alt part) | https://www.pishop.us/product/tiny-2040/ | $10 (Approx $12 with shipping) |
| ELRS RX (any will do) | https://www.racedayquads.com/products/happymodel-2-4ghz-ep2-tcxo-rx-express-lrs-receiver?keyword=expresslrs | $18 |
Note, price breaks can be had when purchasing at quantity.
Approx part cost for pico hardware (large footprint, cheaper) - $20-$25
This board has an ELRS RX built in, so you don't need to wire any RX on, just plug in and connect to your ELRS TX, then you are ready to go!
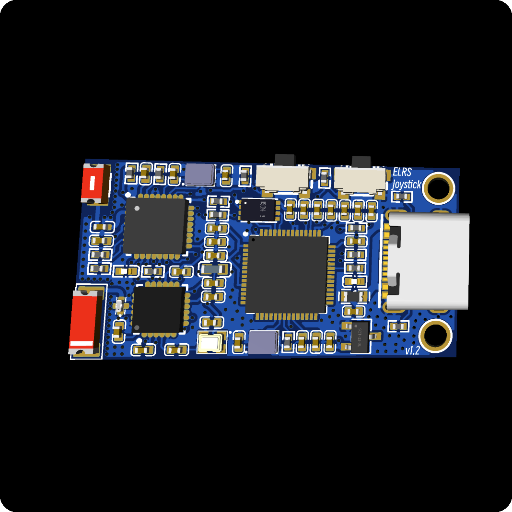
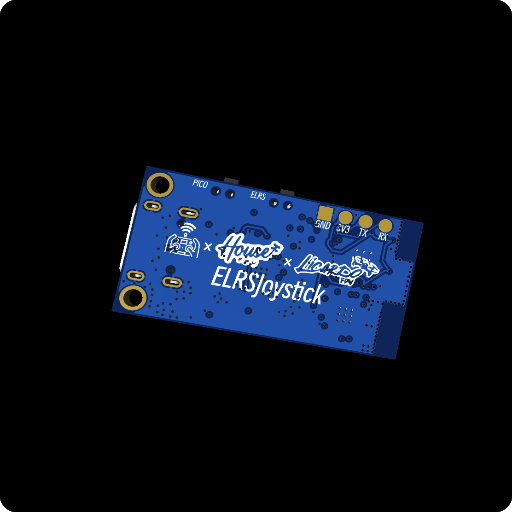
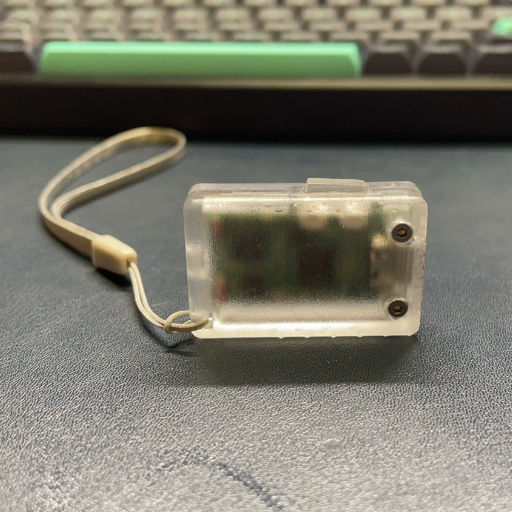
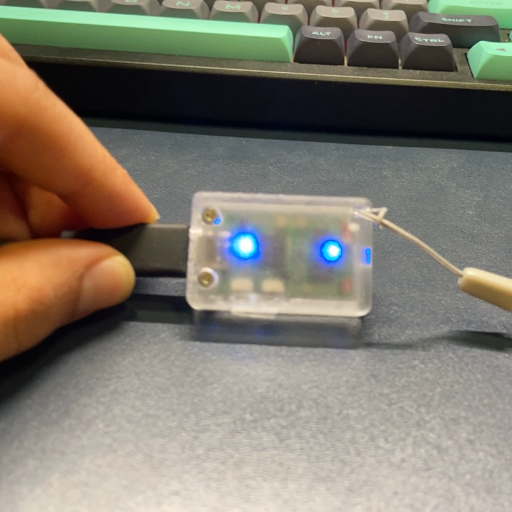
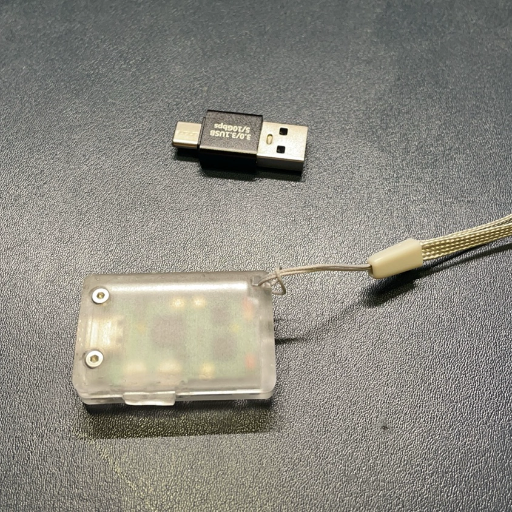
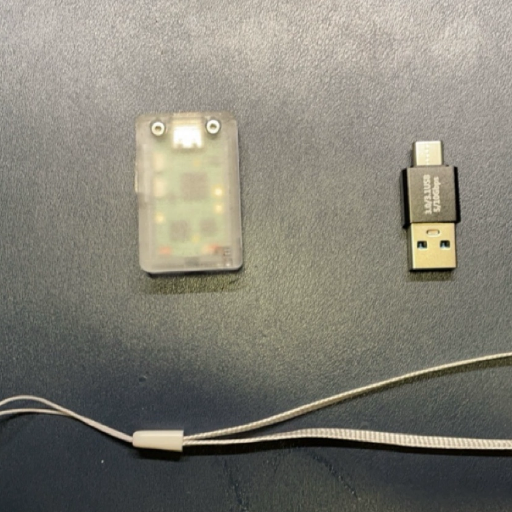
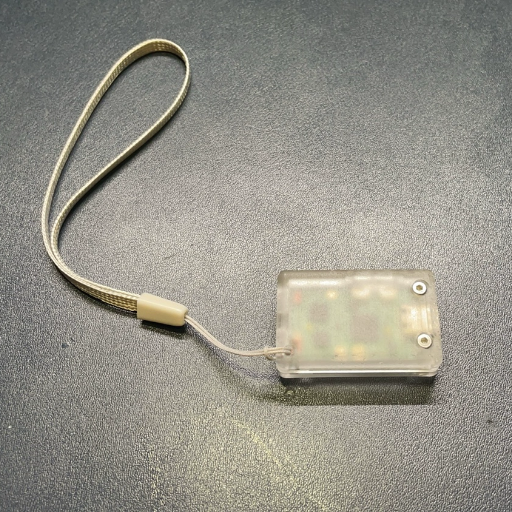
NOTE: References to level shifters below are no longer needed as the level shifter can be omitted. You will have to bridge the pads on the level shifter for the TX/RX pins or use a newer version of the carrier board.
I personally use the Waveshare RP2040-Zero version for my ELRS Joystick!
Hardware build files are located in hardware/kicad/CRSFJoystick/output/Rev1.0
I used JLCPCB with Black Soldermask and a board thickness of 1.6mm.
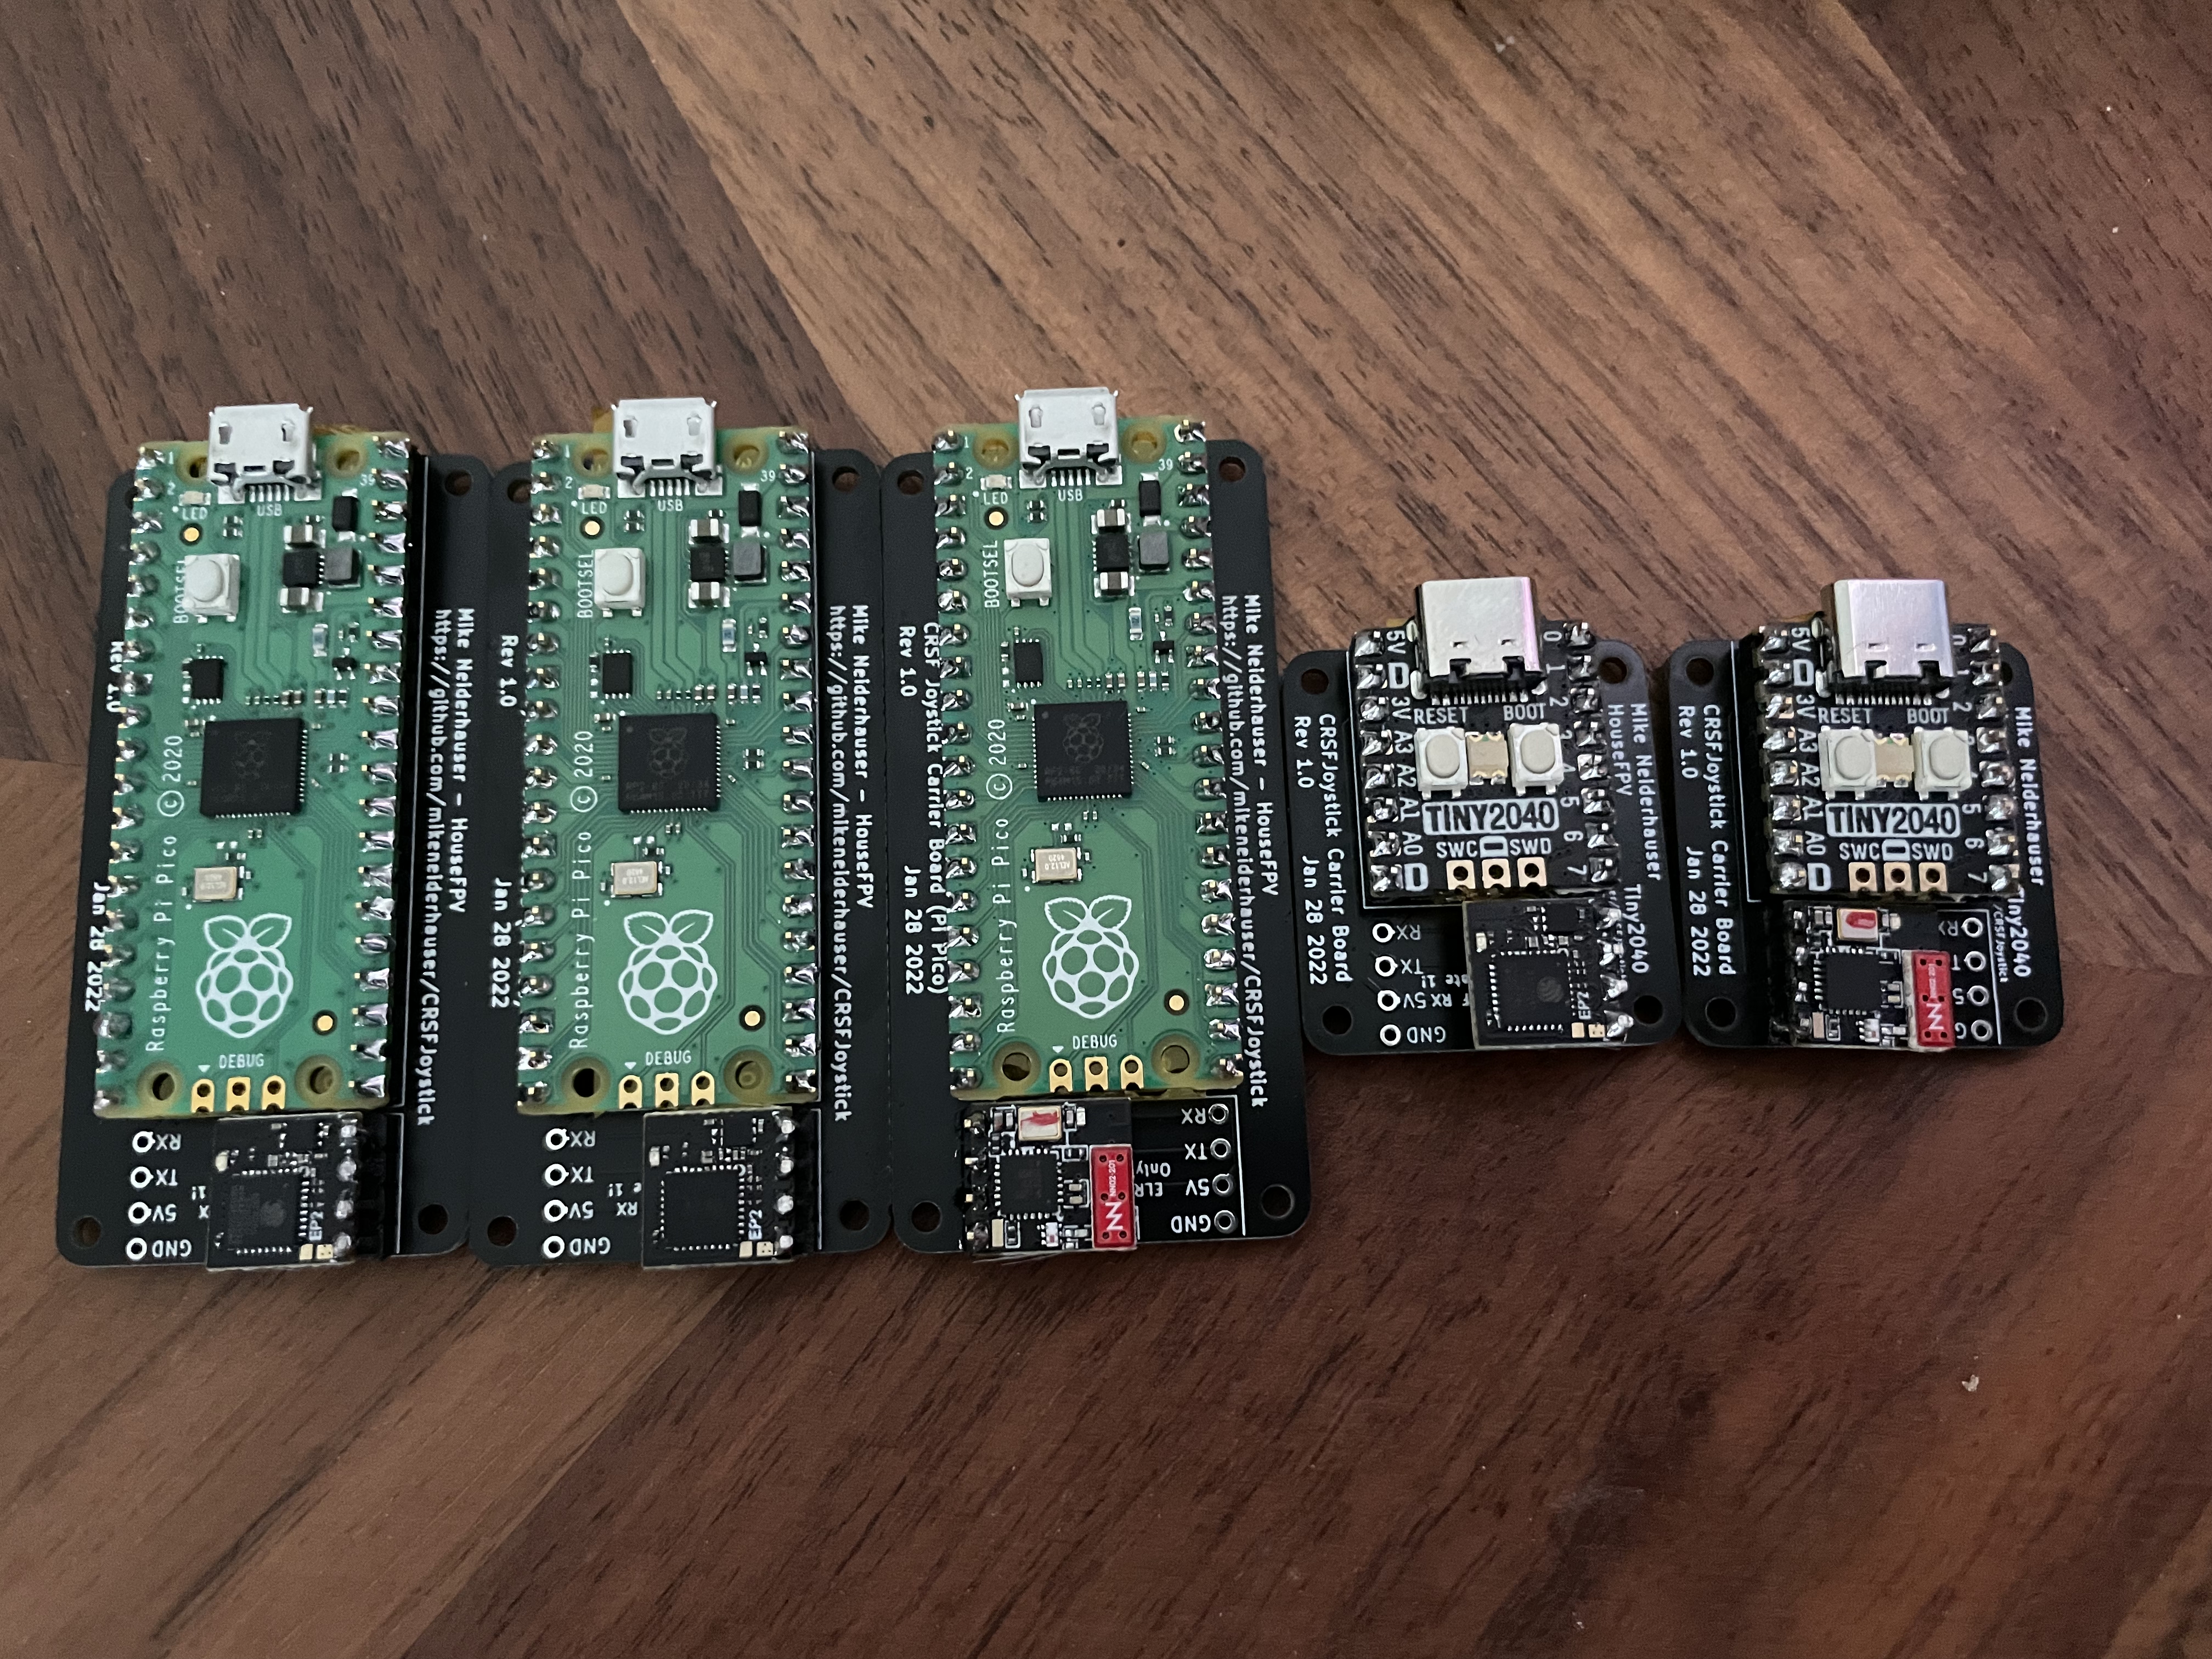
Note the different orientation of the ELRS RX's. The orientation can be flipped. I installed each RX to ensure the boot pad is exposed should the RX need recovered.
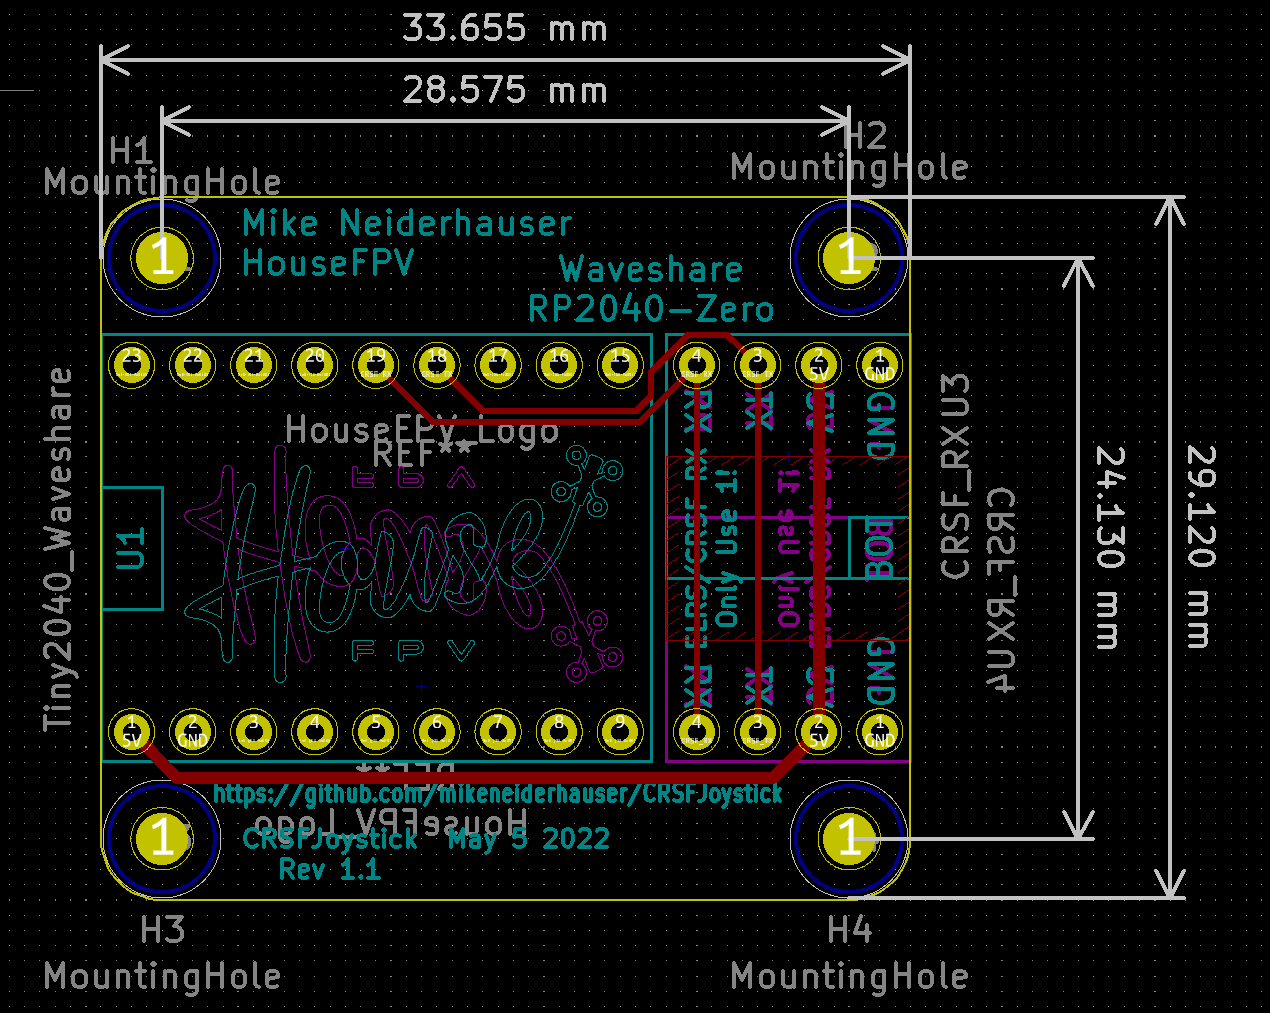
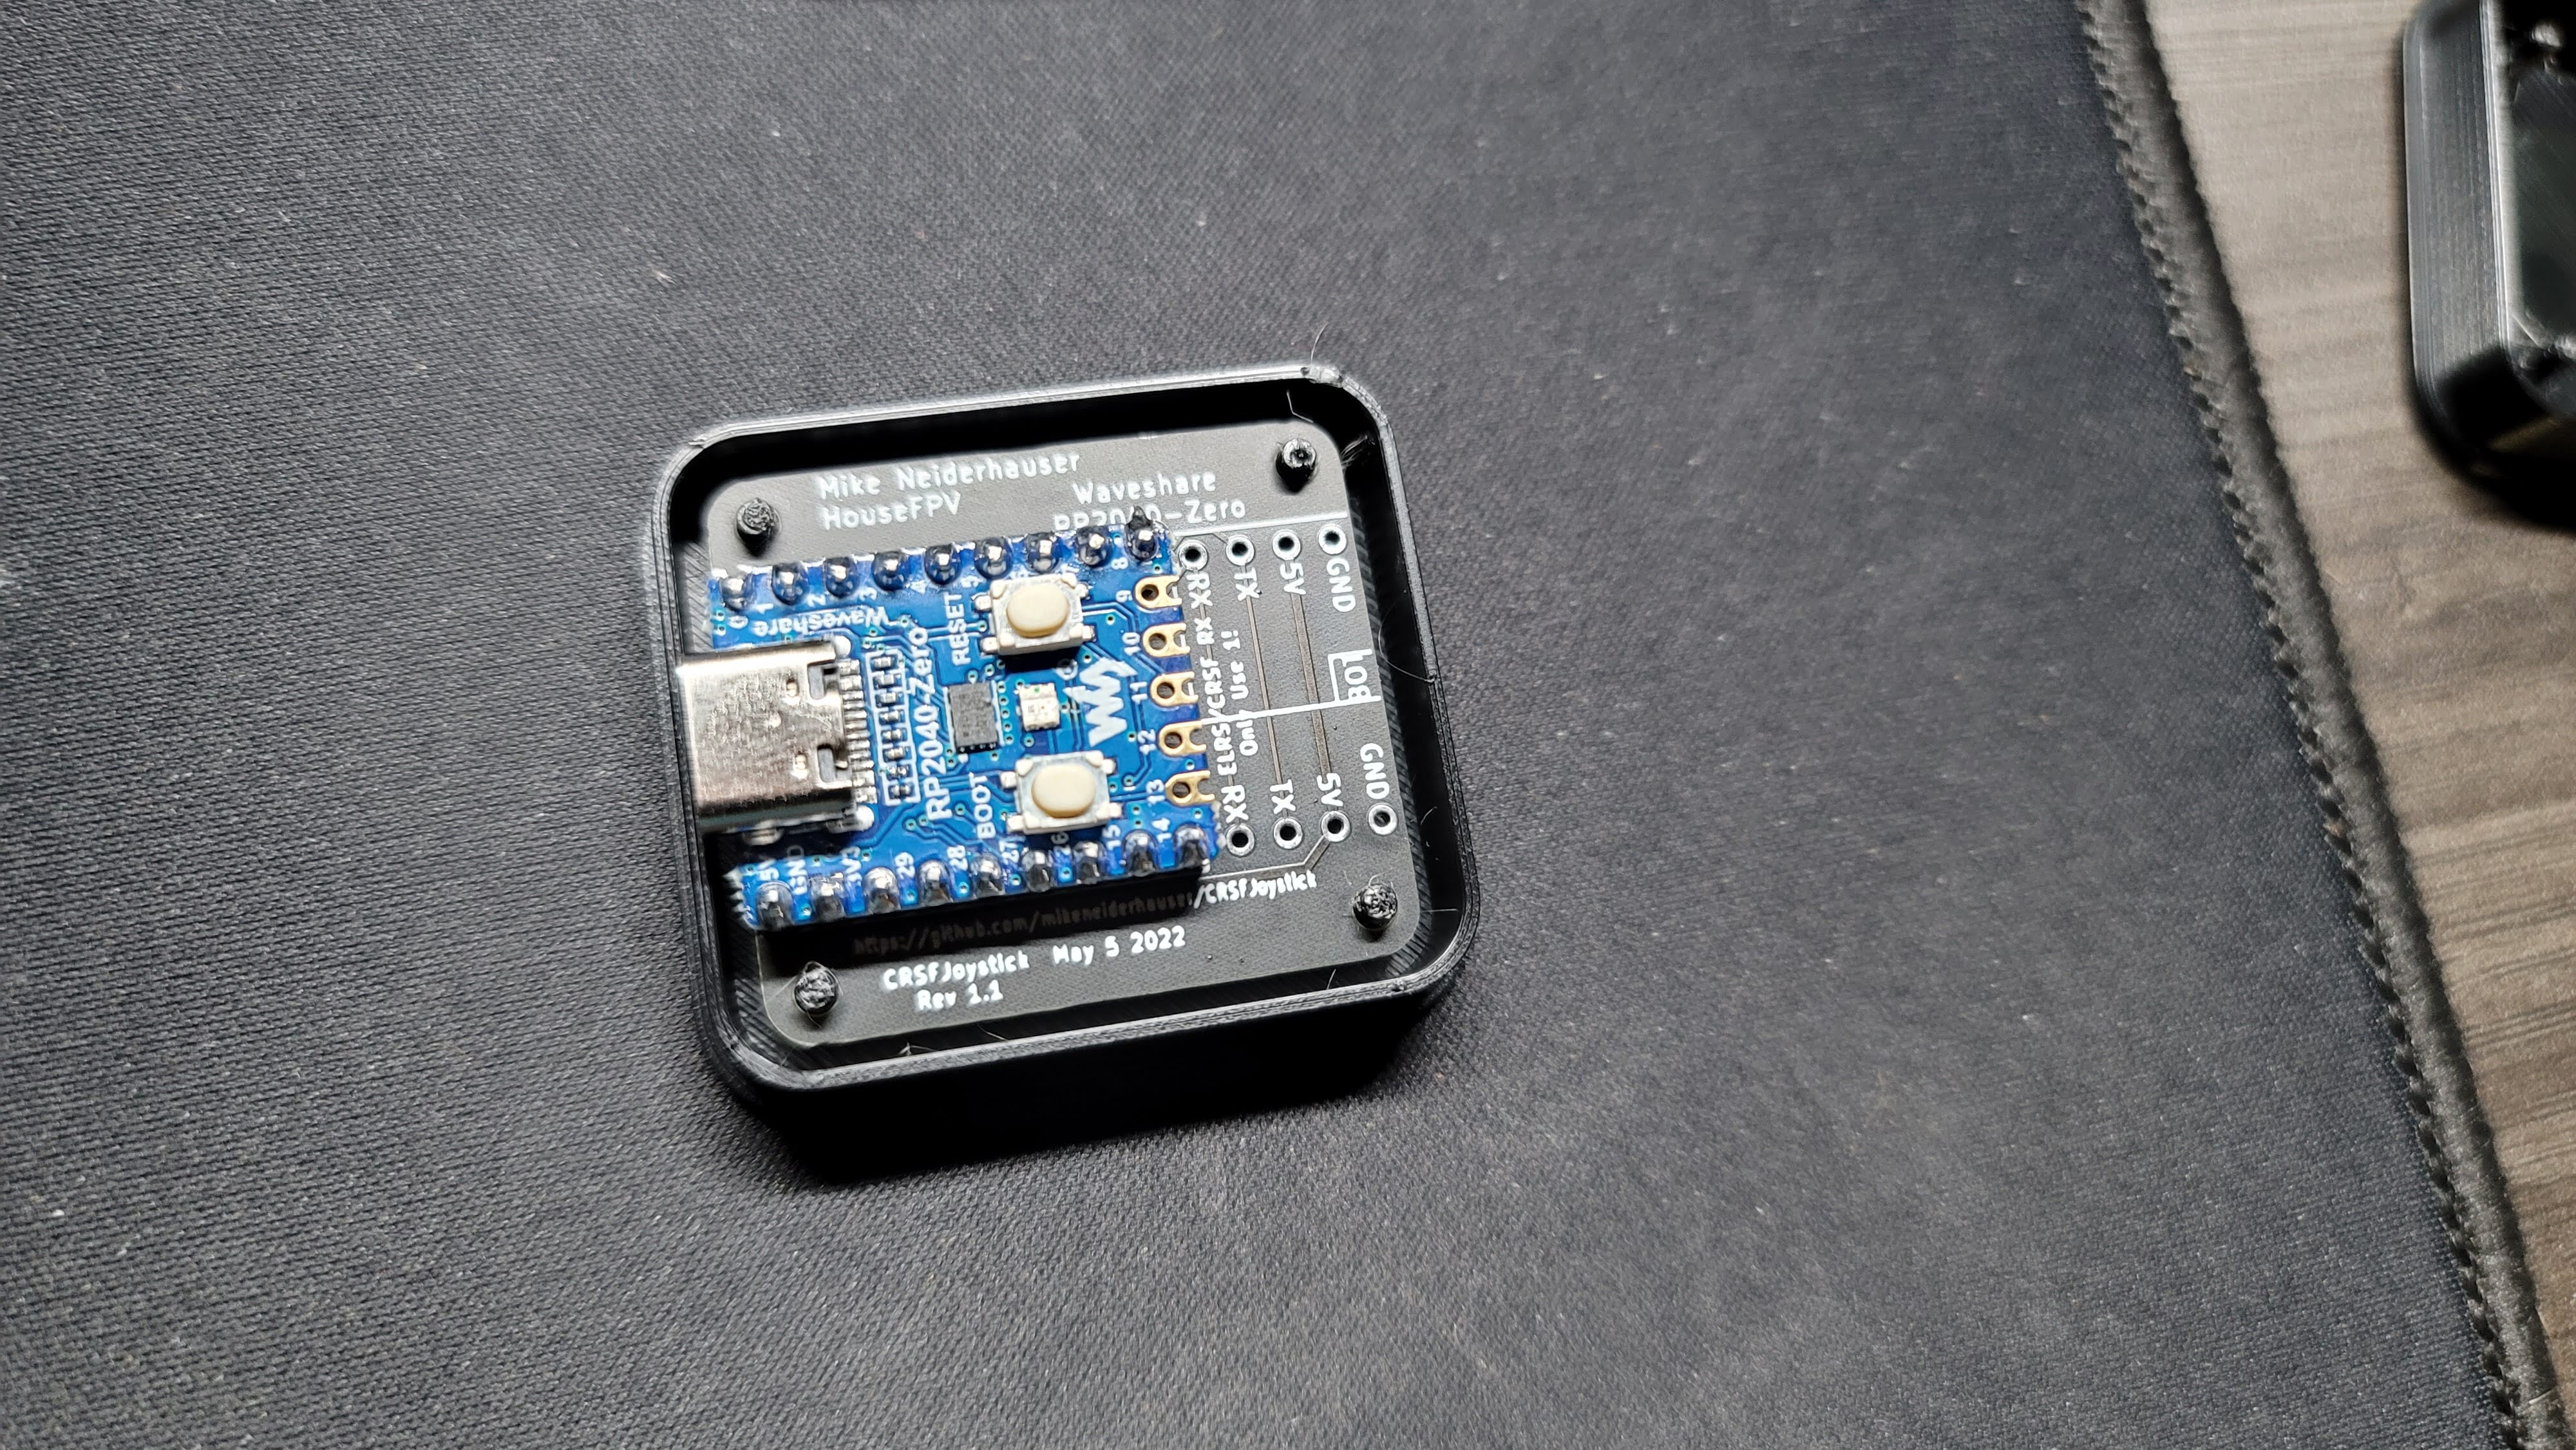
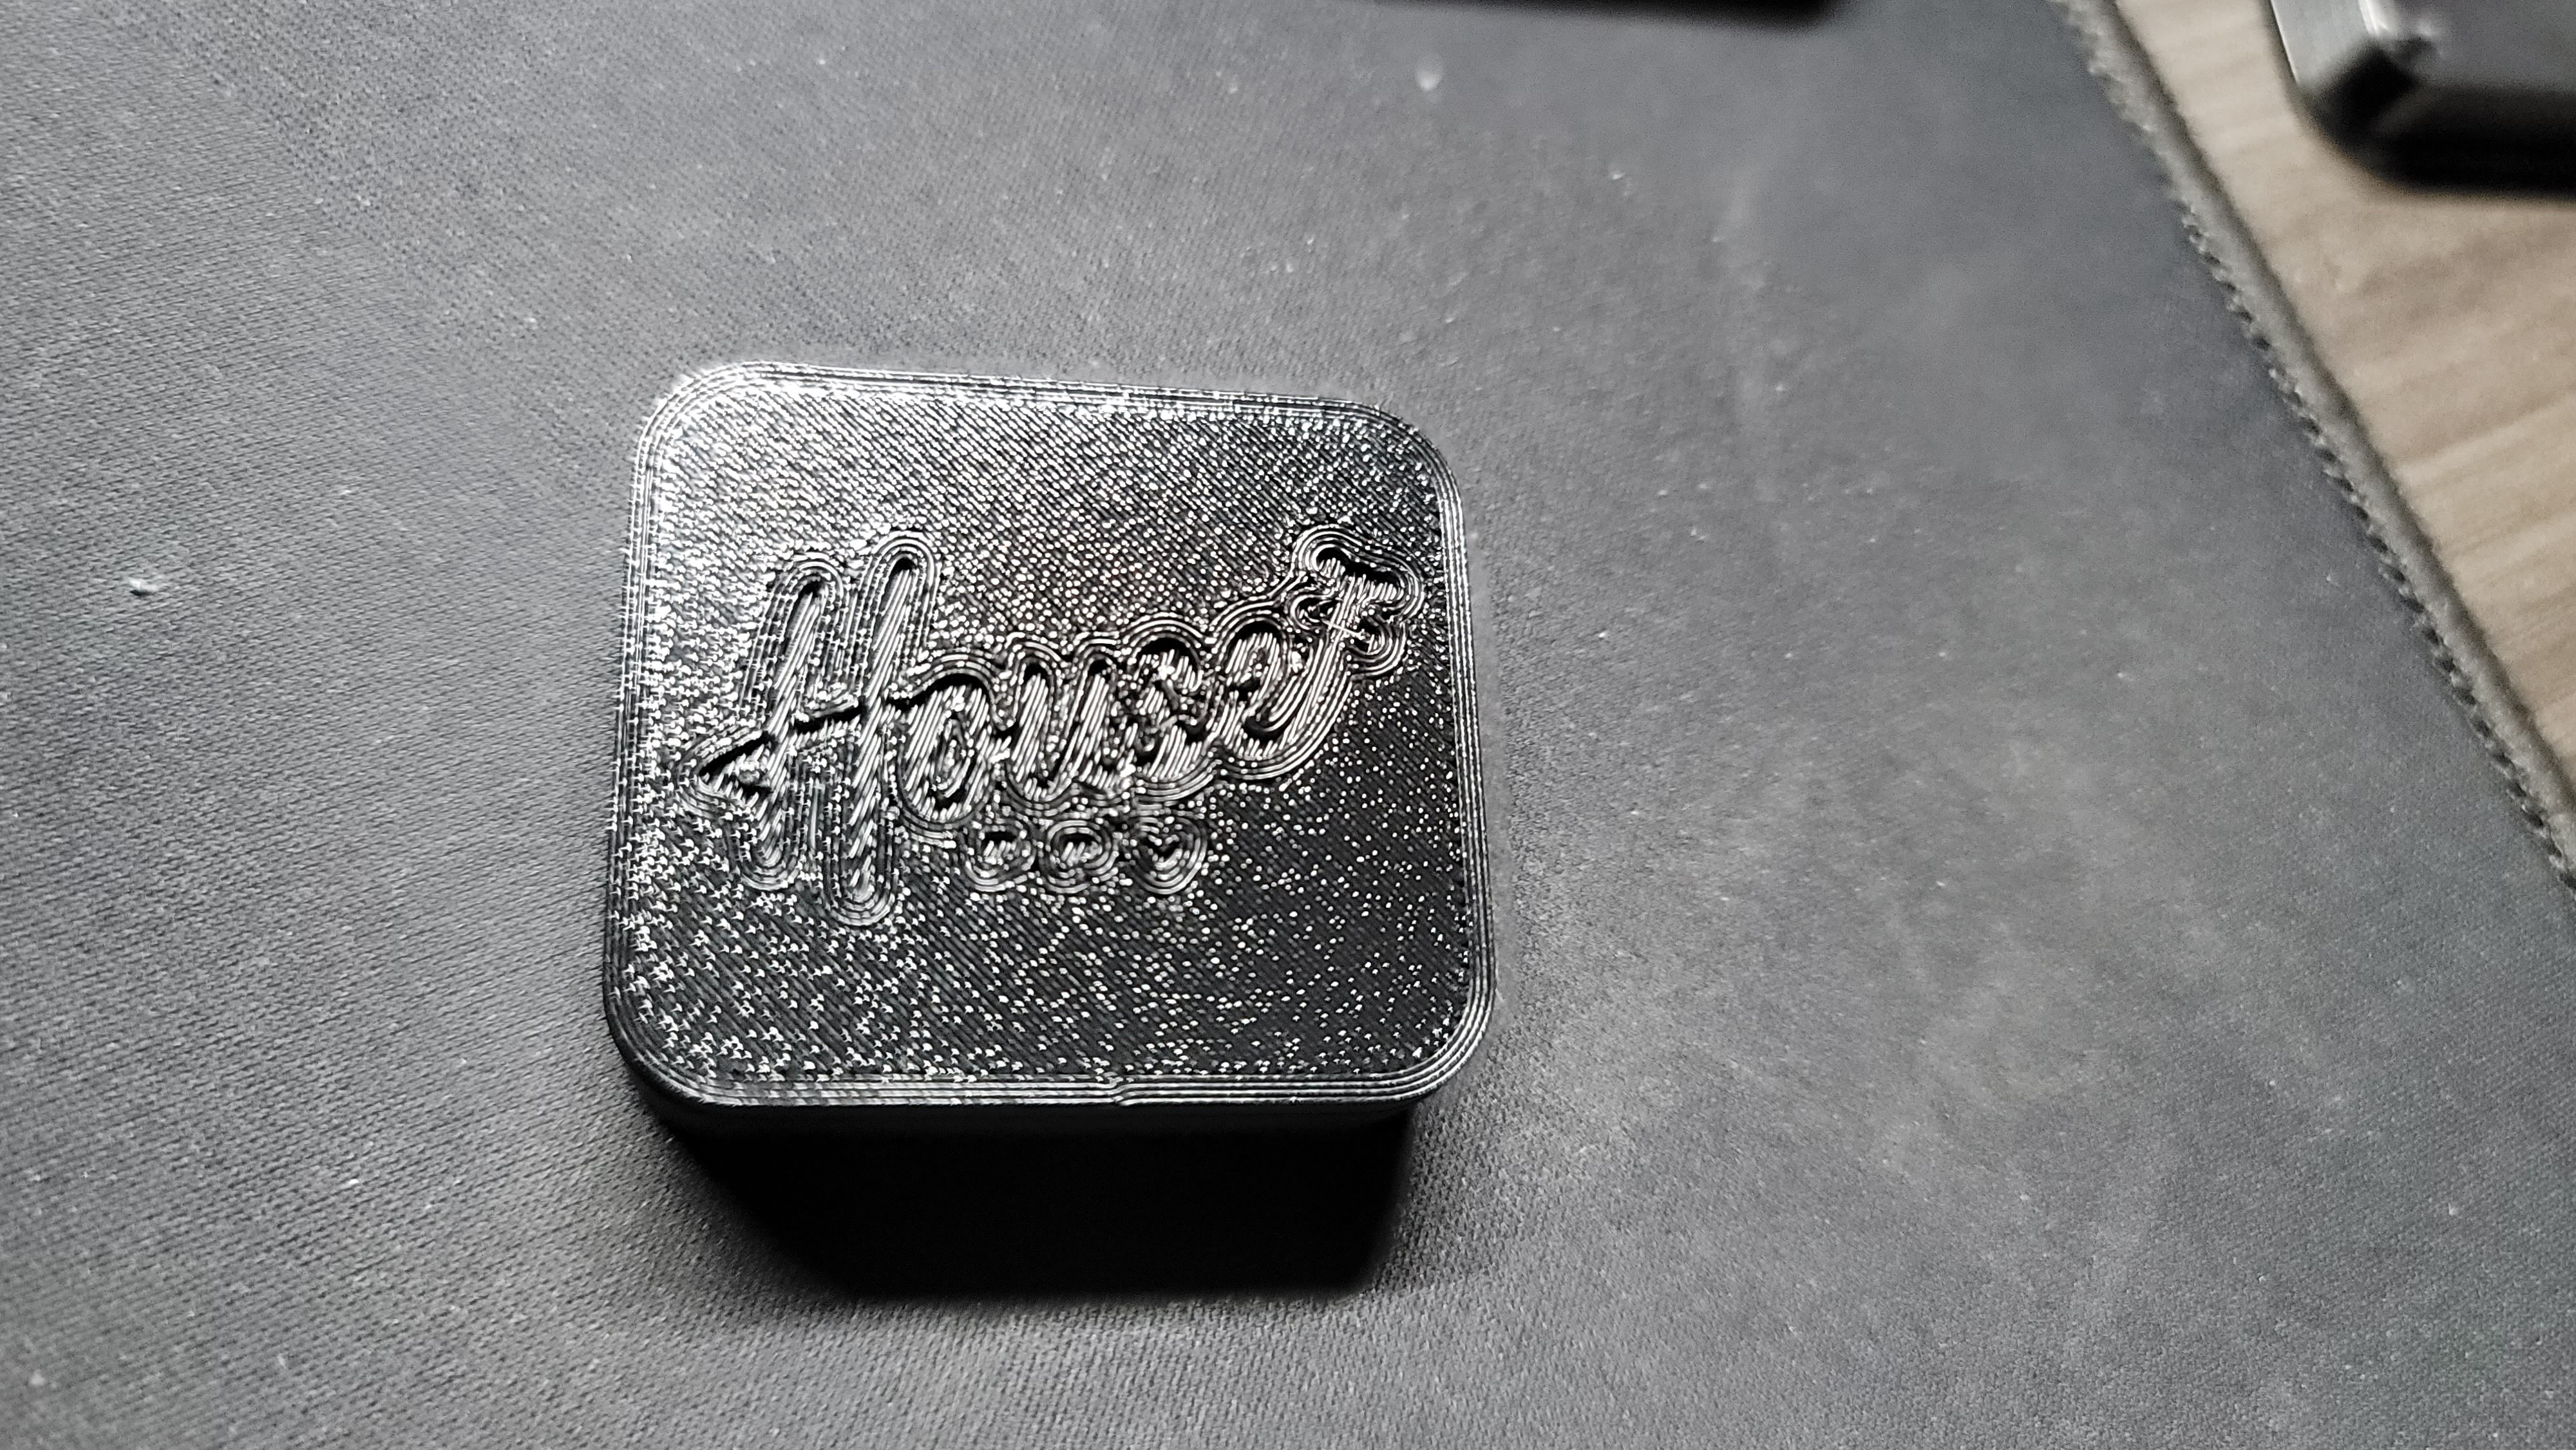
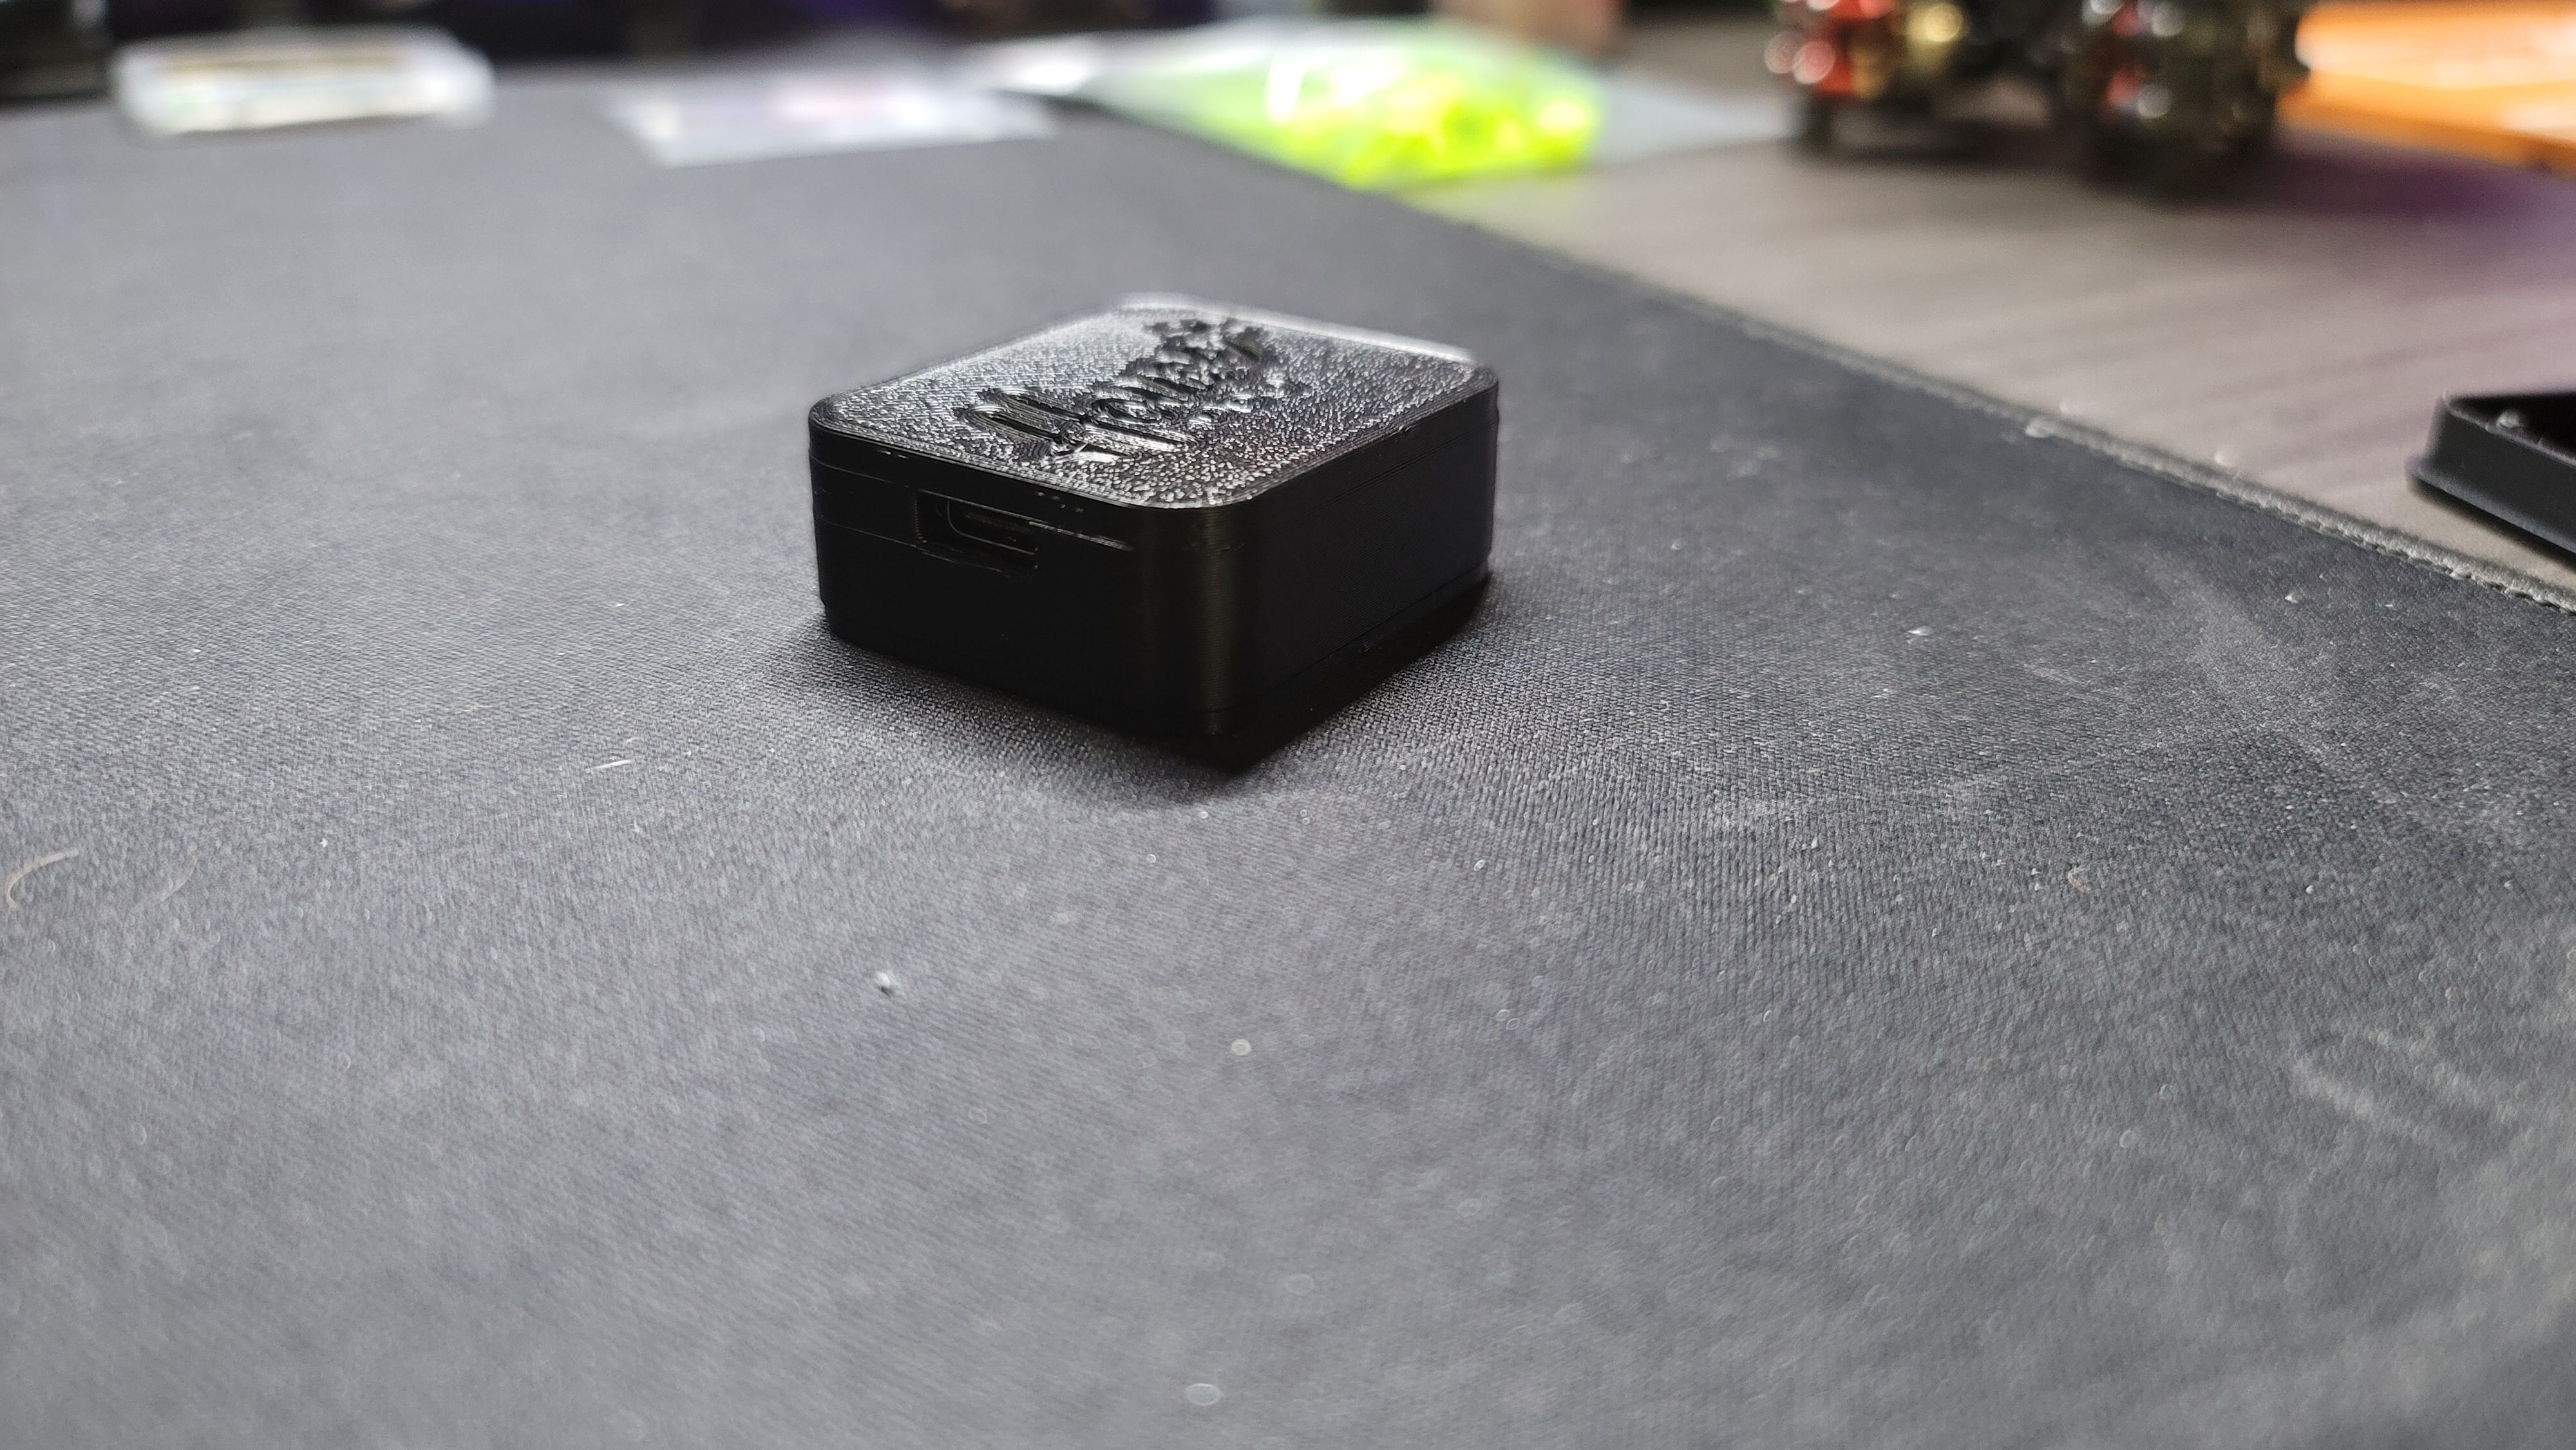
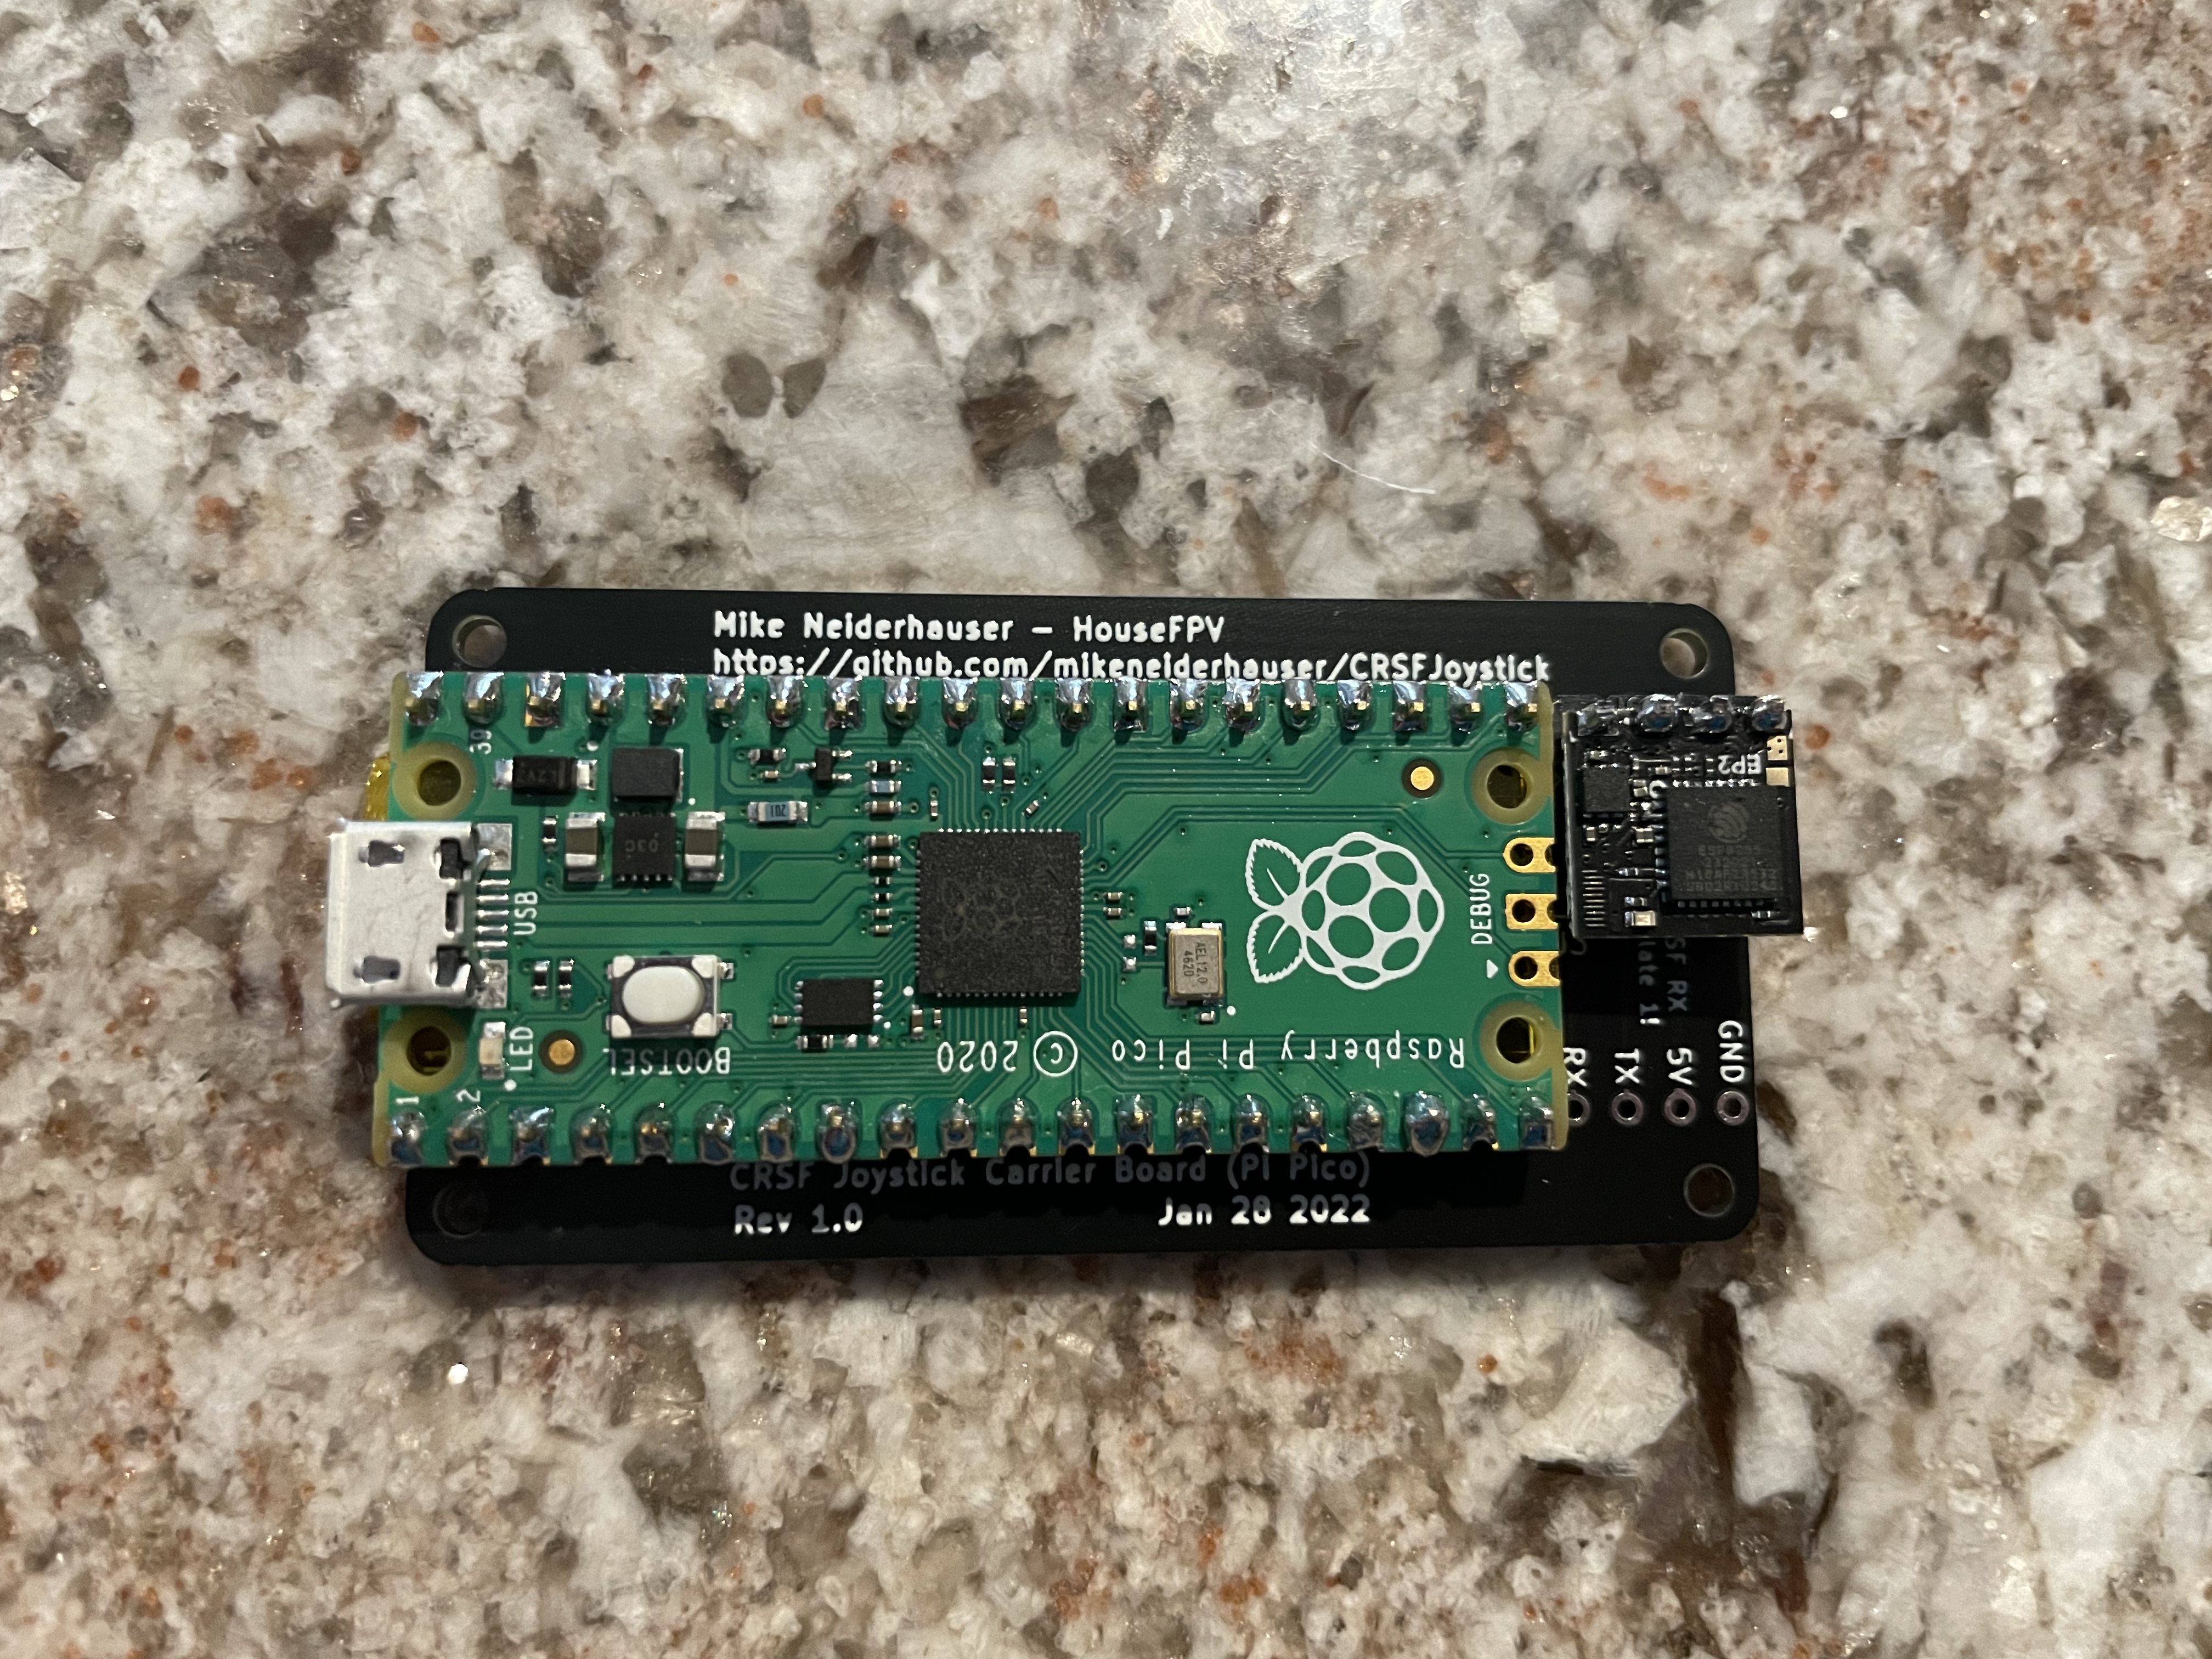
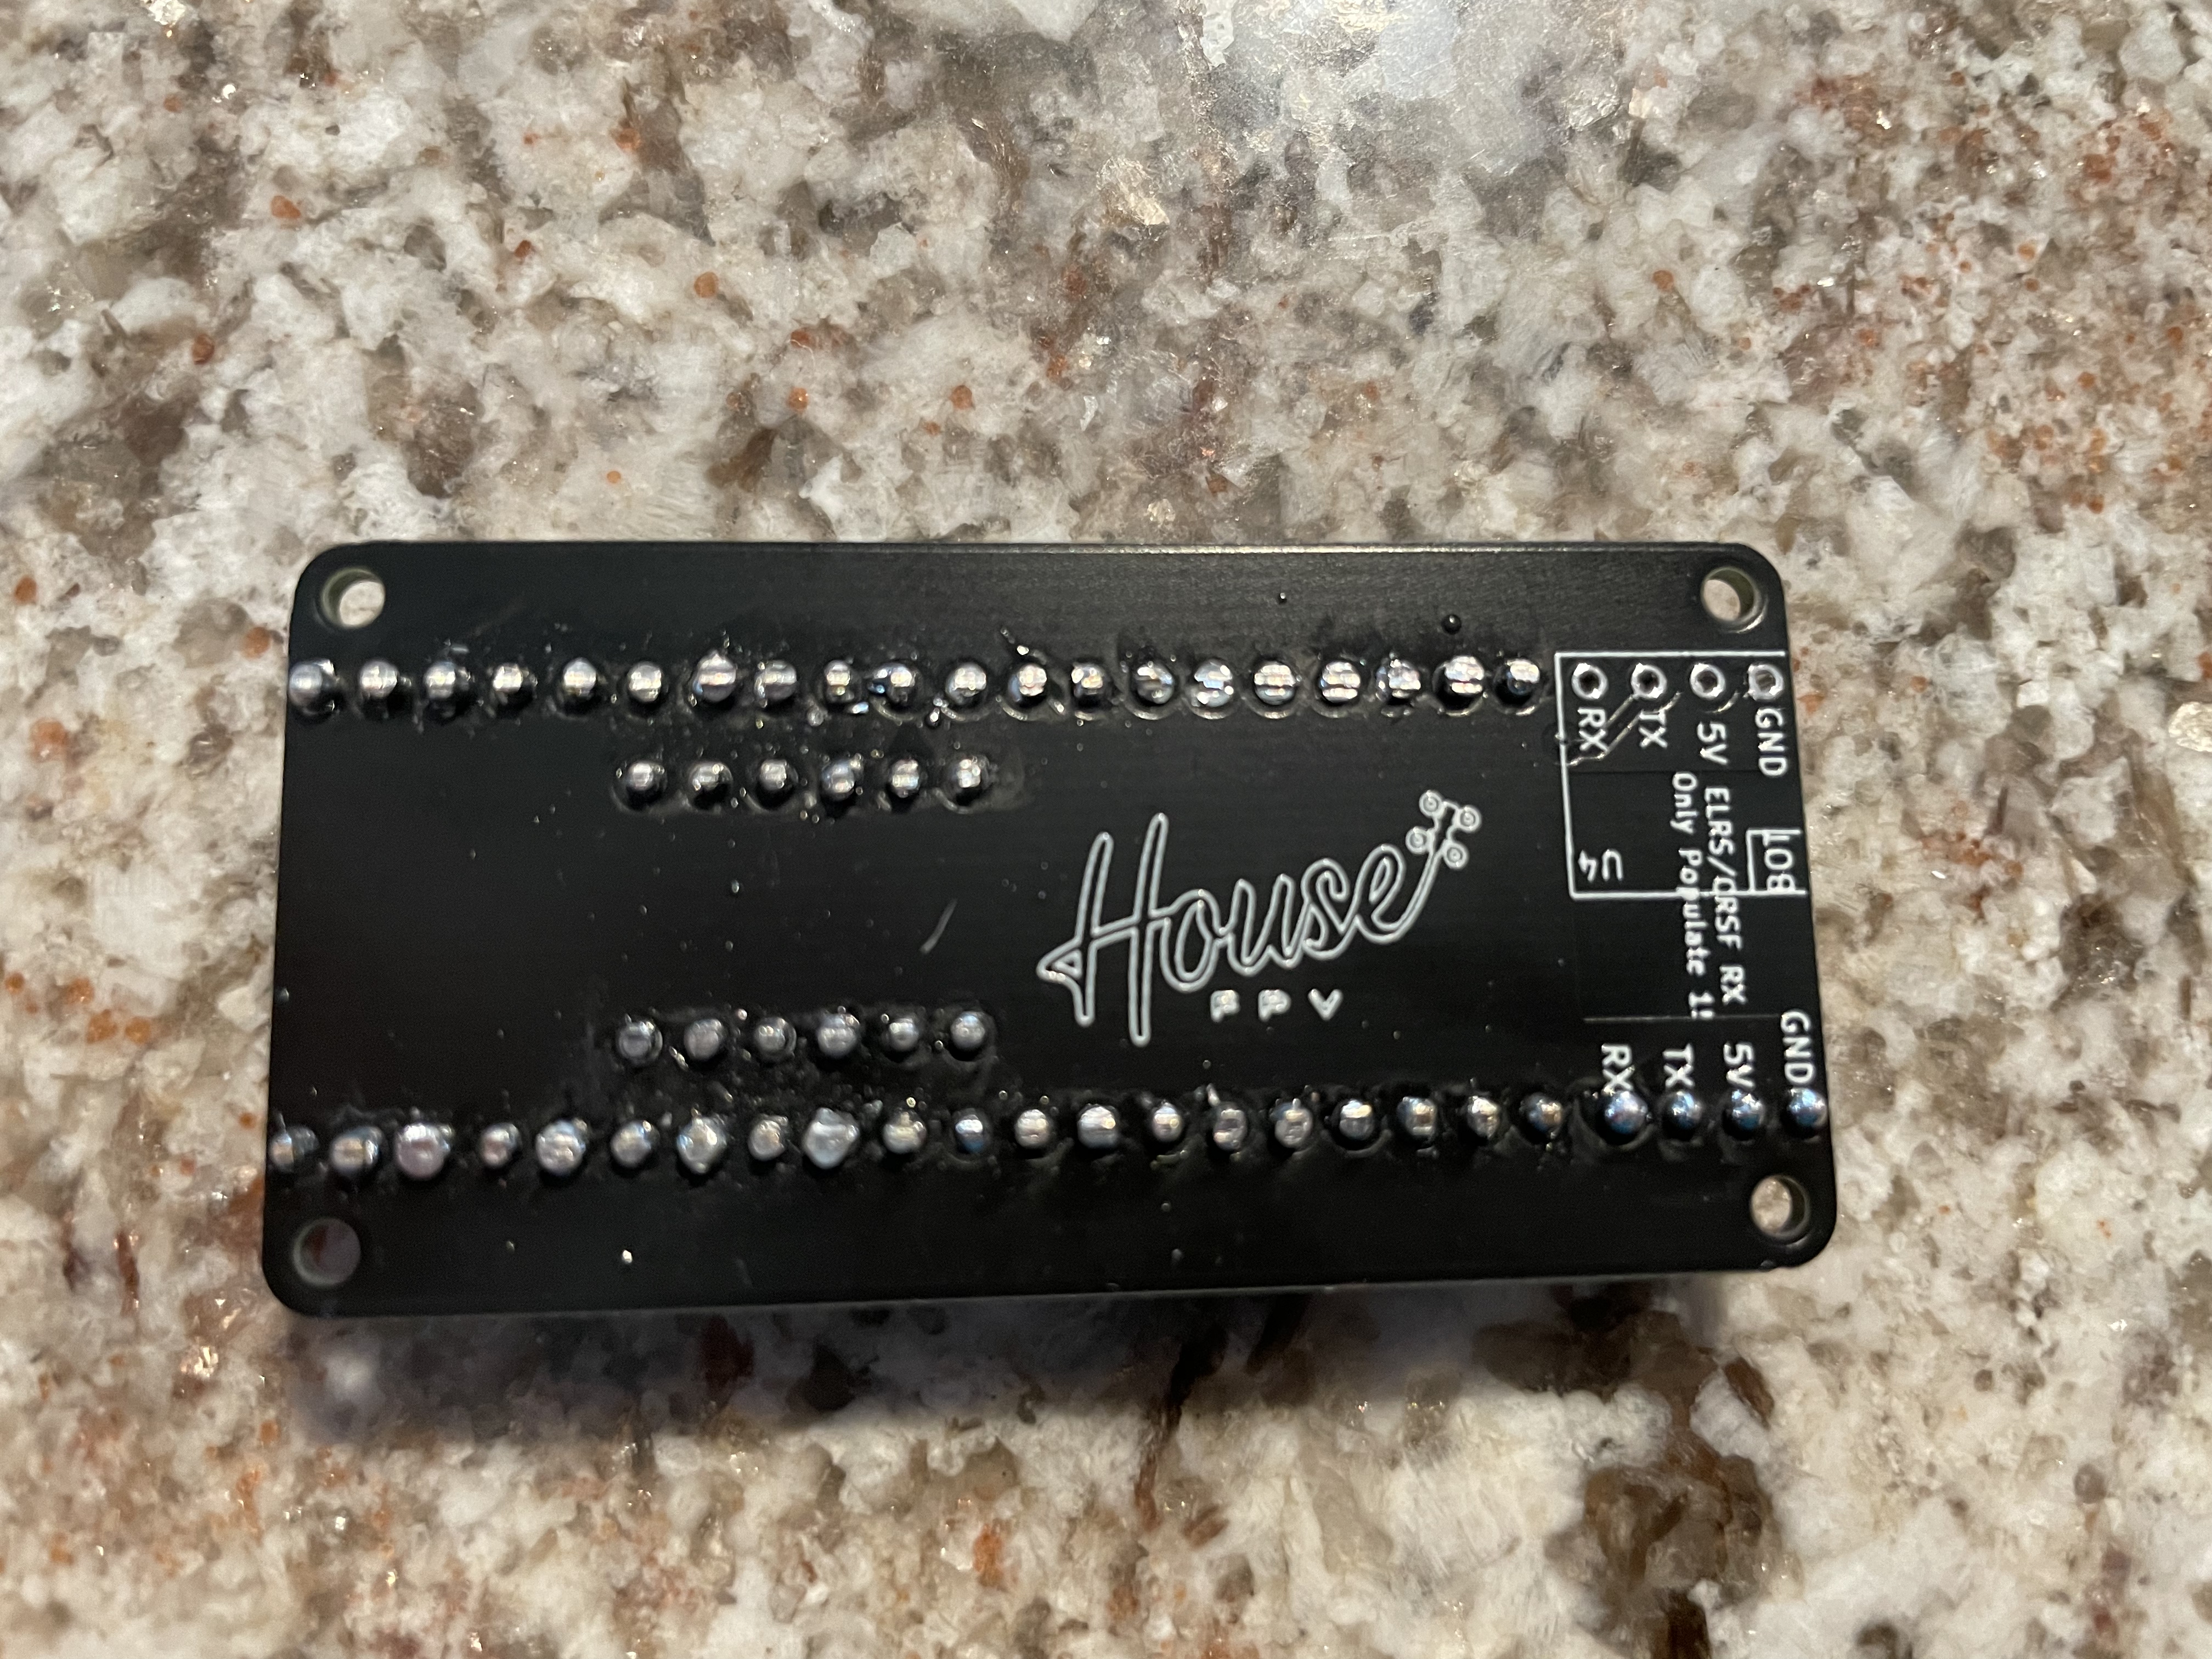
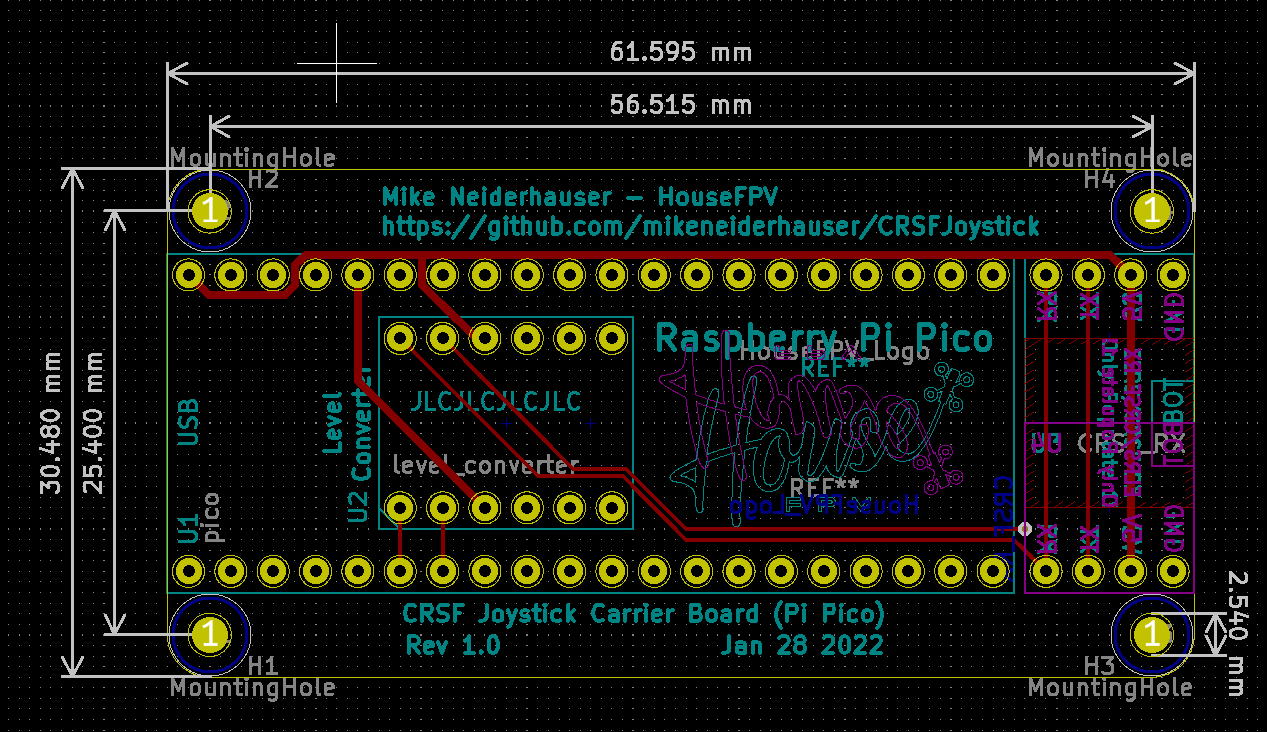
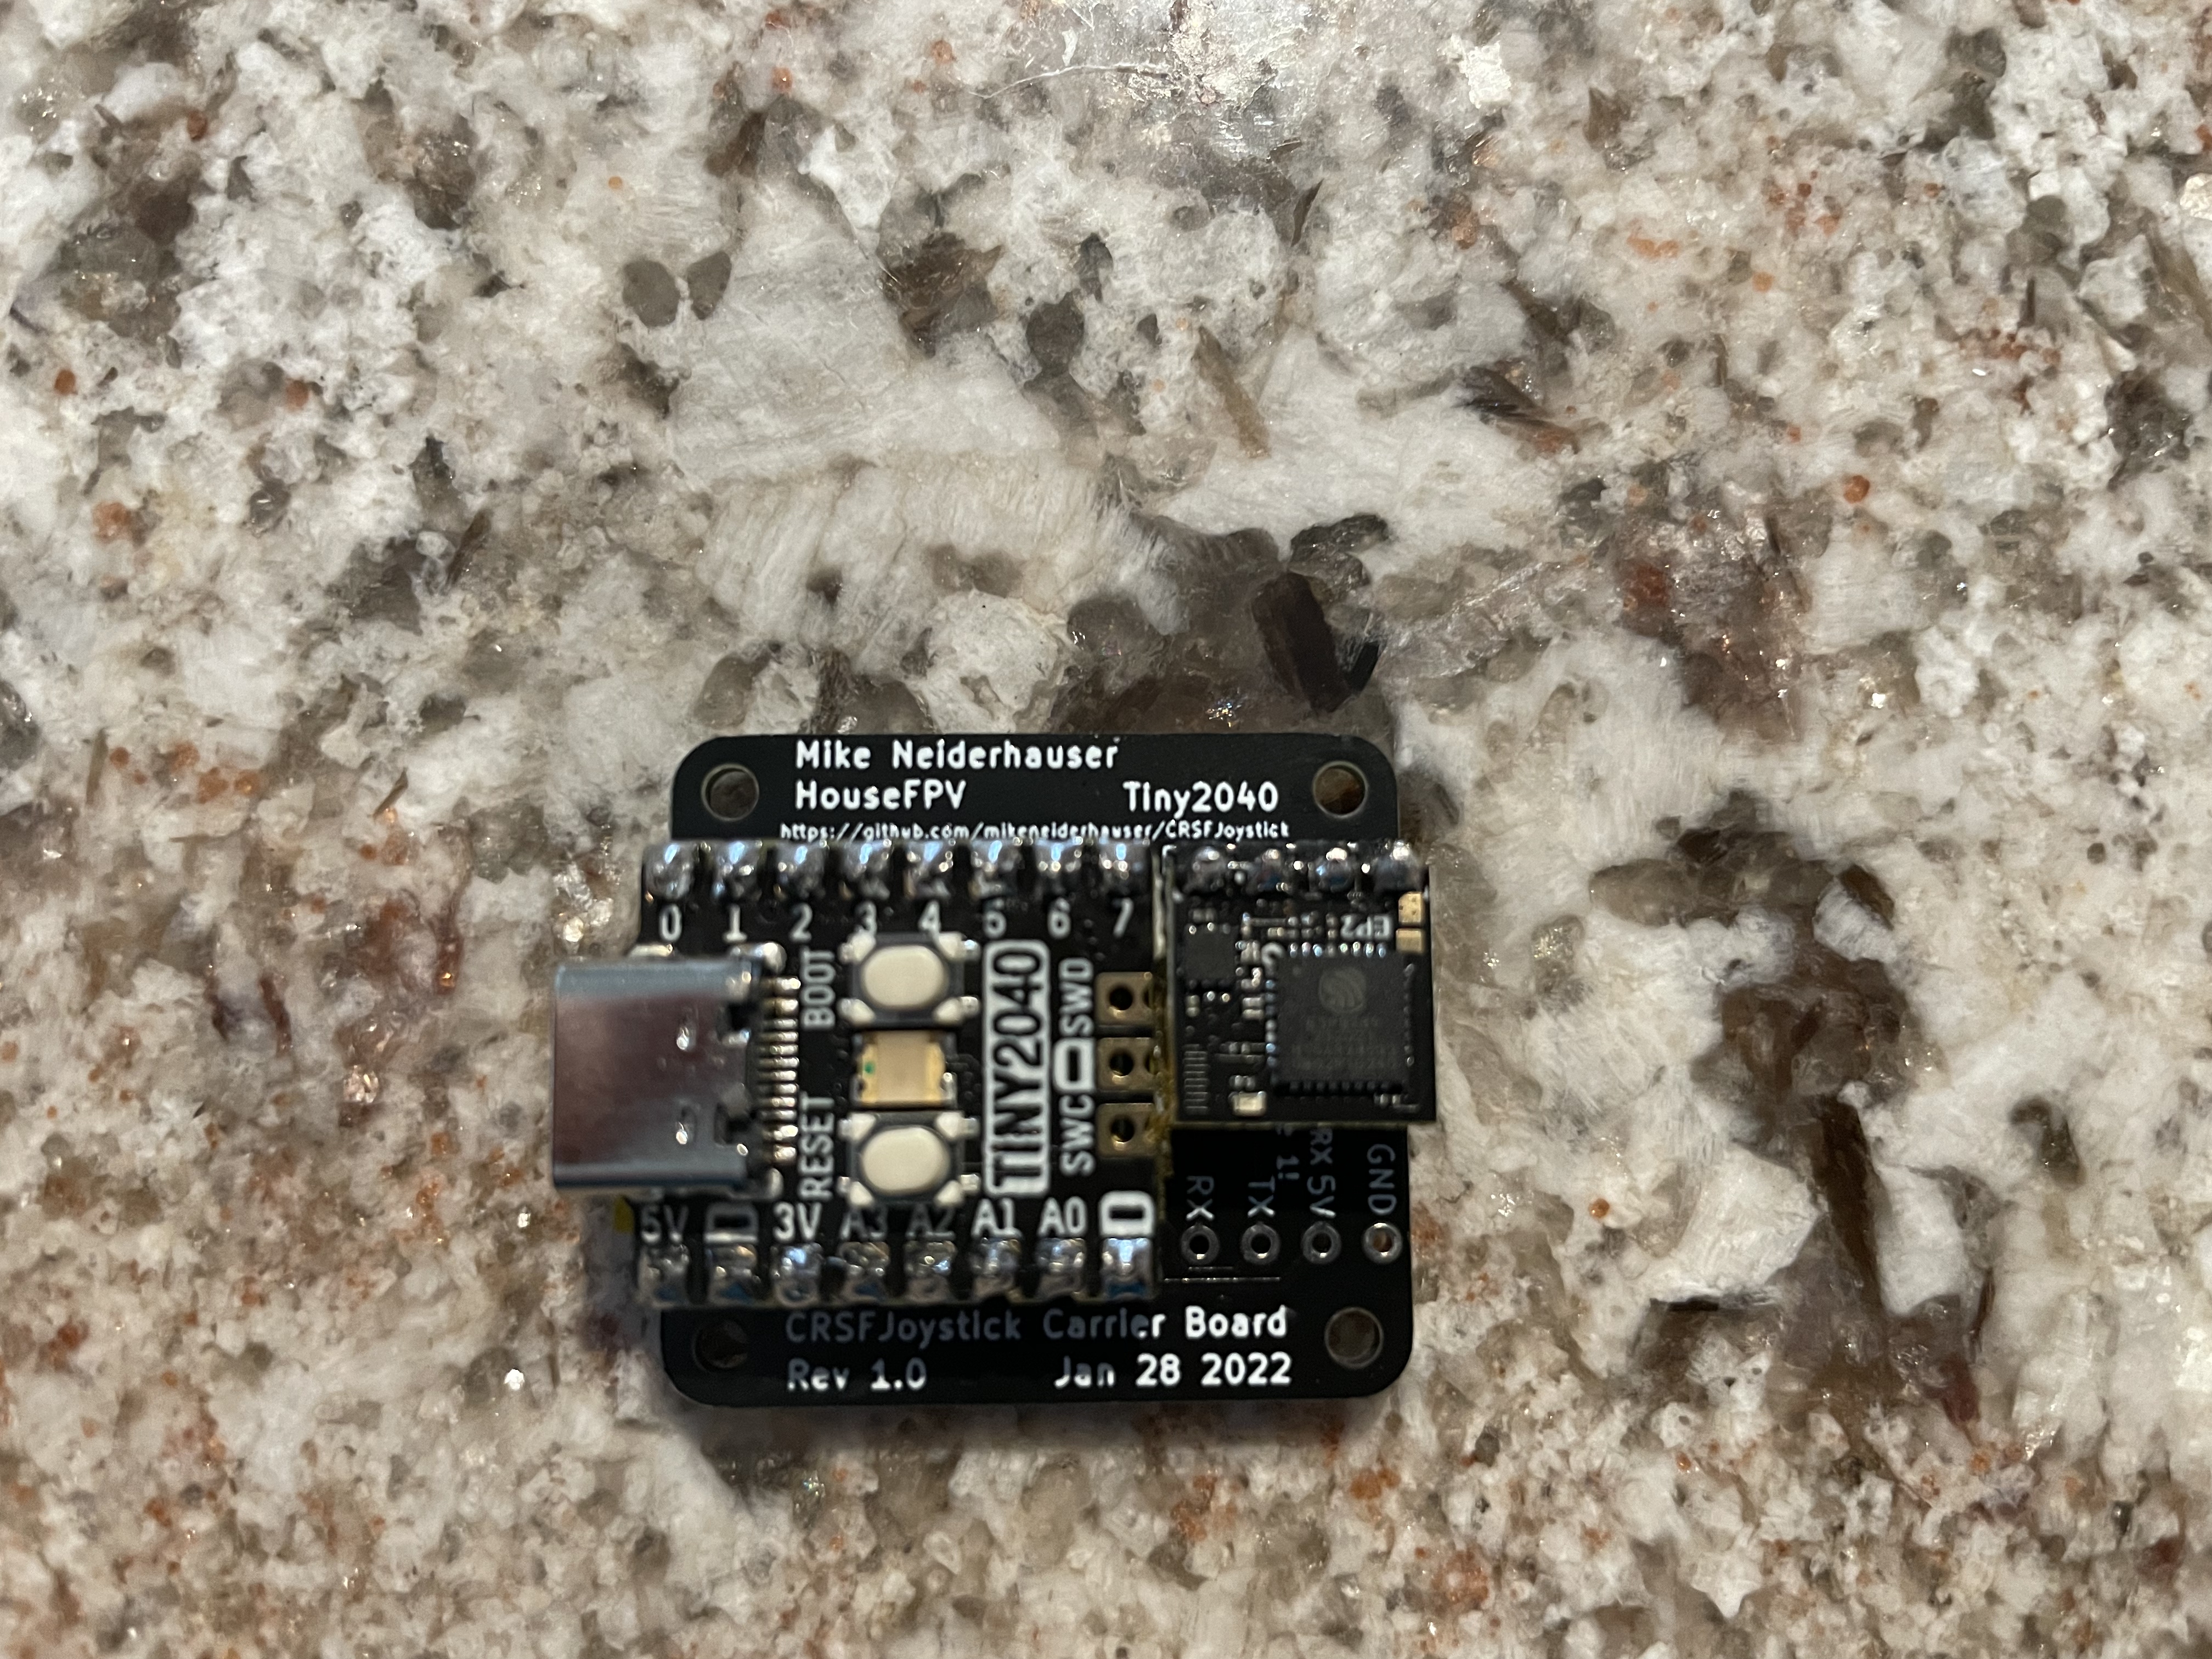
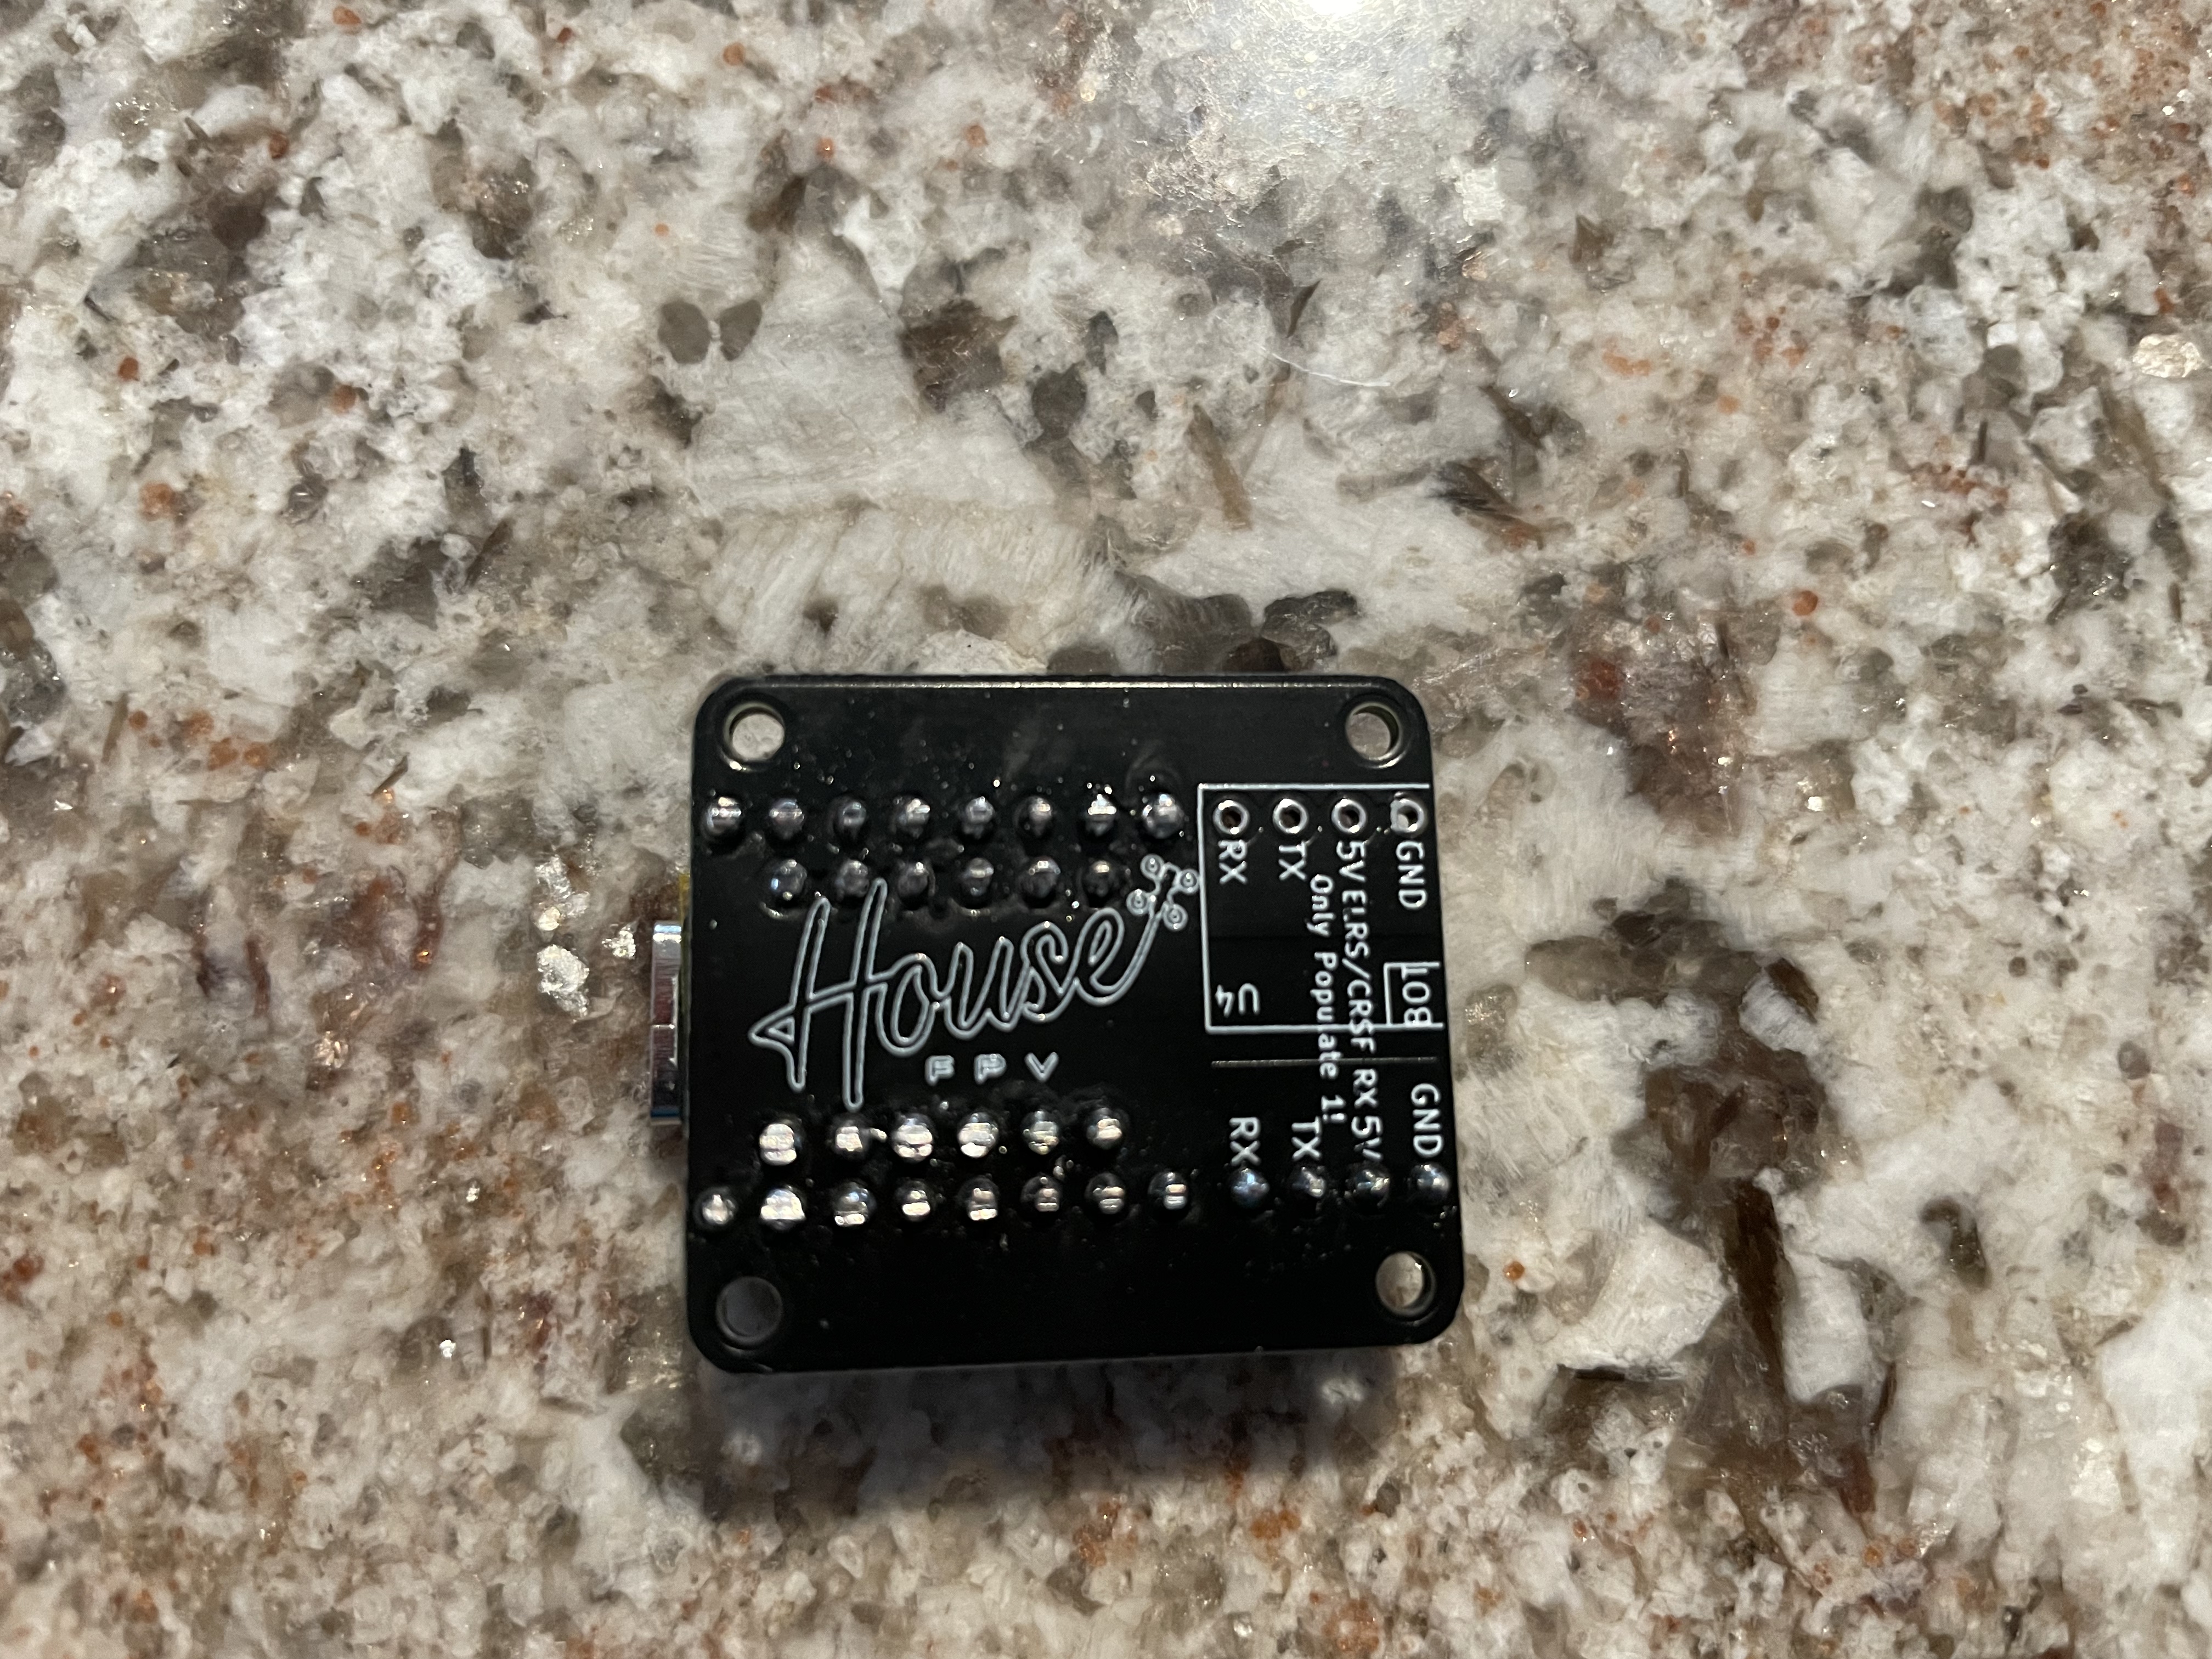
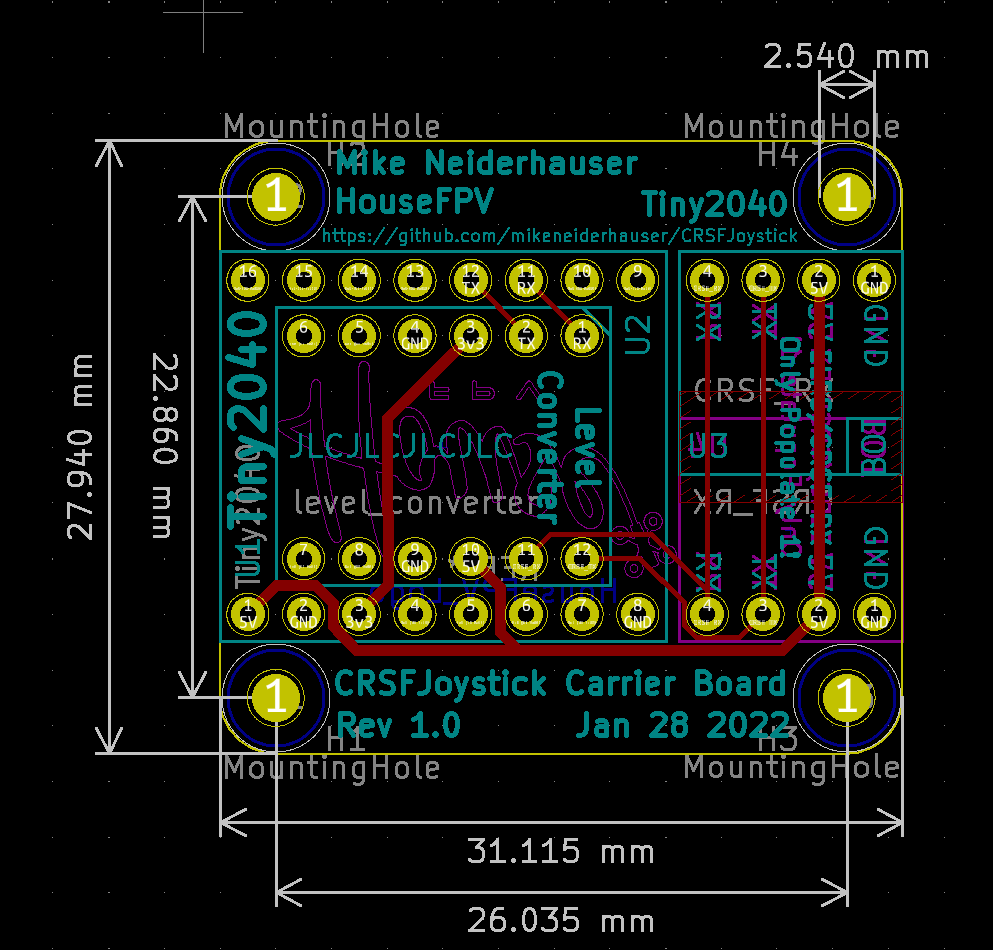
Board files now in the hardware folder. Not built or tested but should work.
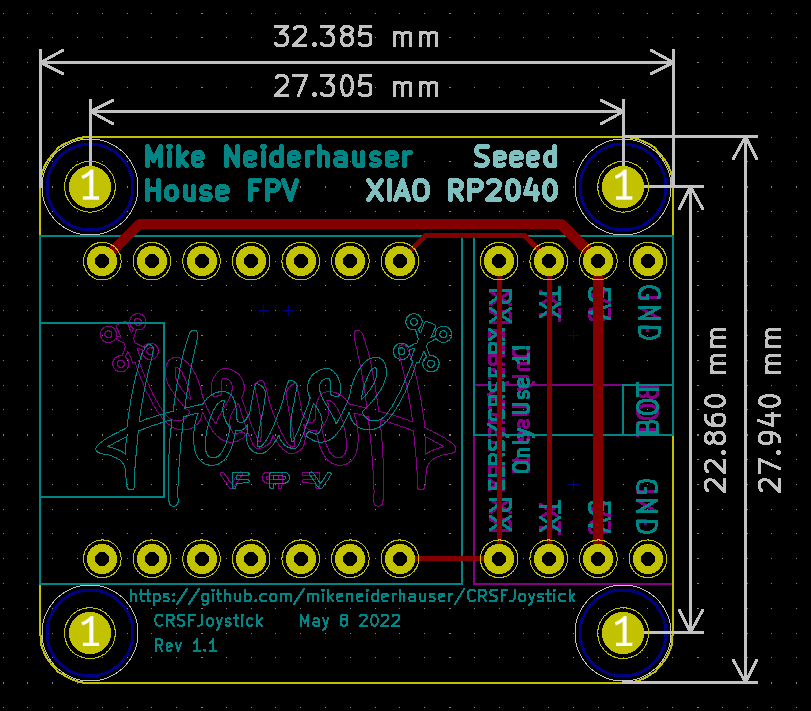
Build a smaller pico by yourself.


| Qty | Value | Footprint | References |
|---|---|---|---|
| 4 | MountingHole | MountingHole:MountingHole_2.2mm_M2 | H1, H2, H3, H4 |
| 2 | CRSF_RX | pico:ELRS_EP2 | U3, U4 |
| 1 | level_converter | pico:level_converter | U2 |
| 1 | pico | pico:pico_no_swd | U1 |
The 8 most common of 10 parts.
mikeneiderhauser/CRSFJoystick
Arduino code that runs on a Pi Pico (2040) to emulate a USB HID Joystick

gusmanb/logicanalyzer
24 channel, 100Msps logic analyzer hardware and software

byrantech/laptop
anyon_e, a highly integrated, high end, open source laptop. Attempt the impossible.

joeycastillo/Sensor-Watch
A board replacement for the classic Casio F-91W wristwatch


OLIMEX/OLINUXINO
OLINUXINO is Open Source / Open Hardware, low cost from EUR 24 Linux Industrial grade Single Board Computer capable to operate -25+85C

rusefi/rusefi
rusefi - GPL internal combustion engine control unit

VoronDesign/Voron-Hardware
Cool Hardware designed by the Voron Design group

hoglet67/RGBtoHDMI
Bare-metal Raspberry Pi project that provides pixel-perfect sampling of Retro Computer RGB/YUV video and conversion to HDMI
It measures 61.6 × 30.5 mm and has 2 copper layers, 1.6 mm thick.
10 parts. The full list of its parts is on this page, with links to each part's symbol and footprint where PCBKit's library has them.
From the mikeneiderhauser/CRSFJoystick repository on GitHub, at the commit this page was made from: the board is hardware/kicad/CRSFJoystick/CRSFJoystick.kicad_pcb. PCBKit opens the board in the browser, with nothing to install.
Its repository publishes it under the GPL-3.0 licence: you may reuse it on that licence's terms (keep the author's notice, and for a copyleft licence share your changes alike).