
4 layers190.8 × 12.1 mm

 klystrom/Portable-Ingest-Station7
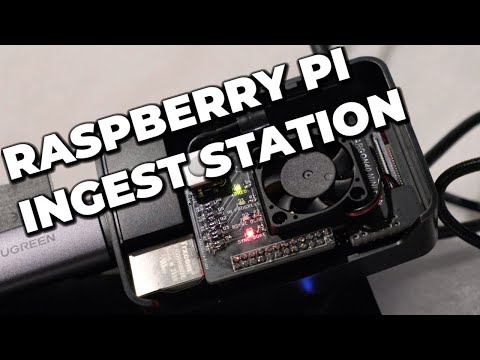
Backup and sync your photos on the go!!!
Rpi gpio board is an open-source printed circuit board by klystrom, from the klystrom/Portable-Ingest-Station repository on GitHub. It is a 2-layer board of 46.5 × 39.5 mm with 23 parts on 30 nets, routed with 86 tracks and 11 vias.
It is built around the RU1J002YNTCL. Its parts include 11 resistors, 5 transistors, 4 diodes, 1 connector and 1 switch.
Backup and sync your photos on the go!!!
This project is intended to solve my worries of backing up my photos while on trips.
It aims to do the following:
Overview:
Software Setup:
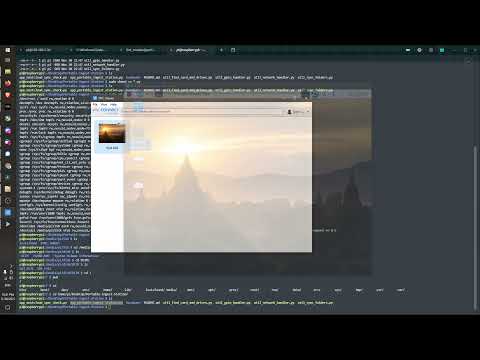
You will need the latest version of Raspberry Pi OS. Methods of getting the OS onto the SD card will not be covered here as there are many resources online that covers this. The easiest way is to use the Raspberry Pi Imager.
Plug the SD card into Raspberry Pi and power it up.
Note: If you are doing this process in headless mode (no monitor), you might want to setup wifi connection and SSH access BEFORE plugging in the SD card.
After finished booting up. Complete the usual first boot stuff such as changing default password, expand filesystem, etc.
Update the Raspberry Pi OS by executing the following command:
sudo apt update && sudo dist-upgradePress enter when prompted to proceed with upgrade.
When on the go, you probably would not be able to plug the raspberry pi into monitor and keyboard to configure the WiFi connection. So you would need to setup that connection in advance. This internet connection is used by NextCloud to sync the files in your local storage back to your NextCloud server.
Firstly turn on the hotspot on your smartphone. In Raspberry Pi OS, connect to your hotspot SSID. Enter the password. It should have internet access through your smartphone.
Note: If you are doing this process in headless mode, installing VNC would help alot.
In Raspberry Pi desktop, clone this repository.
git clone https://github.com/klystrom/Portable-Ingest-Station.gitThis is the part where it gets abit sketchy. Since the the support for official Nextcloud desktop app is non-existent to say the least. So we're going to install an older version of it. It should work after resolving the dependencies.
Guide to install it is here. Be sure to follow along the troubleshooting steps mentioned in the thread.
Plug in your SD card and storage, they should automount under Raspberry Pi OS.
Find out where they are mounted and edit app_nextcloud_sync_check.py.
Note: You can use either of the following commands to find the mountpoints. Look for the keyword "/media/"
df -h
sudo cat /proc/mounts
Your SD card might have different folder structure than mine (mine is based on Fujifilm X-T2 SD Card) and you might want the files to be saved to a specific directory in the local storage. For that, edit the path in these app_nextcloud_sync_check.py.
Now is the most convenient time to test it out. As after this, you would need to reboot the Raspberry Pi in order to test after every change. So put on the GPIO board and test to make sure it works before proceeding to the next step.
We want the two Python scripts to run on boot. For this, we are using systemd.
Note: Refer here for more info.
Create two new .service files in the systemd directory.
sudo nano /lib/systemd/system/local_ingest_sync.service
sudo nano /lib/systemd/system/nextcloud_sync_check.service
Edit local_ingest_sync.service, paste in the following content. Then exit and save by Ctrl+X then enter.
[Unit]
Description=Sync SD to local storage
After=multi-user.target

[Service]
ExecStart=/usr/bin/python3 <path to repo>/app_portable_ingest_station.py

[Install]
WantedBy=multi-user.target
Edit nextcloud_sync_check.service, paste in the following content. Then exit and save by Ctrl+X then enter.
[Unit]
Description=Check nextcloud sync status
After=multi-user.target

[Service]
ExecStart=/usr/bin/python3 <path to repo>/app_nextcloud_sync_check.py

[Install]
WantedBy=multi-user.target
Enable the services.
sudo systemctl daemon-reload
sudo systemctl enable local_ingest_sync.service
sudo systemctl enable nextcloud_sync_check.serviceAfter reboot, everything should be working. Enjoy!
Here are the current limitations that I'm aware of. Feel free to report or help enhance this!
| Qty | Value | Footprint | References |
|---|---|---|---|
| 6 | 10K | Resistor_SMD:R_0603_1608Metric_Pad1.05x0.95mm_HandSolder | R5, R6, R7, R8, R9, R10 |
| 5 | 1K | Resistor_SMD:R_0603_1608Metric_Pad1.05x0.95mm_HandSolder | R1, R2, R3, R4, R11 |
| 5 | RU1J002YNTCL | Package_TO_SOT_SMD:SOT-323_SC-70_Handsoldering | Q1, Q2, Q3, Q4, Q5 |
| 1 | ARMED | LED_SMD:LED_0603_1608Metric_Pad1.05x0.95mm_HandSolder | D4 |
| 1 | Buzzer | Buzzer_Beeper:Buzzer_12x9.5RM7.6 | BZ1 |
| 1 | GPIO | Connector_PinSocket_2.54mm:PinSocket_2x12_P2.54mm_Vertical | J1 |
| 1 | IN PROGRESS | LED_SMD:LED_0603_1608Metric_Pad1.05x0.95mm_HandSolder | D1 |
| 1 | RSYNC DONE | LED_SMD:LED_0603_1608Metric_Pad1.05x0.95mm_HandSolder | D2 |
| 1 | SW_Push_Dual | Switches:TACTILE_SWITCH_SMD_12MM | SW1 |
| 1 | SYNC DONE | LED_SMD:LED_0603_1608Metric_Pad1.05x0.95mm_HandSolder | D3 |

steieio/pico-dirty-blaster
Collection of Raspberry Pi Pico board adapters for use with Pico-DirtyJTAG

seanboe/eOPRA_suite
Contains the board files (KiCAD + gerbers) and CLI for the eOPRA device control suite used in research on transfemoral and transtibial prosthetics at the MIT Biomechatronics Lab.


google/mozc-devices
Circuit diagrams and firmware source code for Gboard DIY keyboards


It measures 46.5 × 39.5 mm and has 2 copper layers, 1.6 mm thick.
23 parts, built around the RU1J002YNTCL. The full list of its parts is on this page, with links to each part's symbol and footprint where PCBKit's library has them.
From the klystrom/Portable-Ingest-Station repository on GitHub, at the commit this page was made from: the board is hardware/rpi_gpio_board/rpi_gpio_board.kicad_pcb. PCBKit opens the board in the browser, with nothing to install.
Its repository states no licence, so its author keeps all rights: ask klystrom before reusing the design.