
2 layers20.5 × 24.8 mm
 juanmb/SkyPointer8
Software for controlling a motorized sky-pointing laser
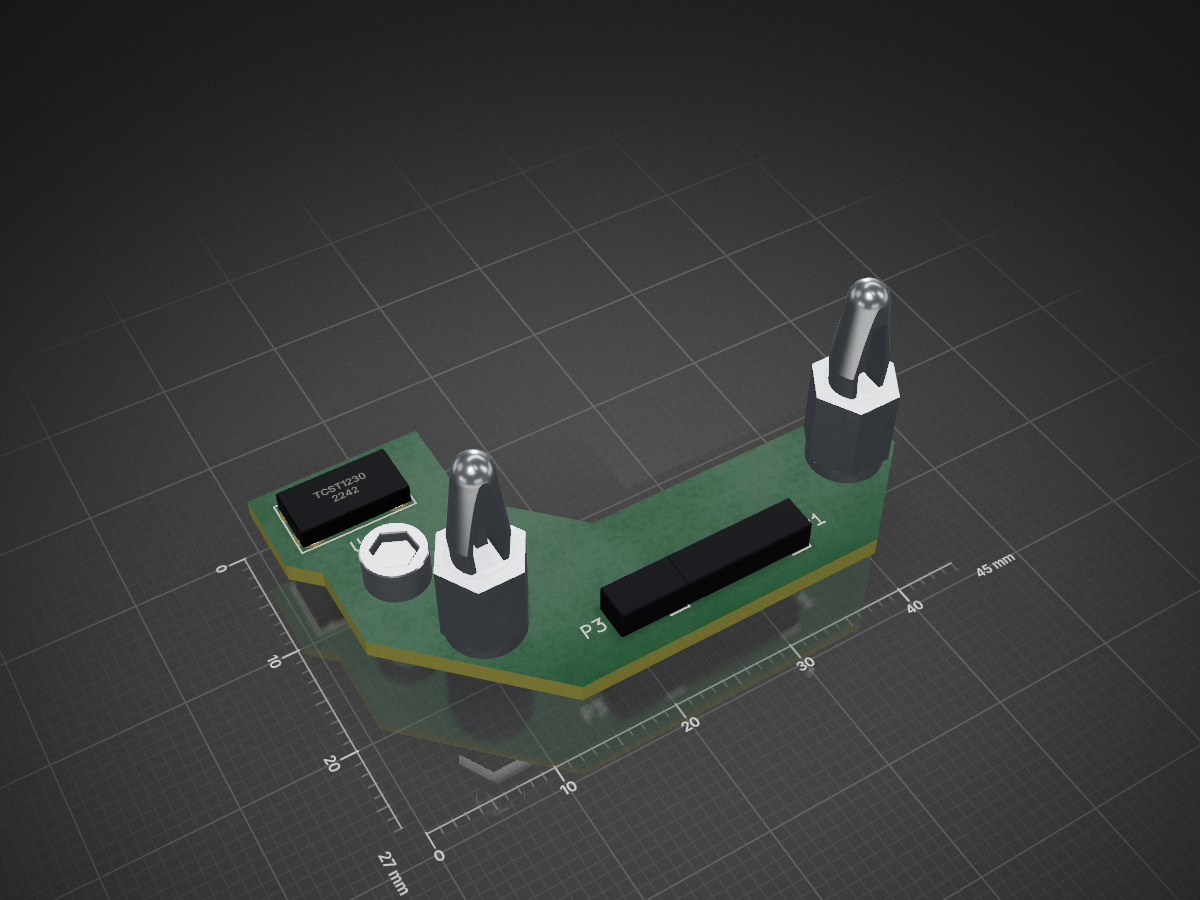
SkyPointer is an open-source printed circuit board by juanmb, from the juanmb/SkyPointer repository on GitHub. It is a 2-layer board of 45 × 27 mm with 8 parts on 5 nets, routed with 35 tracks and 0 vias.
It is built around the TCST1230. Its parts include 2 resistors, 2 connectors and 1 IC.
An open-hardware altazimuth mount with a laser pointer.
The following block diagram shows the current setup:

The SkyPointer mechanical parts were designed to be easily fabricated with a 3D
printer. The cad folder contains the CAD files in Step, STL and
FreeCAD formats.
Circuit schematics and PCB layout were designed with Kicad.
They are stored in the kicad folder.
An Arduino Uno board controls two stepper motors (azimuth and elevation) using a CNC shield with some modifications (documentation in progress).
The Arduino firmware is located in a separate repo.
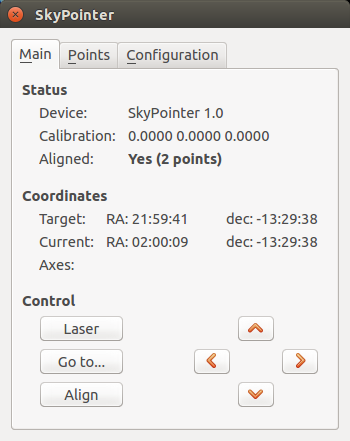
The server receives "goto" messages from Stellarium and sends "current position" packets back.
The Stellarium client-server protocol is documented here.
Install the required dependencies using your package manager. In Debian/Ubuntu, you can use apt-get like this
$ sudo apt-get install pyqt4-dev-tools python-numpy python-scipyNow you can install the skypointer package with pip
$ sudo pip install skypointerAlternatively, you can clone this repo and call setup.py directly from the
python folder
$ git clone https://github.com/juanmb/SkyPointer.git
$ cd python
$ python setup.py install
For development, it is strongly recommended to install this package into a virtual environment.
Using Anaconda:
conda install numpy scipy pyserial pyqtNow you can install the skypointer package using pip
$ pip install skypointerRun skypointer-gui.
Start skypointer-gui.
Check Enable server in the Configuration tab, select a server port number and click Apply.
Start Stellarium.
Enable the plugin Telescope control in Stellarium. If it was disabled, you will need to restart Stellarium (only the first time).
In the configuration window of the Telescope control plugin, add a new telescope and select the option "External software or a remote computer".
Choose a name and select "Equinox of the date (JNow)".
Enter the TCP port of the server.
Close the dialog and press "Connect".
Now you can send the equatorial coordinates of the selected object in
Stellarium to the SkyPointer server by pressing Ctrl+1.
| Qty | Value | Footprint | References |
|---|---|---|---|
| 1 | 10k | Resistors_SMD:R_1206_HandSoldering | R2 |
| 1 | 1pin | Connect:1pin | |
| 1 | 220 | Resistors_SMD:R_1206_HandSoldering | R1 |
| 1 | CONN_01X04 | Pin_Headers:Pin_Header_Straight_1x04 | P1 |
| 1 | Laser | Pin_Headers:Pin_Header_Straight_1x02 | P3 |
| 1 | TCST1230 | TCST1230 | U1 |
The 6 most common of 8 parts.
It measures 45 × 27 mm and has 2 copper layers, 1.6 mm thick.
8 parts, built around the TCST1230. The full list of its parts is on this page, with links to each part's symbol and footprint where PCBKit's library has them.
From the juanmb/SkyPointer repository on GitHub, at the commit this page was made from: the board is kicad/skypointer.kicad_pcb. PCBKit opens the board in the browser, with nothing to install.
Its repository states no licence, so its author keeps all rights: ask juanmb before reusing the design.

joeycastillo/Sensor-Watch
A board replacement for the classic Casio F-91W wristwatch

rusefi/rusefi
rusefi - GPL internal combustion engine control unit

hoglet67/RGBtoHDMI
Bare-metal Raspberry Pi project that provides pixel-perfect sampling of Retro Computer RGB/YUV video and conversion to HDMI

shanteacontrols/OpenDeck
A platform for building interactive control and sensing devices using MIDI and OSC built with Zephyr RTOS.

hackclub/OnBoard
💡 Join 1,000 teenagers and make your first PCB with a $100 grant!

dangiu/PicoMemcard
Emulating PSX Memory Card (or controller) using a Raspberry Pi Pico

OLIMEX/DIY-LAPTOP
Do It Yourself Open Source Hardware and Software Modular Hacker's Friendly Laptop