2 layers116.8 × 30 mm
Type d
google/mozc-devices
Circuit diagrams and firmware source code for Gboard DIY keyboards
14 parts3kApache-2.0
 jhud/hackwatch17
A smartwatch running on the ESP32 + Arduino. Designed to run on cheap boards that have inbuilt LiPo battery circuitry and an OLED screen.
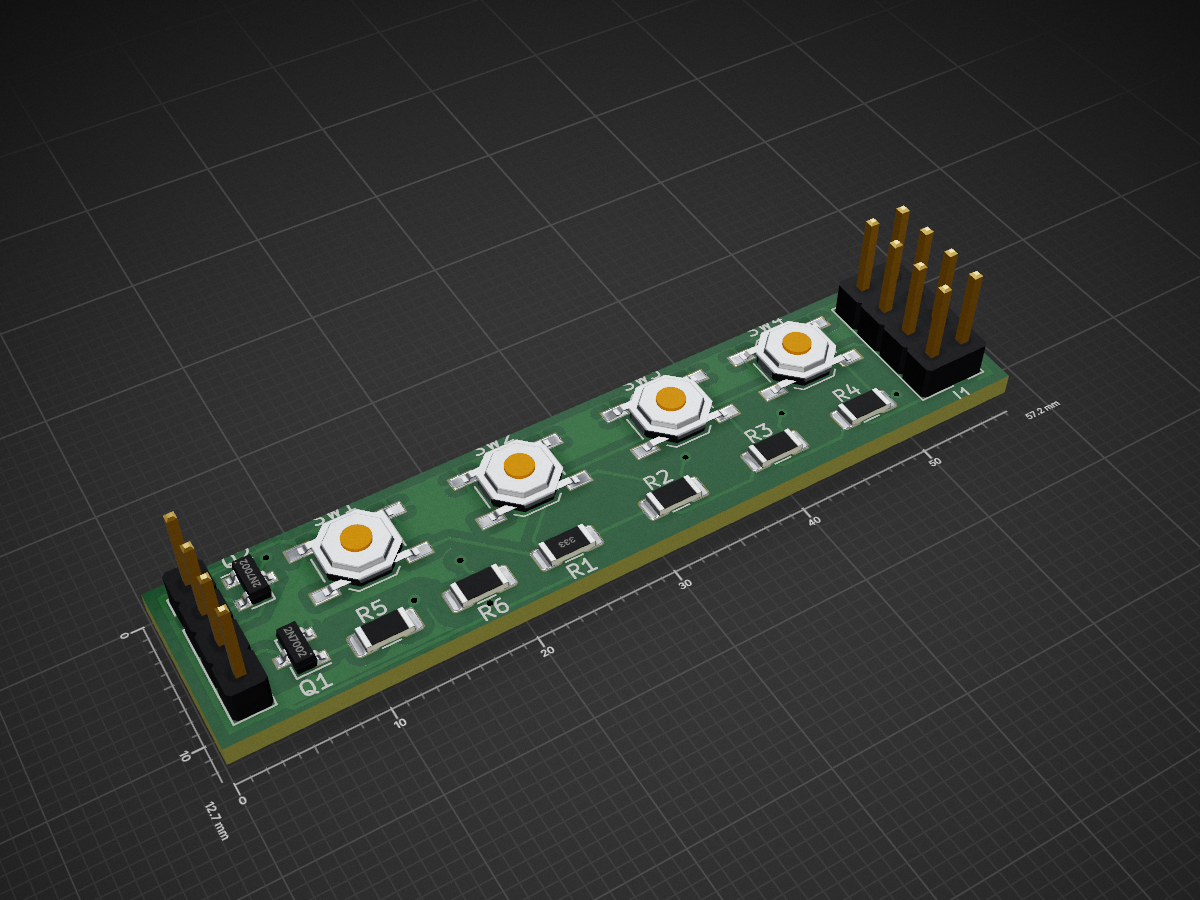
Keyboard is an open-source printed circuit board by jhud, from the jhud/hackwatch repository on GitHub, published under the GPL-3.0 licence. It is a 2-layer board of 57.1 × 12.7 mm with 14 parts on 12 nets, routed with 92 tracks and 7 vias.
Its parts include 6 resistors, 4 switches, 2 transistors and 2 connectors. It belongs with the power and keyboards and input boards of this library.
Want to run your Arduino code anywhere, any time? How about running a webserver from your wrist? This is a smartwatch running on the ESP32 + Arduino + 0.96' OLED (color or monochrome). Designed to run on cheap boards that have inbuilt LiPo battery circuitry and an OLED screen. It makes for quite a chunky watch, but the "always on" glow looks very cool, and a 500mAH battery currently lasts 10+ hours without any optimisation. The whole prototype was built for $12.
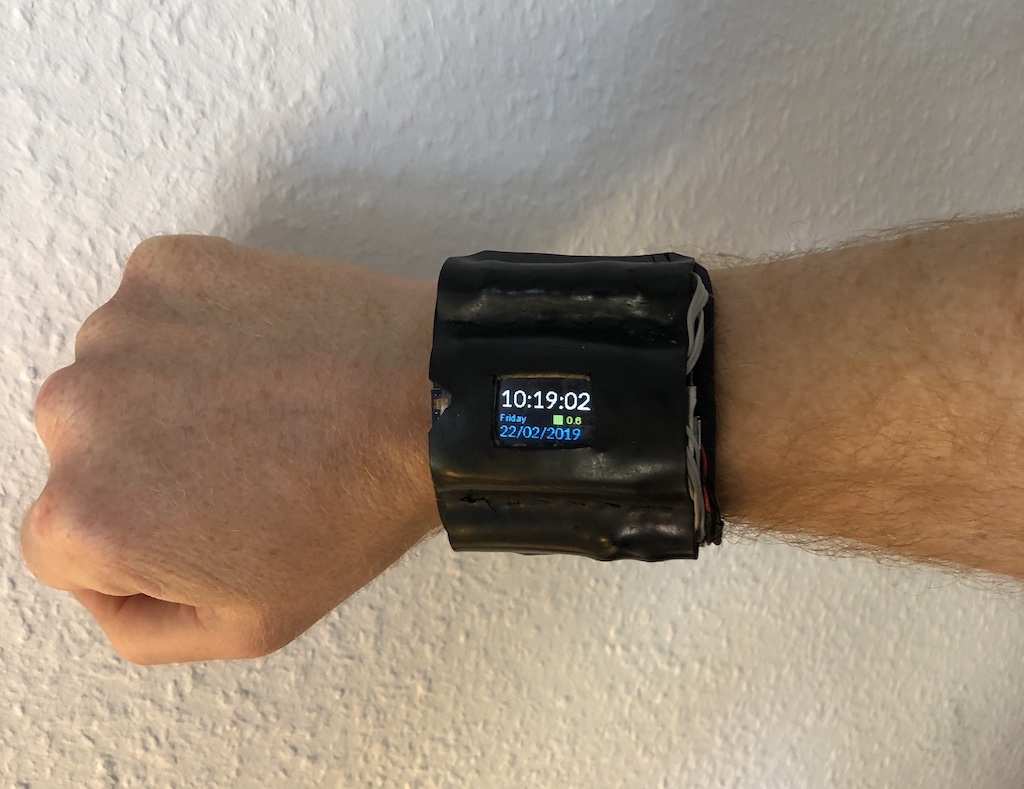
Currently, the code uses your WiFi to sync with an NTP server, then show the time and date. I'll improve this project as I need features and find time.
The "flash" button on the GPIO0 of the development board is repurposed as a function button for the watch.
Install the following dependencies:
git clone https://github.com/mgo-tec/ESP32_SSD1331 (for the color SSD1331 display)git clone https://github.com/Smartphone-Companions/ESP32NotificationsLib.git (for the Bluetooth LE notifications)You need to create a file called "secrets.h" which has your WiFi SSID and password:
const char ssid[] = "my access point"; // your network SSID (name) const char pass[] = "MyPassword12345"; // your network password
If you have an SSD1306 monochrome display, remove the #define COLOR_SCREEN. If you have an SSD1331 color display, set that define. Make sure you have the correct pins set in layout.cpp.
The SVG file can be printed out, and the pieces cut from 1.5mm rubber. For attaching rubber, here are the methods tried (1 star fail, 5 star excellent):
| Qty | Value | Footprint | References |
|---|---|---|---|
| 5 | R | Resistor_SMD:R_1206_3216Metric_Pad1.42x1.75mm_HandSolder | R2, R3, R4, R5, R6 |
| 4 | SW_Push | Button_Switch_SMD:SW_SPST_TL3342 | SW1, SW2, SW3, SW4 |
| 2 | 2N7002 | Package_TO_SOT_SMD:SOT-23 | Q1, Q2 |
| 1 | 33K | Resistor_SMD:R_1206_3216Metric_Pad1.42x1.75mm_HandSolder | R1 |
| 1 | Conn_01x04_Male | Connector_PinHeader_2.54mm:PinHeader_1x04_P2.54mm_Vertical | J2 |
| 1 | Pin header | Connector_PinHeader_2.54mm:PinHeader_2x04_P2.54mm_Vertical | J1 |
It measures 57.1 × 12.7 mm and has 2 copper layers, 1.6 mm thick.
14 parts. The full list of its parts is on this page, with links to each part's symbol and footprint where PCBKit's library has them.
From the jhud/hackwatch repository on GitHub, at the commit this page was made from: the board is hardware/keyboard/keyboard.kicad_pcb. PCBKit opens the board in the browser, with nothing to install.
Its repository publishes it under the GPL-3.0 licence: you may reuse it on that licence's terms (keep the author's notice, and for a copyleft licence share your changes alike).
google/mozc-devices
Circuit diagrams and firmware source code for Gboard DIY keyboards


hackclub/OnBoard
💡 Join 1,000 teenagers and make your first PCB with a $100 grant!


Twotoz/C5VRX
Ultra-minimal, zero-CPU 5.8 GHz analog FPV video receiver using ESP32-C5 Wi-Fi 6 PHY MODEM_DIAG, BitScrambler WBFM demodulation & resistor DAC CVBS

