
2 layers70.1 × 43.2 mm
Iaq device
nkitanov/iaq_board
IAQ Board is a DIY (Do-It-Yourself) device for measuring internal air quality
19 parts396

 Jerey/weatherstation-client1
Weatherstation publishing temperature and humidity values via MQTT broadcasts.
D1 mini shield client is an open-source printed circuit board by Jerey, from the Jerey/weatherstation-client repository on GitHub, published under the MIT licence. It is a 2-layer board with 7 parts on 6 nets, routed with 41 tracks and 0 vias.
It is built around the BME280. Its parts include 3 resistors, 2 connectors, 1 capacitor and 1 IC. It belongs with the home automation and IoT boards and the ESP8266 boards of this library.
The idea was to create a platform tracking various climate data, which can be extended and has no dependencies to the visualization. Therefore a network based solution was chosen. 1
As basis for the project a D1-mini was chosen, as it comes with onboard WiFi. But also other platforms can be used (e.g.: NodeMCU, ...).
The idea is to read the sensor data and send it via MQTT. Anyone who wants to use the data, can simply subscribe to the topic /esp/#. To indicate the type of data, the messages are defined by a MAC (to know from which client the message comes from), the type of data and the value. In this case, the topic holds this information in following structure: /esp/MAC_ADDRESS/TYPE_OF_DATA/
Have a look at Weatherstation Server.
Currently, two parameters are published:
Further can be added by using a different or further sensor.
How the data is visualized is pretty much up to the user. Either one can use another D1-mini with an attached display, or one can use a server, which collects the data and visualizes it in a browser.
The setup is split up into two areas: hardware setup and software setup.
The list of needed hardware is as follows:
Following is the schematic for this setup with an D1 Mini.

Note: The BME280 was added with wires to get a more precise temperature. Initially it was also added to the base shield, but there the temperature was always a bit higher.
If you want to reduce power consumption even more, you can use the ESP01.
Following pins from the D1 mini have to be changed then:
D3 :arrow_right: Pin 0D4 :arrow_right: Pin 2Further, to enable deep sleep, a little soldering has to be done. There are several tutorials in the internet for that, so I will not go into that here.
As basis for the software, platform IO was used as it comes with a good library management and makes flashing rather easy. But first have a look into the code.
The software allows several settings within the program.cpp. There are more than the mentioned ones, but those are the most important ones:
BME280_I2C_ADDR - Depending on the used BME280, there are different I^2^C addresses in use. The used library offers a way to set this address, as described here. Usually the address is either 0x76 or 0x77. Please check the datasheet of the used BME280 and set the value.ssidAP & passwordAP - The SSID and password of the accesspoint, which the hardware starts, in case it cannot connect to any wifi. One can then look for the wifi ssidAP and connect to it with the password passwordAP.updateFrequency - The frequency of updates of the parameters/values to be sent to the network. Defined in milliseconds.Install platformIO as described on their webpage.
If you chose platformIO for the CLI, you can execute following command from the terminal: platformio run --target upload
If you use an ide, please refer to the platformIO documenation.
This chapter aims to describe some essential parts of the software.
When the software is flashed, the client will directly start. If it has not been configured previously, it will open up an accesspoint. Otherwise it will simply reconnect to the last configured WiFi and start publishing the data.
When the client is started, the WiFiManager is being used to check, whether it has any known WiFi available to connect to. If it either does not know any WiFi or cannot connect to one, it opens up an access point and provides an user interface to setup the desired WiFi. From that point on, it will always try to connect to that WiFi. If you want to connect to another WiFi, press the button added to the board and the access point will again be opened.
Work in progress: It currently is possible to flash several clients at once. The ESP8266httpUpdate library is used to auto update the firmware, if the defined update server provides any new firmware. This decision is based on a version defined in the program.cpp. For now a python flask server is used as update server. This is currently based on the docker image esp-update-server. For more information on that, checkout the readme.md.
On a breadboard:
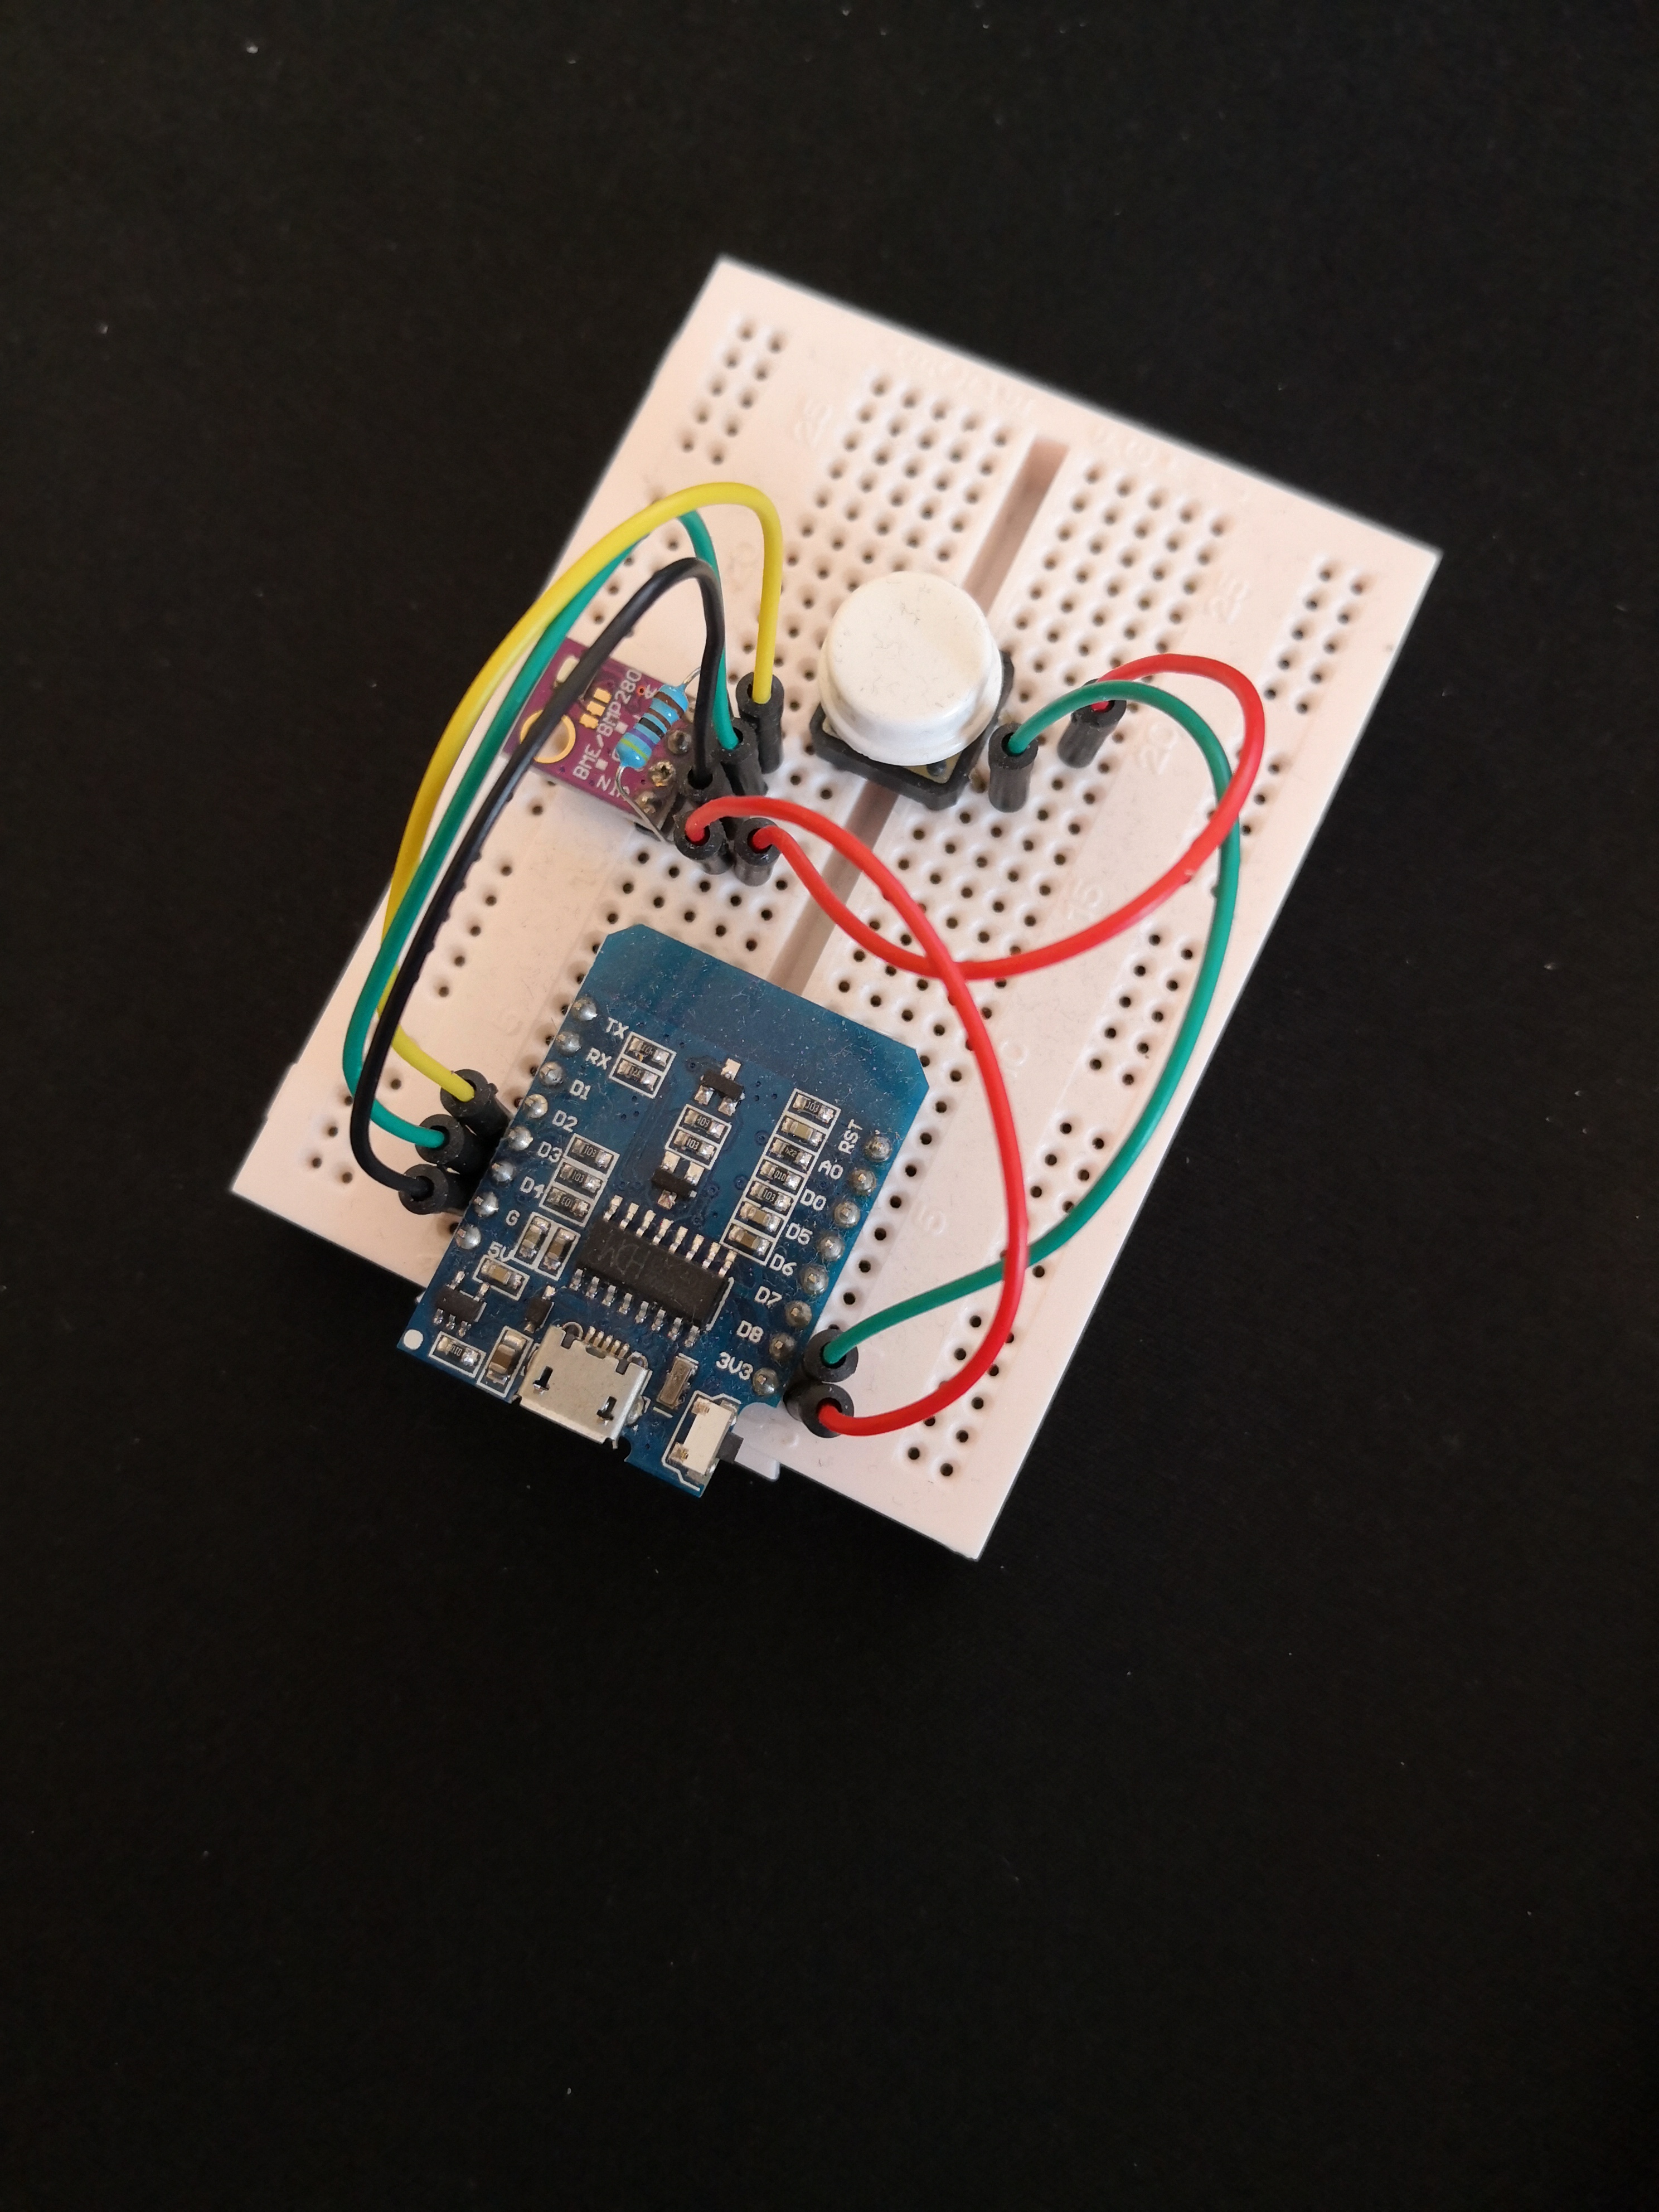
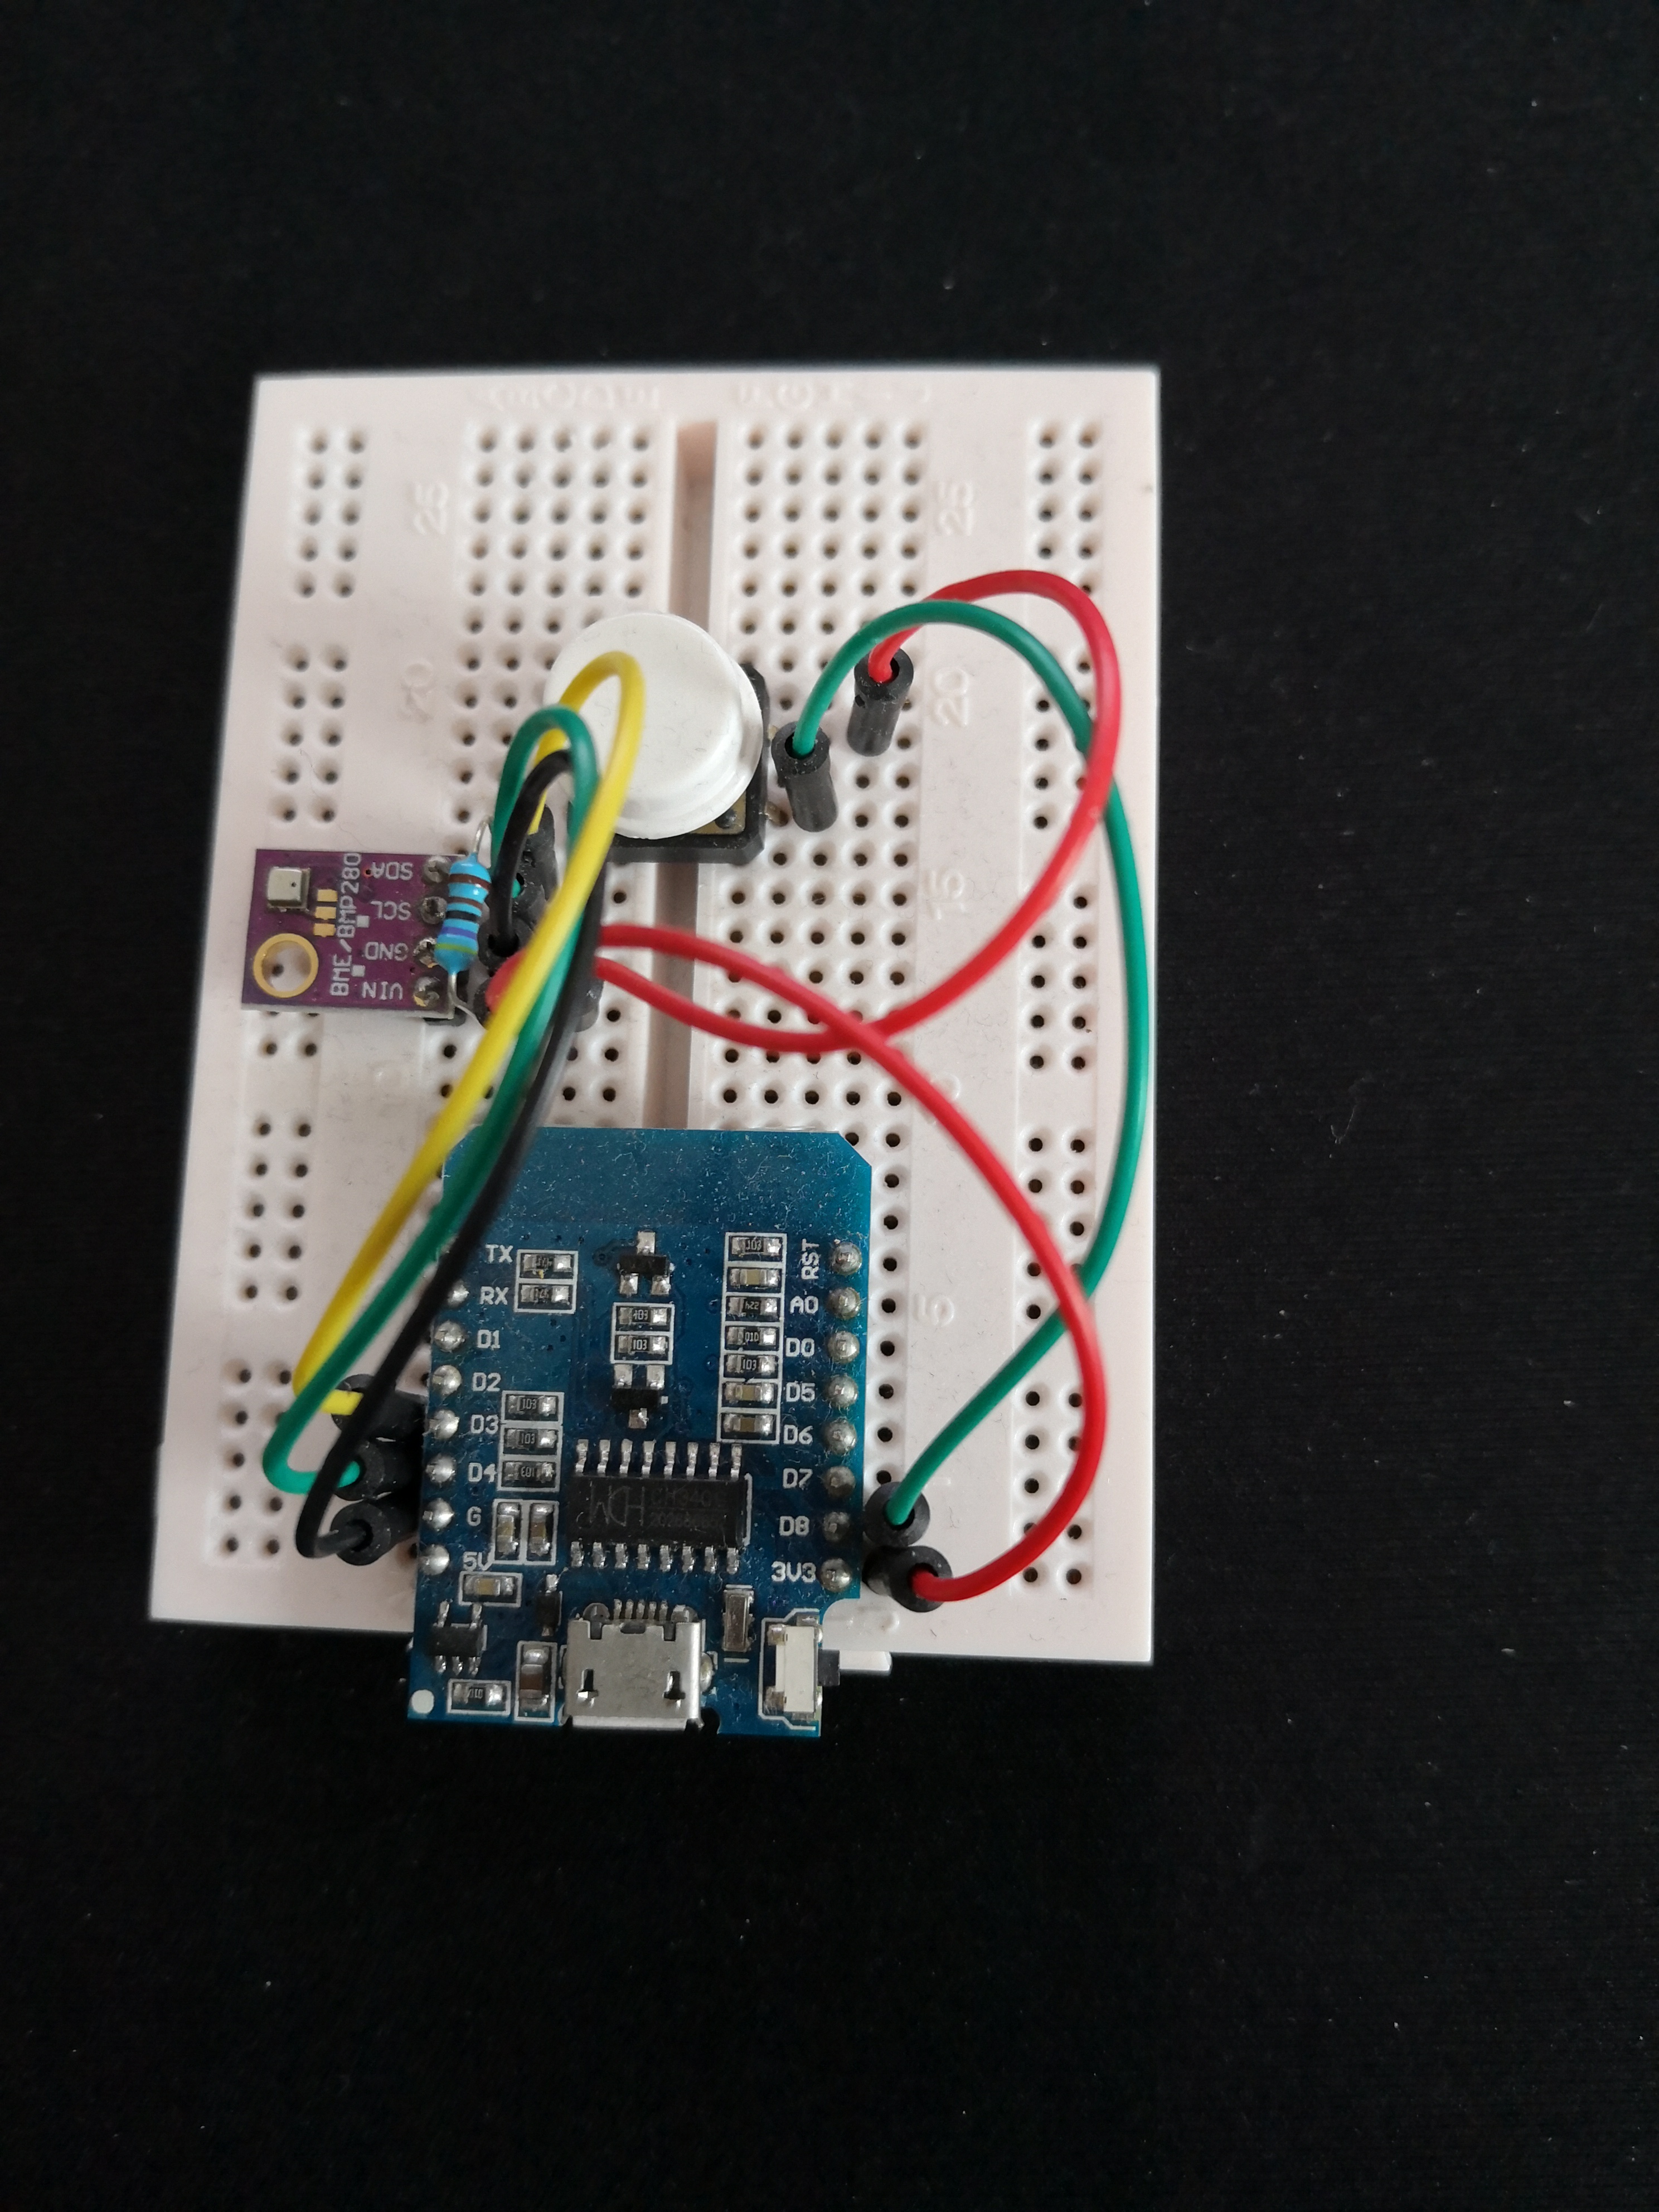
Further, one can also buy base shields and then solder all parts together:
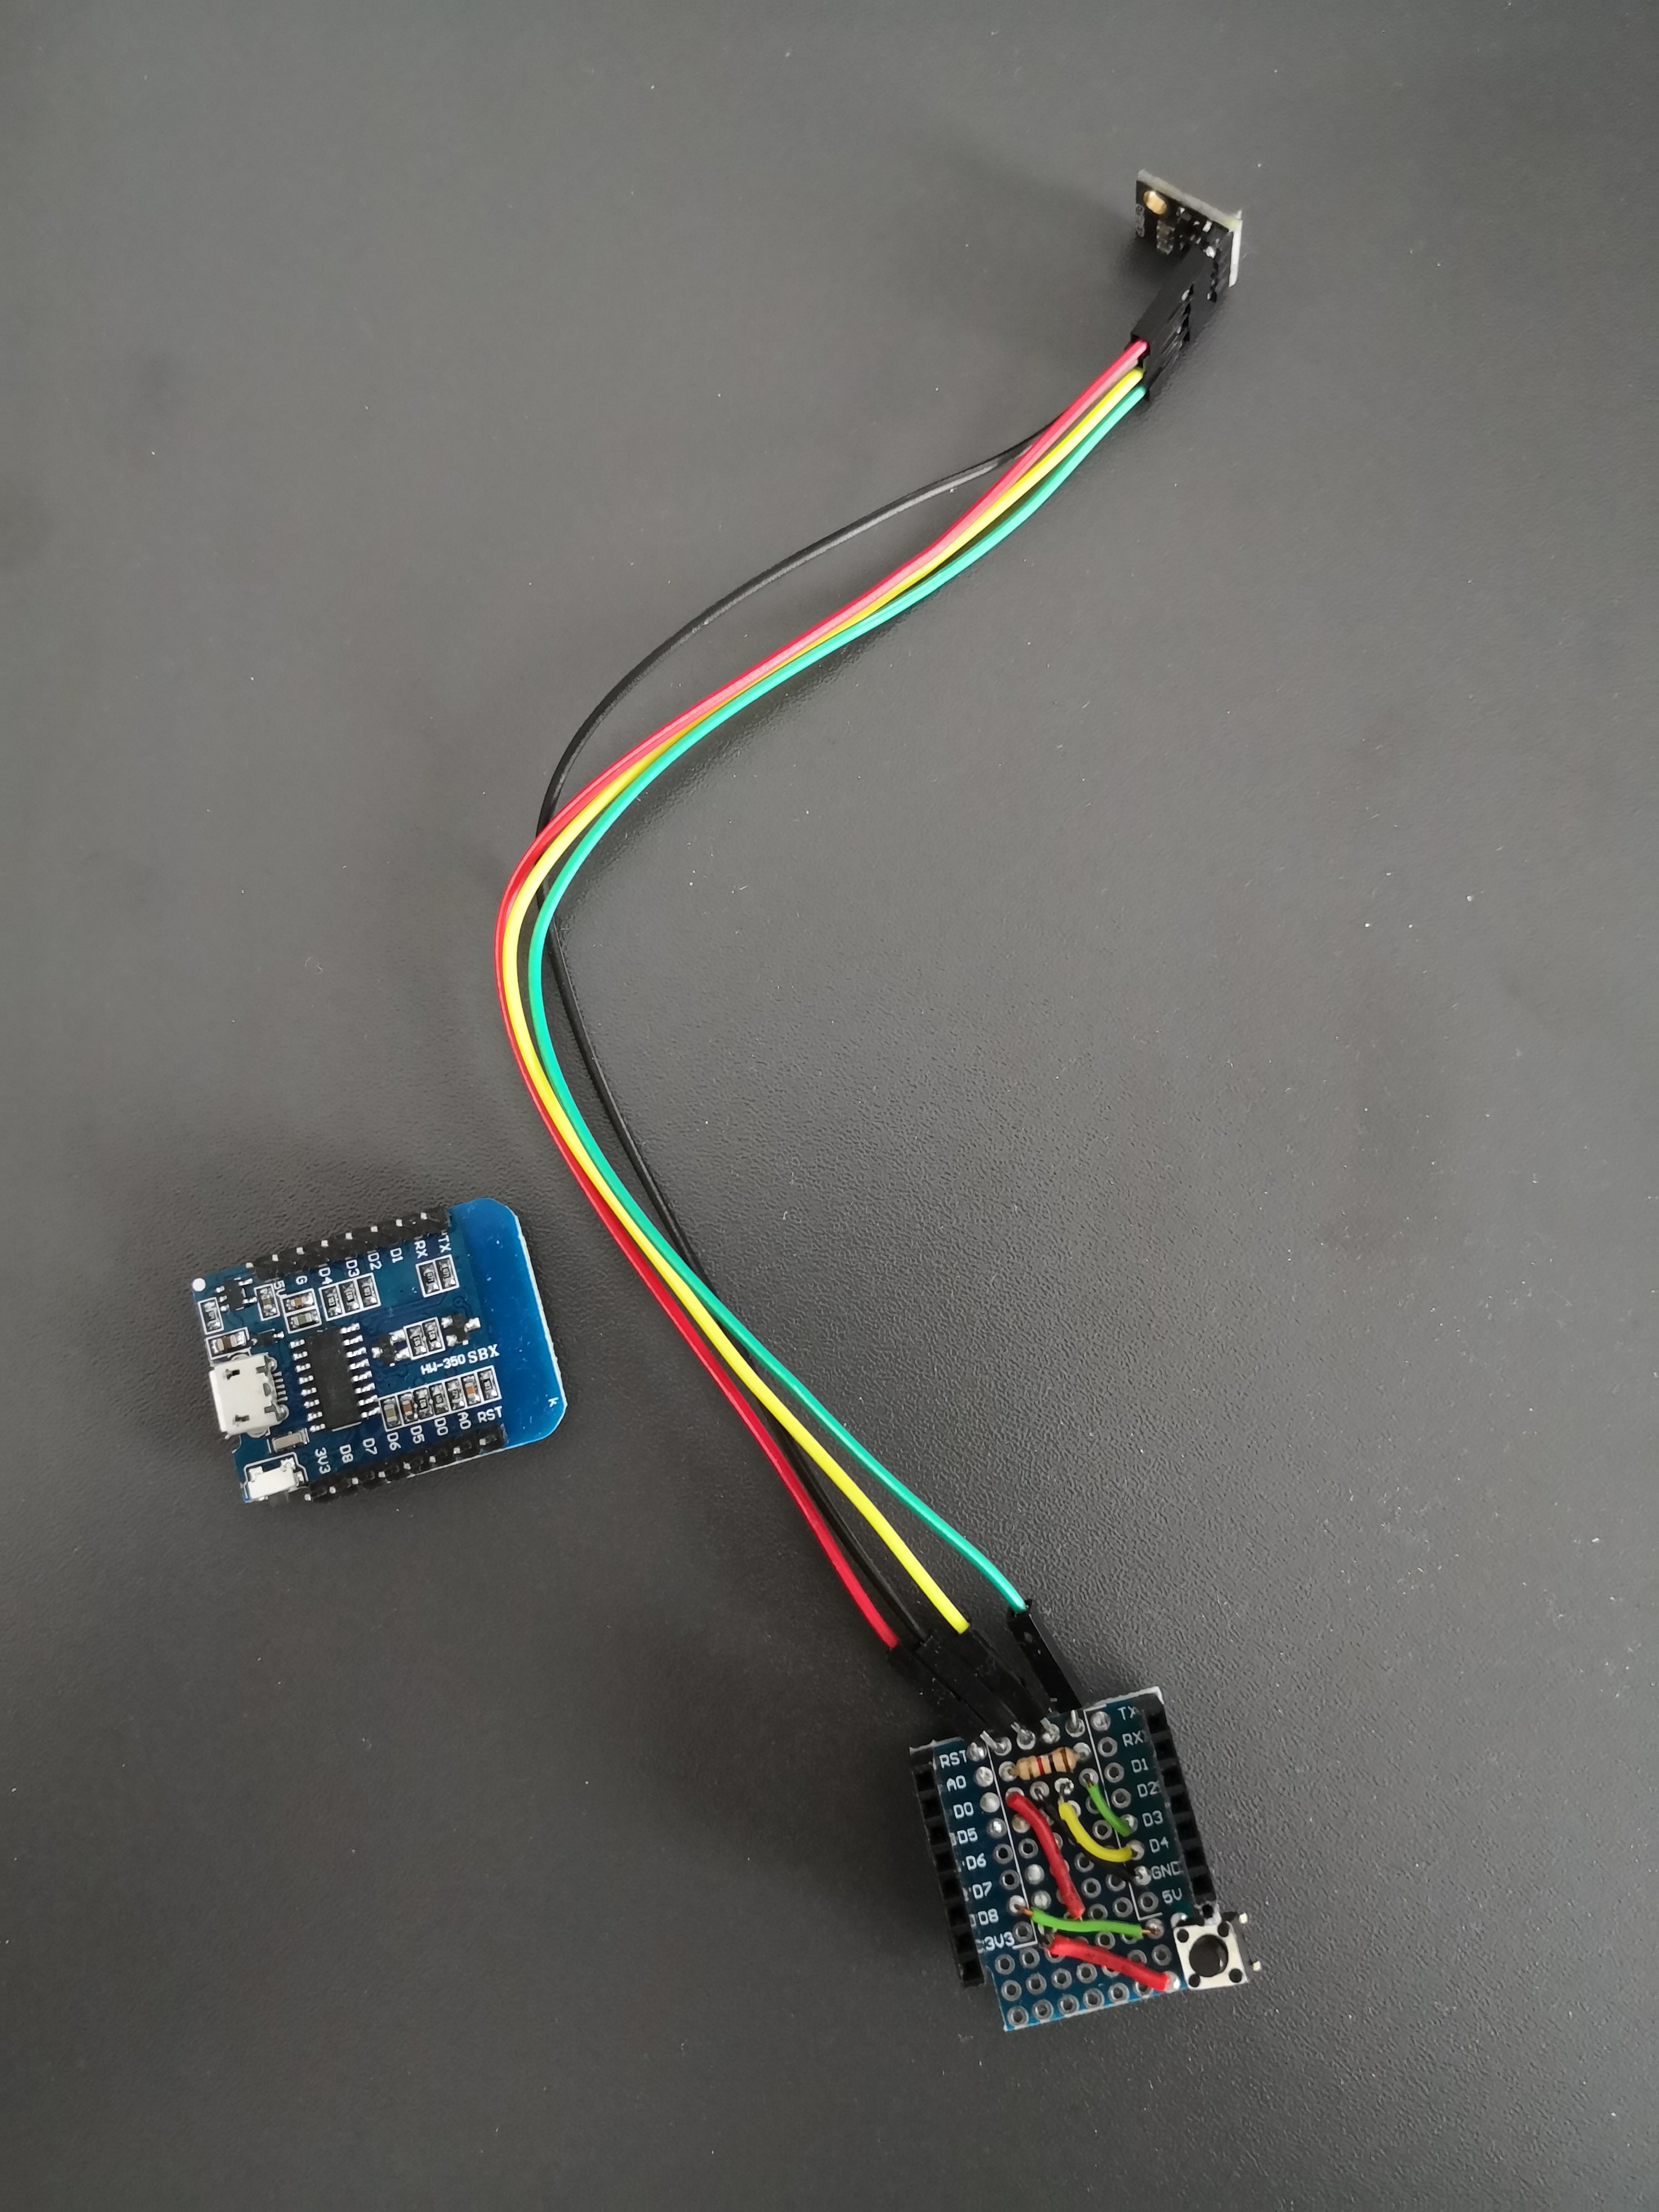
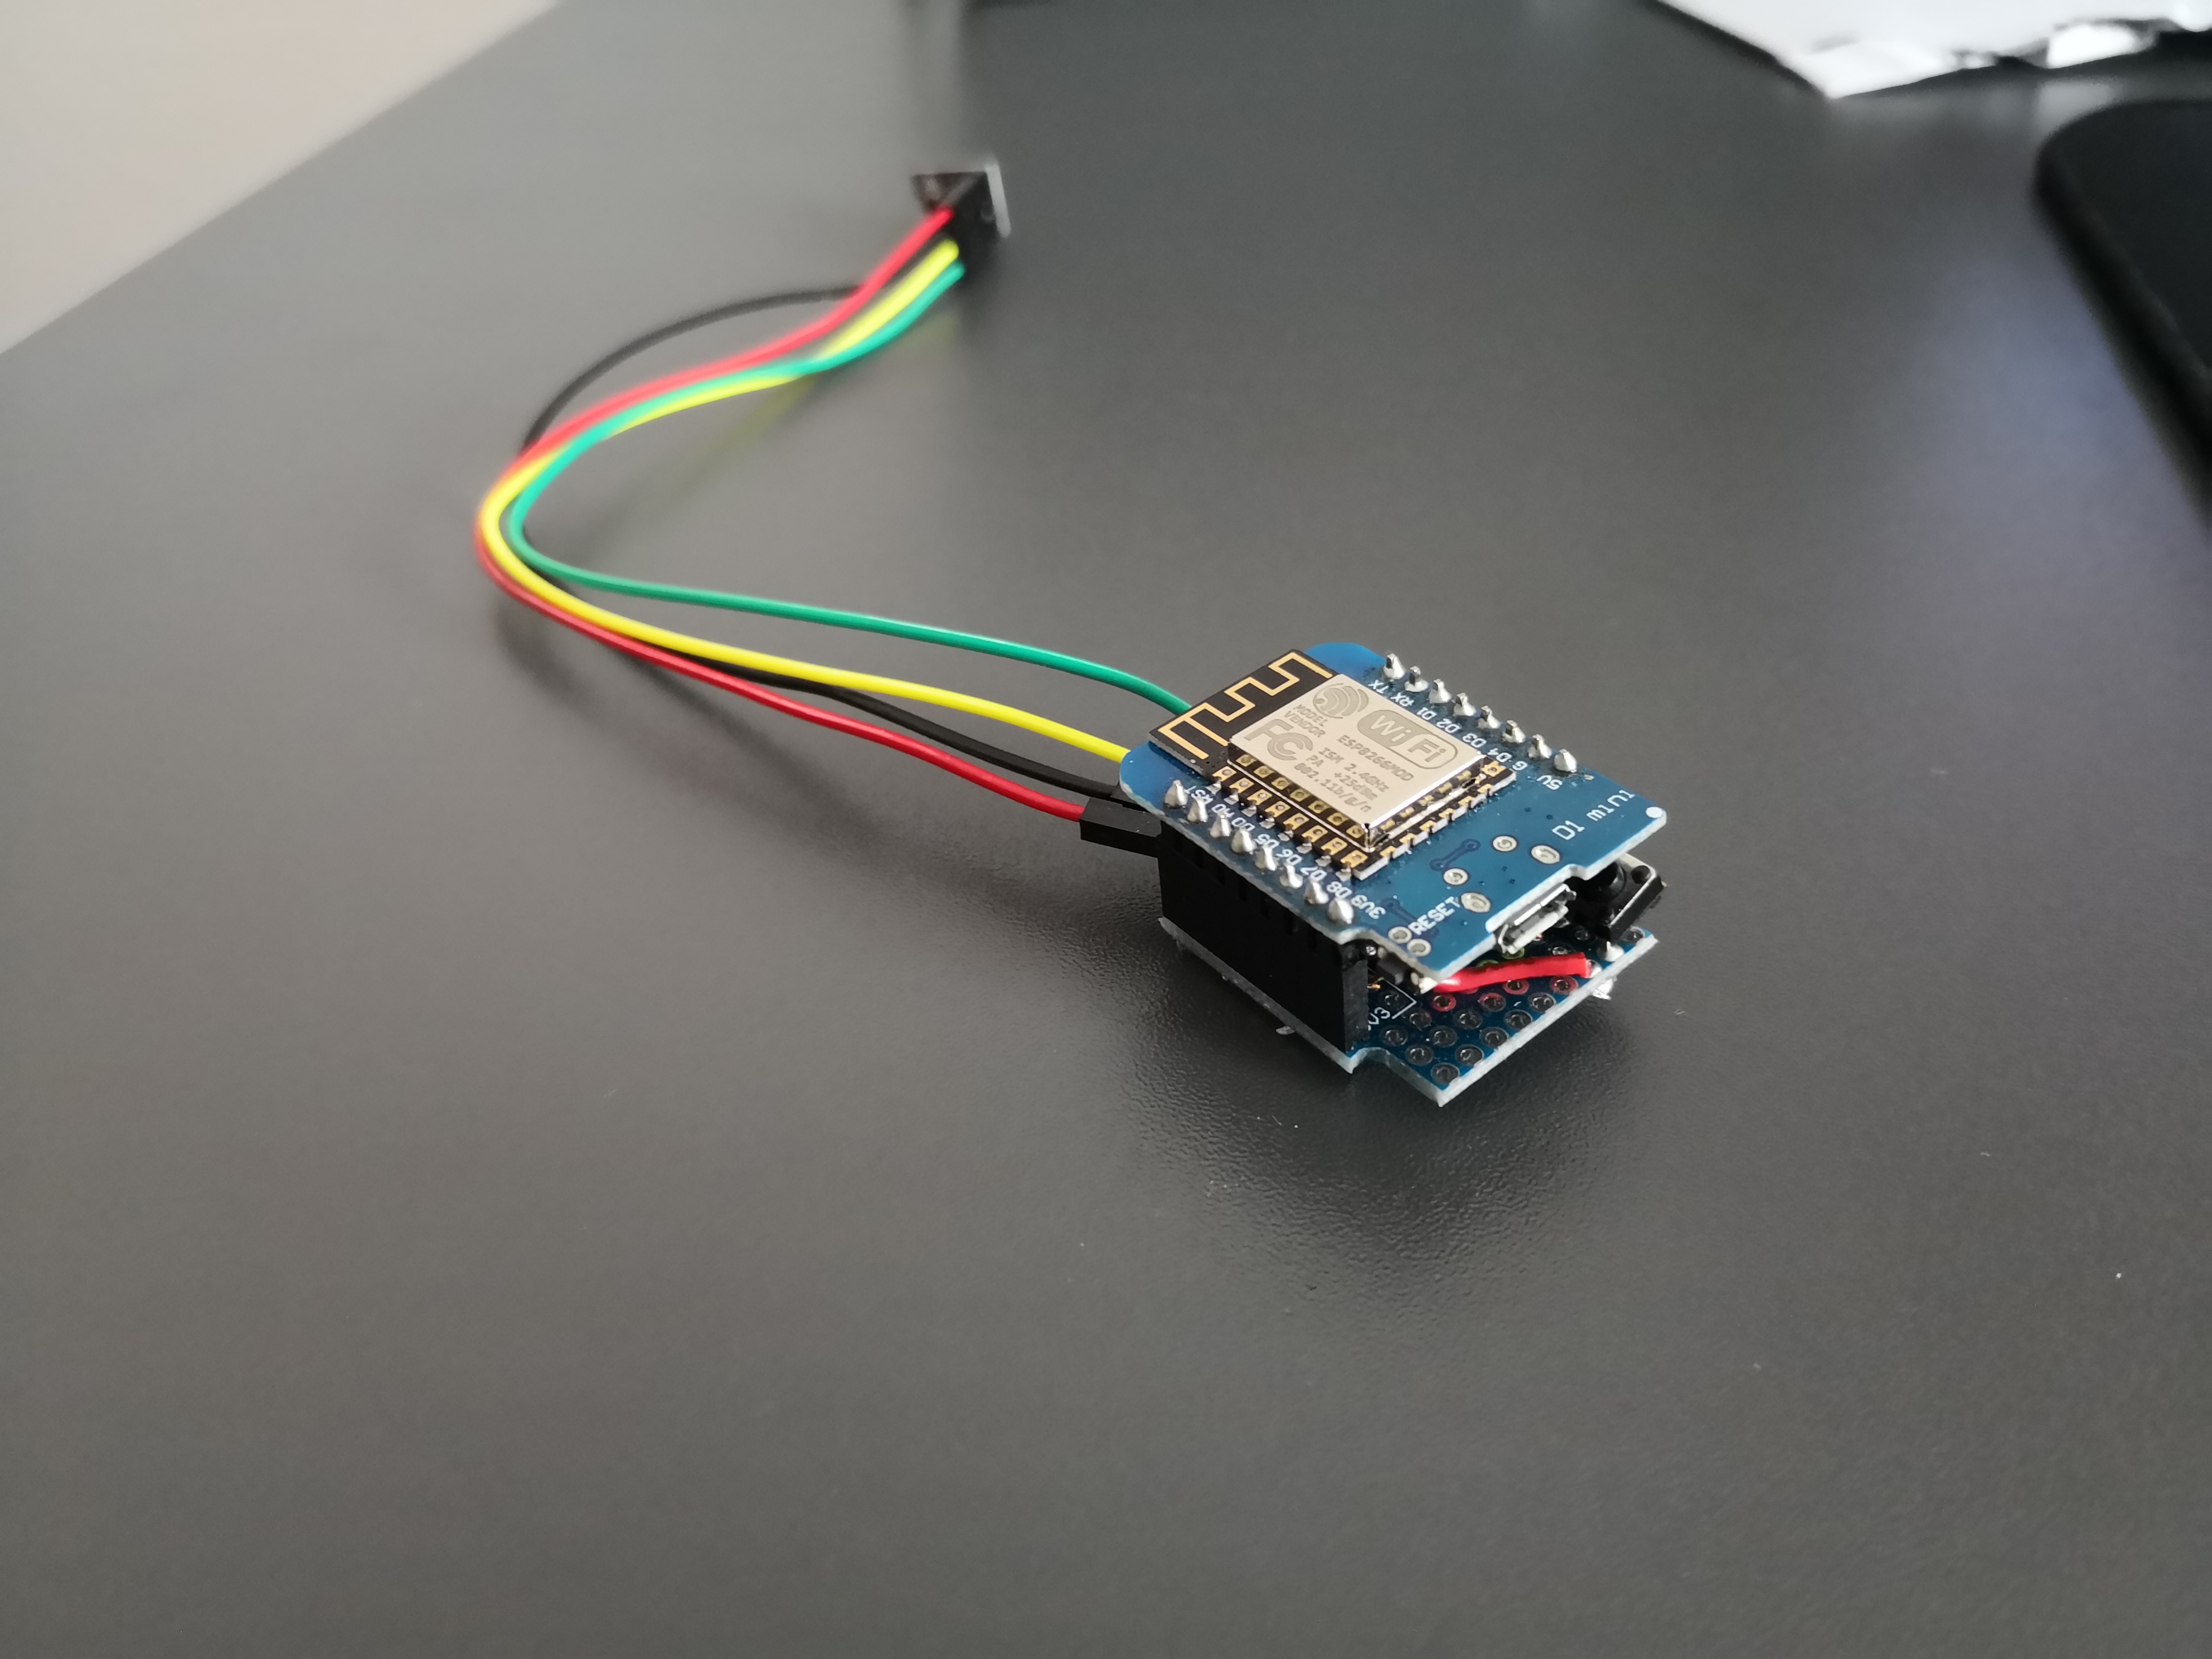
1 [blocked]: For the purpose of the project, the network based solution is fine, but if one wants to tweak the energy consumption to a minimum, other options should be considered (e.g.: Bluetooth Low Energy (BLE), ...).
| Qty | Value | Footprint | References |
|---|---|---|---|
| 2 | 4k7 | Resistor_THT:R_Axial_DIN0207_L6.3mm_D2.5mm_P10.16mm_Horizontal | R1, R3 |
| 1 | 470 | Resistor_THT:R_Axial_DIN0207_L6.3mm_D2.5mm_P10.16mm_Horizontal | R2 |
| 1 | BME280 | Connector_PinSocket_2.54mm:PinSocket_1x04_P2.54mm_Vertical | J1 |
| 1 | Battery | Connector_PinSocket_2.54mm:PinSocket_1x02_P2.54mm_Vertical | J2 |
| 1 | C | Resistor_THT:R_Axial_DIN0204_L3.6mm_D1.6mm_P5.08mm_Horizontal | C683 |
| 1 | WeMos_mini | WemosD1MiniShield:WEMOS_D1_mini_light_correctpins | U1 |
7 parts, built around the BME280. The full list of its parts is on this page, with links to each part's symbol and footprint where PCBKit's library has them.
From the Jerey/weatherstation-client repository on GitHub, at the commit this page was made from: the board is pcb/D1_mini_shield_client/D1_mini_shield_client.kicad_pcb and its schematic pcb/D1_mini_shield_client/D1_mini_shield_client.kicad_sch. PCBKit opens the board in the browser, with nothing to install.
Its repository publishes it under the MIT licence: you may reuse it on that licence's terms (keep the author's notice, and for a copyleft licence share your changes alike).
nkitanov/iaq_board
IAQ Board is a DIY (Do-It-Yourself) device for measuring internal air quality


New-England-Weather-Balloon-Society/Tiny4FSK
Horus Binary v2 HAB Tracker


kbx81/ClimateSprinklerController
ESP32-based climate and sprinkler controller for use with ESPHome

crnicholson/StratoSoar-MK3
StratoSoar MK3, an autonomous glider meant for high-altitudes, accessible to everyone


CCHS-Melbourne/ESPlant
Environmental Sensor Plant - solar WiFi gardening/meteorological sensor using ESP8266