2 layers18.5 × 11.1 mm
Switch
byrantech/laptop
anyon_e, a highly integrated, high end, open source laptop. Attempt the impossible.
6 parts4.3kMIT
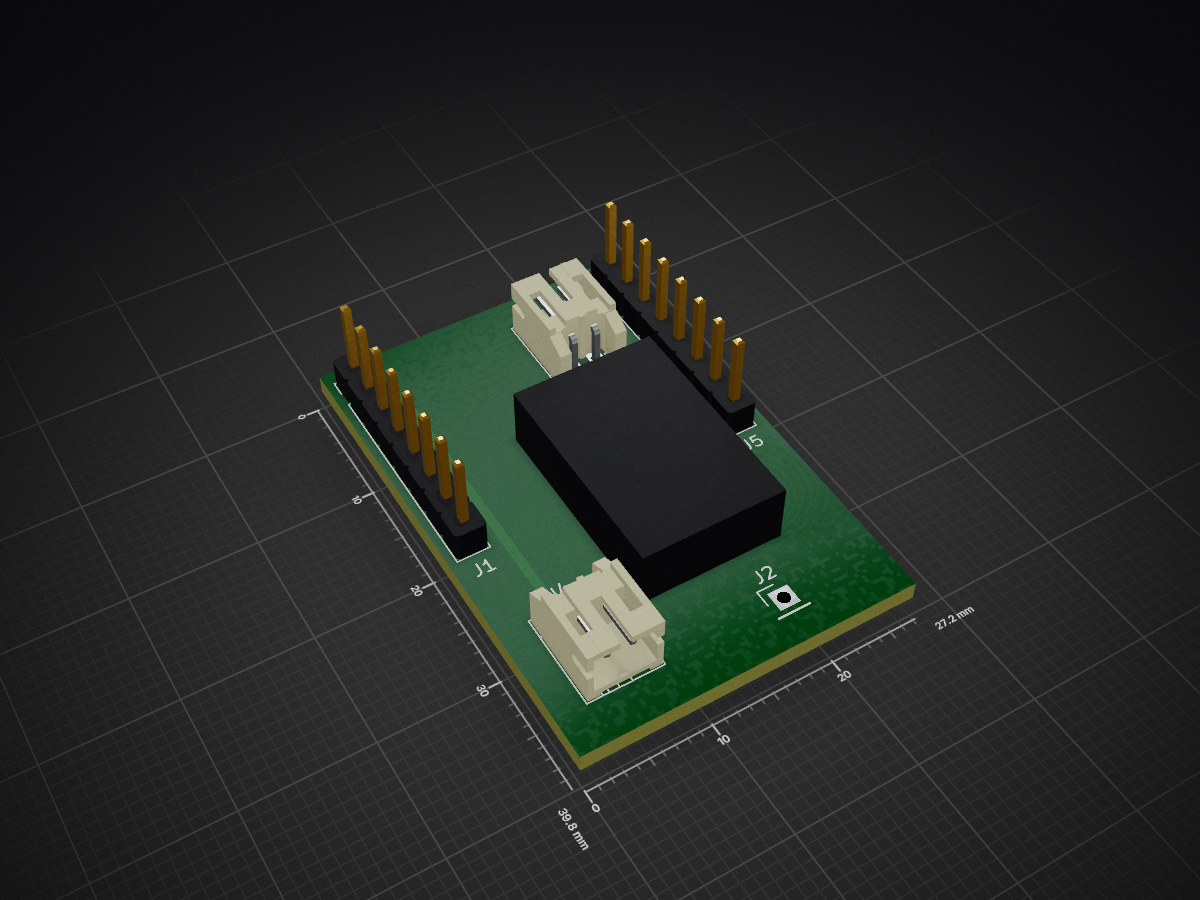
 JasonZ2030/CamProject
An affordable underwater camera built with an ESP32-CAM module that attaches to a fishing line. It features a custom PCB for power management, a waterproof PVC housing, and automatically starts recording when submerged. Designed for shore anglers who want to scout fish locations without expensive sonar equipment.
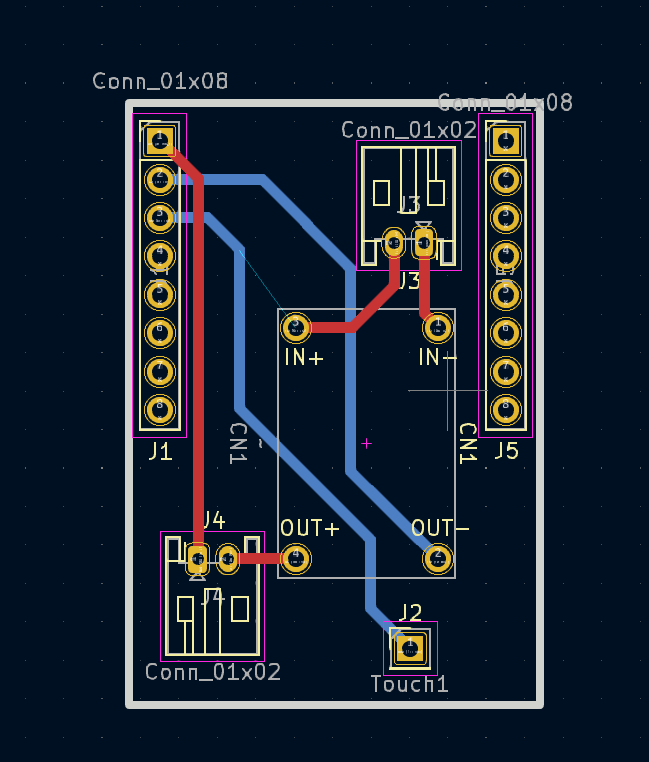
UnderwaterCam project JJ is an open-source printed circuit board by JasonZ2030, from the JasonZ2030/CamProject repository on GitHub. It is a 2-layer board of 27.2 × 39.8 mm with 6 parts on 18 nets, routed with 22 tracks and 0 vias.
As a shore angler, I've spent countless hours casting my line, waiting for bites that never came. The frustrating reality? I often had no idea if there were even any fish where I was casting. It didn't matter how good my lure was or how expensive my bait – if the fish weren't there, I wasn't catching anything.
Unlike anglers with boats who can afford expensive sonar fishfinders, I needed a budget-friendly solution that would work from the shore. That's when the idea hit me: why not create a small underwater camera that I could attach to my fishing line? This way, I could scout locations before wasting time fishing in empty water.
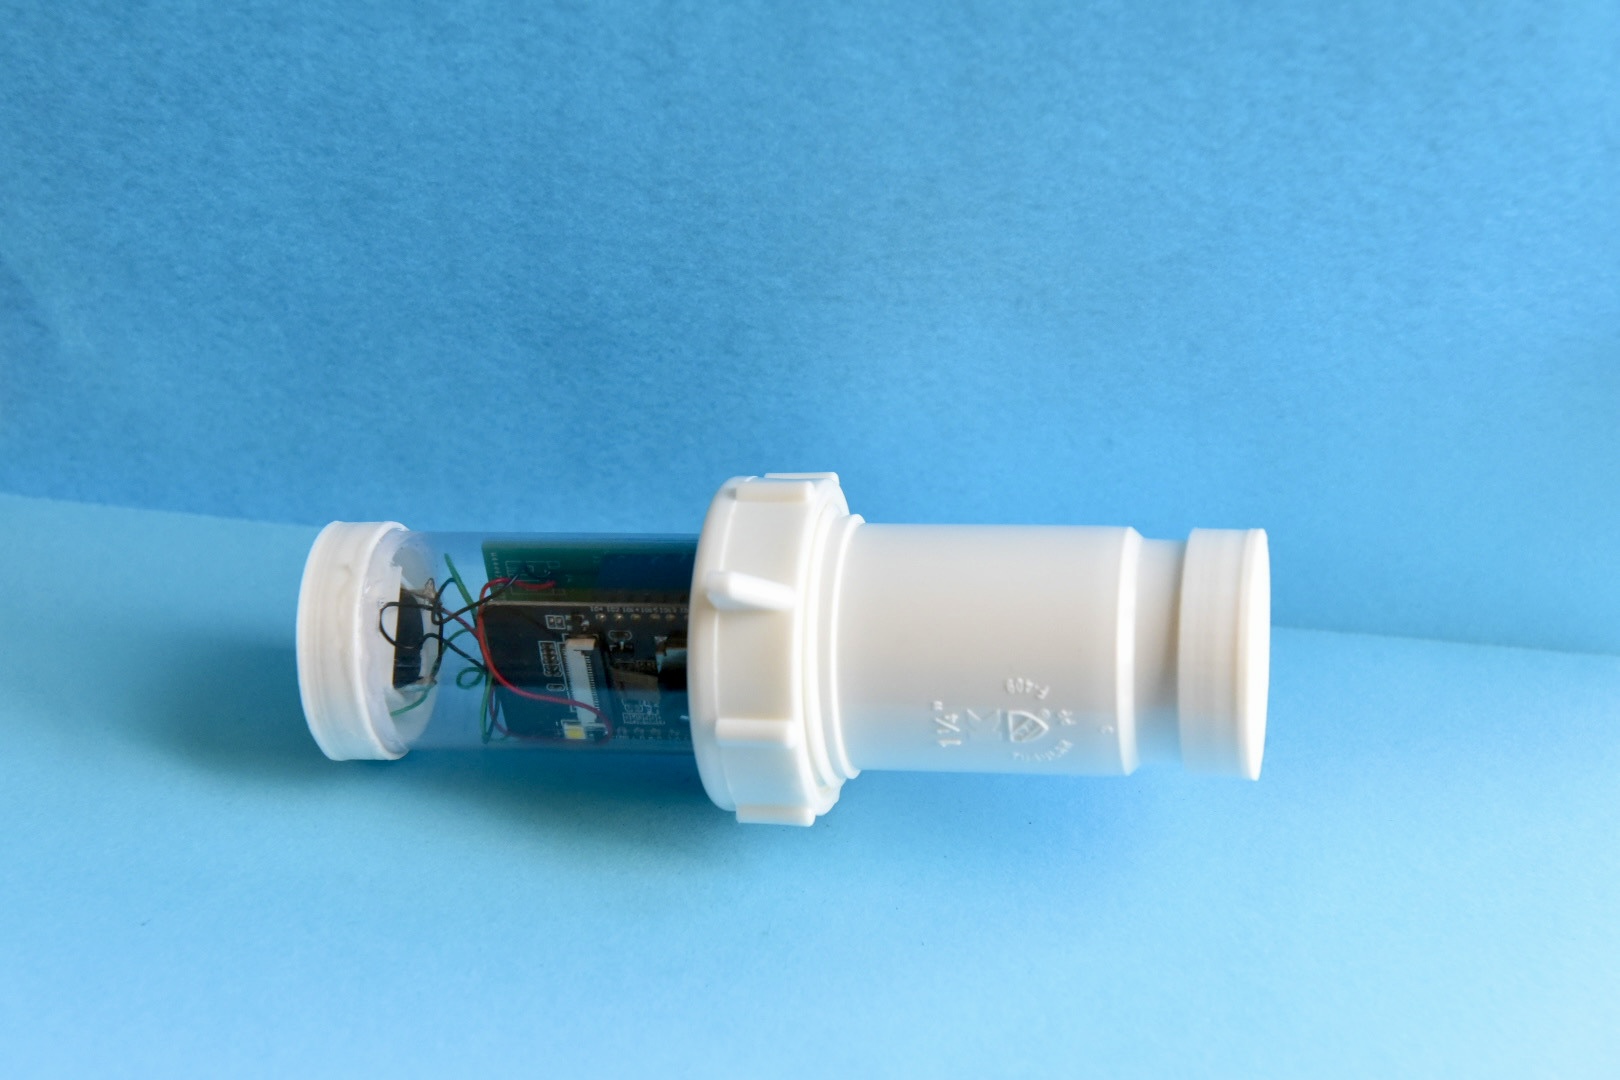
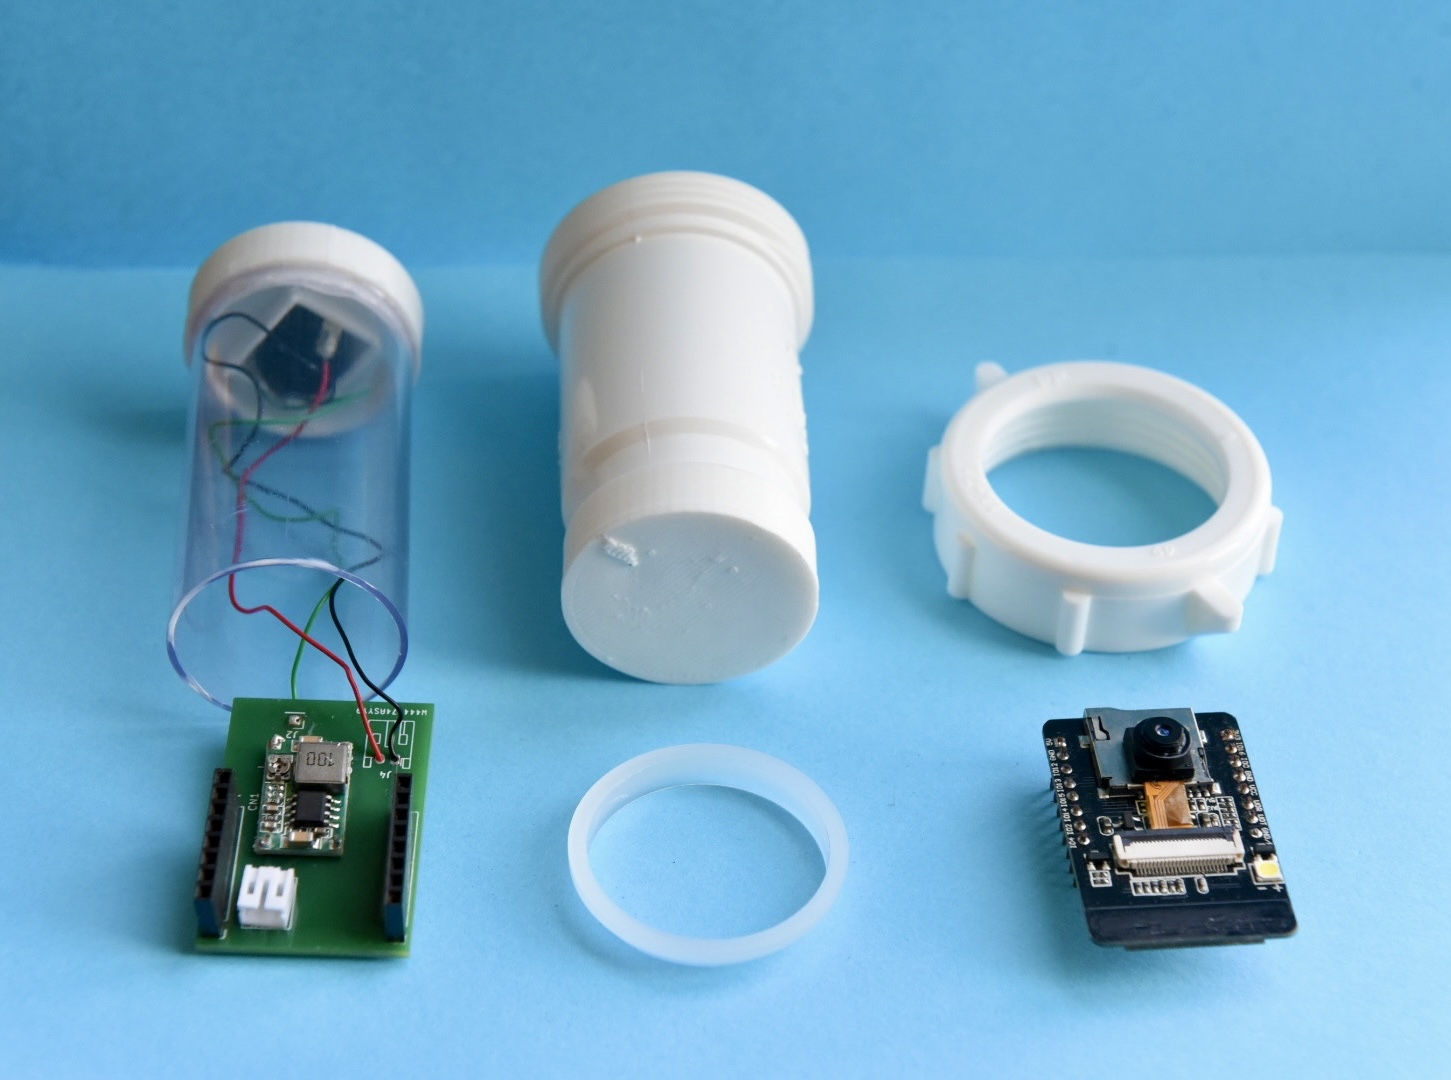
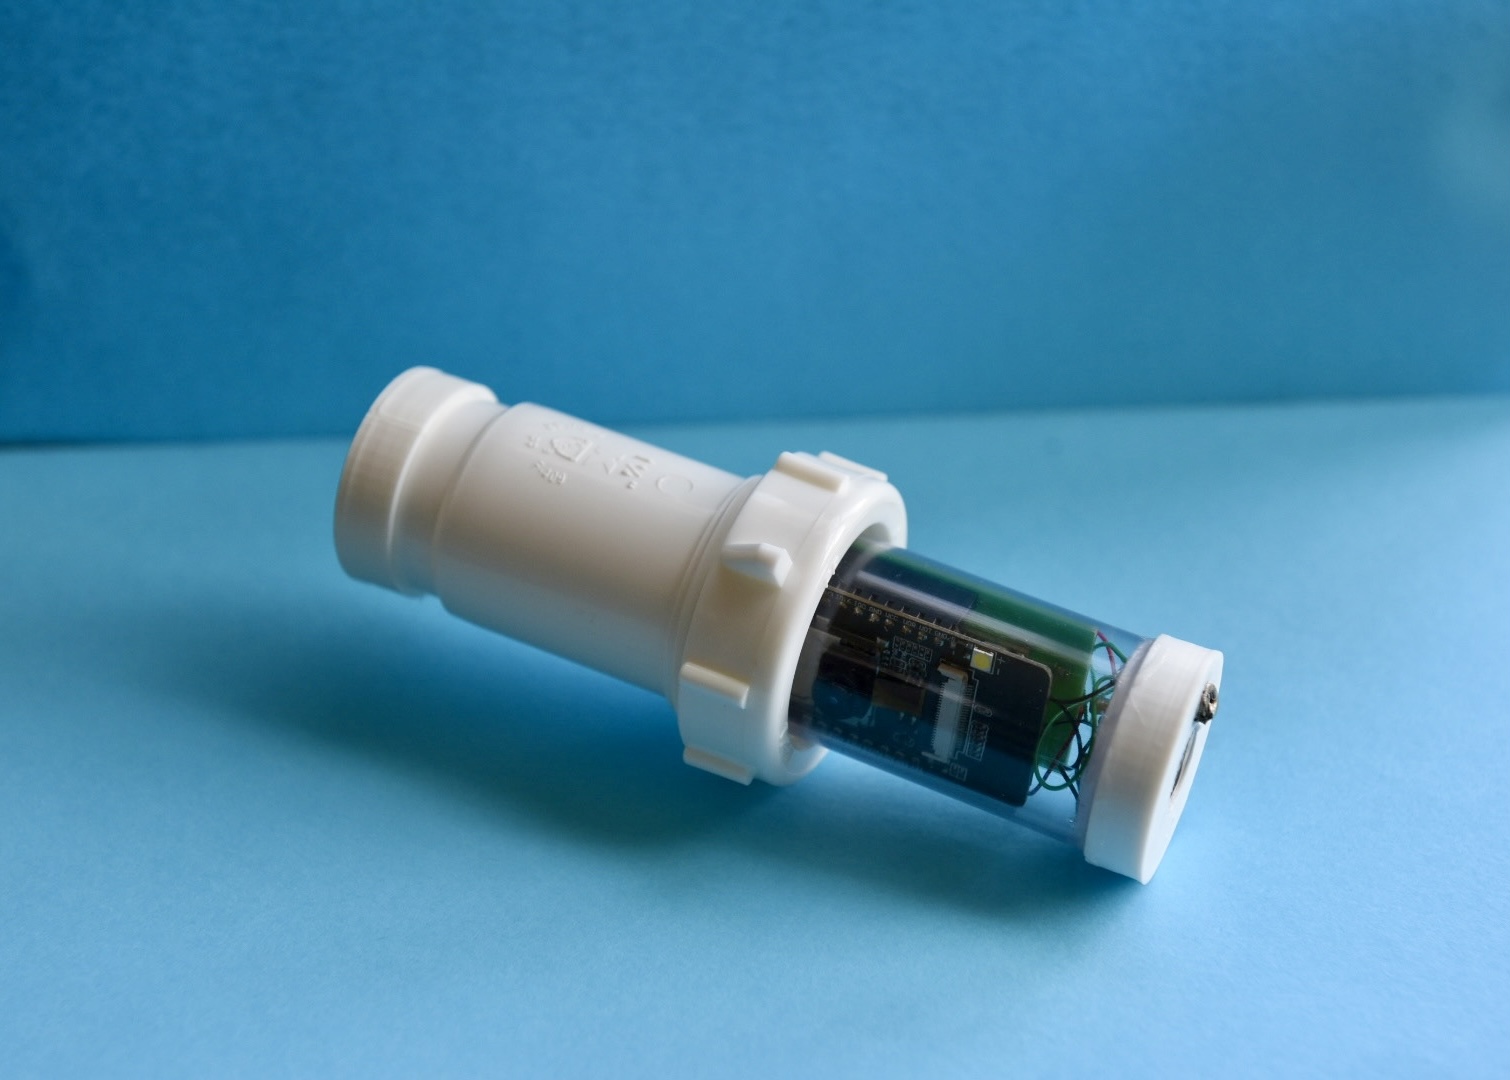
The ESP32-CAM module was the perfect choice for this project. Its compact size makes it ideal for attaching to a fishing line without adding too much weight or bulk that would interfere with casting. The module is also incredibly easy to program, with built-in WiFi capabilities that allow real-time video streaming directly to my phone.
Compared to other camera solutions, the ESP32-CAM offered the best balance of:
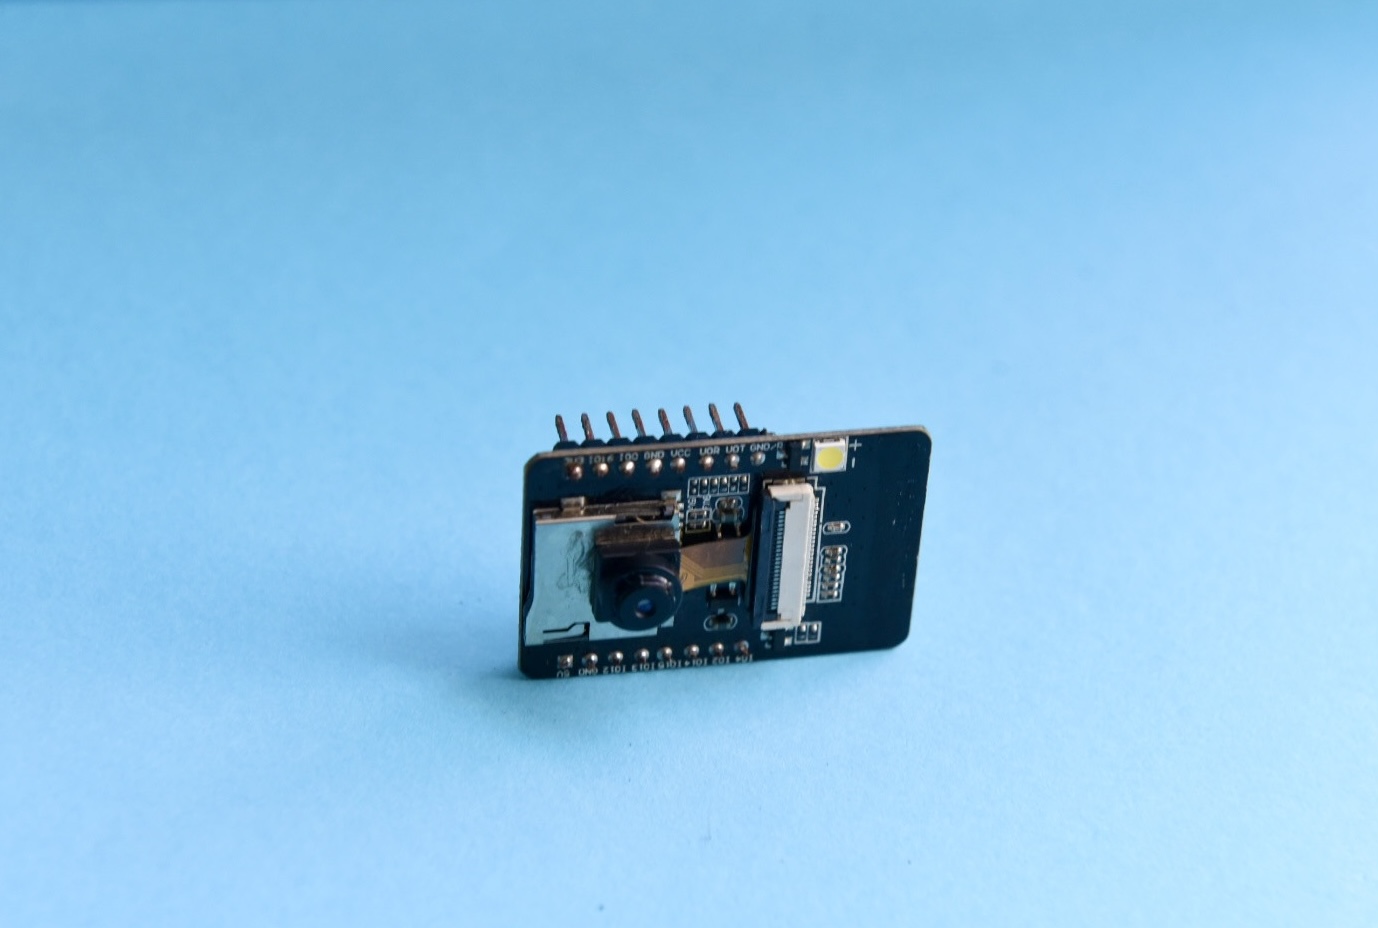
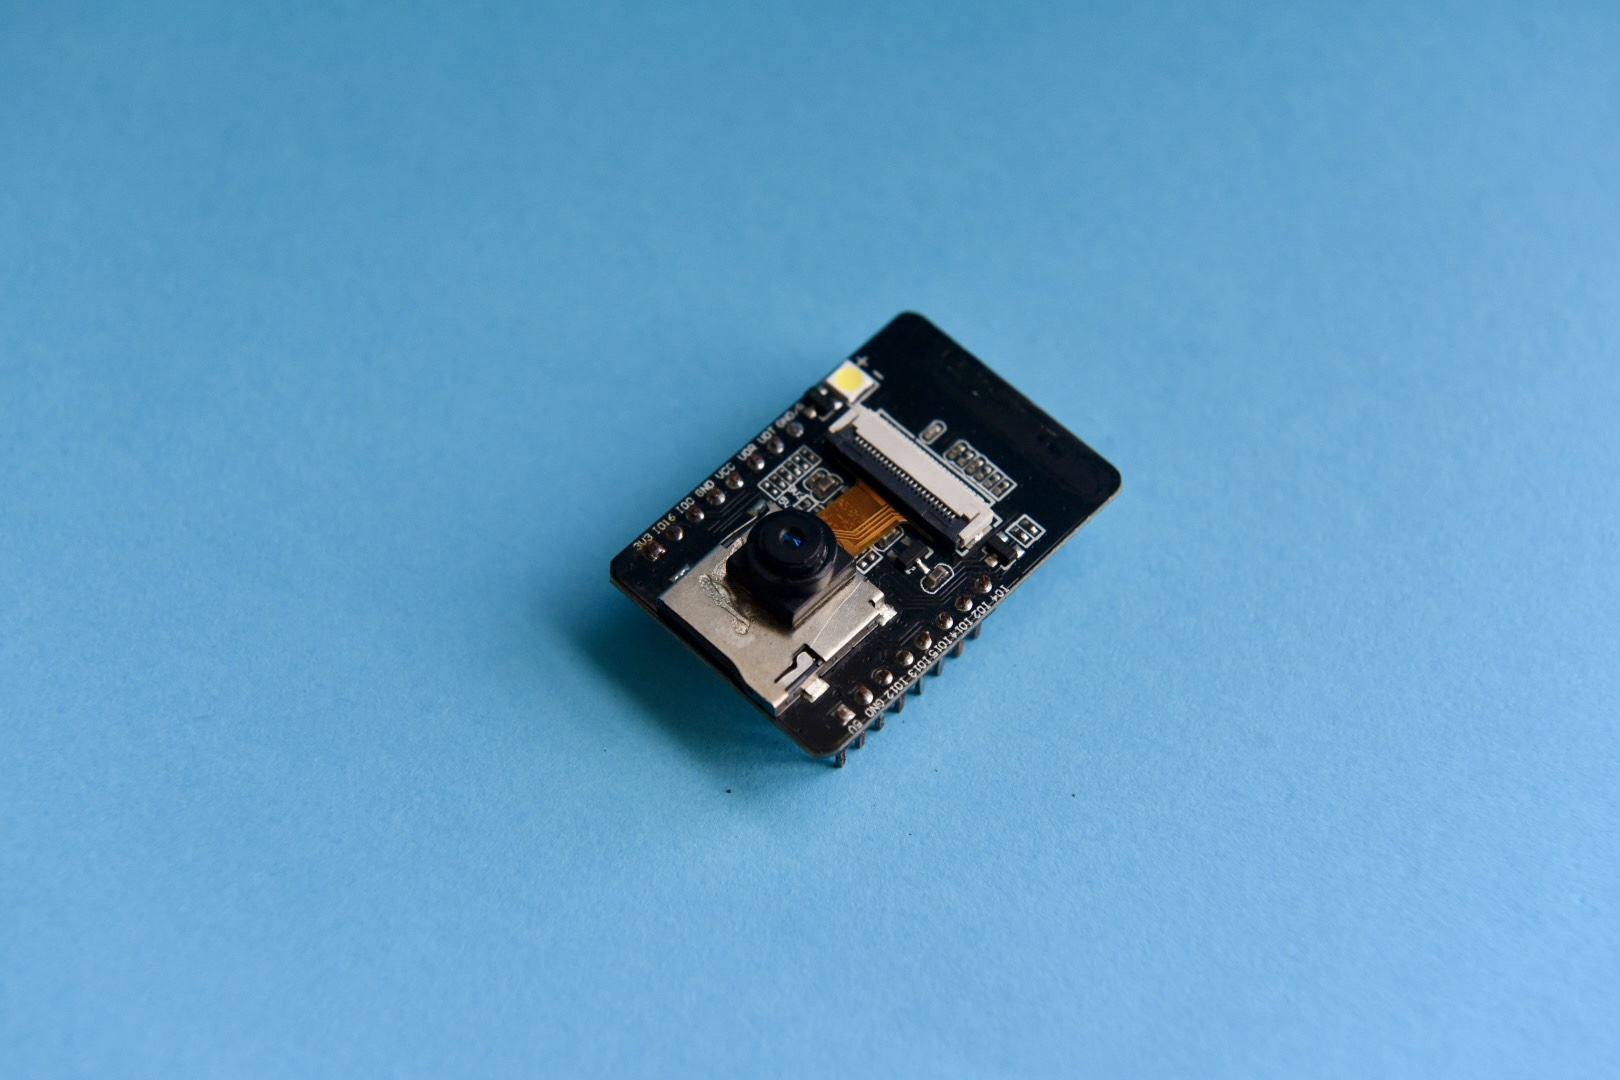
Building this underwater camera presented three major challenges that required creative engineering solutions:
The ESP32-CAM requires a stable 5-volt power supply, but standard batteries don't provide this exact voltage. I needed a compact, affordable power solution that could fit inside a waterproof housing.
Solution: Custom PCB with Voltage Regulation
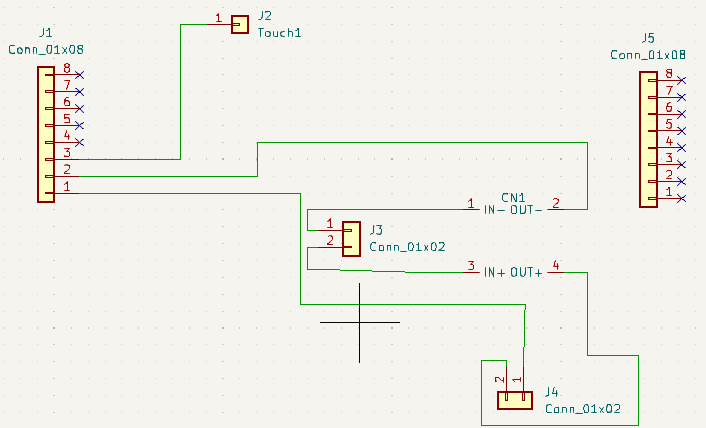
I taught myself KiCAD and designed a custom printed circuit board to solve this problem. The PCB design included:
This custom board became the backbone of the entire system, efficiently powering the camera while keeping costs low.
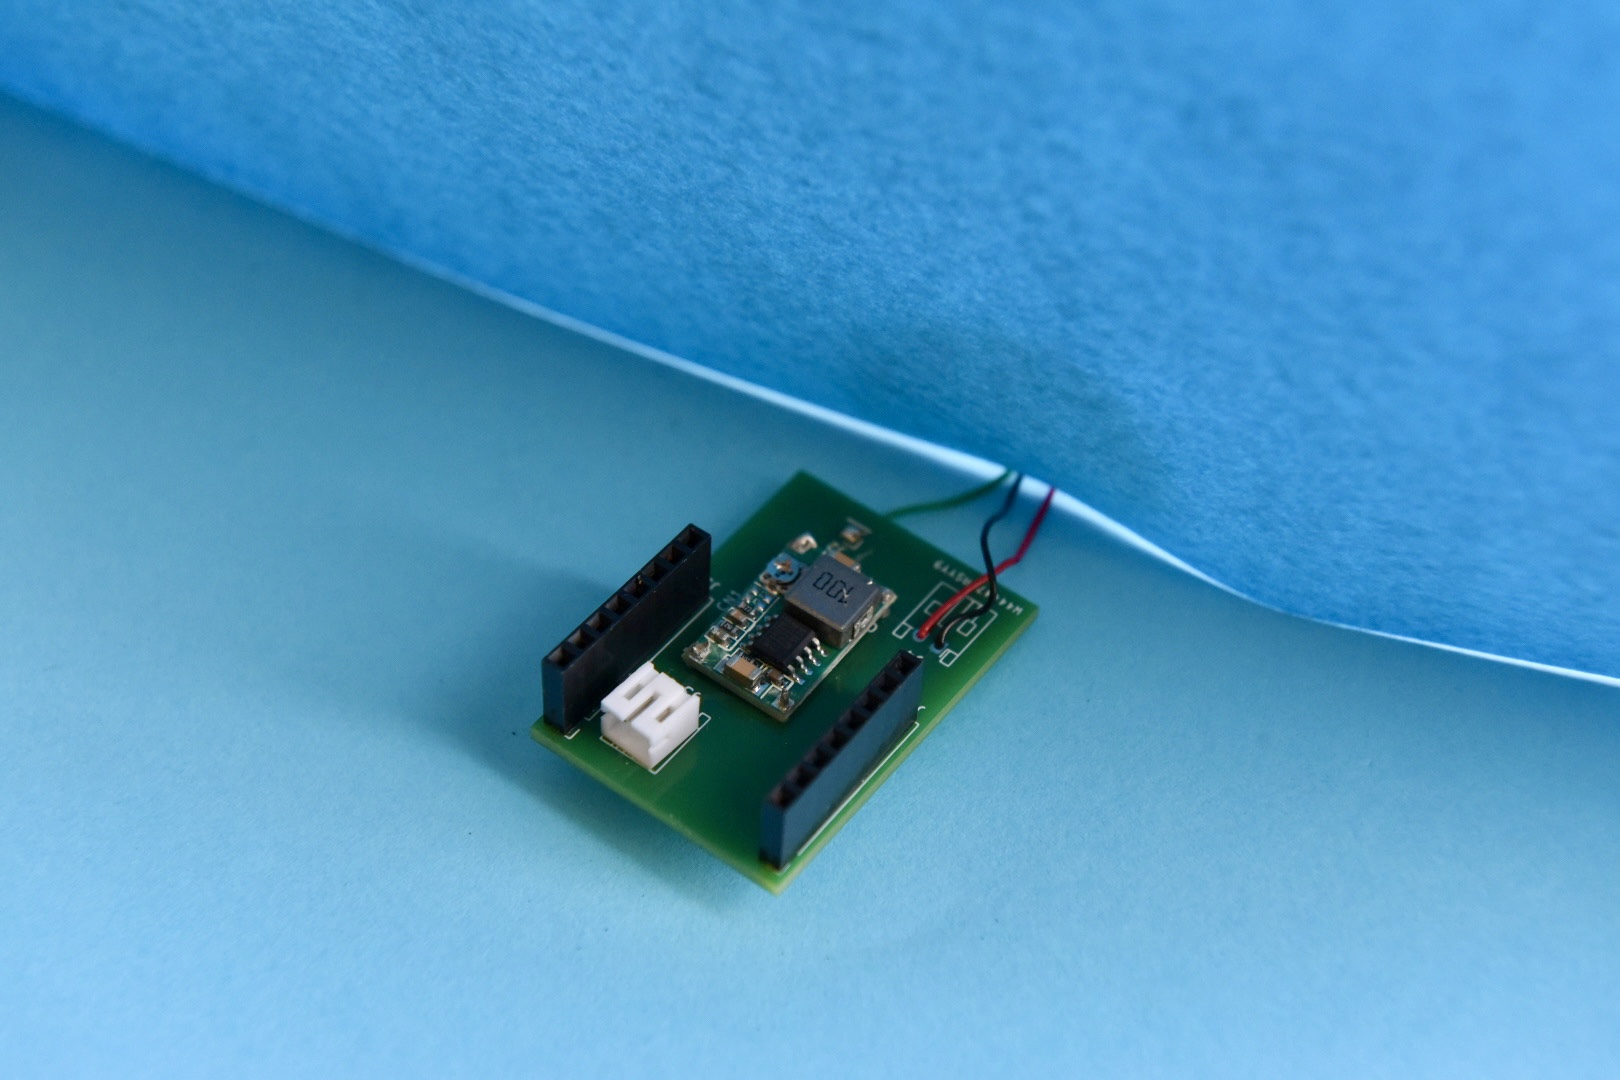
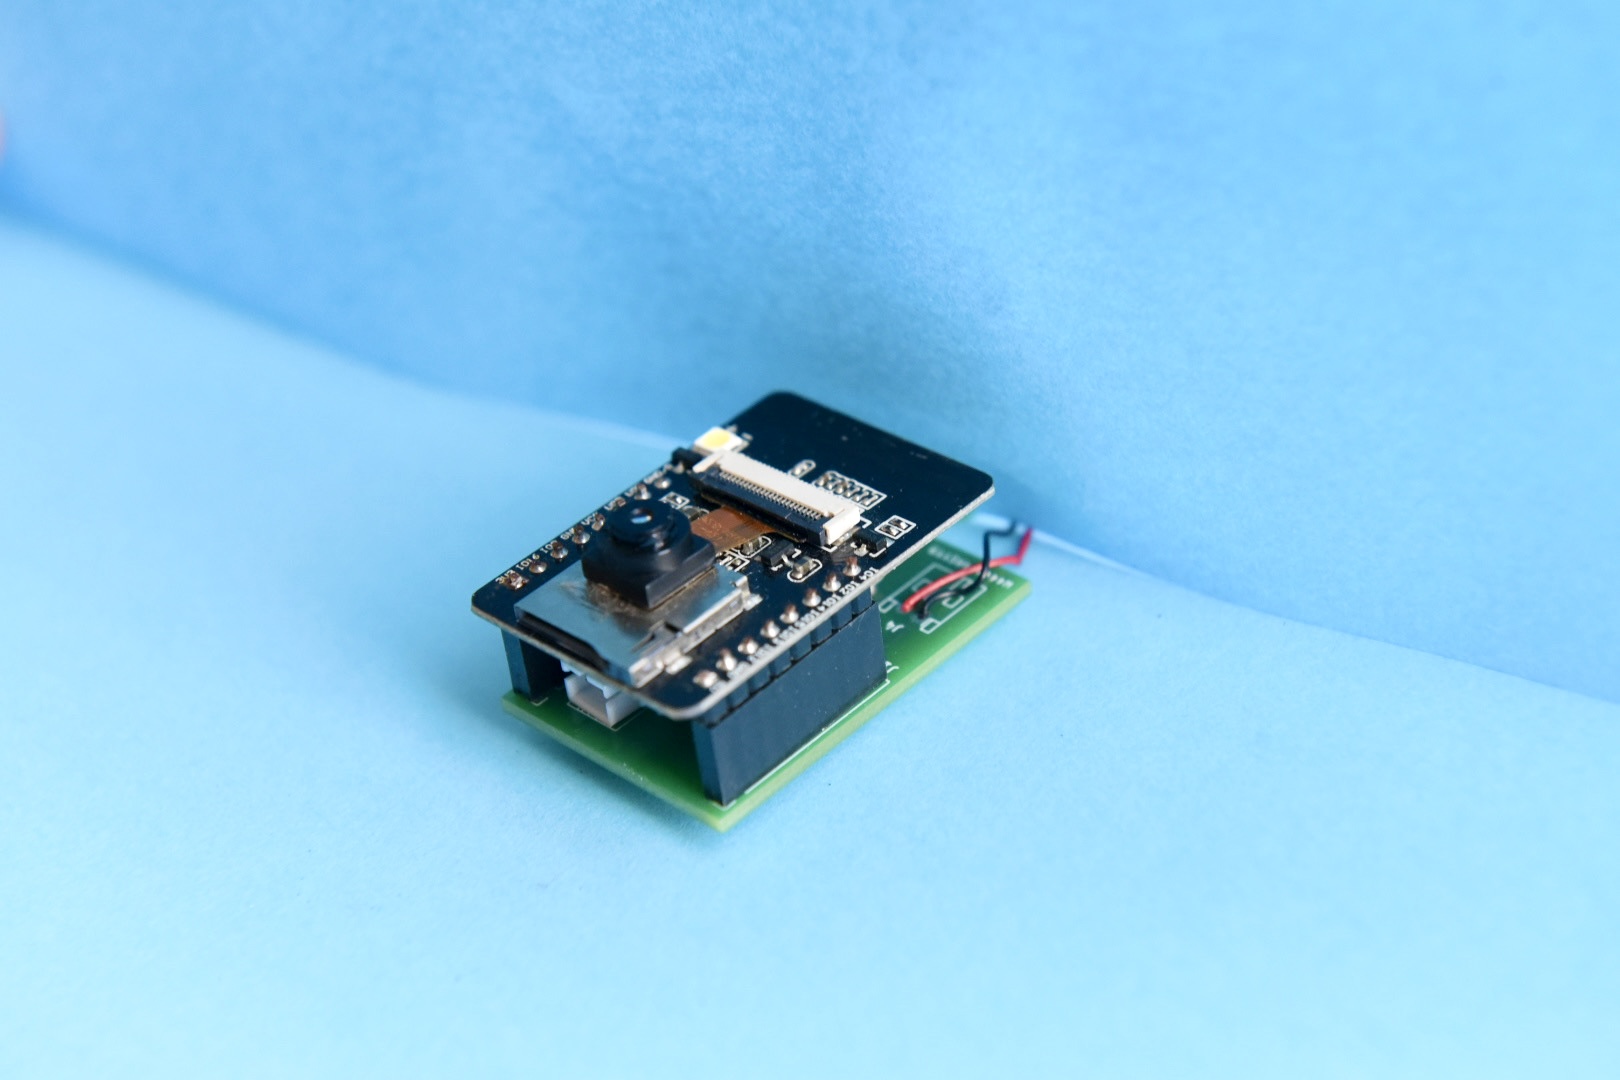
Opening a watertight case every time I needed to power on the camera or start recording would be impractical and risk water damage. I needed external controls that maintained the waterproof seal.
Solution: Waterproof Button and Water-Sensing Trigger
I used a clear PVC pipe as the main housing, cut to the appropriate length with caps on both ends. For the control interface:
Power Button:
Automatic Recording Trigger:
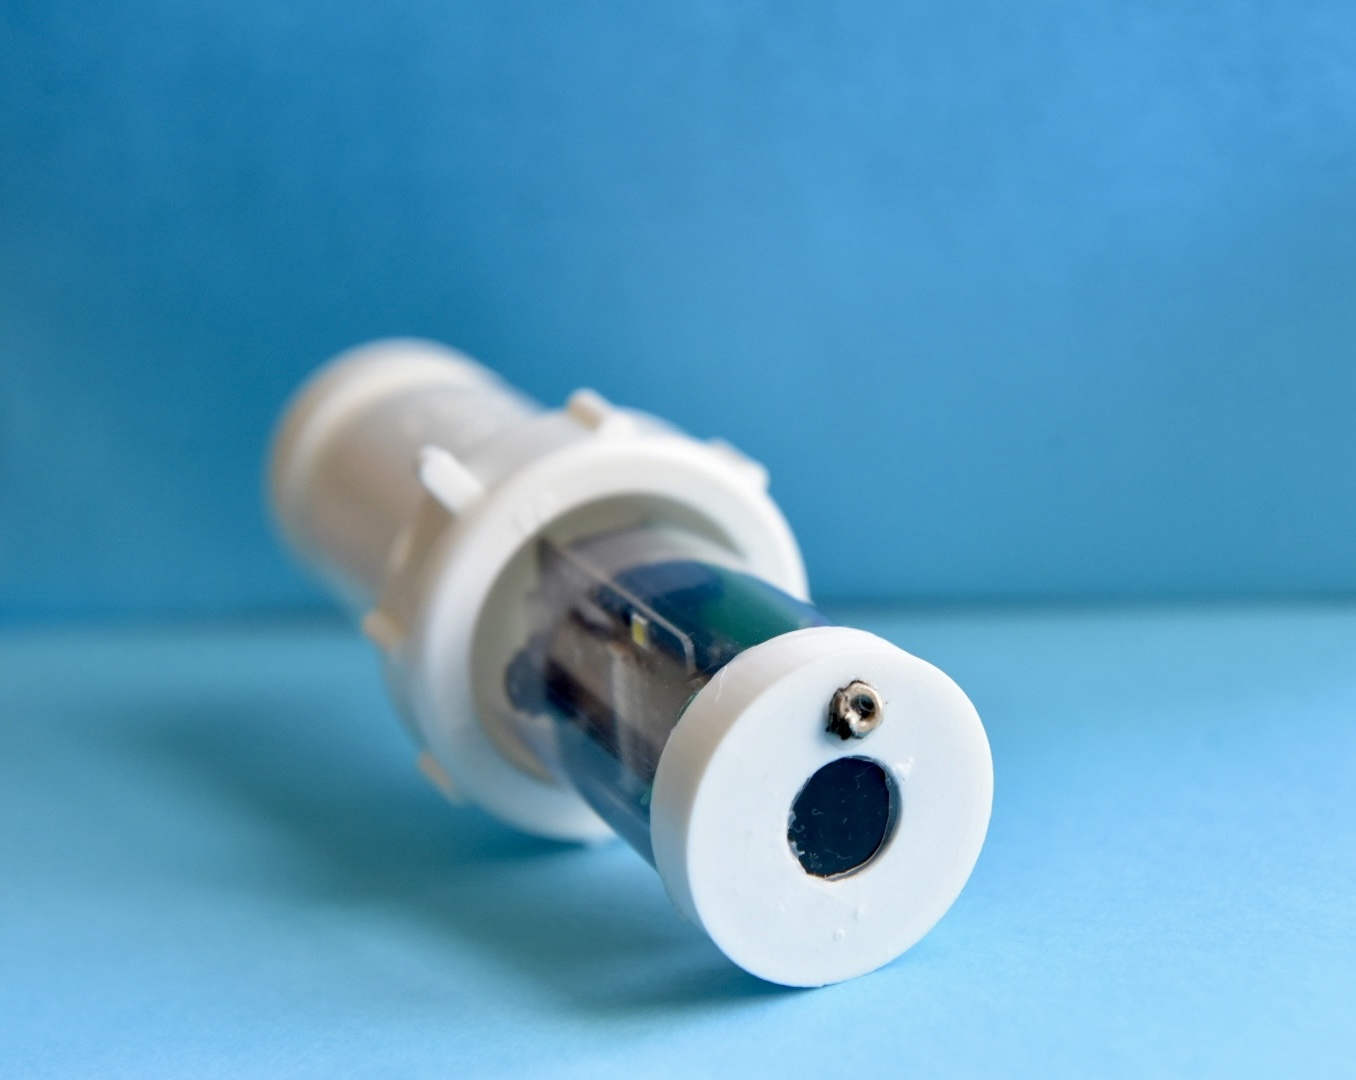
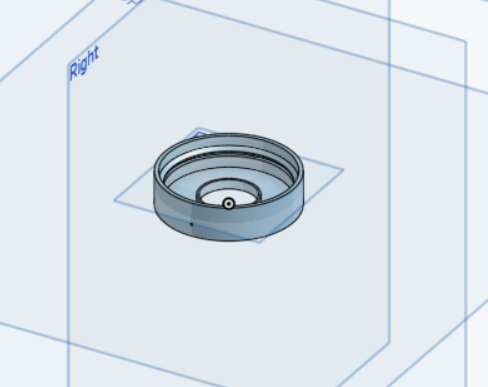
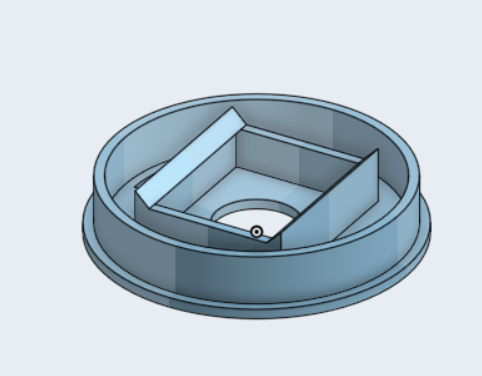
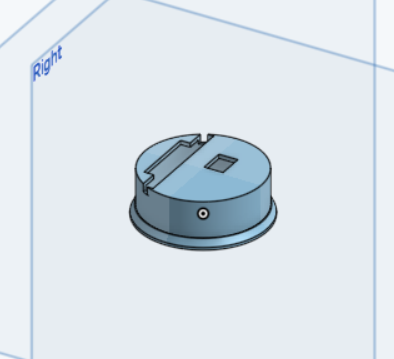
While the main housing needed to remain sealed during use, I still needed a way to easily replace the 9V battery when it ran out, without compromising the waterproof integrity of the camera compartment.
Solution: Screw-On Battery Compartment
On the opposite end from the control button, I designed a removable battery compartment:
This design allows quick battery swaps without exposing the sensitive electronics in the main camera housing.
The first version wasn't pretty, but it worked. It was proof that the idea could be made. We had a waterproof underwater camera that could be attached to a fishing line, powered by an affordable battery system, and controlled without opening the case. While the aesthetics and refinement would come later, V1 successfully demonstrated that I could scout fishing spots from shore without expensive equipment.
The camera doesn't balance well underwater because the heavy battery pulls it to one side, and air gets trapped unevenly in the case. Future versions will move parts around and balance the weight better so it floats straight.
Add live video streaming to a phone so I can see what's underwater in real-time instead of watching recorded footage later. This might need changes to how the camera is set up to get the WiFi signal working through water.
Flip the camera around so it points backward. This way I can watch my lure as I reel it in and see how fish react to it, which helps me figure out what makes them bite.
Make the whole thing smaller and lighter by redesigning the circuit board to be more compact, switching to lighter batteries, and using a thinner case. This will make it easier to cast and attach to my fishing line.
If you are interested in improving the design or have suggestions, feel free to open an issue or submit a pull request!
Name: Jason Zhang
Email: jason.zhang.duidui@gmail.com
Built with passion for fishing and engineering
| Qty | Value | Footprint | References |
|---|---|---|---|
| 2 | Conn_01x02 | Connector_JST:JST_PH_S2B-PH-K_1x02_P2.00mm_Horizontal | J3, J4 |
| 2 | Conn_01x08 | Connector_PinHeader_2.54mm:PinHeader_1x08_P2.54mm_Vertical | J1, J5 |
| 1 | Touch1 | Connector_PinHeader_2.54mm:PinHeader_1x01_P2.54mm_Vertical | J2 |
| 1 | ~ | WaterCamCustom:PowerSupplyConn | CN1 |
byrantech/laptop
anyon_e, a highly integrated, high end, open source laptop. Attempt the impossible.


Jcparkyn/dpoint
Open-source digital stylus using camera tracking and inertial measurements

VoronDesign/Voron-Hardware
Cool Hardware designed by the Voron Design group

hoglet67/RGBtoHDMI
Bare-metal Raspberry Pi project that provides pixel-perfect sampling of Retro Computer RGB/YUV video and conversion to HDMI

hackclub/OnBoard
💡 Join 1,000 teenagers and make your first PCB with a $100 grant!

Luos-io/luos_engine
Open-source and real-time orchestrator for cyber-physical-systems, to easily design, test and deploy embedded applications and digital twins.

It measures 27.2 × 39.8 mm and has 2 copper layers, 1.6 mm thick.
6 parts. The full list of its parts is on this page, with links to each part's symbol and footprint where PCBKit's library has them.
From the JasonZ2030/CamProject repository on GitHub, at the commit this page was made from: the board is PCBs/UnderwaterCam project JJ.kicad_pcb and its schematic PCBs/UnderwaterCam project JJ.kicad_sch. PCBKit opens the board in the browser, with nothing to install.
Its repository states no licence, so its author keeps all rights: ask JasonZ2030 before reusing the design.