
2 layers
Encoder
byrantech/laptop
anyon_e, a highly integrated, high end, open source laptop. Attempt the impossible.
7 parts4.3kMIT

A wireless LED performance prop system from the Department of Engineering Science, NCKU. As the props spin, they use Persistence of Vision (POV) to draw 2D images in the air, synchronized over Wi-Fi to music.
Pcb1 is an open-source printed circuit board by ivan125126, from the ivan125126/light_light_light repository on GitHub, published under the BSD-3-Clause licence. It is a 2-layer board of 56.5 × 21.5 mm with 7 parts on 6 nets, routed with 51 tracks and 0 vias.
A wireless LED performance prop system from the Department of Engineering Science, NCKU. As the props spin, they use Persistence of Vision (POV) to draw 2D images in the air, synchronized over Wi-Fi to music. They are mainly performed at freshman orientation camps.
Full design write-up (electronics, mechanical, firmware, editor): LightPOV project page
| Device | Photo | Description | Code |
|---|---|---|---|
| Light Stick |  | ESP32 + WS2812 LED strip in a transparent PC tube, powered by an 18650 Li-ion battery | LightPOV/ |
| Light Snake | 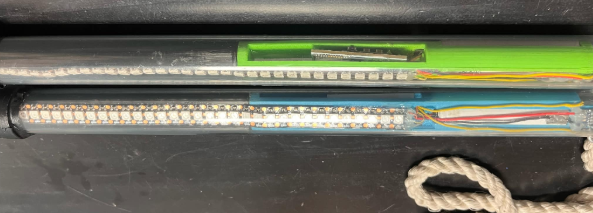 | Shares the Stick's ESP32 core board and firmware, swung on a rope | LightPOV/ |
| Light Ball | 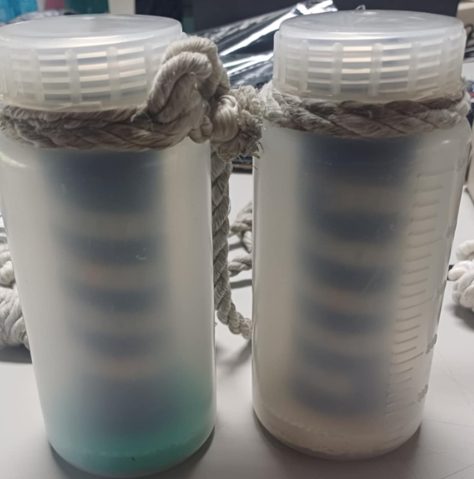 | ESP-12F (ESP8266) + RGB LEDs in a semi-transparent PE container | LightBall/ |
Click a thumbnail to watch on YouTube.
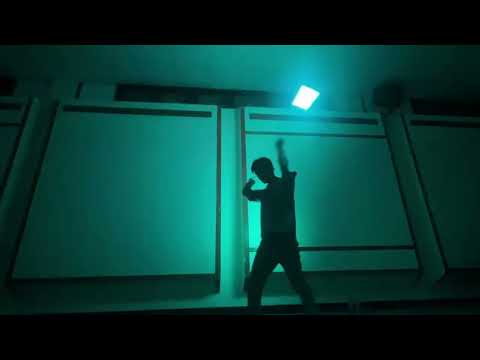
117th Freshman Orientation Camp
| Stick | Ball | Snake |
|---|---|---|
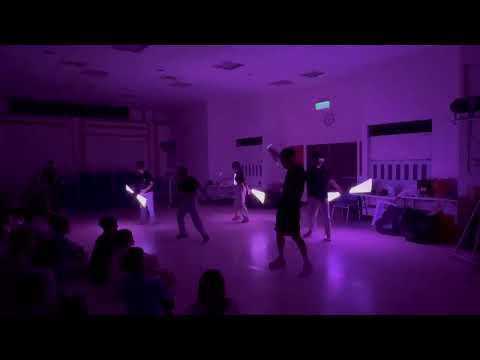 | 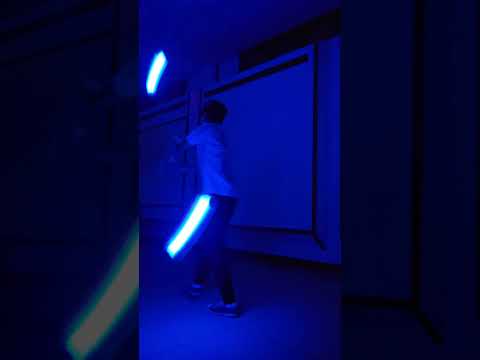 |  |
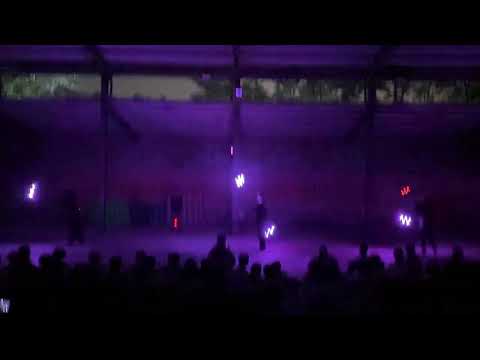
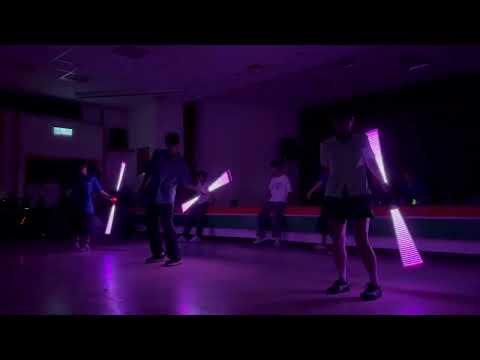
| 27th ESCamp (Stick, Ball, Snake) | 118th Freshman Orientation Camp (Stick) |
|---|---|
 |  |
| Folder | Contents | Status |
|---|---|---|
LightPOV/ | Stick & Snake: ESP32 firmware, effect editor (ControlPanel_v3), PCB and 3D models | Active development |
LightBall/ | Ball: ESP8266 firmware, controller, C# helper tool, PCB | Maintained |
LightPOV/legacy/ holds previous control panels and past performance files. It is kept for reference only, so please don't develop in it.
FastLED, cppQueue and MPU6050 librariescd LightPOV/ControlPanel_v3
npm install
npm run dev # open http://localhost:3000
npm run test # run unit testsThe props fetch effects and sync time from the server over Wi-Fi. Each server serves a different prop:
| Server | How to start | Port | Prop |
|---|---|---|---|
ControlPanel_v3/server/server.ts | cd LightPOV/ControlPanel_v3/server && npm install && npm run start | 10240 | TBD |
ControlPanel_v3/src/server/server.js | cd LightPOV/ControlPanel_v3/src/server && npm install && node server.js (on Windows, run 啟動server.bat) | 20480 | TBD |
LightPOV/ESP32/ESP32.ino in Arduino IDELUX_ID_DEFAULT (each prop's ID) in config.hTBD (edit effects → push to server → props connect → play music to start)
cd LightBall/controller
npm install
node server.js     # open http://localhost:3000
The firmware is in LightBall/Code/LightBall_v2/.
For questions, please open an Issue.
Hardware
Software
This project is forked from sciyen/ES-Lux (NCKU ES Makers Program). Thanks to the original authors @sciyen and @BensonYang1999. The Lux-starter kit from the original project is not included in this repo; see the upstream repo if you need it.
Licensed under the BSD 3-Clause License.
| Qty | Value | Footprint | References |
|---|---|---|---|
| 1 | H1 | a7888812b2a44d4dbb4db40b5bdf1a47 | H1 |
| 1 | H2 | a7888812b2a44d4dbb4db40b5bdf1a47 | H2 |
| 1 | H3 | e6a0d22e109948b3b5ea7eec97f41443 | H3 |
| 1 | H4 | e6a0d22e109948b3b5ea7eec97f41443 | H4 |
| 1 | U1 | abe642fa63f74328b63ecdce04e13a56 | U1 |
| 1 | U2 | 7f07cc57892d4498bd1535c8f47795ae | U2 |
| 1 | U6 | 9602c4eddce44f08a1cc8879e6cb76c3 | U6 |
byrantech/laptop
anyon_e, a highly integrated, high end, open source laptop. Attempt the impossible.


AxxAxx/AxxSolder
STM32 Based soldering station for JBC cartridges, 9-24 VDC and USB-PD power


jamro/tiny-engineer
A small desktop robot that brings an AI coding assistant to life, physically acting out when it reads files, thinks, writes code, and finishes work.

hoglet67/RGBtoHDMI
Bare-metal Raspberry Pi project that provides pixel-perfect sampling of Retro Computer RGB/YUV video and conversion to HDMI

It measures 56.5 × 21.5 mm and has 2 copper layers, 1.6 mm thick.
7 parts. The full list of its parts is on this page, with links to each part's symbol and footprint where PCBKit's library has them.
From the ivan125126/light_light_light repository on GitHub, at the commit this page was made from: the board is LightPOV/hardware/PCB/light_stick/pcb1.kicad_pcb and its schematic LightBall/hardware/PCB/light_ball/sheet_1.kicad_sch. PCBKit opens the board in the browser, with nothing to install.
Its repository publishes it under the BSD-3-Clause licence: you may reuse it on that licence's terms (keep the author's notice, and for a copyleft licence share your changes alike).