


2 layers

 gearhead765/Van-Level1
ESP32 app to assist with camper leveling
Van Level PCB is an open-source printed circuit board by gearhead765, from the gearhead765/Van-Level repository on GitHub, published under the MIT licence. It is a 2-layer board of 34 × 74 mm with 10 parts on 41 nets, routed with 43 tracks and 0 vias.
It is built around the R-78E3.3-0.5, SS14 and SZ5KASMC36AT3G. Its parts include 3 ICs, 2 diodes, 1 resistor, 1 connector and 1 fuse. It belongs with the ESP32 boards of this library.
ESP32 Based digital level to display leveling information for a camper van. This originally started as an ESPHome application however, the requirement to have Home Assistant running on your phone or tablet in order to see the leveling information was cumbersome. It was decided that displaying the information on a simple web page, instead of a Home Assistant Lovelace overview, would be much easier to use. However, there is also a Home Assistant Dashboard setup available.
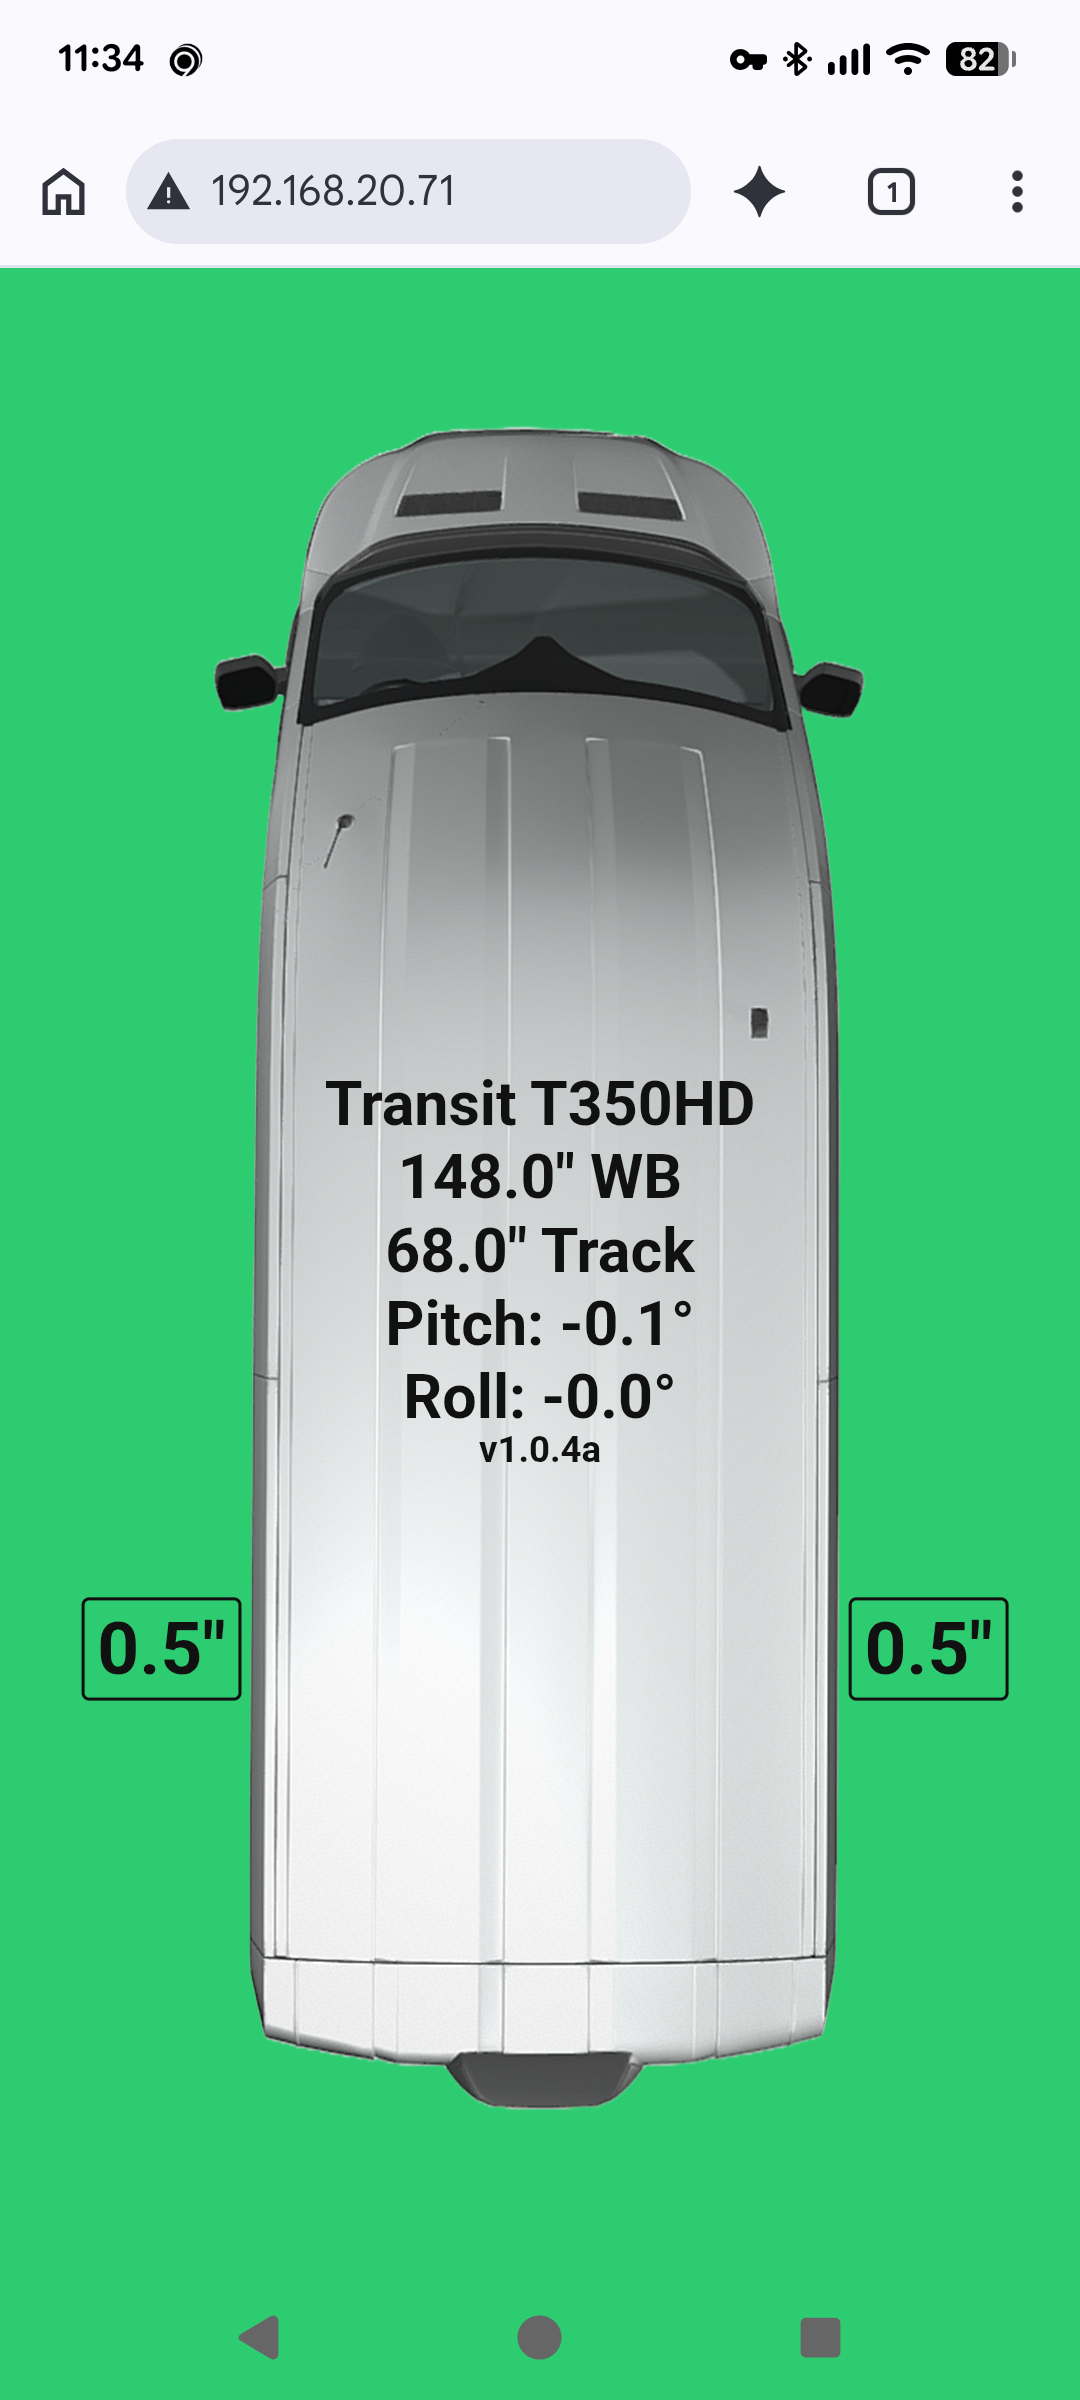
This app displays a simple webpage with a graphic of a camper van showing the amount of wheel lift (blocking) needed under each tire to level the van. Included is the Van Level app, Kicad PCB files, and Solidworks files to modify a Hammond enclosure to contain the project.
├── CAD Model/                       # SolidWorks 3D model of the board and Hammond enclosure
├── Notes/                           # Datasheets and component references
├── Van_Level_App/Van_Level          # Arduino ESP32 source code
│                 ├── data/          # App's LittleFS website
│                 │   └── images/
│                 └── HomeAssistant/ # RESTful Lovelace card for Home Assistant
├── Van_Level_PCB/                   # Kicad board files
│   └── Component Models/            # STEP files of board components
├── HARDWARE.md                      # Hardware specifications and components
├── HOMEASISTANT.md                  # Integrating with Home Assistant
├── README.md                        # This file
└── SOFTWARE.md # Software descriptionThis application uses an ESP23 to read acceleration values from an IMU to calculate the pitch and roll angles for a vehicle. A little trig is used to convert these angles into block heights needed to level the vehicle. The resulting information in presented graphically via a self-hosted webpage and are also made available via a RESTful API resource.
The Wifi supports a standard network client, using either DHCP or static network setup, as well as a local Access Point for connecting directly to the device without a local network.
The leveling information can be viewed using any browser that supports Javascript. The webpage displays an image of a van, and a value next to each wheel requiring blocking. The rounding of the height values presented can be adjusted to correspond to your leveling block height. If you have 1" blocks, the rounding value can be set to change in 1" increments. Additionally, the image background will change to green when the vehicle is level within a user specified range.
The van image can be changed to reflect your particular vehicle model and color, and the vehicle's wheelbase and track measurements can be edited to fit your particular van. Details on these features are in Software.
VAN_LEVEL access point.12345678.VAN_LEVEL and password 12345678 can be changed later.192.168.4.1.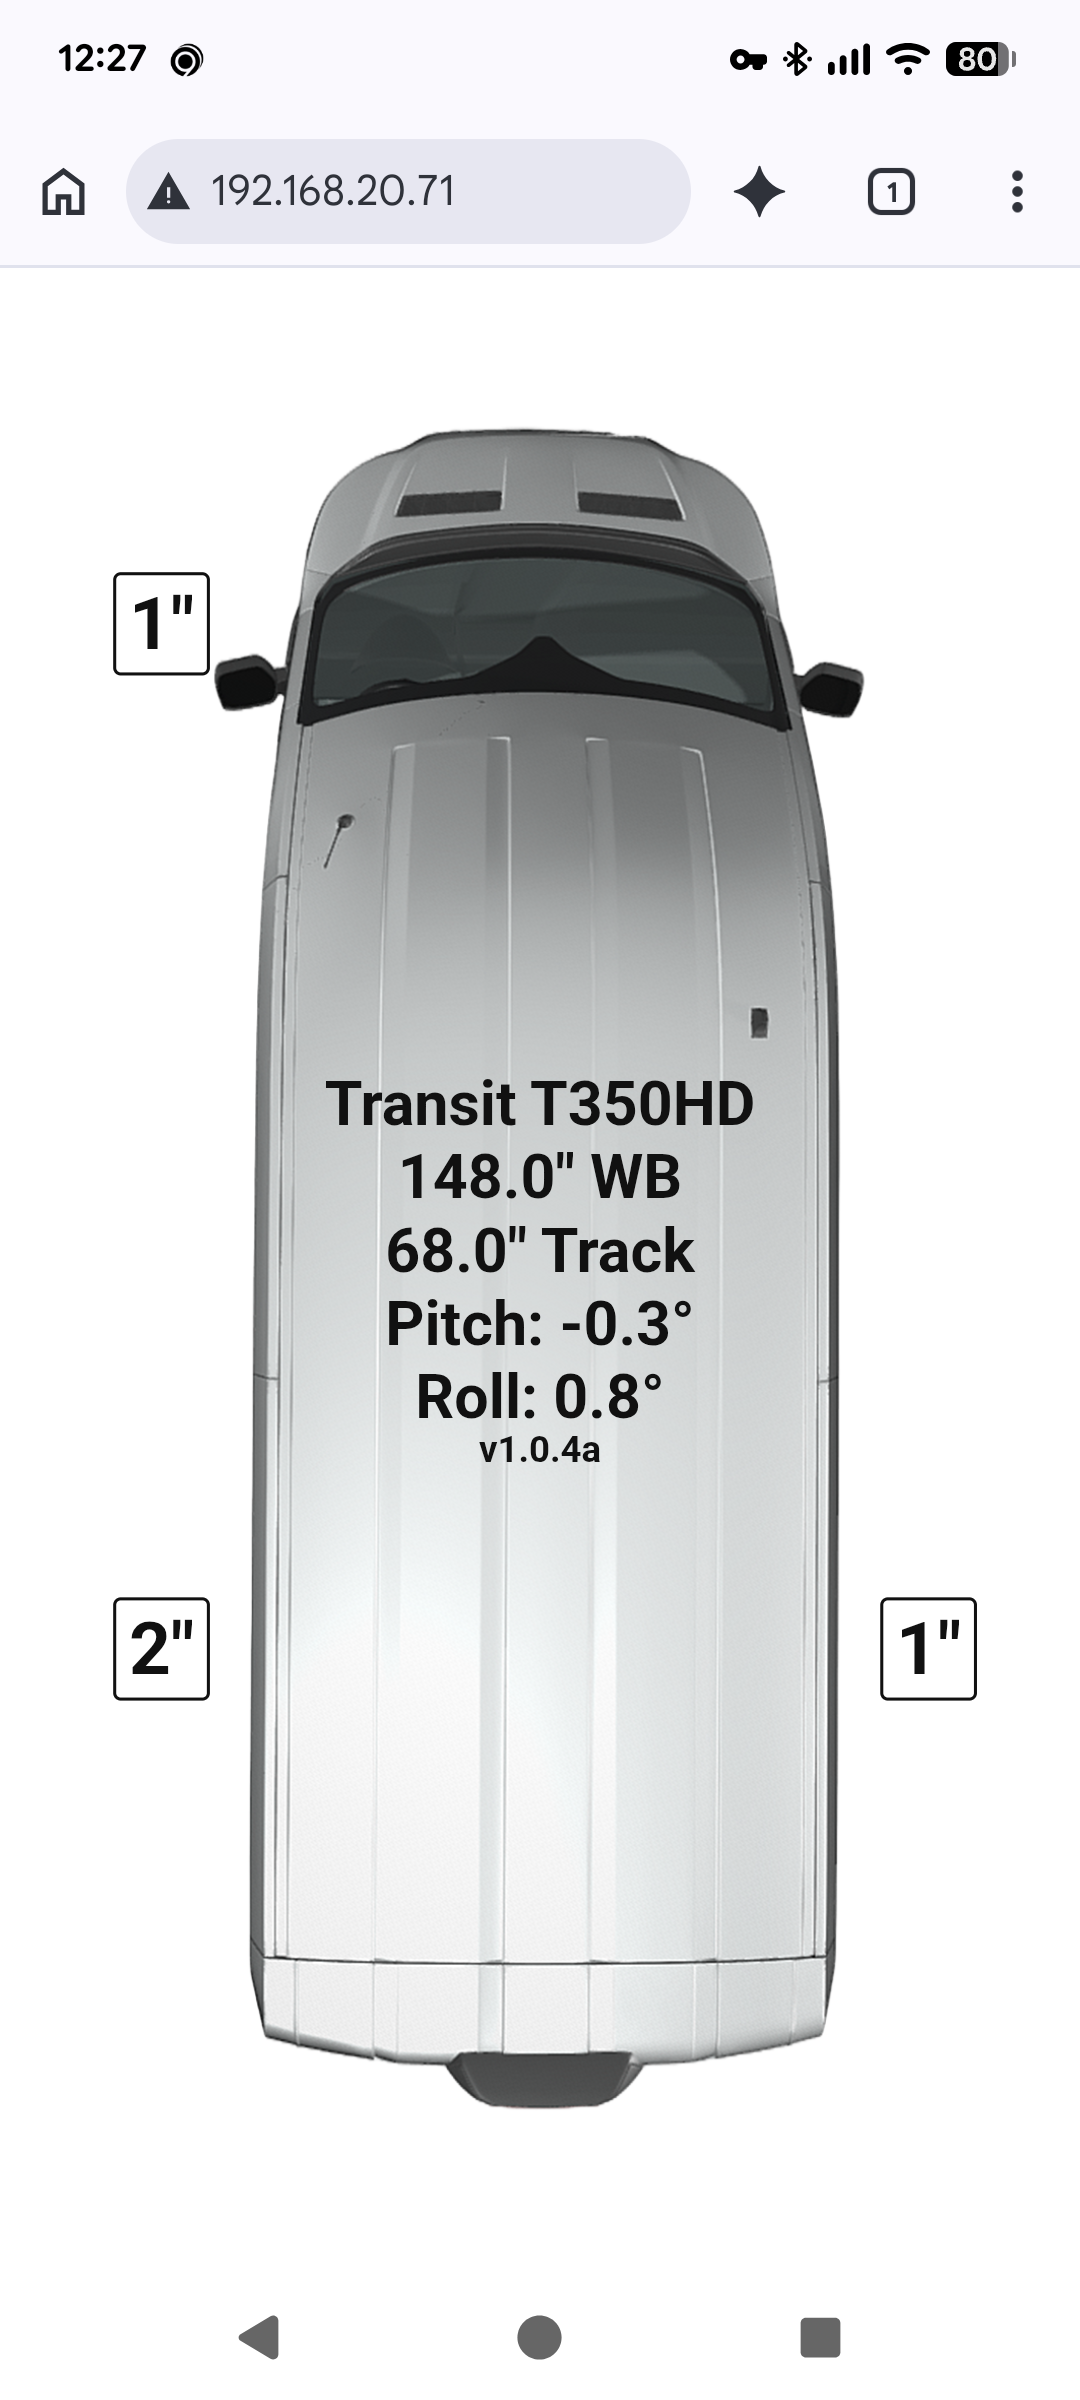
Dark Mode setting.192.168.4.1/setup.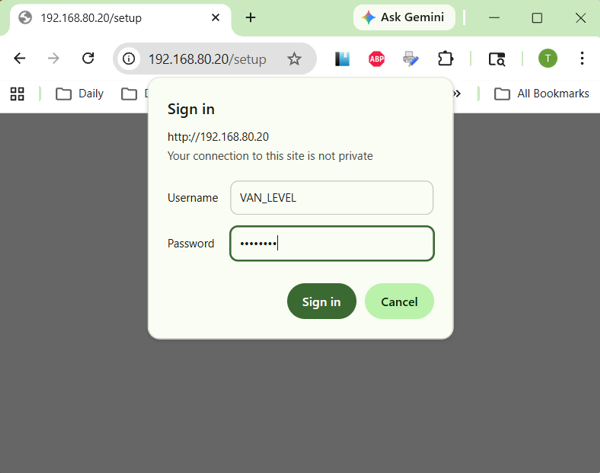
Sign in, your browser should now be displaying the app setup page with the status tab selected:
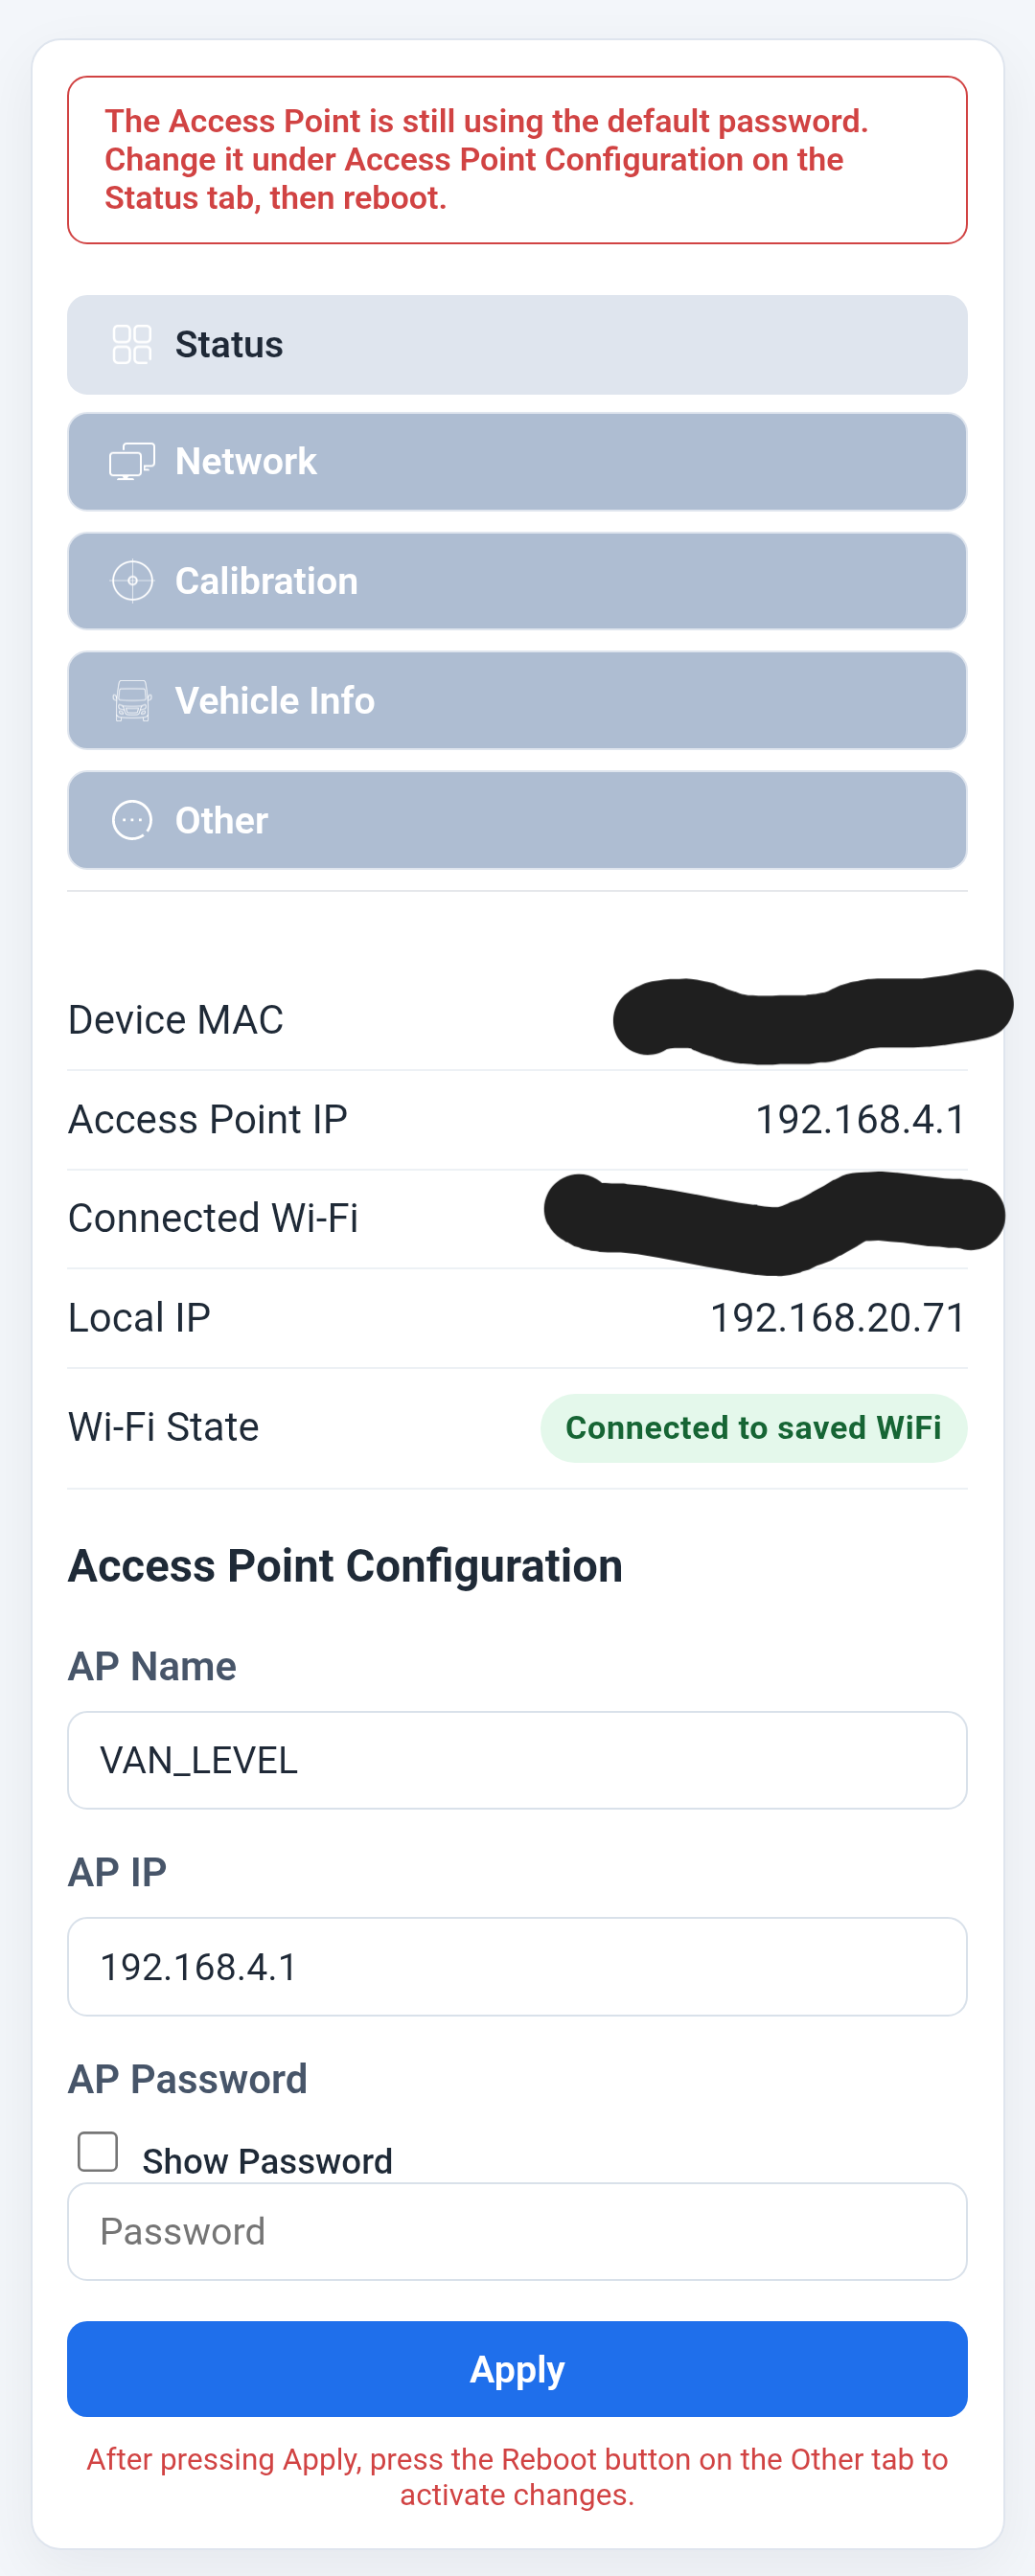
Apply, you will need to switch to the Other tab and select Reboot to enable the changes.setup page to make changes. If this happens, you can reset the App to the original defaults by holding down the 'Boot' button on the ESP32 board for 5 seconds while the device reboots.Network tab allows you to connect the Van Level app to your local network. Pressing the Scan Wi-Fi button will search for all available access points. When the scanning is finished, selecting the Nearby WLAN dropdown will present a list of all APs found allowing you to select one.
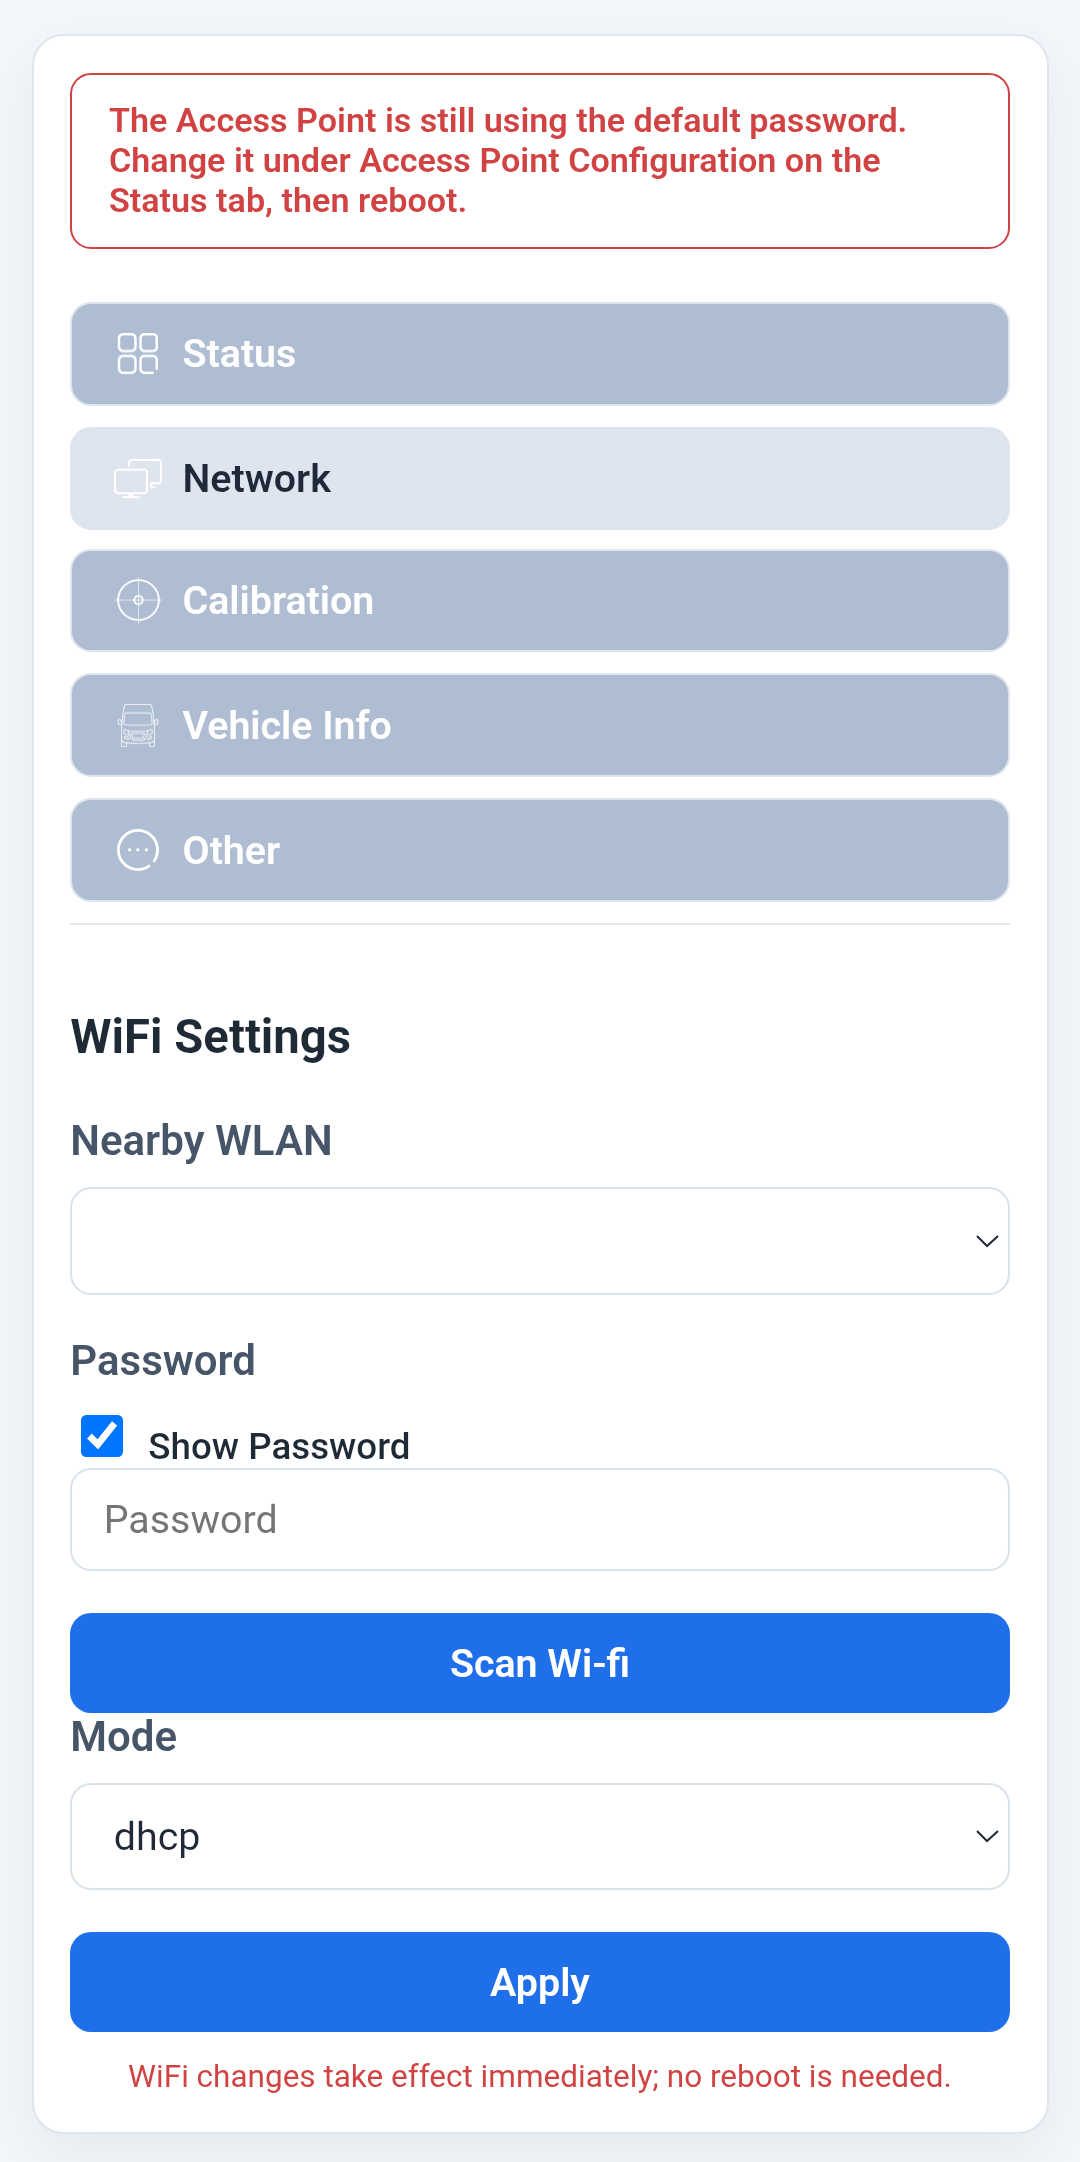
Apply. Changes are automatic and you do not need to restart the device.Status tab and verify your selected WiFi connection.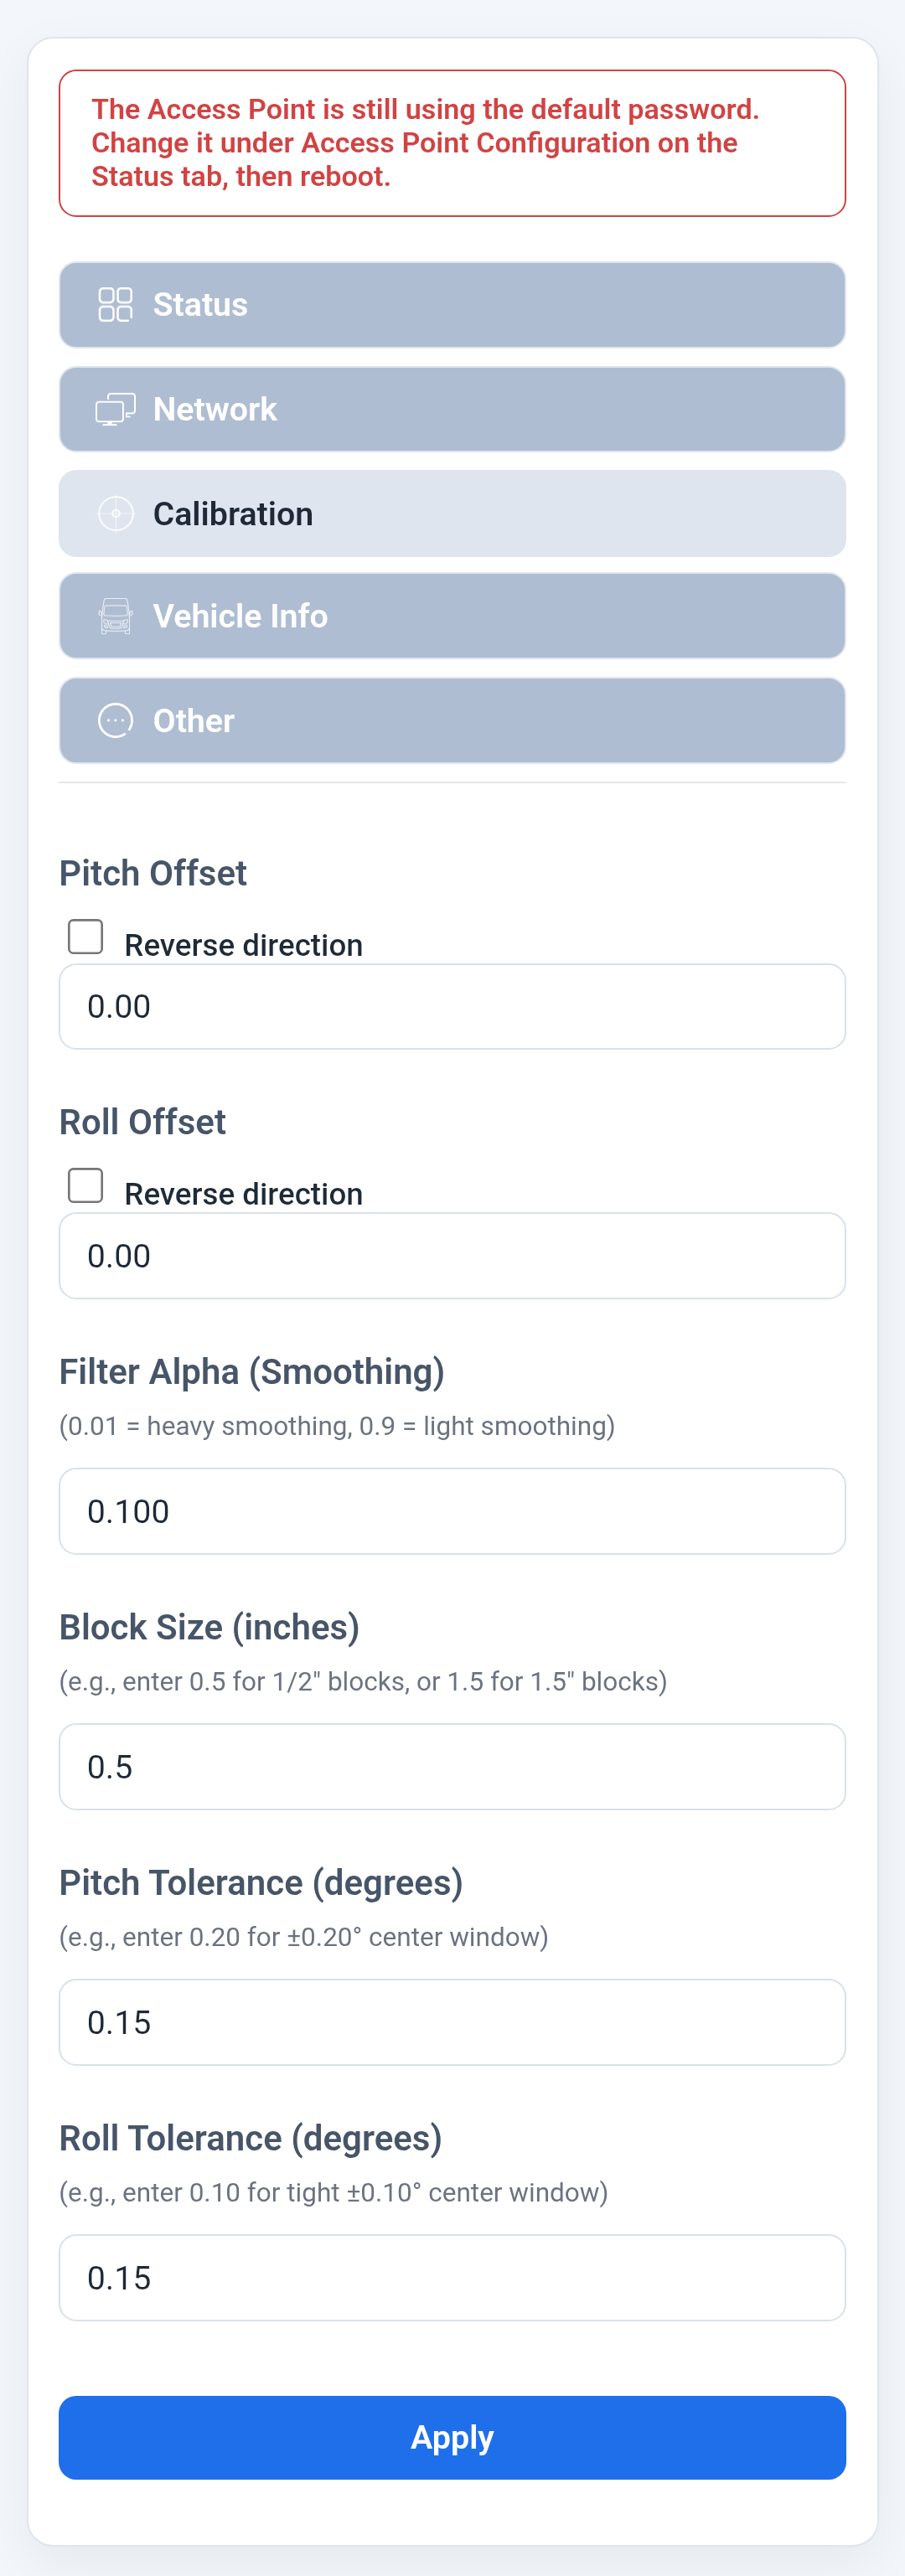
If the pitch or roll values of your van are not 0 when the van is level, you can enter the opposite amount here to tare the display. For example, if your van shows +1.0° pitch when level, enter -1.0 in the pitch offset box.
Depending on how you mount the Van Level hardware, your pitch and roll values might move in the opposite direction. Positive pitch should be nose up, and positive roll should be clockwise looking forward (i.e. drivers side higher than the passenger side). Select Reverse Direction if either of your values are opposite of this standard.
The Filter Alpha setting controls the amount of dampening on the pitch and roll readings. I have found a setting of 0.10 seems to be a good compromise between responsiveness and reading jitter.
The Block Size setting should be set to the smallest block thickness in your stash. If you have plywood blocks, you might set this to 0.5 [1/2"]. If you use 2 by 12 blocks then you would set this to 1.5 [the nominal thickness of 1.5"]. Many aftermarked plastic block sets are 1" increments.
Finally, pitch and roll tolerance is a subjective measure of what you consider good enough. If your vehicle's pitch and roll angles are below these settings, the web page background will turn green signaling level. For reference, on my van with a 148" wheelbase and 68" track, the table below shows various block heights and the corresponding angle values. I have my tolerances set to slightly less than the 1" block angles since I consider anything less than 1" good enough.
| Block Height (inches) | Pitch Angle Change | Roll Angle Change |
|---|---|---|
| 0.25" (1/4) | 0.097° | 0.211° |
| 0.50" (1/2) | 0.193° | 0.421° |
| 0.75" (3/4) | 0.290° | 0.631° |
| 1.00" (1) | 0.387° | 0.843° |
| 1.25" | 0.483° | 1.052° |
| 1.50" (1-1/2) | 0.580° | 1.261° |
Click the Apply button to immediately apply these changes.
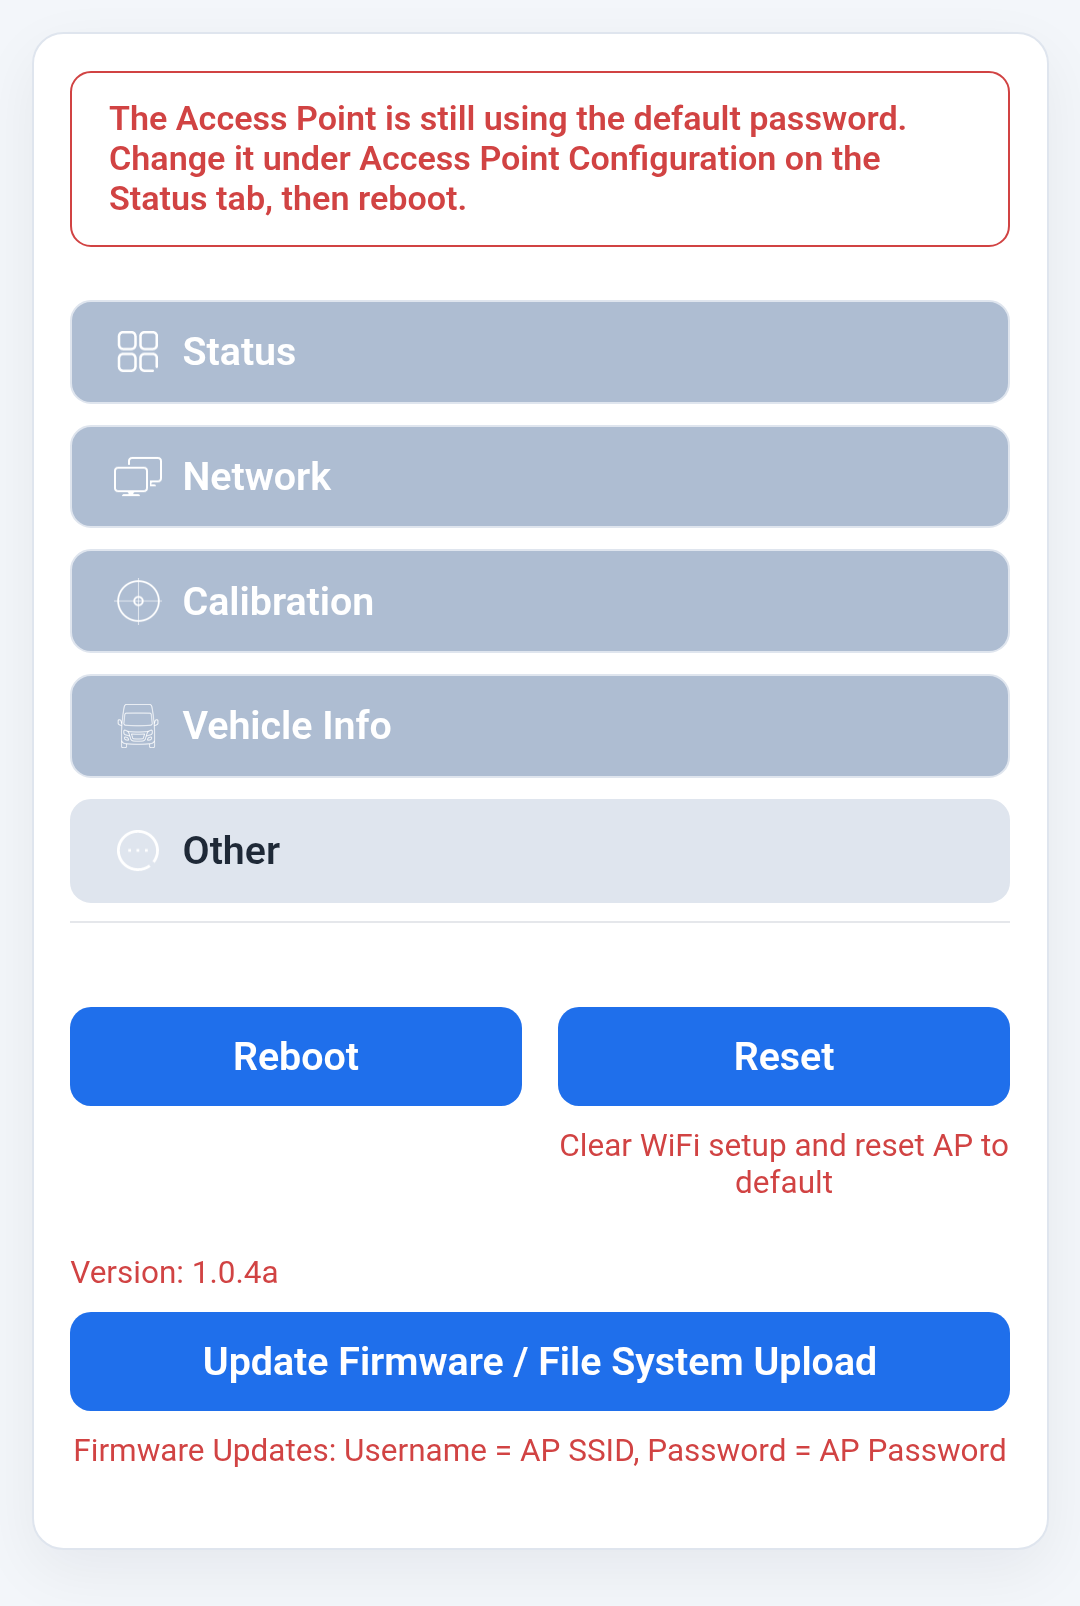
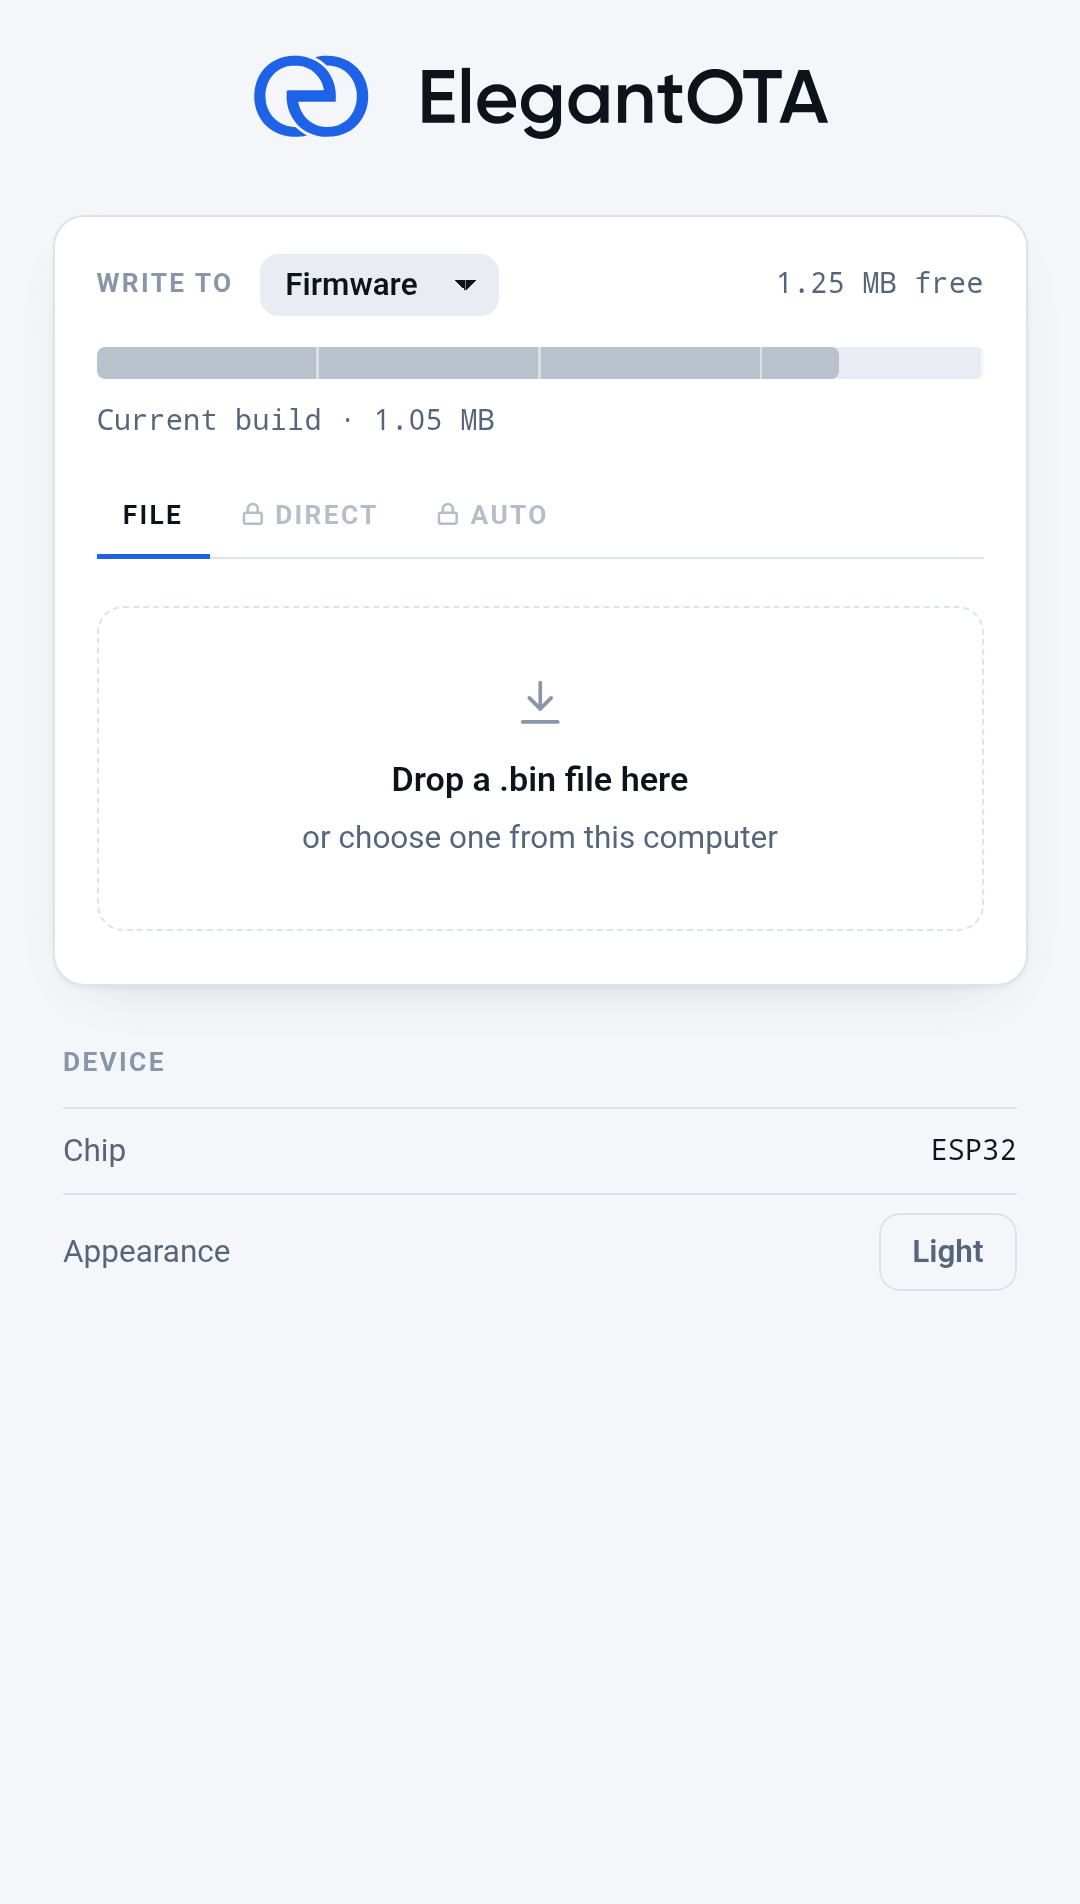
Reboot will restart the Van Level device retaining all of your current settings.Reset will clear your stored Wifi network information and restore the default AP captive portal name and password. Make sure this is what you want before pressing Reset. If you have forgotten your AP name and password and can no longer access the configuration page because of this, it is possible to reset the hardware physically. This process is discussed in Software.Update Firmware / File System Upload will allow Over The Air updating of the program and webpages. See Software for more information on this process.
| Qty | Value | Footprint | References |
|---|---|---|---|
| 2 | MountingHole | MountingHole:MountingHole_2.5mm | H1, H2 |
| 1 | 10K | Resistor_SMD:R_0805_2012Metric_Pad1.20x1.40mm_HandSolder | R1 |
| 1 | HuzzahESP32-Breakout | Adafruit:HUZZAH32_Breakout | U4 |
| 1 | Polyfuse | Fuse:Fuse_1812_4532Metric_Pad1.30x3.40mm_HandSolder | F1 |
| 1 | R-78E3.3-0.5 | Library:Converter_DCDC_RECOM_R-78E-0.5_THT_Horizontal | U2 |
| 1 | SS14 | Diode_SMD:D_SMA | D2 |
| 1 | SZ5KASMC36AT3G | Diode_SMD:ST_D_SMC | D1 |
| 1 | Screw_Terminal_01x02 | footprints:PHOENIX_1844210 | J1 |
| 1 | Stemma Qwiik MPU-6050 | Adafruit:Stemma Qwiik 0.5_ x 0.8_ 6+6-pin | U3 |
It measures 34 × 74 mm and has 2 copper layers, 1.6 mm thick.
10 parts, built around the R-78E3.3-0.5, SS14 and SZ5KASMC36AT3G. The full list of its parts is on this page, with links to each part's symbol and footprint where PCBKit's library has them.
From the gearhead765/Van-Level repository on GitHub, at the commit this page was made from: the board is Van_Level_PCB/Van_Level_PCB.kicad_pcb and its schematic Van_Level_PCB/Van_Level_PCB.kicad_sch. PCBKit opens the board in the browser, with nothing to install.
Its repository publishes it under the MIT licence: you may reuse it on that licence's terms (keep the author's notice, and for a copyleft licence share your changes alike).


OpenModbus/OM-64DO
A compact industrial-grade 64-channel Modbus RTU output module.


rafkhan/lowstepper
Dual phase manipulation low frequency oscillator by Okay Synthesizer.


Th3Link/tanklevel
This project provides a solution for measuring the liquid level in tanks, such as rainwater tanks, using the TL-136 pressure sensor.

OpenModbus/OM-16LED
A compact industrial-grade 16-channel Modbus RTU LED driver.