2 layers40 × 30 mm

 fitch/SVI-328-PicoROM12
The SVI-328 PicoROM project is a ROM emulator for Spectravideo 328 which uses a Raspberry Pico 2 W microcontroller board to emulate a SVI-328 game ROM cartridge.
SVI-328-PicoROM is an open-source printed circuit board by fitch, from the fitch/SVI-328-PicoROM repository on GitHub. It is a 2-layer board of 55 × 79.5 mm with 3 parts on 42 nets, routed with 187 tracks and 5 vias.
Its parts include 1 IC, 1 diode and 1 connector. It belongs with the retro computing and games and microcontroller boards boards and the RP2040 boards of this library.
SVI-328 PicoROM is a ROM emulator for Spectravideo 328 which uses a Raspberry Pico 2 W microcontroller board to emulate a SVI-328 game ROM cartridge.
Designed to integrate into the conventional cartridge slot of the SVI-328, this cartridge allows wireless transmission of ROM games from macOS/PC to the SVI-328 via Wi-Fi without any hardware modifications.
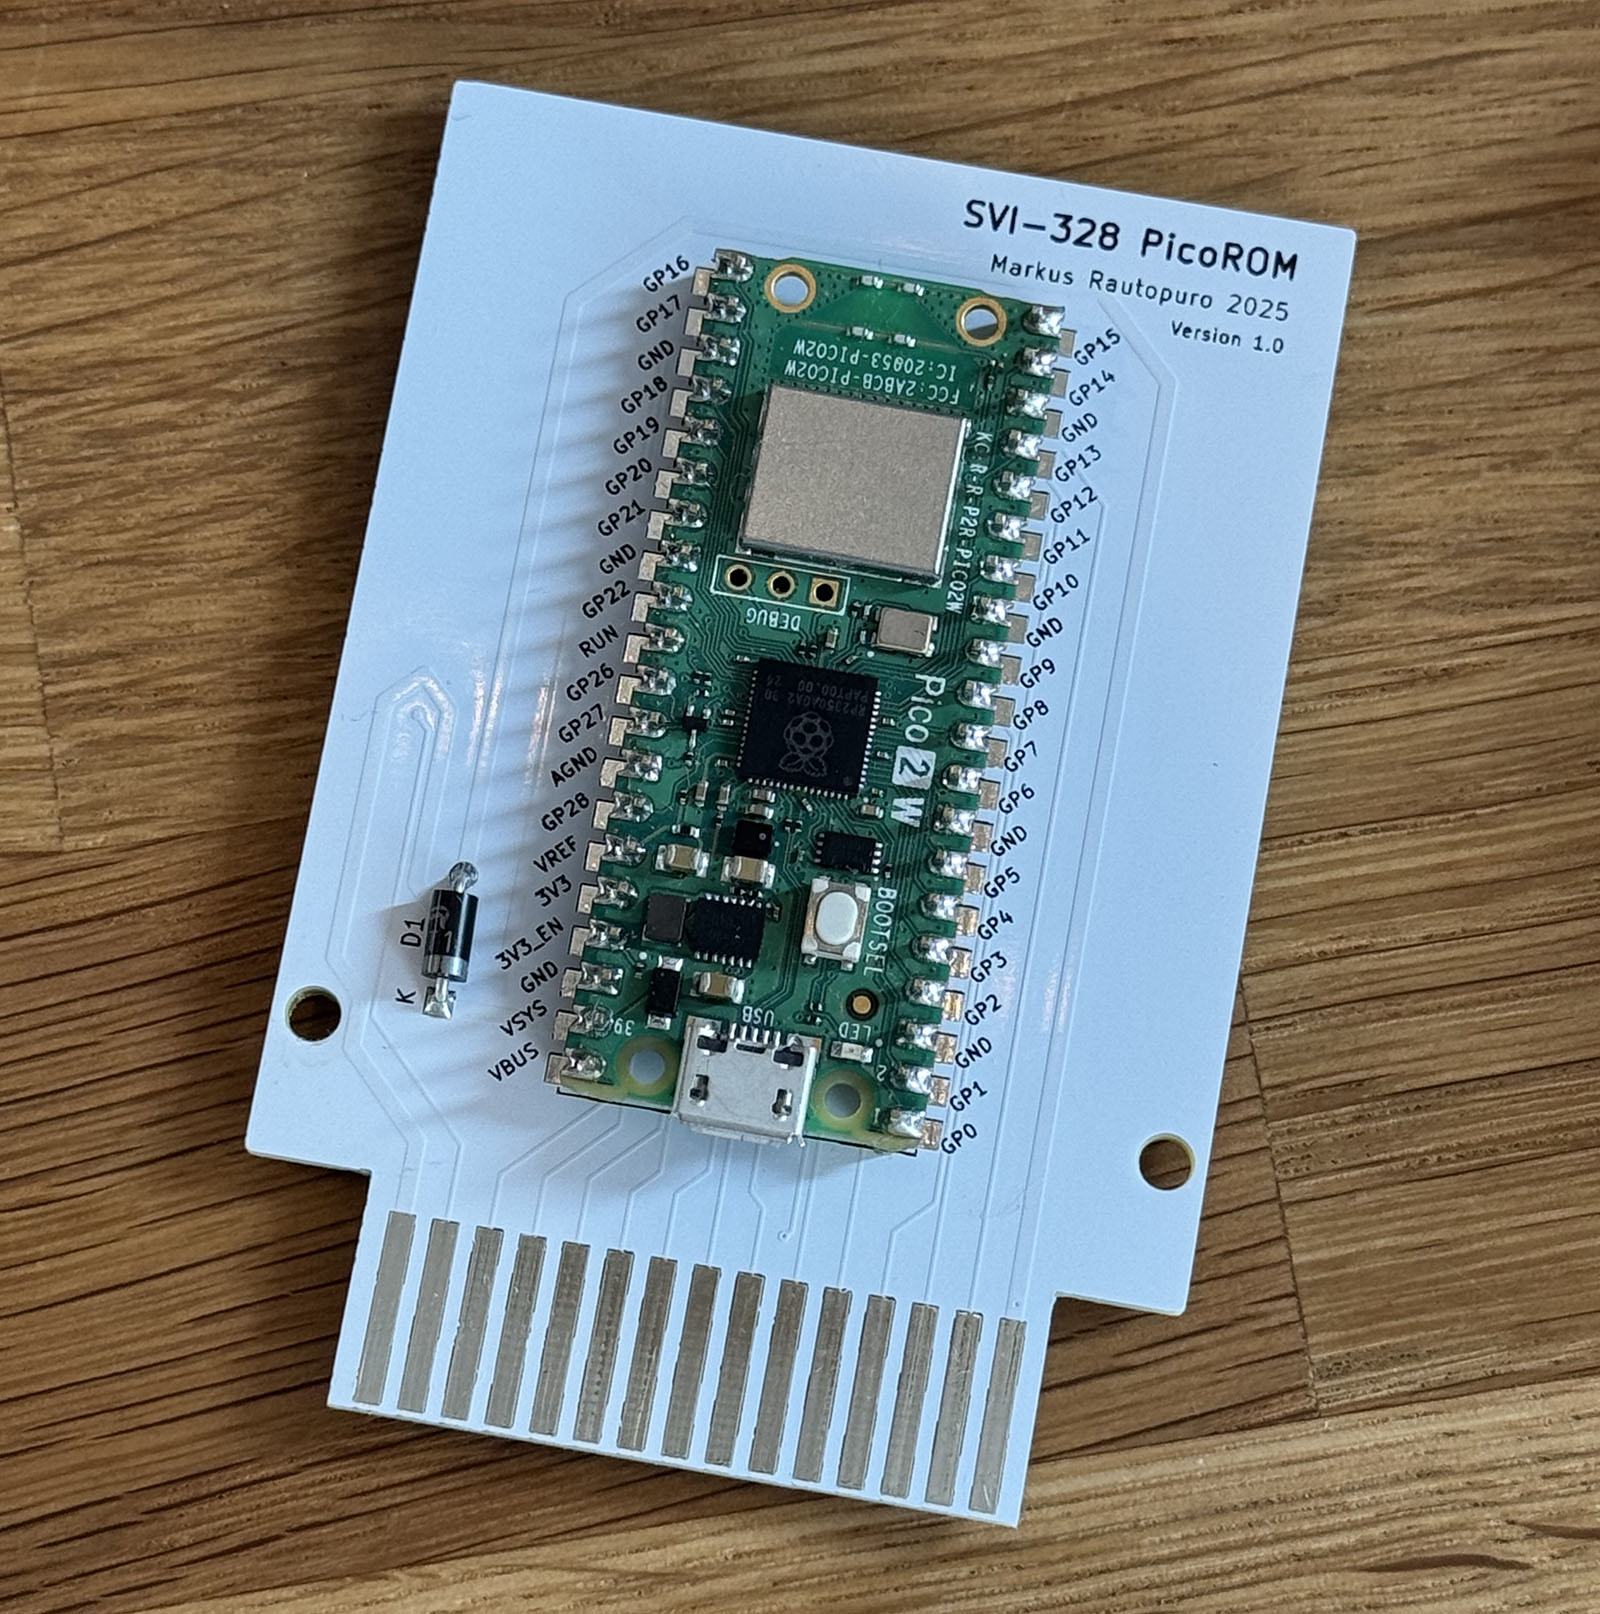
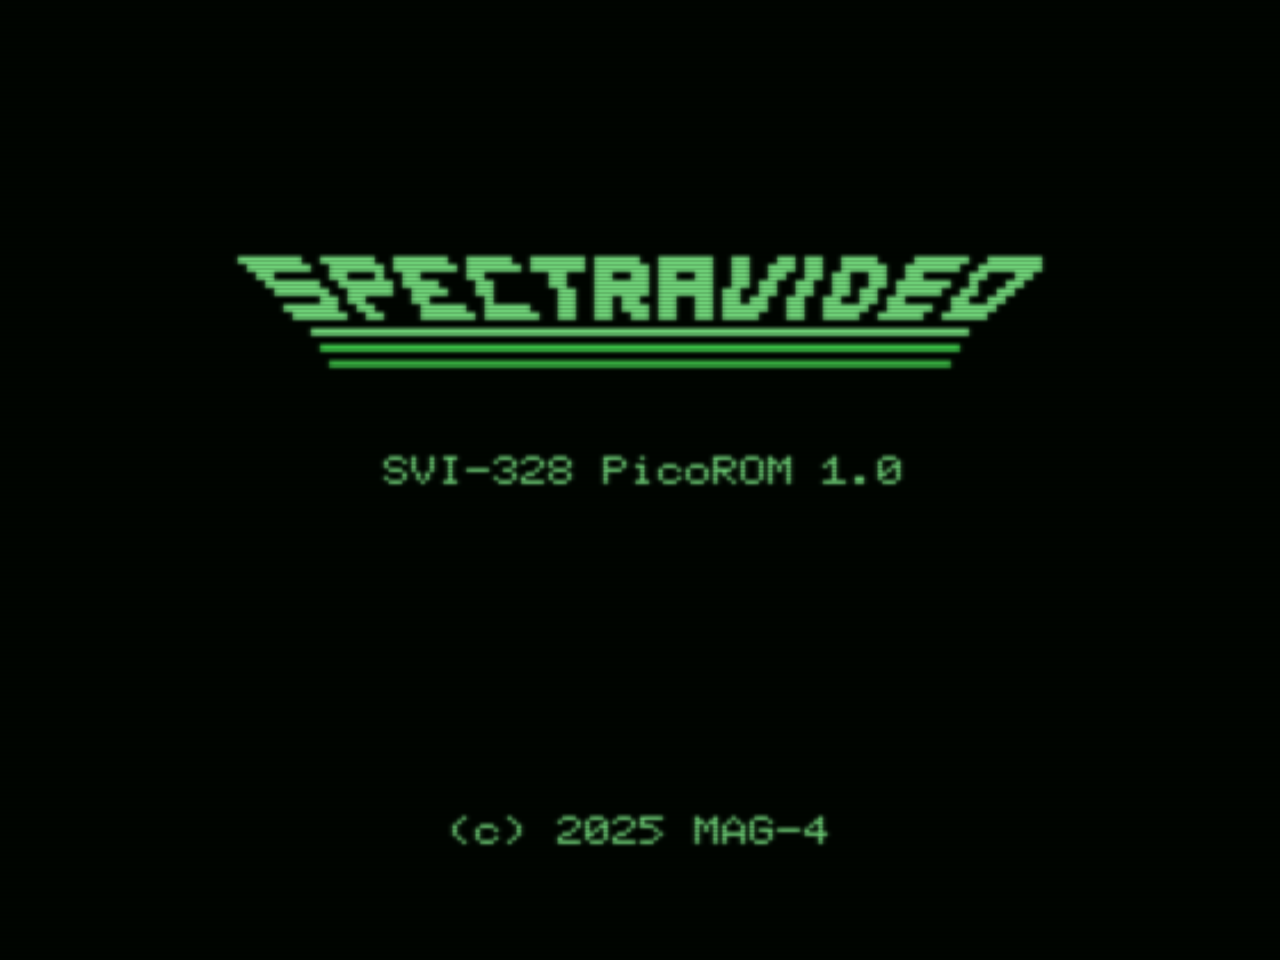
This repository contains:
First, create the PCB by ordering it from PCBWay with the Gerber files provided in release/svi-328-picorom-gerber.zip.
Then get a Raspberry Pico 2 W (not the version 1, and make sure you order the Wi-Fi version W) and one atleast +5V diode (DigiKey part number 4878-1N4001CT-ND DIODE GEN PURP 50V 1A DO204AC works, for example).
Solder these together. :)
Press Pico's BOOTSEL button (the only button on the board, see the board picture above) and while pressing plug it in to your computer via USB.
Then, find the UF2 flash binary file from release/svi-328-picorom.uf2.
Next, flash the Raspberry Pico 2 W by dragging the UF2 file on to the Pico USB drive and wait until Pico disconnects (displays Disk Not Ejected Properly in macOS) and the green LED light turns on to signal that the firmware booted correctly. Finally, remove the USB cable.
Connect the cartridge to SVI-328 and boot it up. (Warning: DO NOT connect anything to the cartridge USB port when it is attached to the SVI-328. This will destroy the cartridge.)
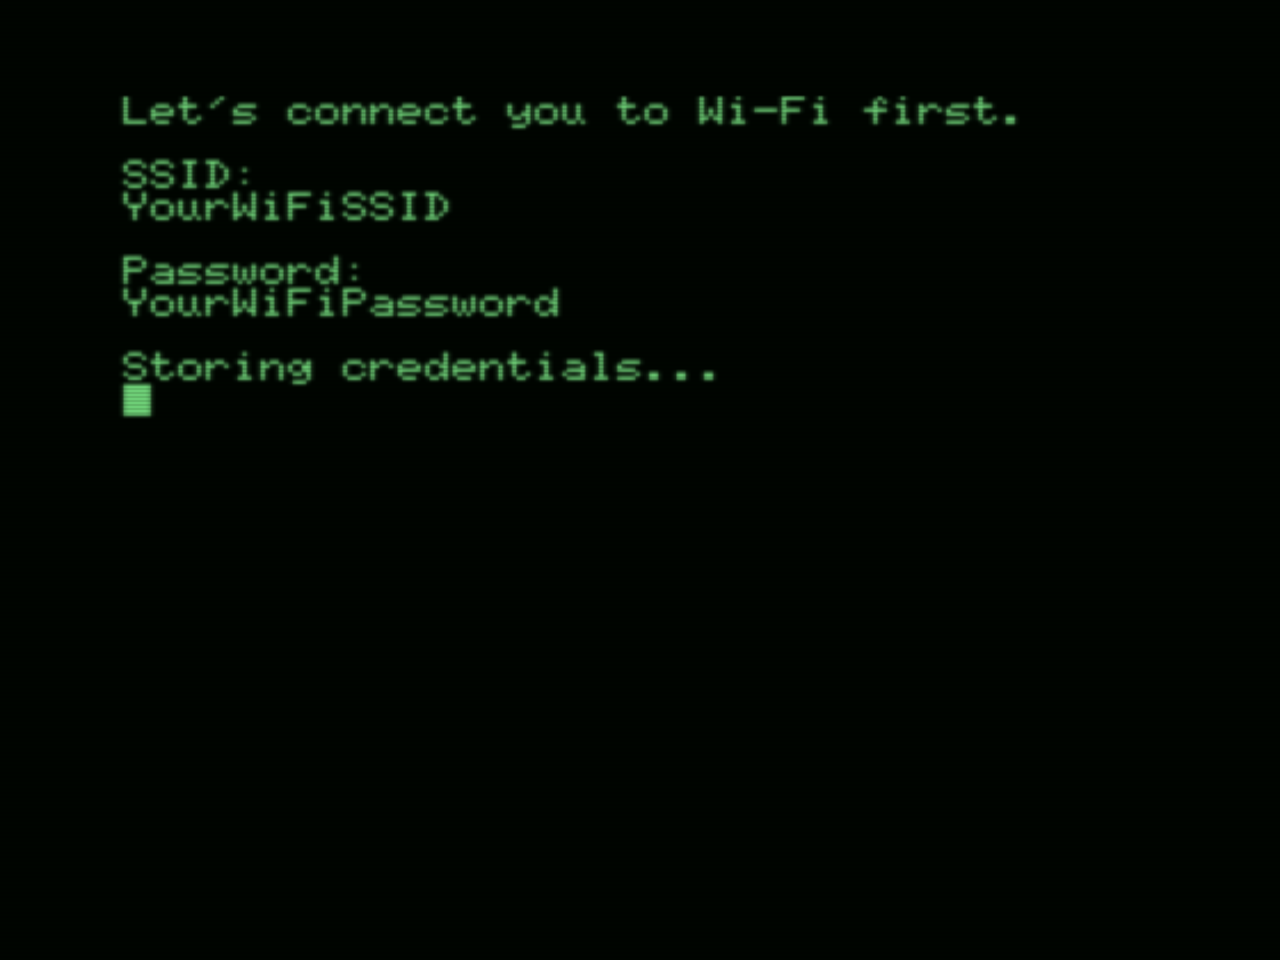
If you didn't flash the Wi-Fi credentials (see section Flashing Wi-Fi credentials to the cartridge), the SVI-328 should ask for your Wi-Fi SSID and password. Please note, that once you store successfully working credentials, there is no way (currently) to remove the stored credentials using SVI-328. You need to use the command line utility described in section Flashing Wi-Fi credentials to the cartridge.
The SVI-328 will remain waiting for a client.
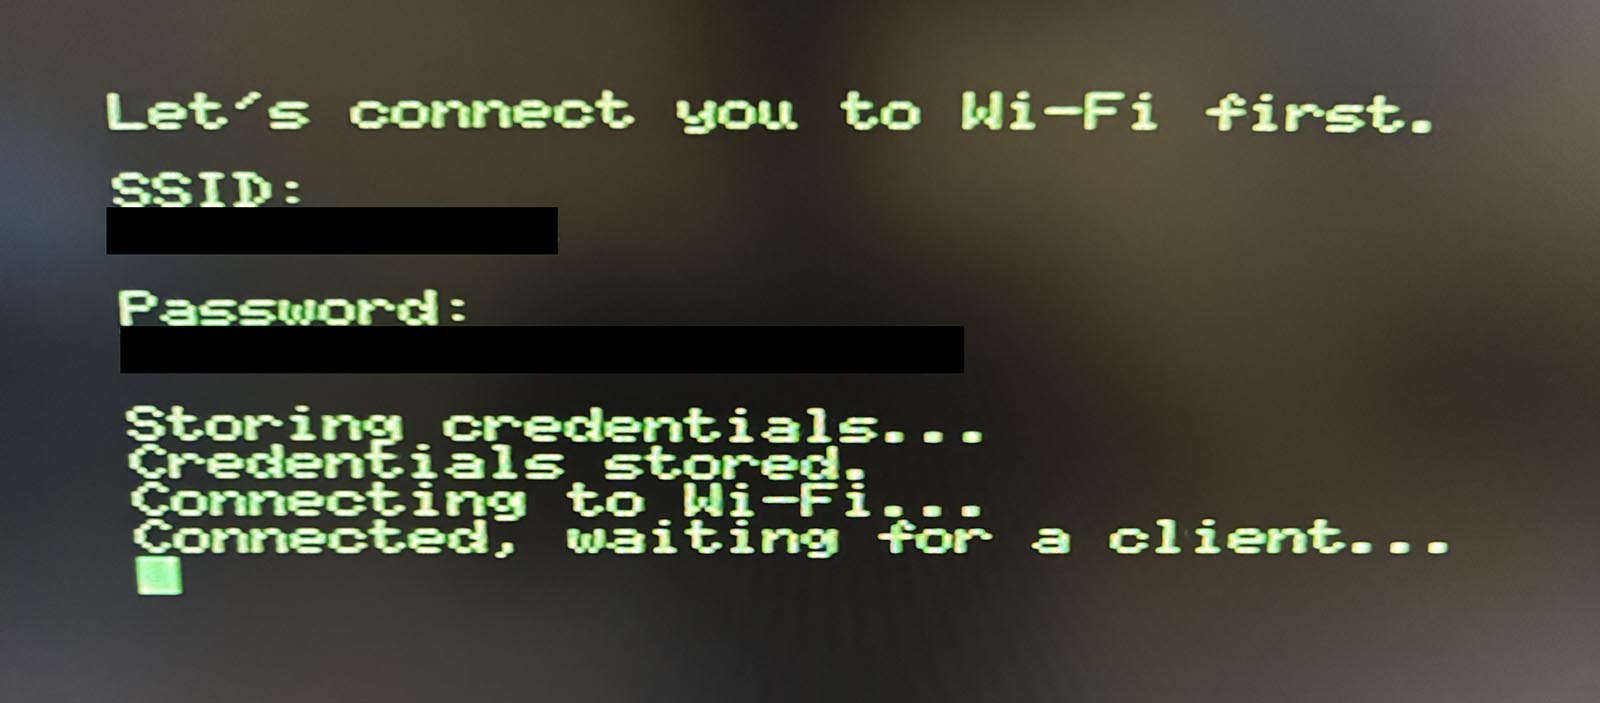
To send a ROM from Windows or macOS, use the send_rom.js to send it. It should display the following information:
node js/send_rom.js Boulder\ Dash-MSX-to-SVI.rom
Waiting for SVI-328 at address 0.0.0.0...
Connecting to SVI-328 at 192.168.1.100...
Connected. Sending ROM upload command...
ROM sent. Listening for logs:
After this, the SVI-328 should boot to the sent ROM.
NOTE: Only 32 kB ROM images are supported at the moment.
The replication and deployment of this project requires the following environment configurations:
The build scripts have been developed and tested with macOS Sonoma 14.6.1 and requires the following software to be installed:
brew install picotool with HomeBrewThe hardware will work with SVI-318 and the loader software should also work with it, altough it has not been tested on a real device yet.
The launcher ROM code is in rom directory and you can compile with the following commands:
nvm use
make production
This will create the ROM binary and the includable rom.h (for the next step) in release directory. Copy the rom.h to pico directory for the next step:
cp release/rom.h ../pico/The Pico firmware source code is located in pico directory and you can compile it by opening the folder in Visual Studio Code. First time, if you have installed the Visual Studio Code extensions, VSCode will install the Pico SDK and then you can click the Compile button in the bottom bar.
If you have the cartridge connected via USB, you can use the Run button to flash the firmware directly to the cartridge. Another option is to get the UF2 file from the build directory, see section How to get it running quickly.
You can flash your Wi-Fi credentials to the cartridge to save some valuable typing time on SVI-328, altough I suggest that you take the time to enjoy the never-seen-before experience to enter SSID and the Password on your Spectravideo 328. :)
Using the example wifi-credentials.config.example, create a wifi-credentials.config to the root of the project. Then connect the cartridge via USB and flash the credentials:
scripts/write_credentials.shTo remove stored credentials, use this command:
scripts/write_credentials.sh --clearThe firmware executed by the Raspberry Pi Pico 2 W addresses two critical operational roles:
ROM memory emulation:
The microcontroller interfaces directly with the SVI-328's cartridge slot to emulate ROM data storage. ROM contents are dynamically allocated and retrieved from the internal memory of the Pico.
WiFi-Based ROM data transmission:
ROM images are transmitted wirelessly to the Pico via WiFi. A dedicated JavaScript utility (send_rom.js) facilitates the transfer and concurrently provides logging capabilities for debugging and operational monitoring.
The firmware source comprises:
main.c: Responsible for system initialization, WiFi configuration, and reception and handling of ROM data.wifi.c/h: Manages WiFi connectivity, session handling, and data exchange between the Pico and external hosts.svi-328-cartridge.c/h: Implements the logic necessary for cartridge ROM emulation.log.c/h: Provides logging utilities essential for debugging and real-time data monitoring.The project hardware consists of a specialized PCB that integrates the Raspberry Pi Pico W and essential connectors for direct communication with the Spectravideo 328:
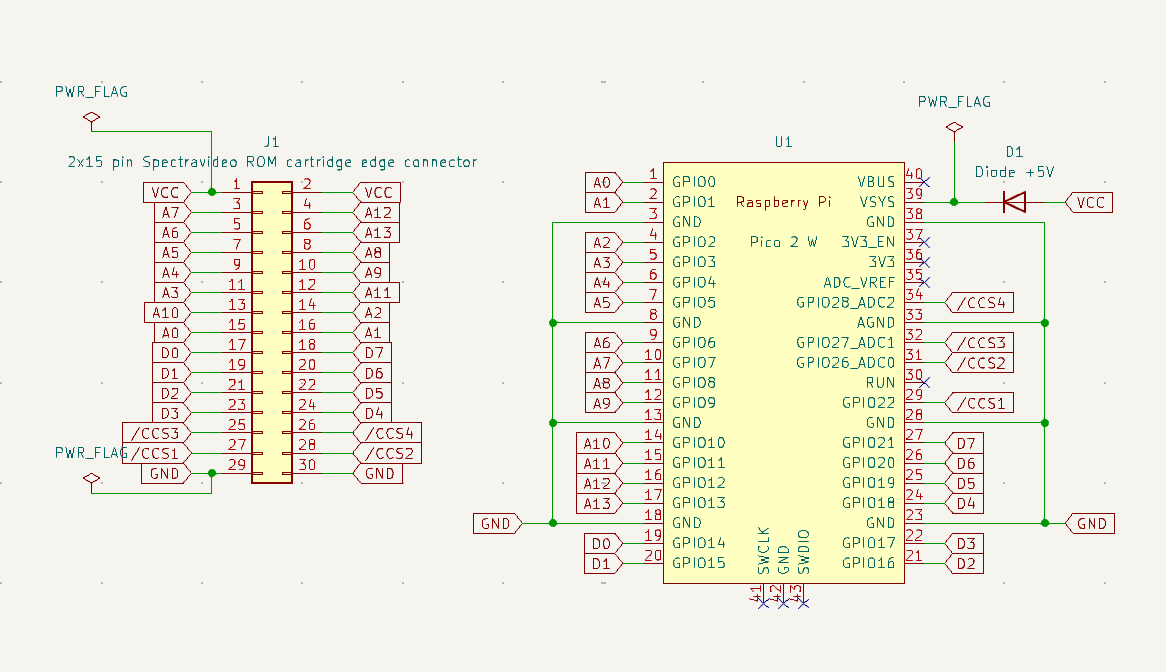
The Pico-based cartridge presents itself to the SVI-328 as a memory-mapped ROM with additional control registers in the cartridge address space. The SVI-328 accesses the Pico’s “ROM” as if it were a normal cartridge memory, using the address range 0x0000–0x7FFF when the cartridge is enabled. The Pico’s firmware uses the RP2350’s GPIO to monitor the SVI’s address and control lines and to drive or sample the data bus accordingly:
This project is based on A8PicoCart, PiCOLECO and learnings from SVI-328 MegaROM.
Detailed licensing information is documented within the included LICENSE file.
| Qty | Value | Footprint | References |
|---|---|---|---|
| 1 | 2x15 pin Spectravideo ROM cartridge edge connector | Spectravideo:ROM cartridge edge connector | J1 |
| 1 | Diode +5V | Diode_THT:D_DO-35_SOD27_P7.62mm_Horizontal | D1 |
| 1 | Pico 2 W | Spectravideo:RPi_PicoW_SMD_TH | U1 |

hzeller/rpi-rgb-led-matrix
Controlling up to three chains of 64x64, 32x32, 16x32 or similar RGB LED displays using Raspberry Pi GPIO


atopile/atopile
Design circuit boards with code! ✨ Get software-like design reuse 🚀, validation, version control and collaboration in hardware; starting with electronics ⚡️


hackclub/sprig
🍃 Learn to code by making games in a JavaScript web-based game editor.
It measures 55 × 79.5 mm and has 2 copper layers, 1.6 mm thick.
3 parts. The full list of its parts is on this page, with links to each part's symbol and footprint where PCBKit's library has them.
From the fitch/SVI-328-PicoROM repository on GitHub, at the commit this page was made from: the board is pcb/SVI-328-PicoROM.kicad_pcb and its schematic pcb/SVI-328-PicoROM.kicad_sch. PCBKit opens the board in the browser, with nothing to install.
Its repository states no licence, so its author keeps all rights: ask fitch before reusing the design.