2 layers40 × 20 mm

 FablabTorino/555_xmas
Il kit è pronto per essere saldato, ti servirà un saldatore e dello stagno. Se non li hai ricevuti per regalo puoi provare a chiederli in prestito a qualcuno oppure venire al Fablab.
Xmas fablab2020 is an open-source printed circuit board by FablabTorino, from the FablabTorino/555_xmas repository on GitHub. It is a 2-layer board of 19.1 × 59.7 mm with 13 parts on 8 nets, routed with 68 tracks and 0 vias.
Its parts include 6 diodes, 4 resistors, 1 capacitor, 1 IC and 1 connector.
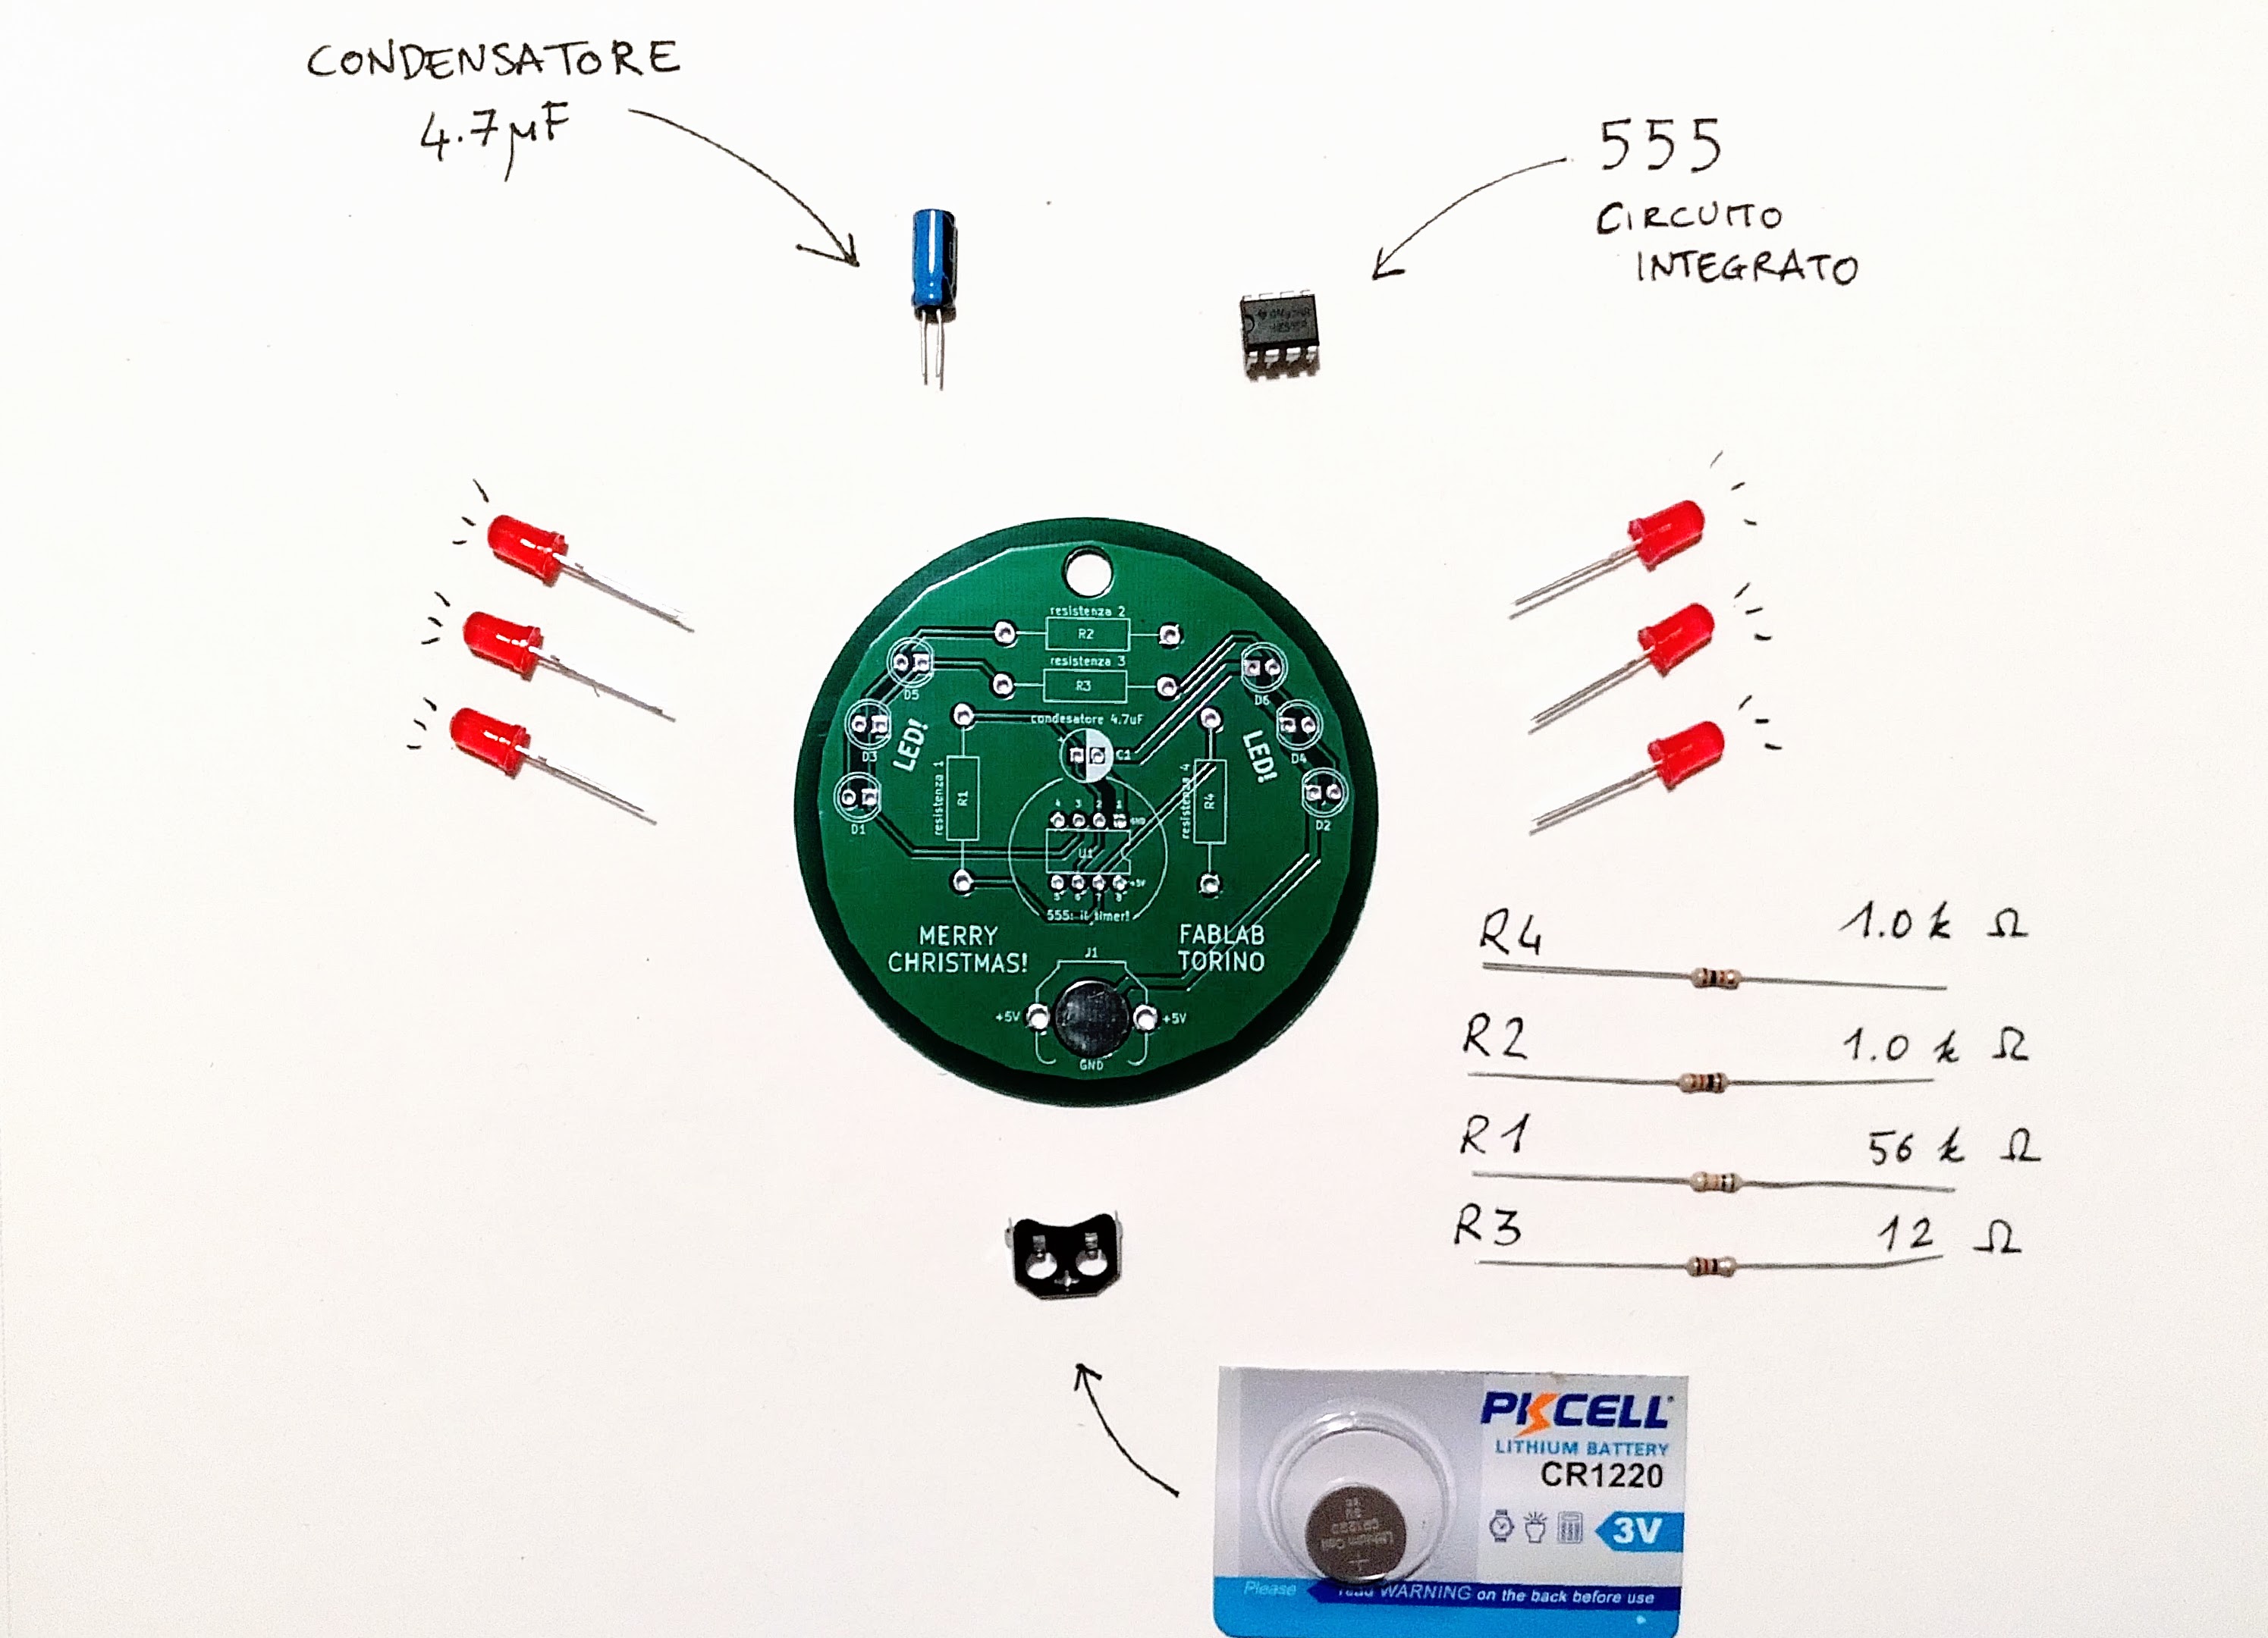
| Nome | Specifiche | Q.tà |
|---|---|---|
| Led | 5mm | 6 |
| Timer | 555 | 1 |
| Condensatore | 4uF | 1 |
| resistenza 1 | 56 kOhm | 1 |
| resistenza 2 | 1 kOhm | 1 |
| resistenza 3 | 12 Ohm | 1 |
| resistenza 4 | 1 kOhm | 1 |
| batteria | 1220 3V | 1 |
| portabatteria | 3001 | 1 |
E' il timer più famoso di tutti. Leggete qui per approfondire.
Il condesatore in questo circuito regola la velocità del lampeggio tra i led, un condesatore con una capacità più grande farà lampeggiare i led più lentamente. Prova!
Le resistenze regolano la corrente nel circuito. Se usate la pila da 3V per alimentare il circuito vedrete che i led di destra sono più deboli di quelli di sinistra. Questo dipende anche dal valore delle resistenze. Se collegate l'alimentazione alla 5V (tagliando un cavetto USB e collegando il filo nero al - e il filo rosso al +5V) dovrete cambiare valore delle resistenze per non danneggiare i led e avere una buona luminosità, questi sono dei buoni valori:
| Nome | 5 Volt | Q.tà |
|---|---|---|
| resistenza 1 | 100 kOhm | 1 |
| resistenza 2 | 1 kOhm | 1 |
| resistenza 3 | 1 kOhm | 1 |
| resistenza 4 | 1 kOhm | 1 |
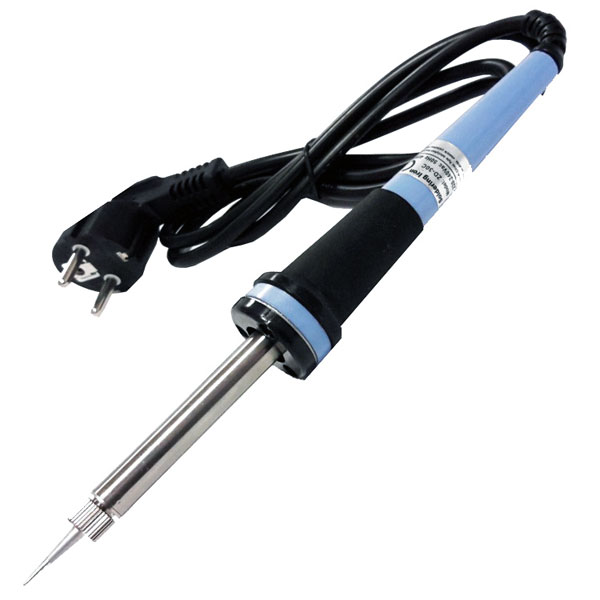
Il kit è pronto per essere saldato, ti servirà un saldatore e dello stagno. Se non li hai ricevuti per regalo puoi provare a chiederli in prestito a qualcuno oppure venire al Fablab.
Se proprio non c'è nessuno che ti possa aiutare con le prime saldature puoi provare a cercare dei tutorial su youtube, ma qualcuno a fianco è più piacevole oltre che più sicuro.
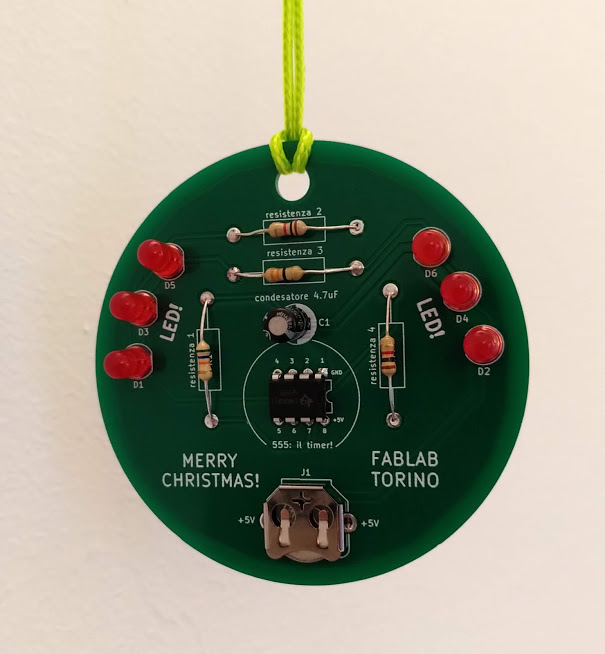
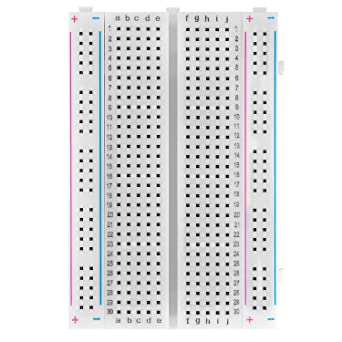
Per collegare i componenti alla pcb, si. Se hai intenzione di studiare il circuito cambiando componenti o valori delle resistenze è più facile usare una breadboard, la trovi in qualunque negozio di elettronica.
Per il circuito abbiamo preso spunto da qui: https://www.petervis.com/GCSE_Design_and_Technology_Electronic_Products/simple-555-circuits/555-timer-dual-led-flasher.html
riadattandolo per farlo funzionare con una pila da 3V
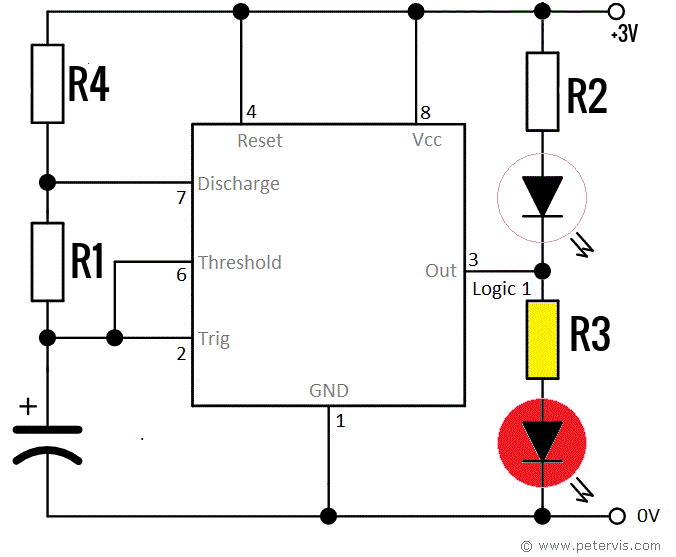
Questo circuito non nasce per lavorare a 3V, ma a 5V. A 3 è un po' al limite, quindi basta che la tensioni si abbassi un pochettino e il led non si accenderanno più.
Le batterie, man mano che si scaricano, abbassano leggermente la tensione. Nel nostro caso questo significa che con 6 Led rossi dopo circa un giorno di funzionamento continuo i led si spegneranno.
E' normale che i led di destra risultino meno luminosi di quelli di sinistra, è una caratteristica del circuito che funziona a 3V. Lavorando a 5V e modificando il valore delle resistenze funzionerà tutto bene!
Nella cartella kiCad in questo repository trovi tutti i file che abbiamo usato per far produrre la pcb.
| Qty | Value | Footprint | References |
|---|---|---|---|
| 6 | LED | LED_THT:LED_D5.0mm | D1, D2, D3, D4, D5, D6 |
| 4 | R | Resistor_THT:R_Axial_DIN0411_L9.9mm_D3.6mm_P20.32mm_Horizontal | R1, R2, R3, R4 |
| 1 | CP1 | Capacitor_THT:CP_Radial_D6.3mm_P2.50mm | C1 |
| 1 | Conn_01x02 | Battery:BatteryHolder_Keystone_3001_1x12mm | J1 |
| 1 | LM555 | Package_DIP:DIP-8_W7.62mm | U1 |


samyk/magspoof
A portable device that can spoof/emulate any magnetic stripe, credit card or hotel card "wirelessly", even on standard magstripe (non-NFC/RFID) readers.

fossasia/pslab-scripts
Pocket Science Lab - Scripts for Sensor Experiments


willem-pennings/balancing-cube
A cube that balances itself in a corner or edge using reaction wheels

VoronDesign/Voron-Hardware
Cool Hardware designed by the Voron Design group

hoglet67/RGBtoHDMI
Bare-metal Raspberry Pi project that provides pixel-perfect sampling of Retro Computer RGB/YUV video and conversion to HDMI
It measures 19.1 × 59.7 mm and has 2 copper layers, 1.6 mm thick.
13 parts. The full list of its parts is on this page, with links to each part's symbol and footprint where PCBKit's library has them.
From the FablabTorino/555_xmas repository on GitHub, at the commit this page was made from: the board is kicad/xmas_fablab2020/xmas_fablab2020.kicad_pcb. PCBKit opens the board in the browser, with nothing to install.
Its repository states no licence, so its author keeps all rights: ask FablabTorino before reusing the design.