2 layers393.5 × 147 mm
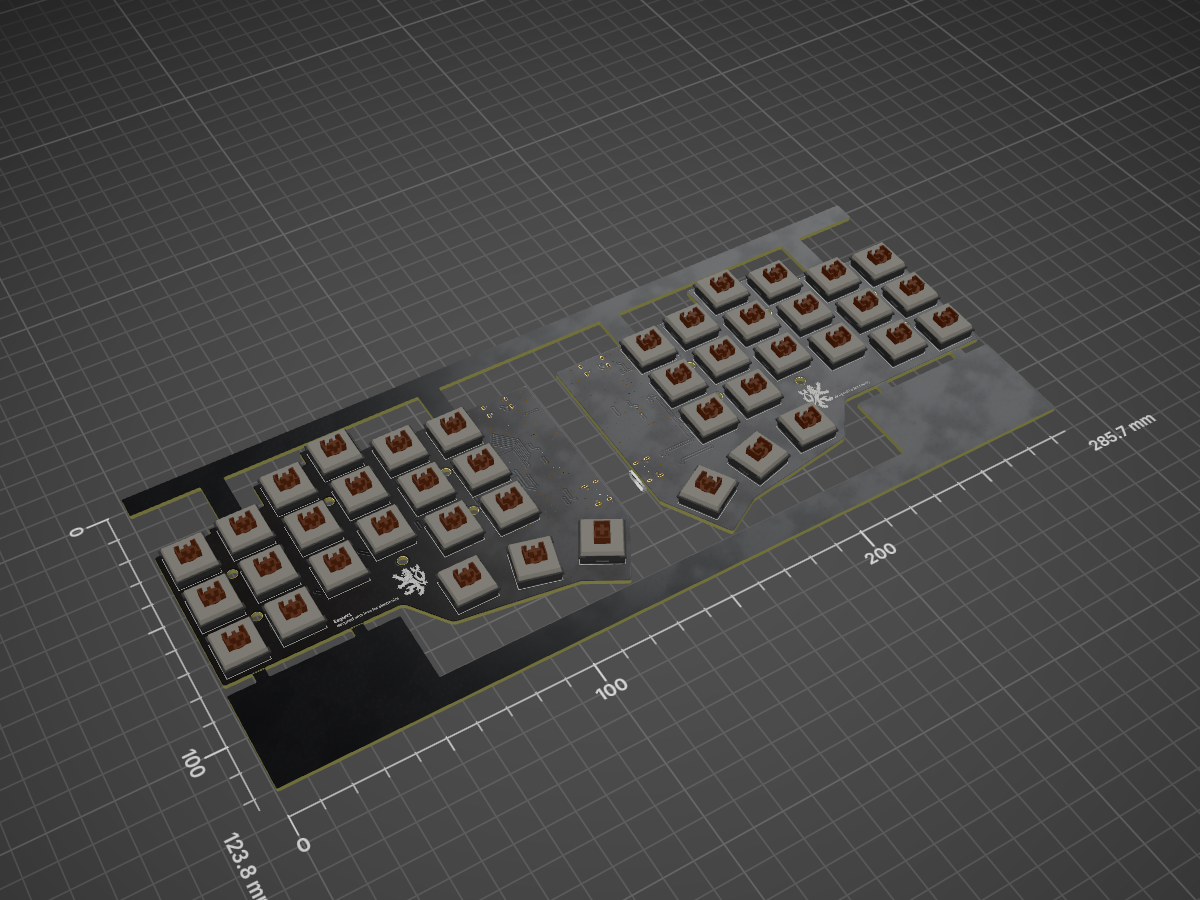
 extinct00/EagleV1
Low-cost low-profile split column-staggered ergonomic keyboard
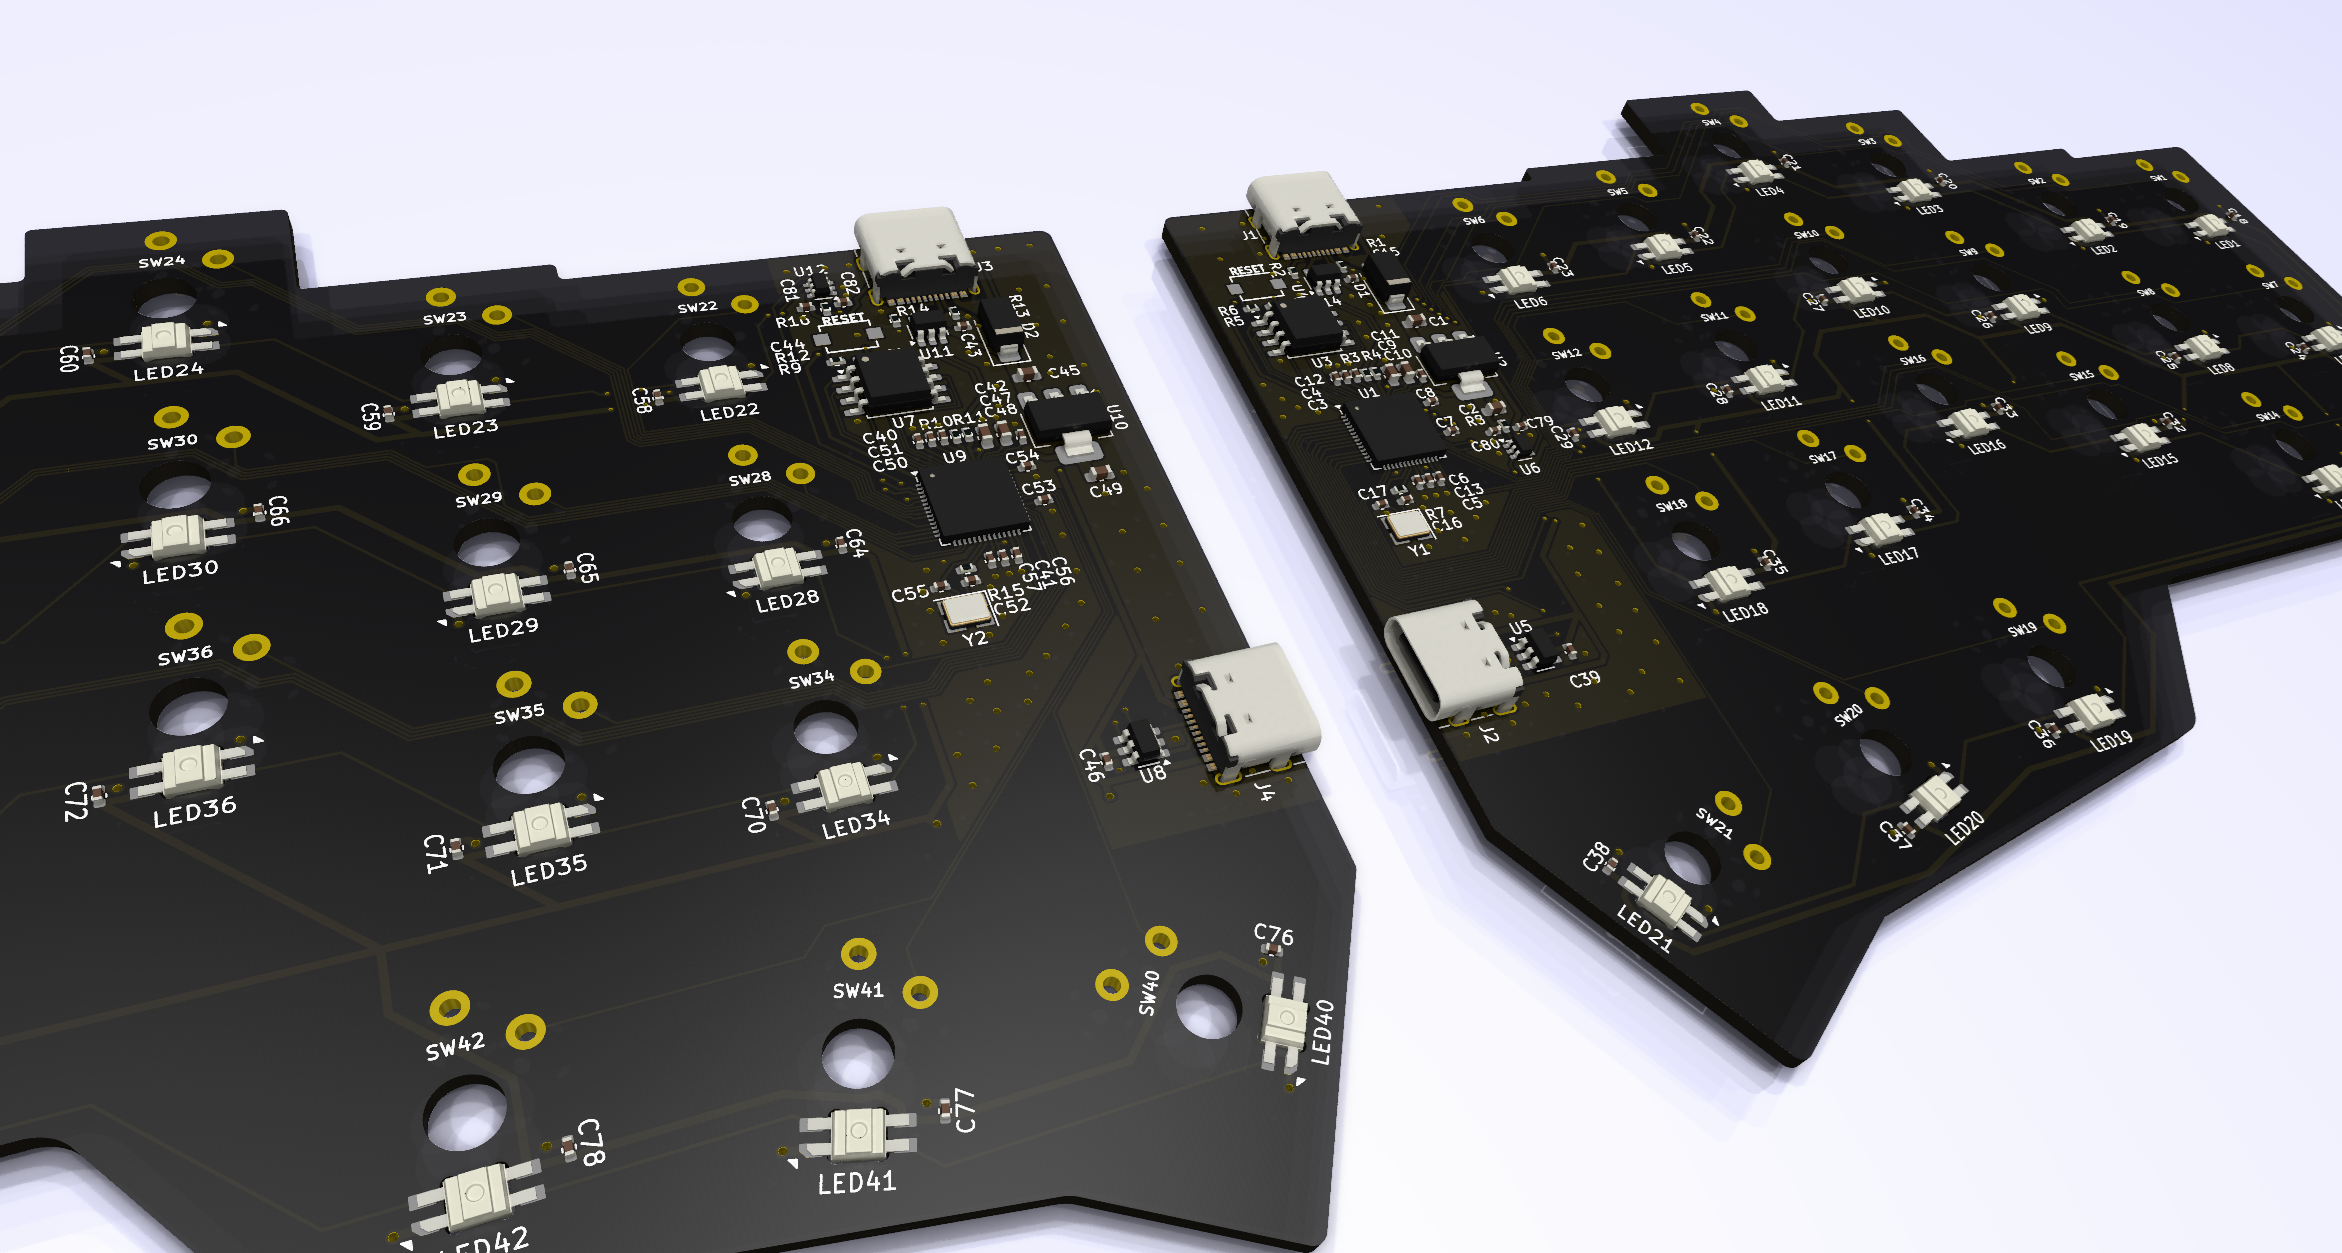
EagleV1 is an open-source printed circuit board by extinct00, from the extinct00/EagleV1 repository on GitHub. It is a 2-layer board of 285.7 × 123.8 mm with 231 parts on 172 nets, routed with 1,829 tracks and 347 vias.
It is built around the RP2040, W25Q128JVSIQ and USBLC6-2SC6, with the SN74LVC1T45DCK, TLV1117-33DCY and SK6812MINI-E among its other parts. Its parts include 82 capacitors, 44 diodes, 44 switches, 16 resistors and 12 ICs. It belongs with the RP2040 boards of this library.


A Corne-like split keyboard with a little bit wider thumb-cluster and more agressive pinky stagger. This keyboard is designed to be compatible with RedDragon LowProfile switches that are widely avaialable on AliExpress for very cheap. They have the same height as Khail LP switches (around 12mm) and can be used with classic MX style keycaps, although some might hit the upper housing. Preffered are any keycaps compatible with Numphy keyboards or any 3D printed, either FDM or SLA.
This project is designed to create a split ergonomic keyboard that is both low-cost and low-profile. The keyboard is split into two halves, allowing for a more natural hand position and reducing strain during long typing sessions. The low-profile design ensures a sleek and modern look while maintaining comfort.
Here’s a list of components you’ll need to build this keyboard. (You can fill this section with the specific parts you used.)
Below is a step-by-step guide to building your split ergonomic keyboard. (You can fill in the details as you progress.)
Ensure you have all the components listed in the Bill of Materials section.
Here are some pictures of my progress and the final build. (You can add images from the Pictures folder as you go.)


Contributions are welcome! If you have any suggestions, improvements, or bug fixes, feel free to open an issue or submit a pull request.
This project is licensed under the MIT License. Feel free to use, modify, and distribute it as you see fit.
Happy building! 🎛️
| Qty | Value | Footprint | References |
|---|---|---|---|
| 70 | 100n | Capacitor_SMD:C_0402_1005Metric | C10, C12, C13, C14, C15, C18, C19, C20, C21, C22, C23, C24, C25, C26, C27, C28 +54 |
| 42 | SK6812MINI-E | PCM_marbastlib-various:LED_6028R | LED1, LED2, LED10, LED11, LED12, LED13, LED14, LED15, LED16, LED17, LED18, LED19, LED20, LED21, LED22, LED23 +26 |
| 42 | SW_Push | RandomStuff4Keebs:SW_Redragon_LowProfile_PCB_1.00u | SW1, SW2, SW10, SW11, SW12, SW13, SW14, SW15, SW16, SW17, SW18, SW19, SW20, SW21, SW22, SW23 +26 |
| 12 | Corne_mousebites | RandomStuff4Keebs:Corne_mousebites | Mousbites 0.5mm NPTH with 0.3mm spacing, Mousbites 0.5mm NPTH with 0.3mm spacing, Mousbites 0.5mm NPTH with 0.3mm spacing, Mousbites 0.5mm NPTH with 0.3mm spacing, Mousbites 0.5mm NPTH with 0.3mm spacing, Mousbites 0.5mm NPTH with 0.3mm spacing, Mousbites 0.5mm NPTH with 0.3mm spacing, Mousbites 0.5mm NPTH with 0.3mm spacing, Mousbites 0.5mm NPTH with 0.3mm spacing, Mousbites 0.5mm NPTH with 0.3mm spacing, Mousbites 0.5mm NPTH with 0.3mm spacing, Mousbites 0.5mm NPTH with 0.3mm spacing |
| 8 | 1u | Capacitor_SMD:C_0603_1608Metric | C1, C2, C9, C11, C42, C45, C47, C49 |
| 4 | 10k | Resistor_SMD:R_0402_1005Metric | R5, R8, R12, R16 |
| 4 | 15p | Capacitor_SMD:C_0402_1005Metric | C16, C17, C52, C55 |
| 4 | 1k | Resistor_SMD:R_0402_1005Metric | R6, R7, R9, R15 |
| 4 | 27 | Resistor_SMD:R_0402_1005Metric | R3, R4, R10, R11 |
| 4 | 5.1k | Resistor_SMD:R_0402_1005Metric | R1, R2, R13, R14 |
| 4 | USBLC6-2SC6 | Package_TO_SOT_SMD:SOT-23-6 | U4, U5, U8, U11 |
| 4 | USB_C_Receptacle_USB2.0_16P | Connector_USB:USB_C_Receptacle_G-Switch_GT-USB-7010ASV | J1, J2, J3, J4 |
| 2 | LOGO | RandomStuff4Keebs:cesky_lev | G***, G*** |
| 2 | RP2040 | Package_DFN_QFN:QFN-56-1EP_7x7mm_P0.4mm_EP3.2x3.2mm | U1, U9 |
| 2 | SN74LVC1T45DCK | Package_TO_SOT_SMD:SOT-363_SC-70-6 | U6, U12 |
| 2 | SS14 | Diode_SMD:D_SMA | D1, D2 |
| 2 | TLV1117-33 | Package_TO_SOT_SMD:SOT-223-3_TabPin2 | U2, U10 |
| 2 | TS-1088-AR02016 | XUNPU TS-1088-AR02016:SW_TS-1088_XNP | SW98, SW99 |
| 2 | W25Q128JVS | Package_SO:SOIC-8_5.23x5.23mm_P1.27mm | U3, U7 |
| 1 | Crystal_GND24 | Crystal:Crystal_SMD_3225-4Pin_3.2x2.5mm | Y1 |
| 1 | Crystal_GNDB24 | Crystal:Crystal_SMD_3225-4Pin_3.2x2.5mm | Y2 |
The 218 most common of 231 parts.
It measures 285.7 × 123.8 mm and has 2 copper layers, 1.6 mm thick.
231 parts, built around the RP2040, W25Q128JVSIQ, USBLC6-2SC6 and SN74LVC1T45DCK. The full list of its parts is on this page, with links to each part's symbol and footprint where PCBKit's library has them.
From the extinct00/EagleV1 repository on GitHub, at the commit this page was made from: the board is PCB/EagleV1/EagleV1.kicad_pcb and its schematic PCB/EagleV1/EagleV1.kicad_sch. PCBKit opens the board in the browser, with nothing to install.
Its repository states no licence, so its author keeps all rights: ask extinct00 before reusing the design.


nathanfraske/CEC-Platform
ONE board file, kept current by the wave (owner directive 2026-07-25: "the current best should be placed into a candidate folder per board and kept current with only one board ideally so we have a reference").


steven-na/saria
An rp2040 based, wired, split-ergo, mechanical keyboard. Running on QMK firmware


Acliad/Nifty-Numpad
Full sized numpad with an extra row and two extra columns of macro keys. It was created as a companion to my TKL keyboard for CAD design.

oomlout/oomlout_oomp_project_bot_v_2