
2 layers81.7 × 45.8 mm

 egladman/wombat-pcb8
40% keyboard pcb
Wombat is an open-source printed circuit board by egladman, from the egladman/wombat-pcb repository on GitHub. It is a 2-layer board of 253.5 × 77.4 mm with 195 parts on 113 nets, routed with 1,209 tracks and 49 vias.
It is built around the FDS6630A. Its parts include 82 diodes, 53 switches, 38 resistors, 1 IC and 1 transistor. It belongs with the keyboards and input boards and the AVR (ATmega, ATtiny) boards of this library.
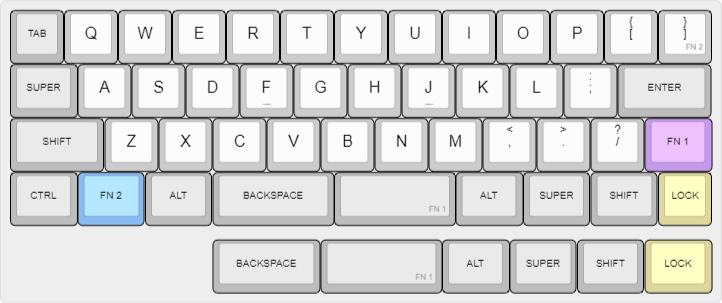
The Wombat is my 40% daily driver that I've been using for 3+ years.
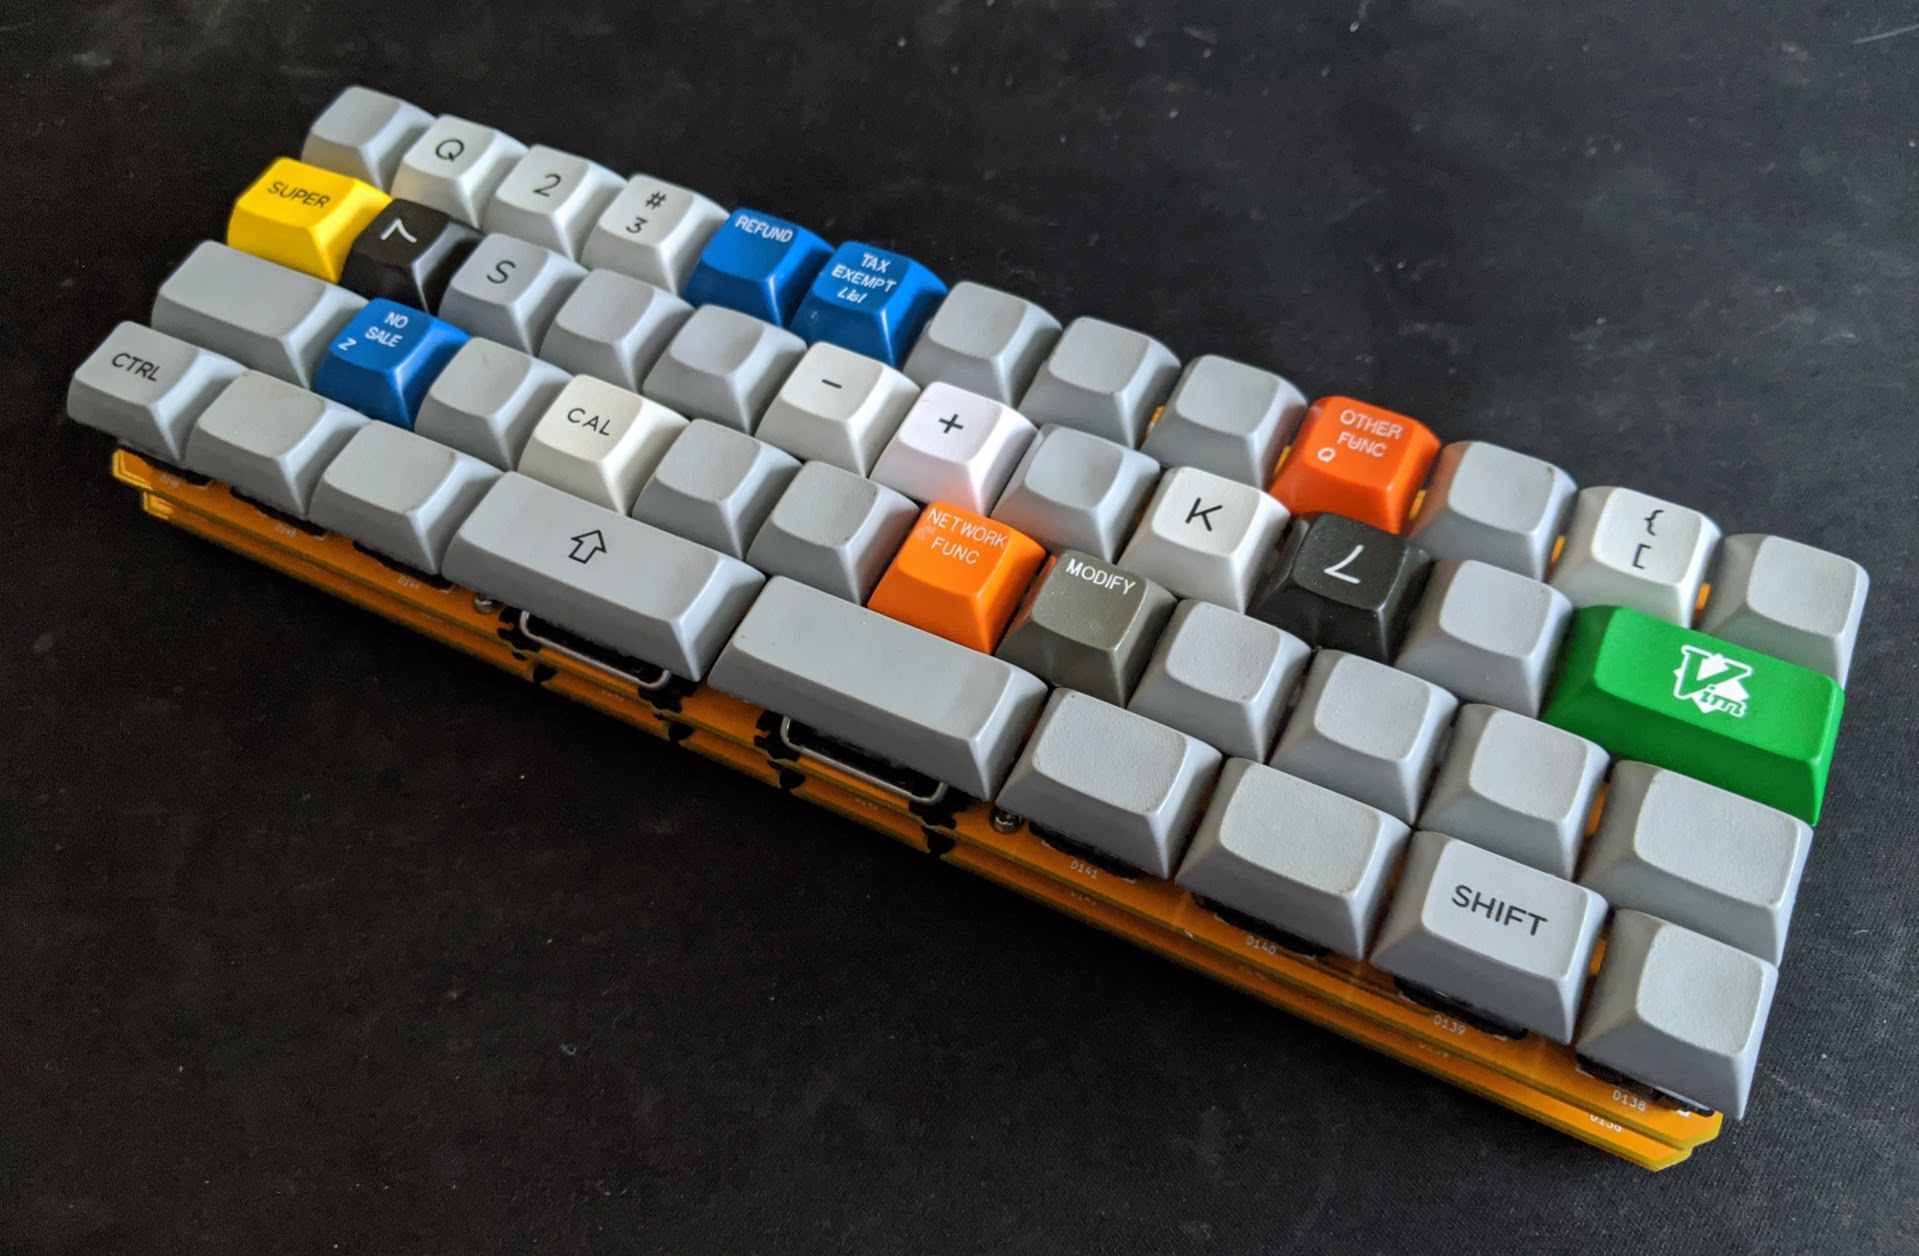
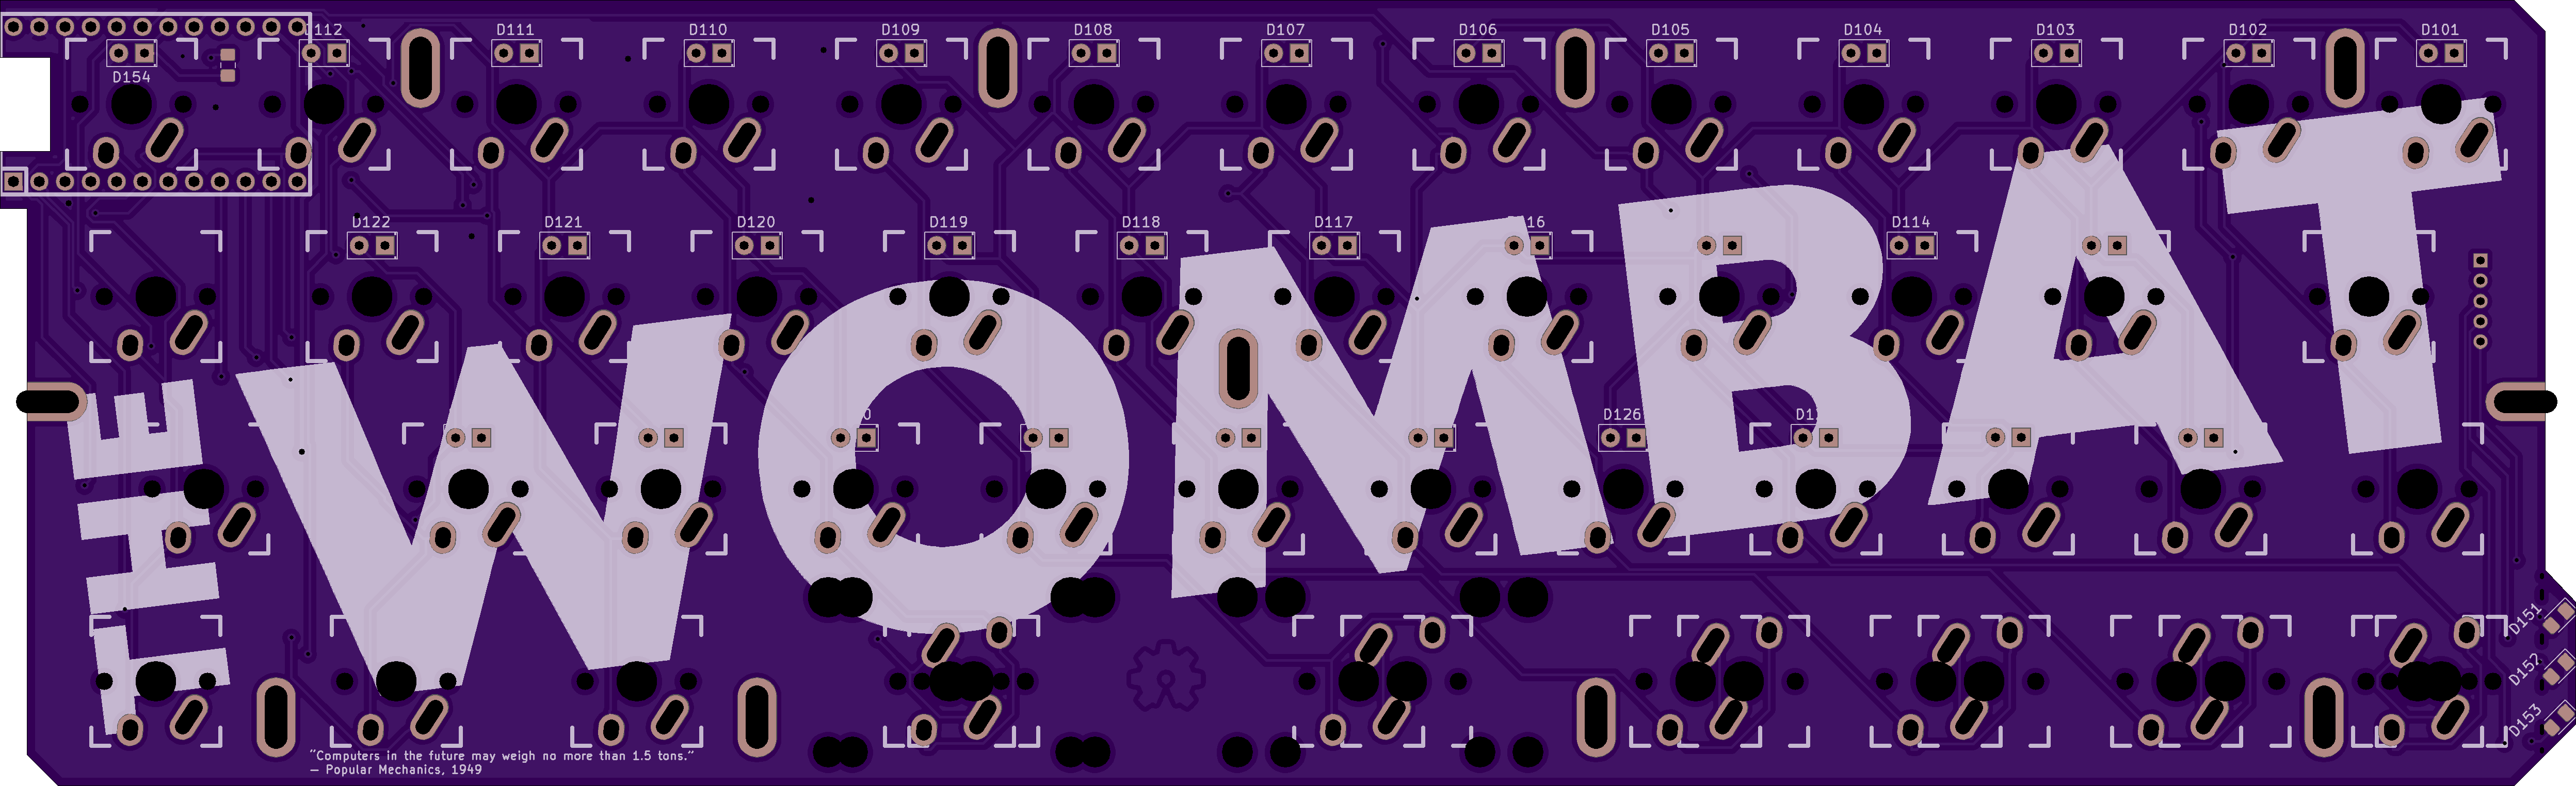
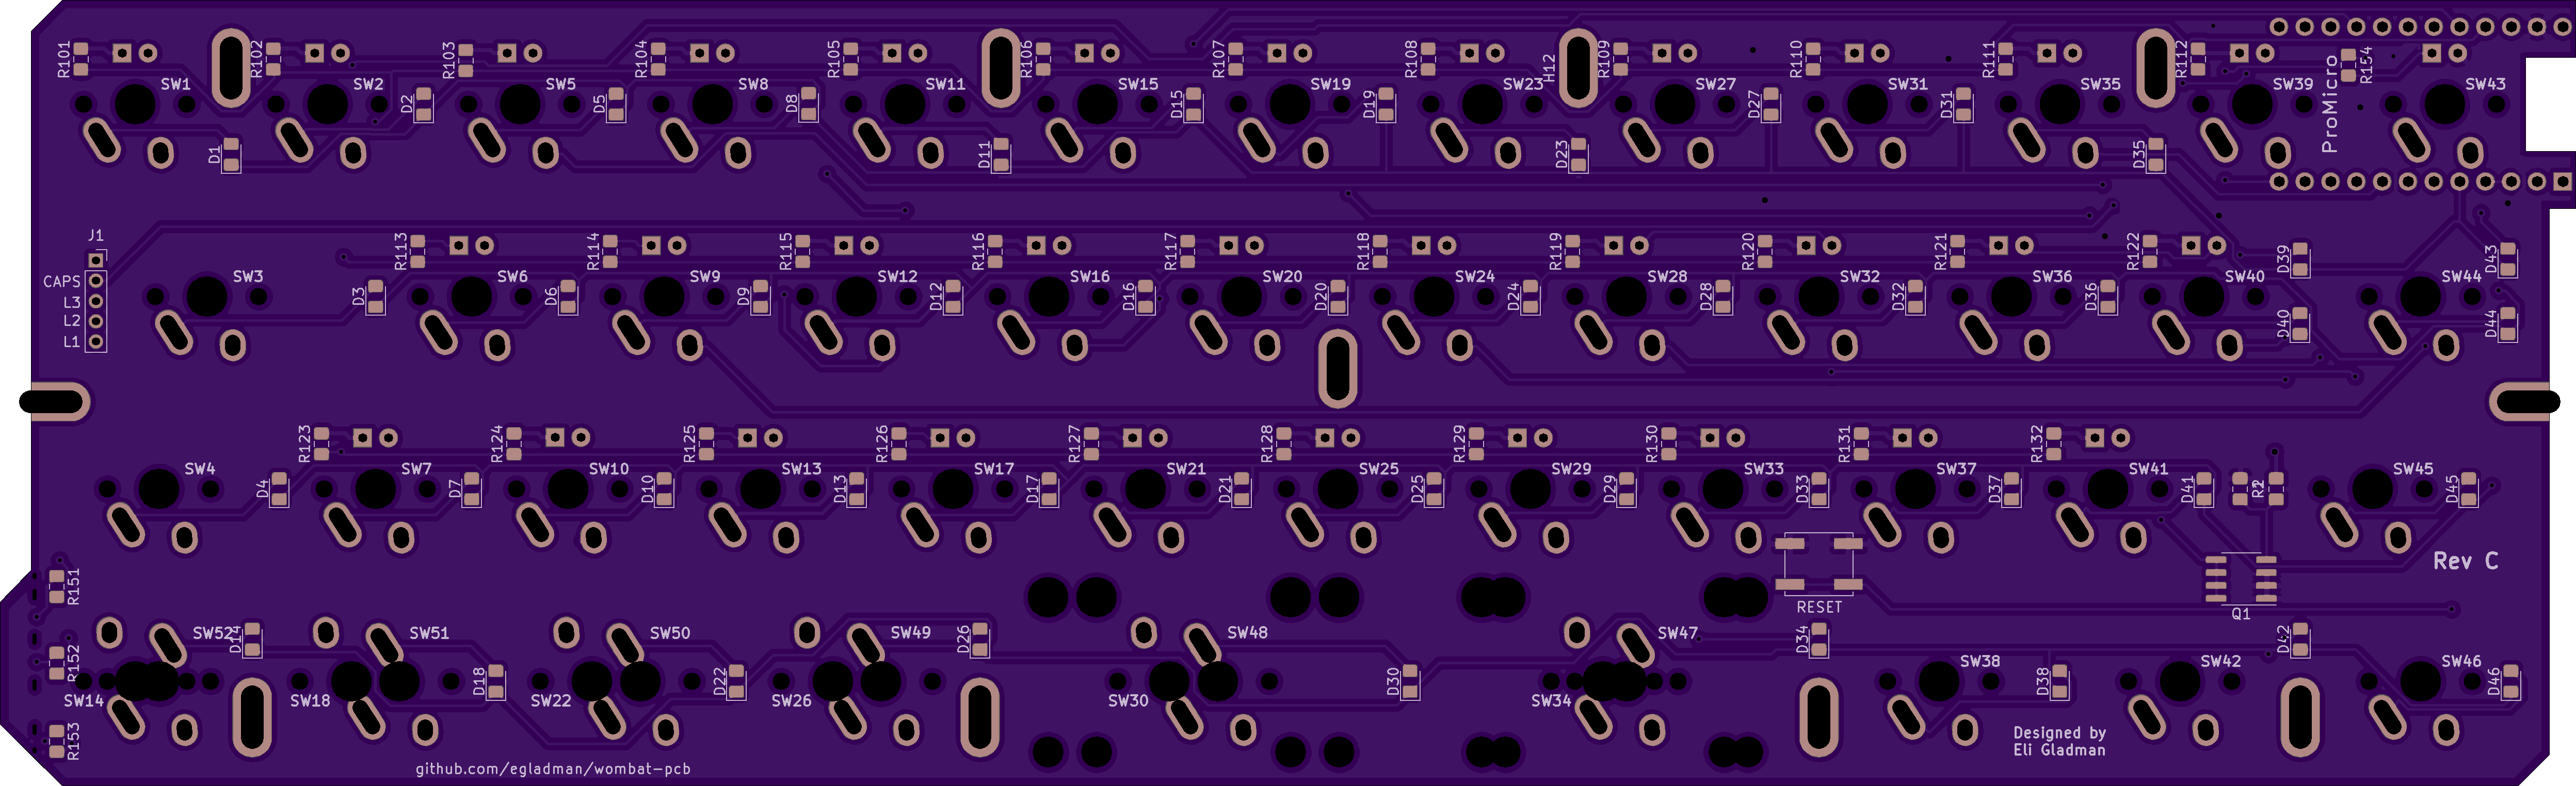
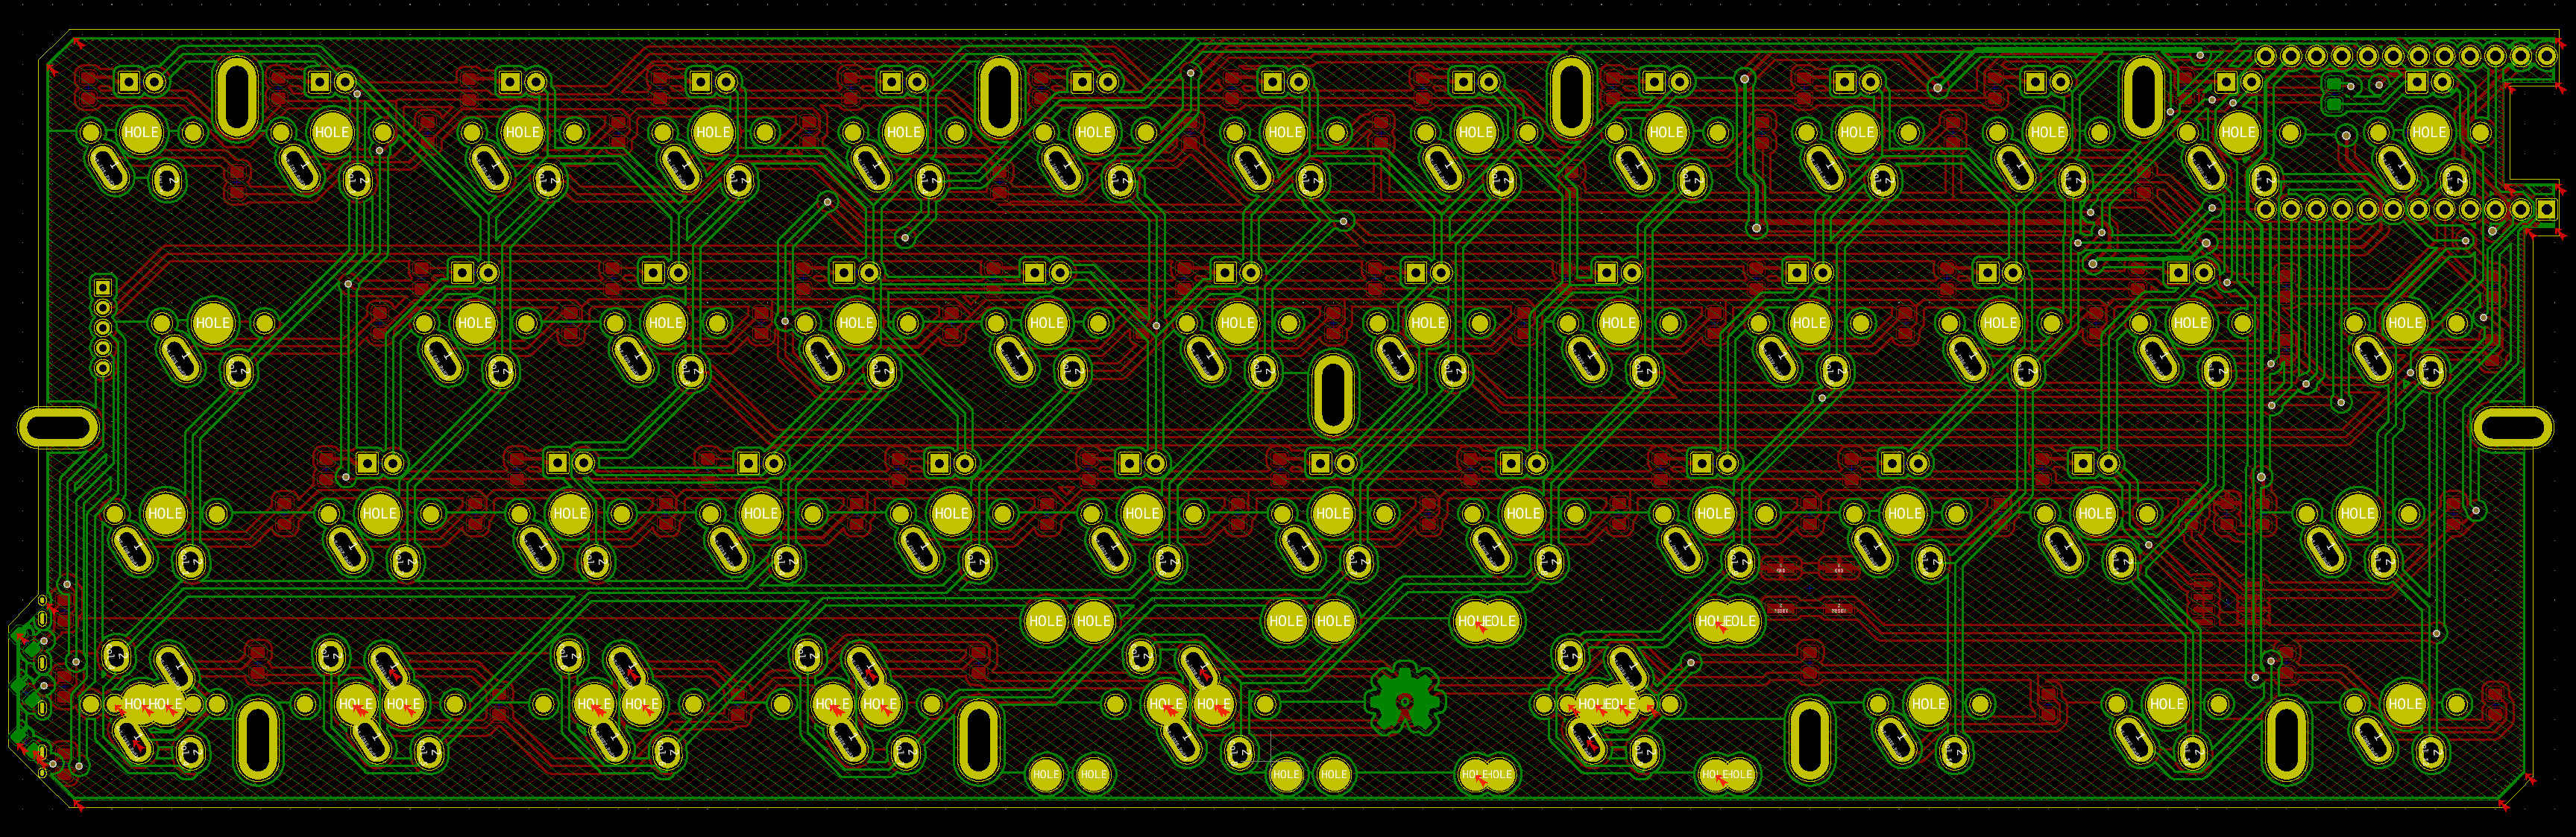
2.75u keys. I find 2.75u keycaps to wobble too much for everyday typing (even with geniune GMK stabs), therefore the longest key on the Wombat is 2.25u.[, ]). I'm a software engineer and I find these keys invaluable.6.25u (or god forbid anything larger) to be a waste of space. A little part of me dies each time I see a 7u spacebar on a 40%.6mm.FN1 (think HHKB).0.1mm counts.D1. It's solderable, but tricky.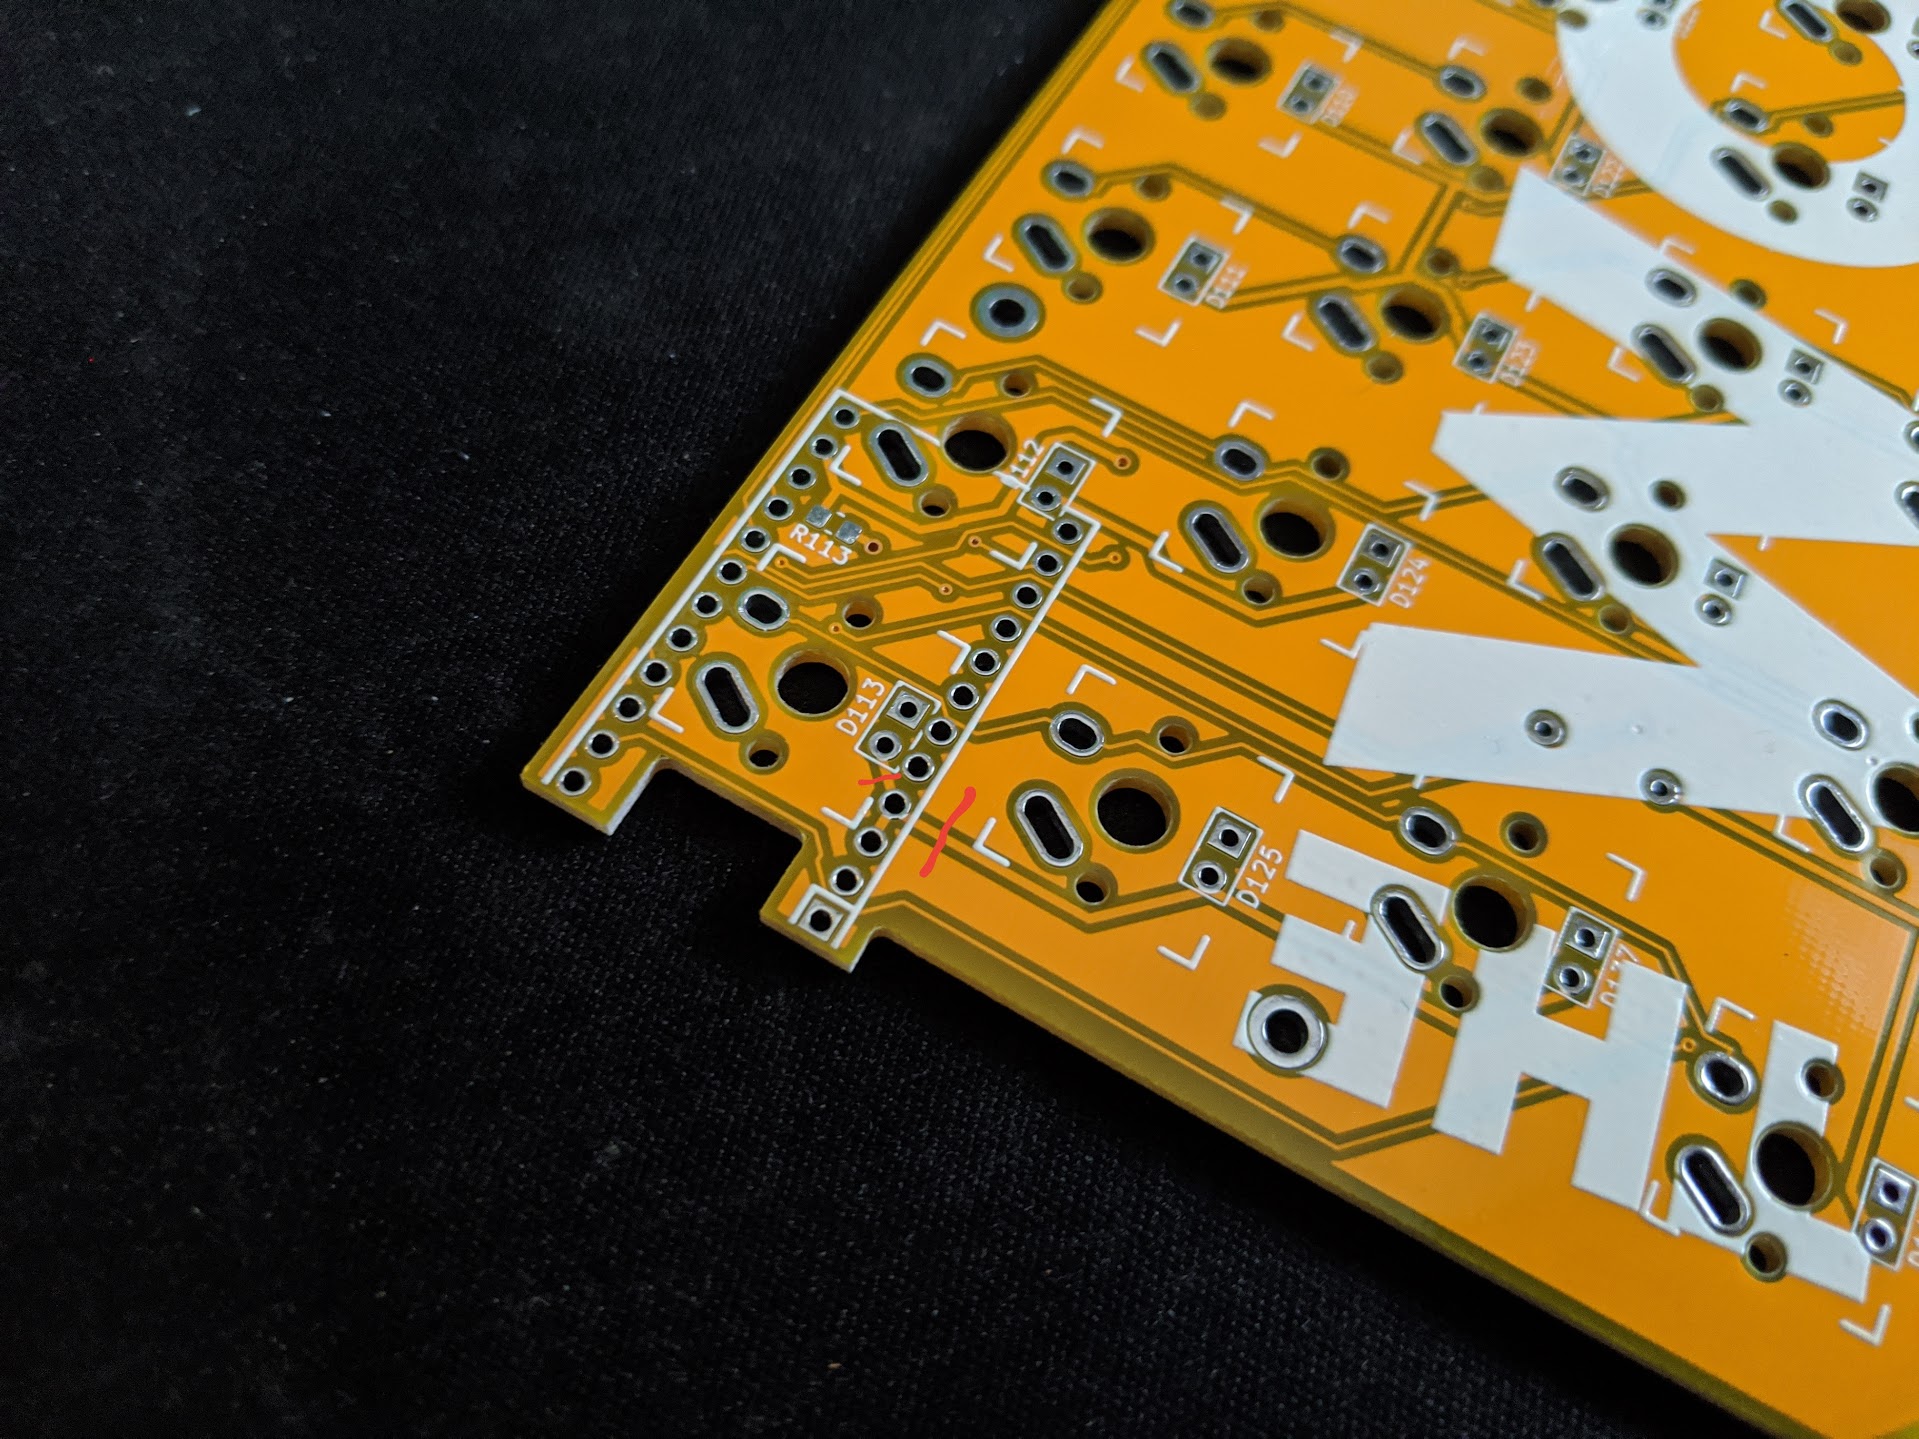
Ignore the dirty residual flux, these pictures were taken mid-build before the boards were cleaned.
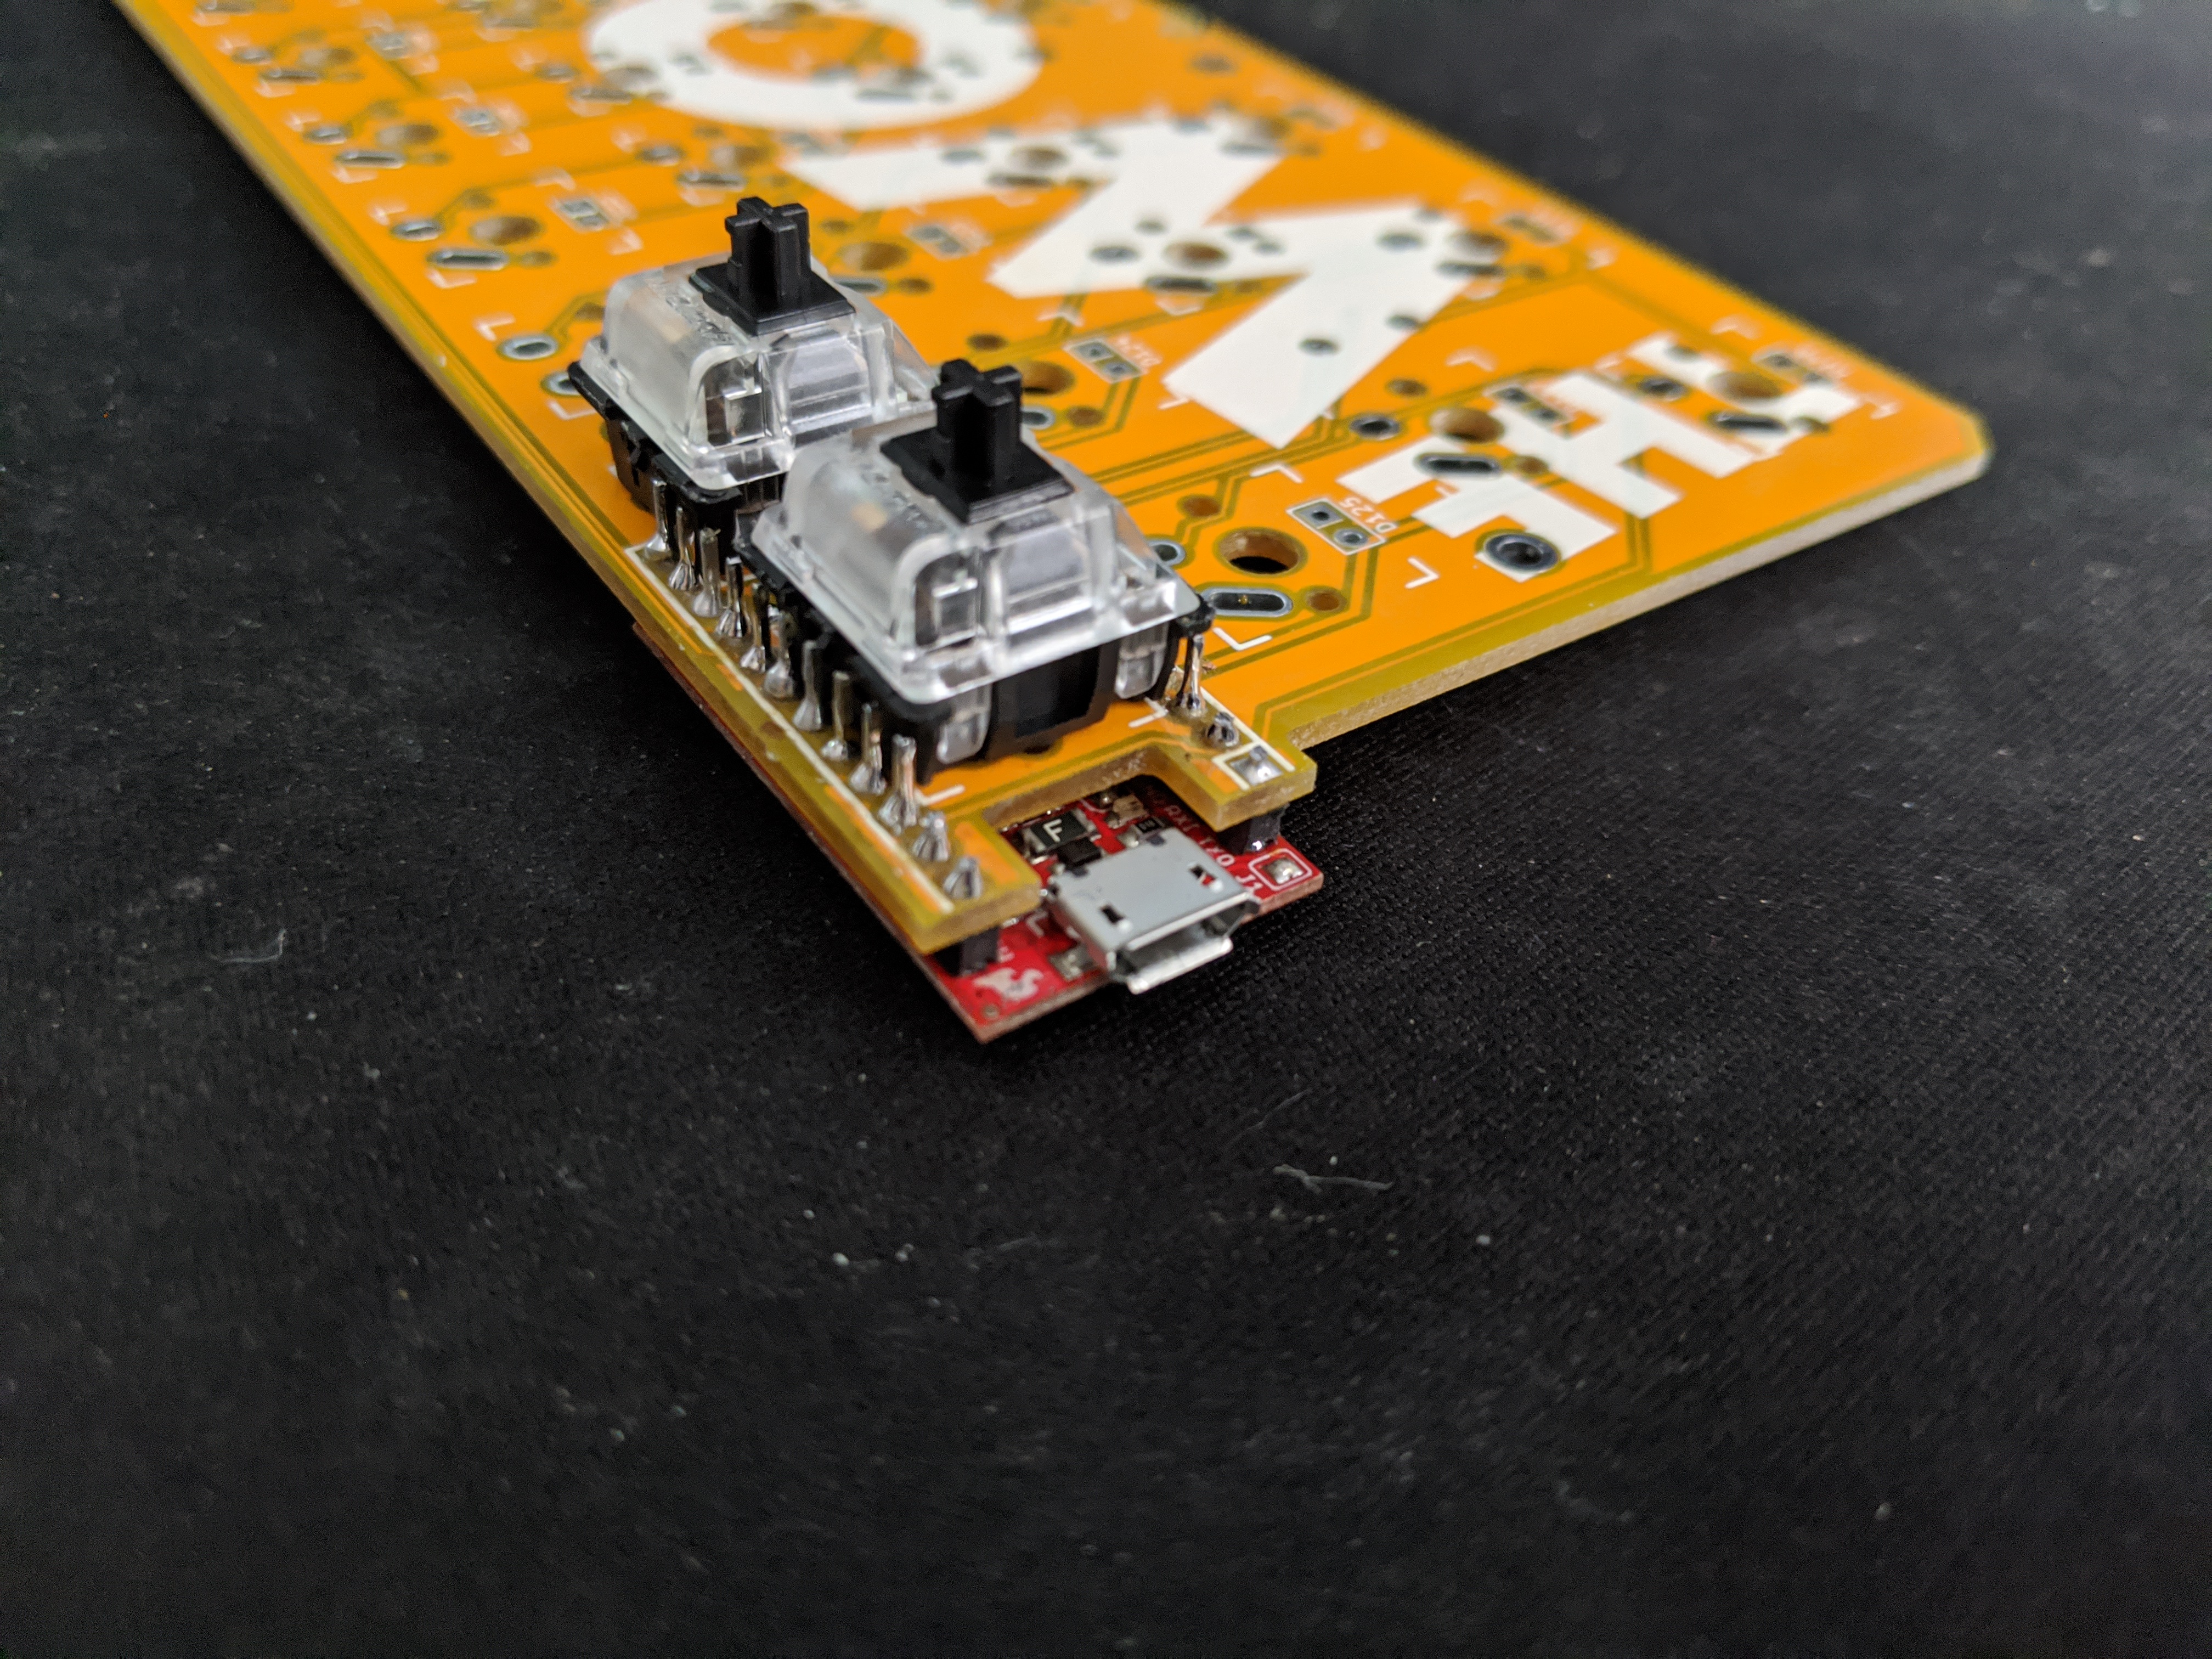
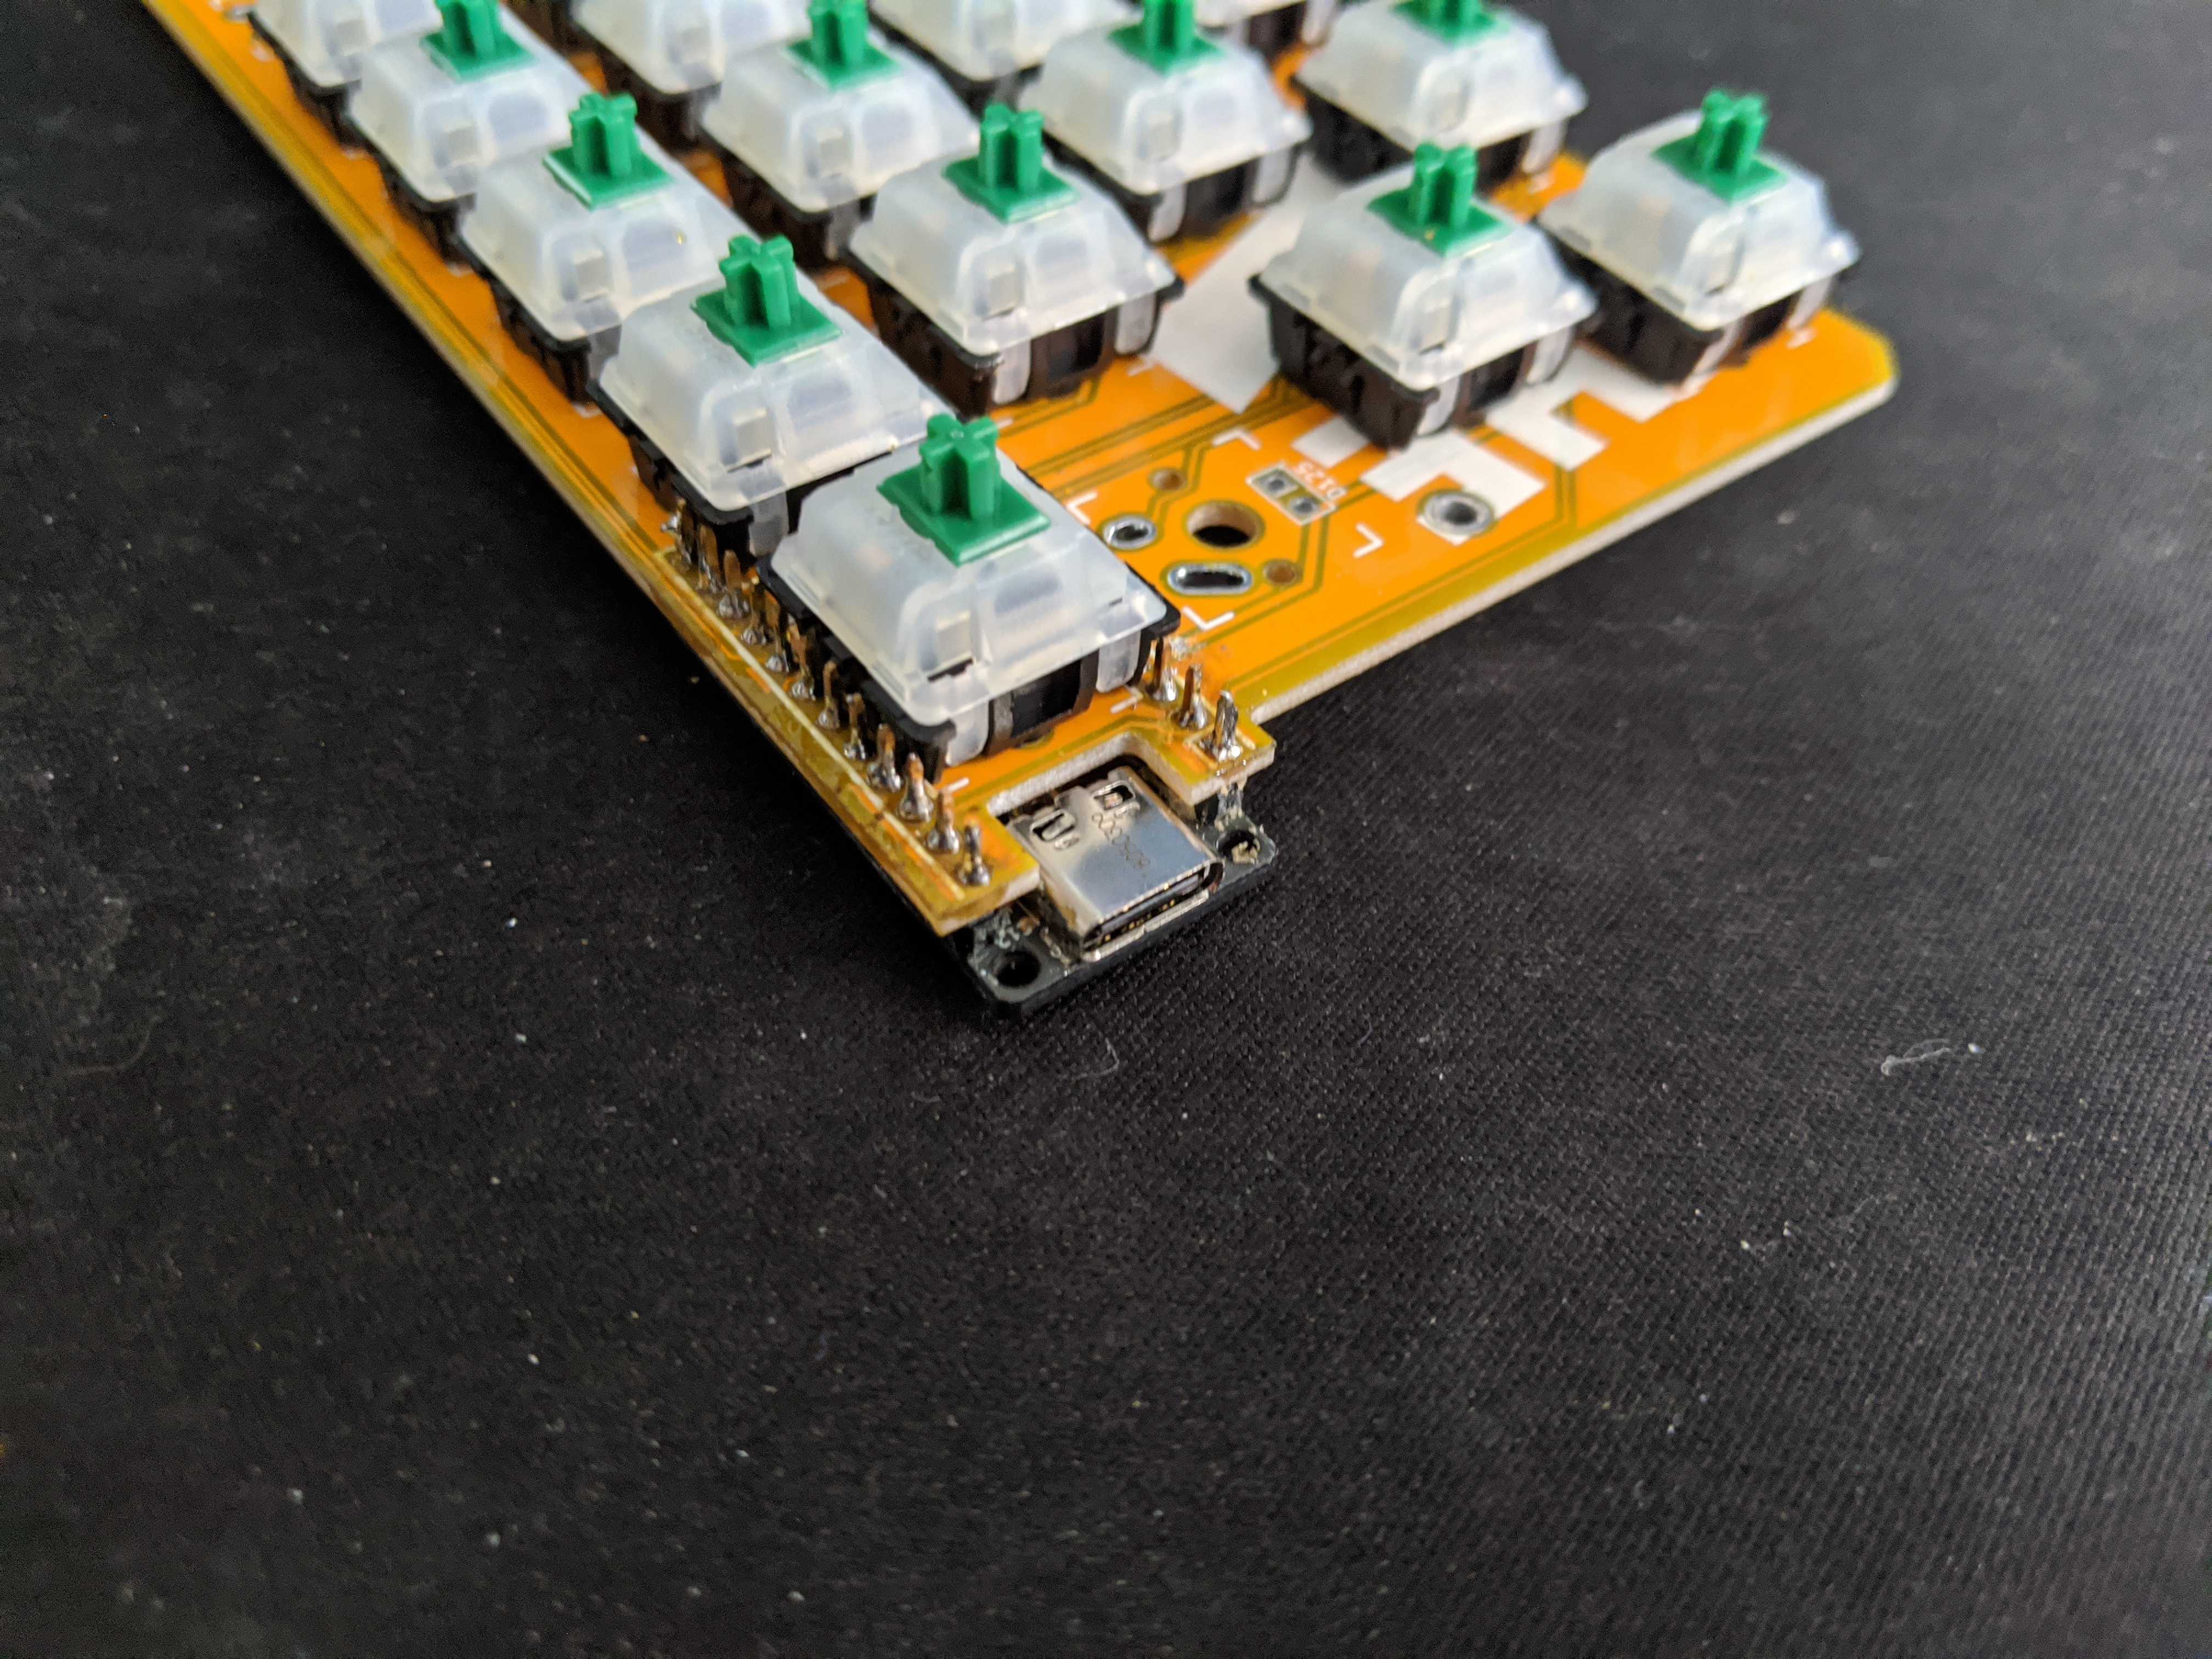
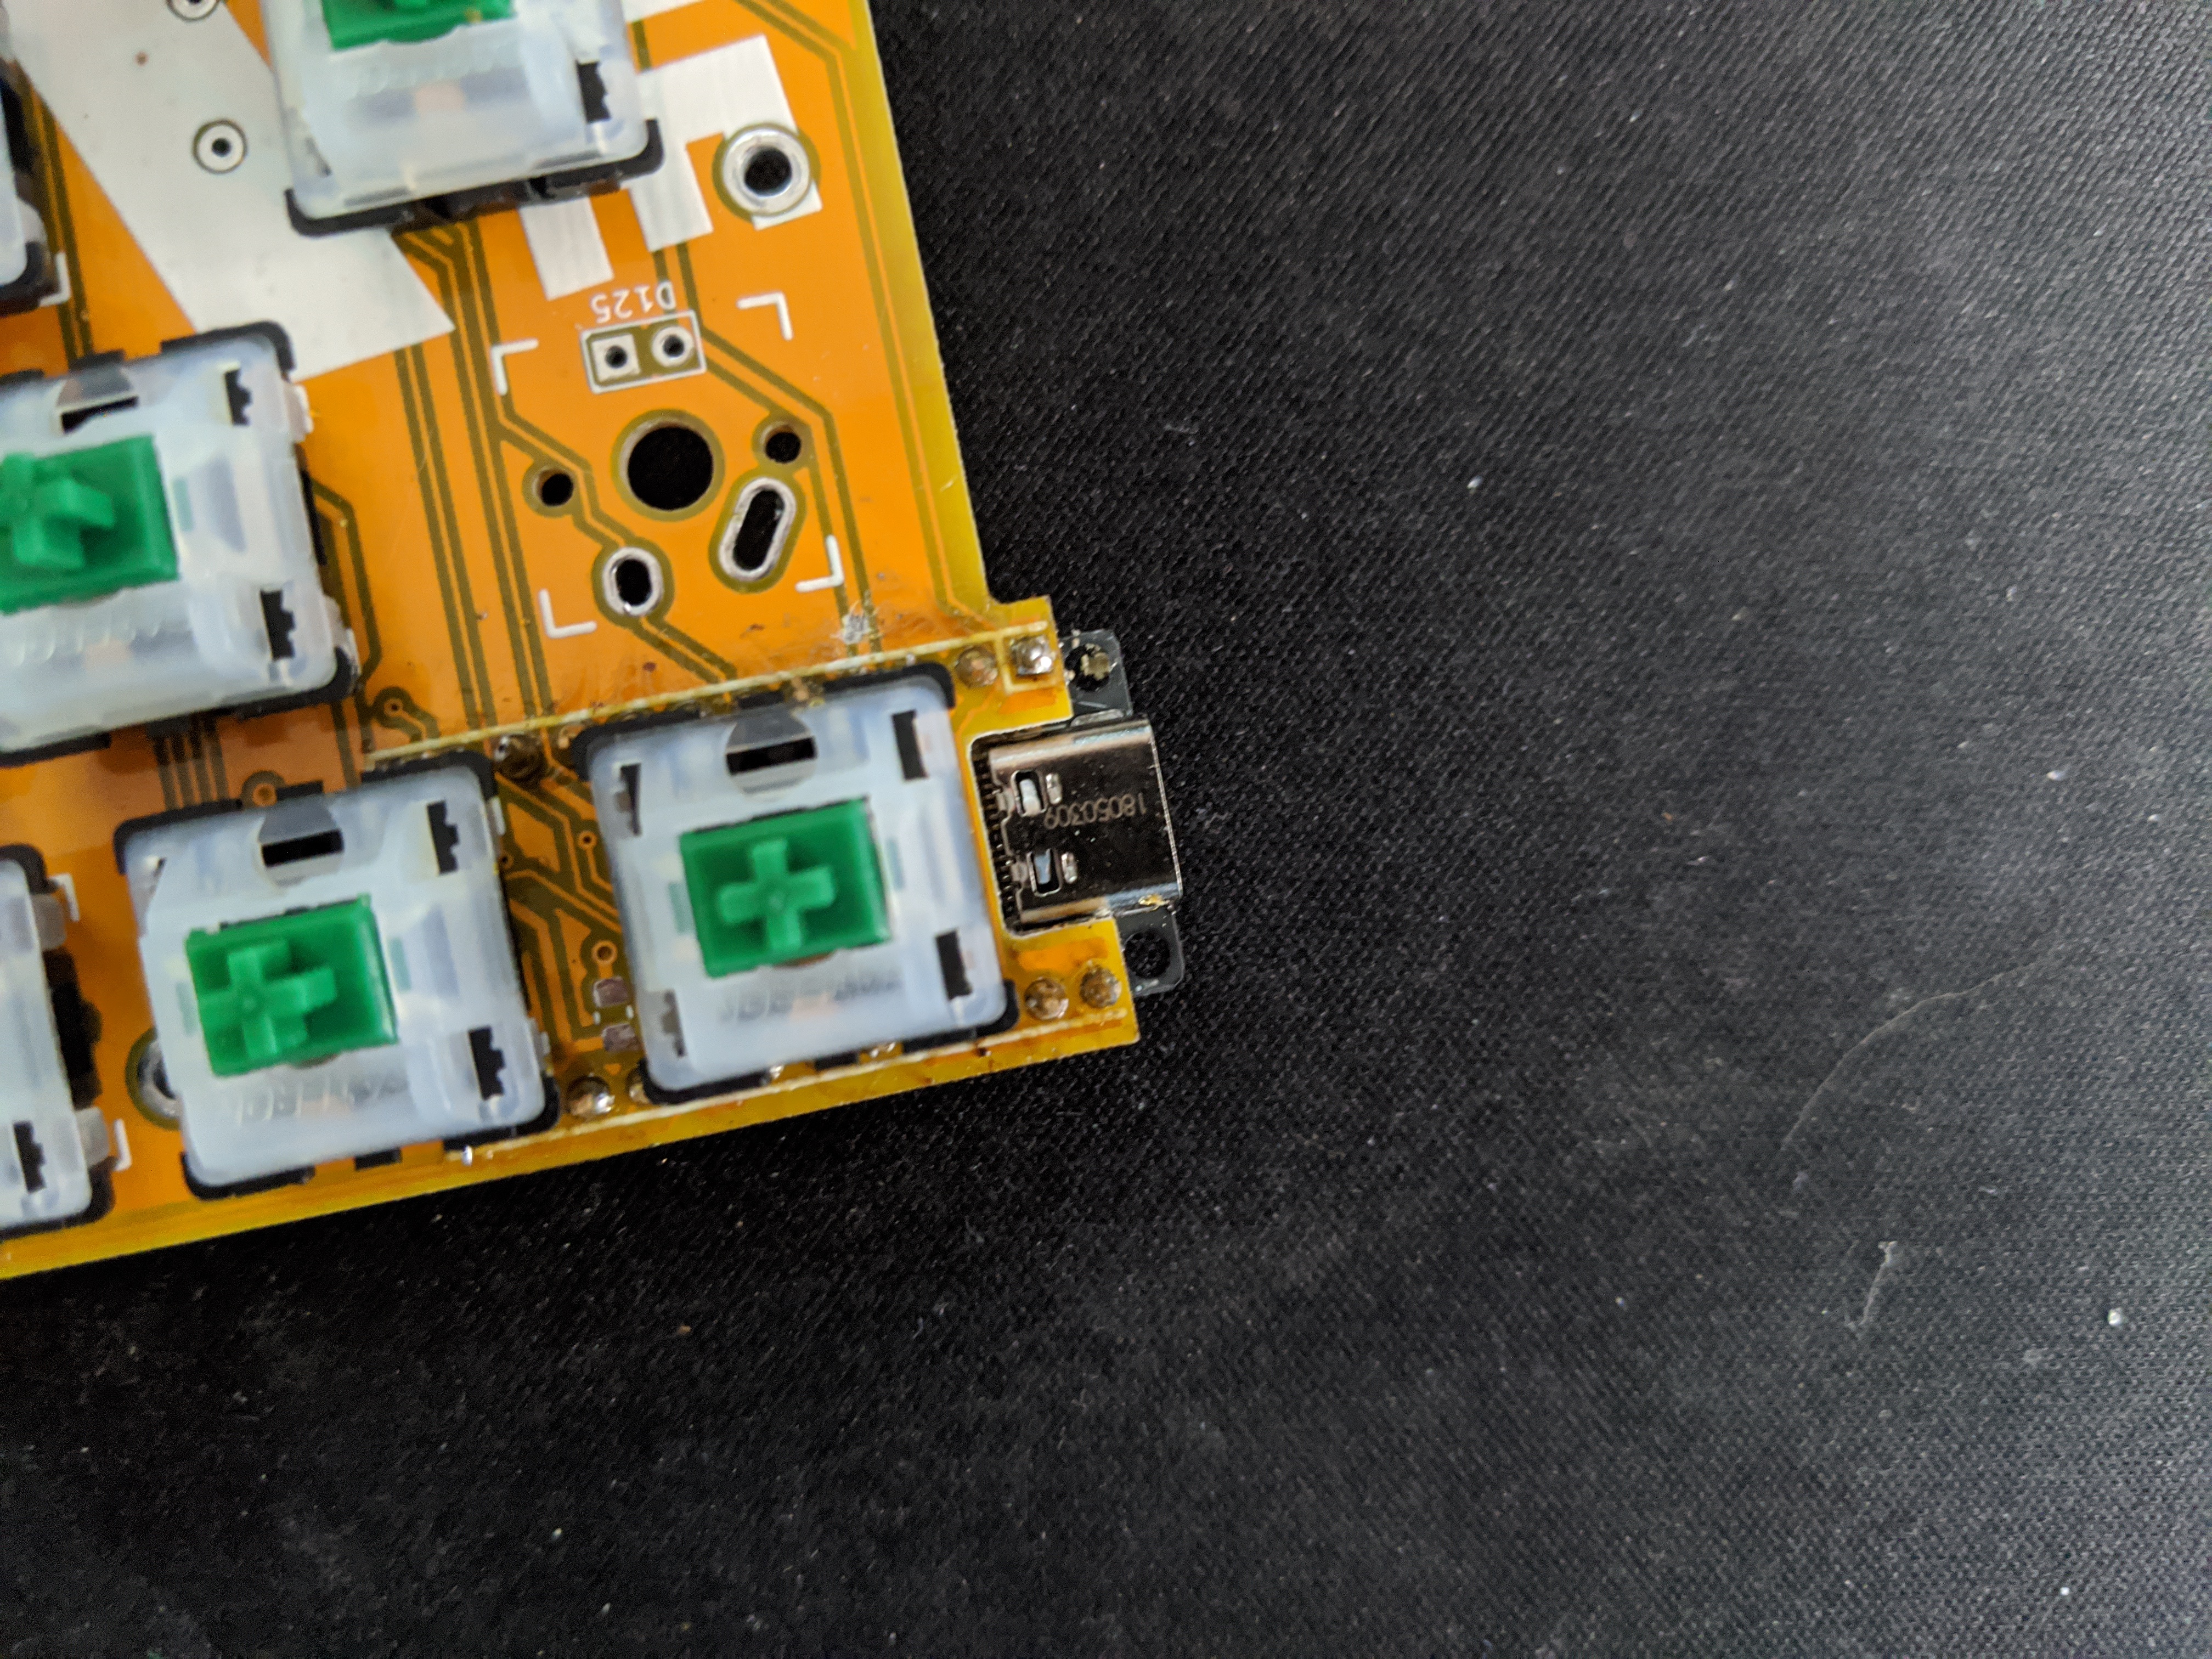
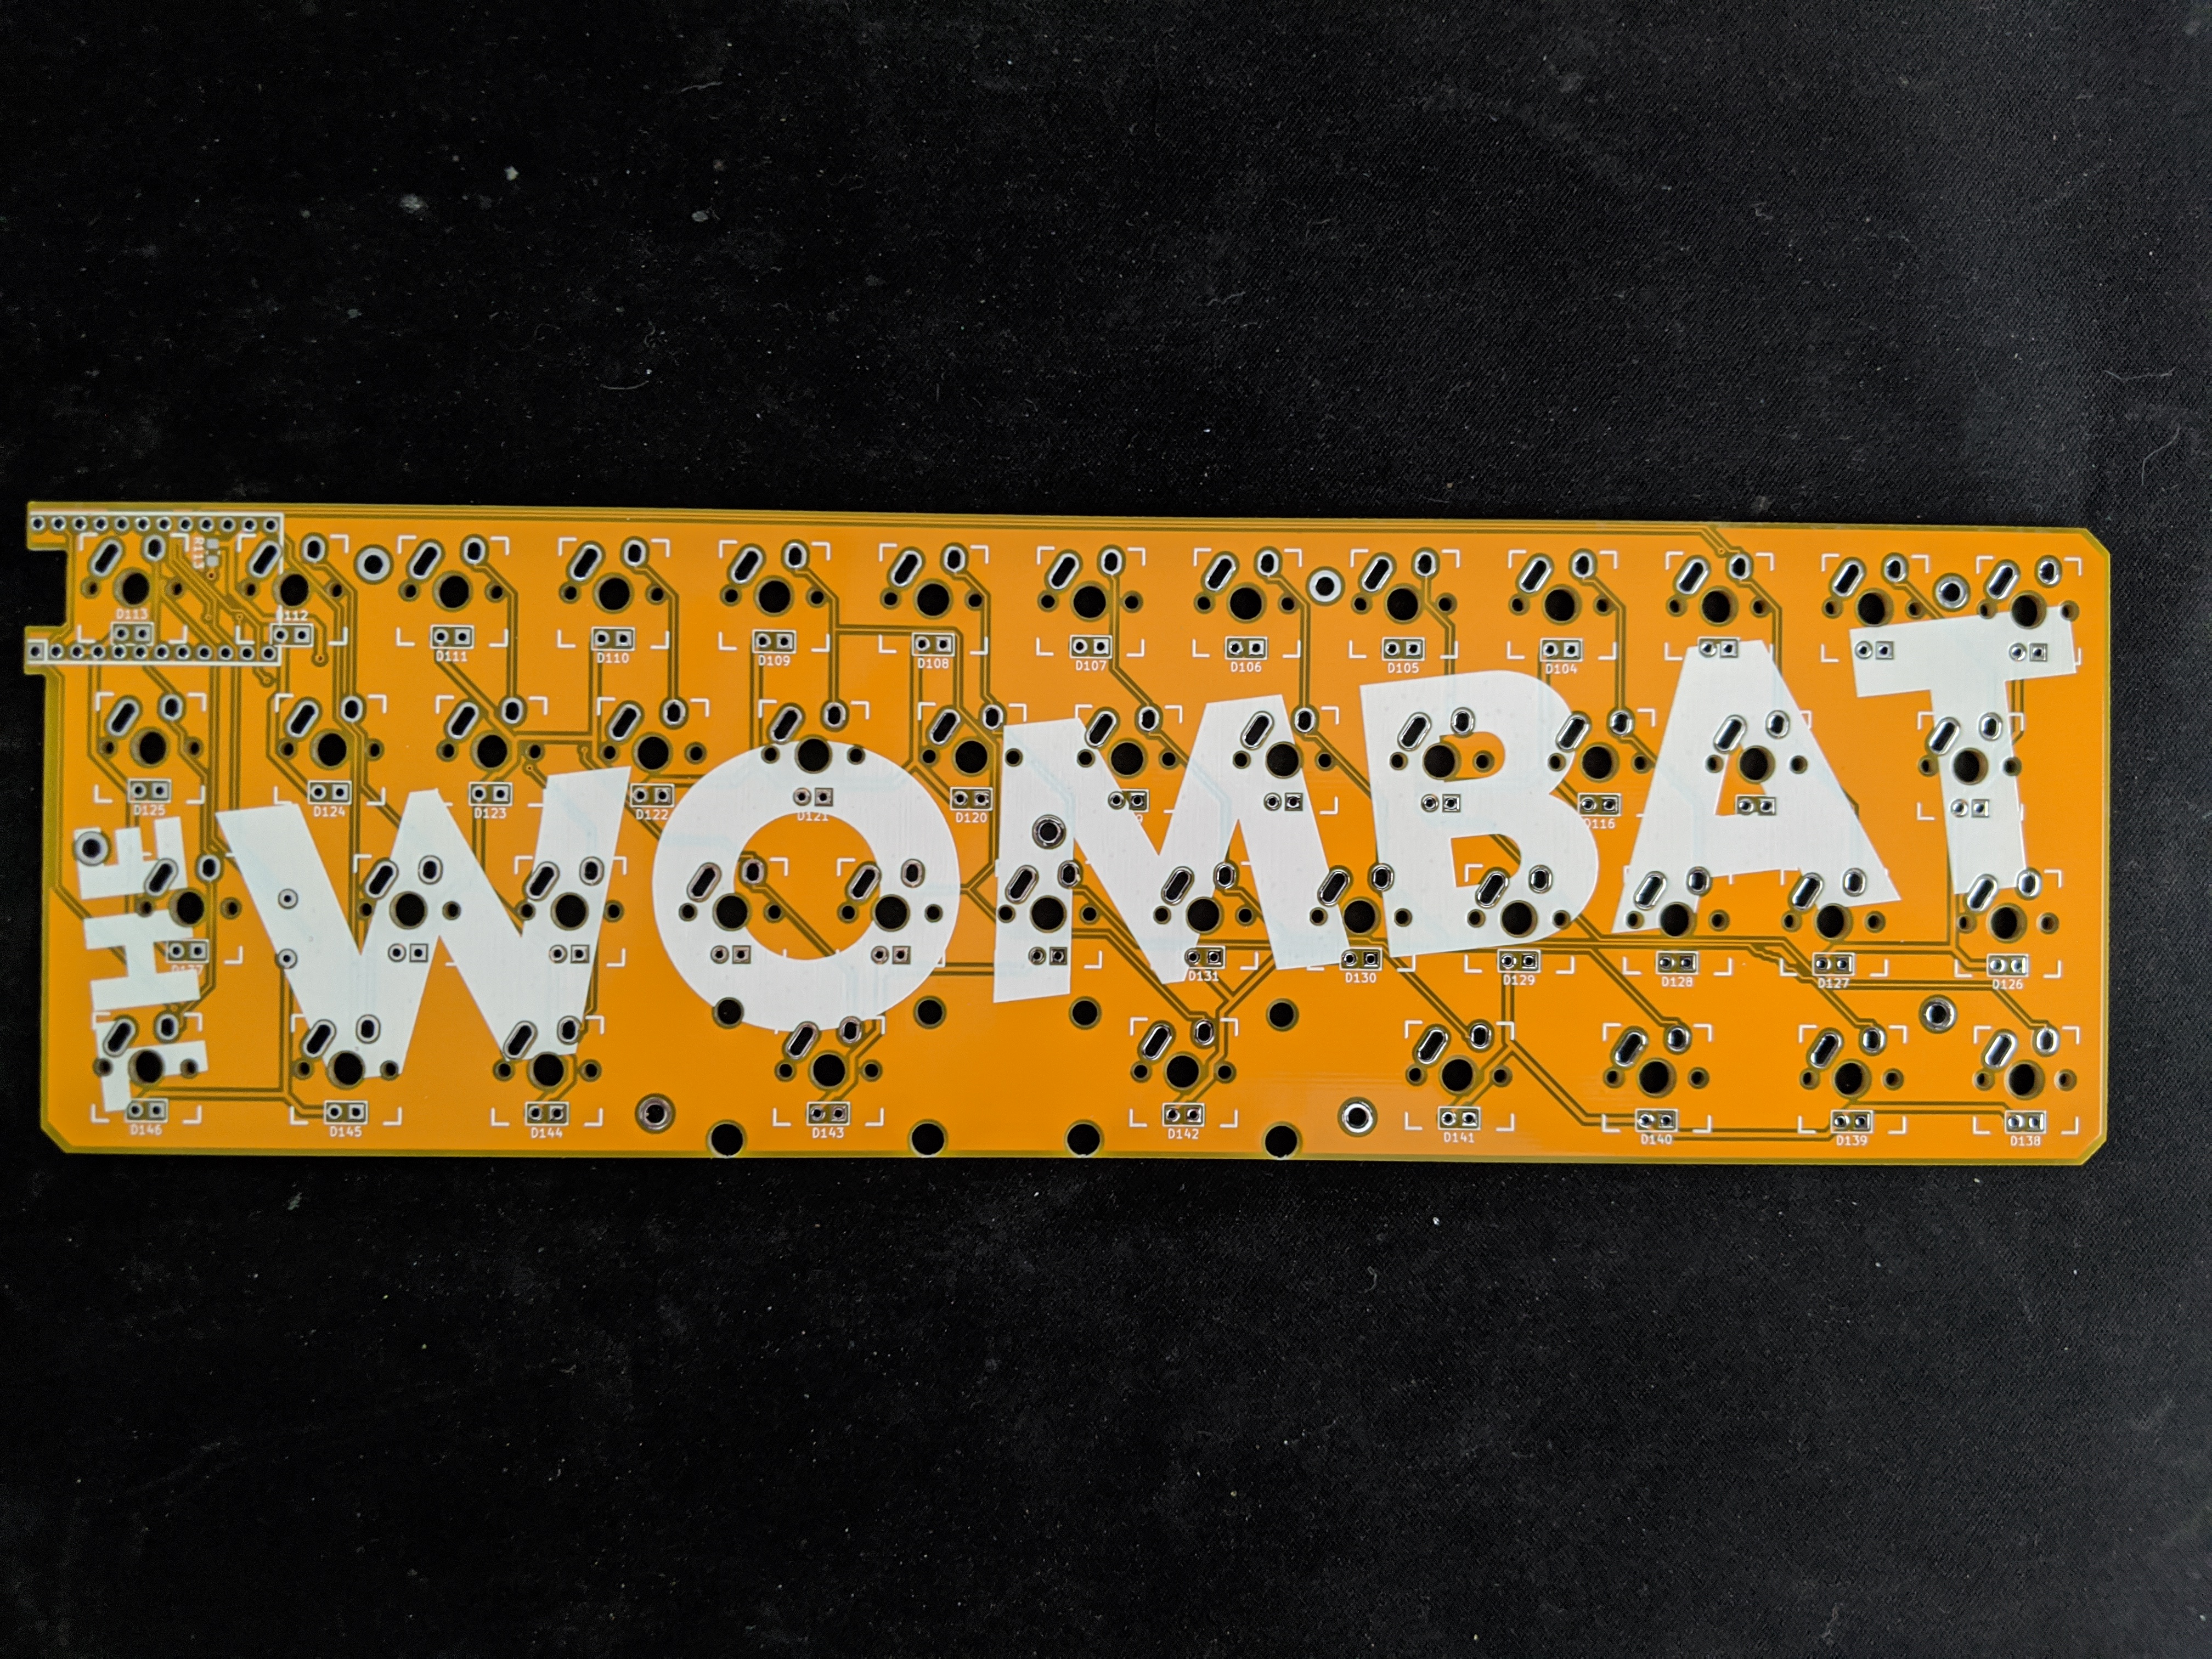
SMD 0805 300ohms Resistors. exampleSOD-123 1N4148 Diodes. examplePTH, 0.1If you choose to make a back from an extra pcb you'll need:
| Qty | Value | Footprint | References |
|---|---|---|---|
| 46 | 1N4148 | Diode_SMD:D_0805_2012Metric_Pad1.15x1.40mm_HandSolder | D1, D2, D10, D11, D12, D13, D14, D15, D16, D17, D18, D19, D20, D21, D22, D23 +30 |
| 35 | 300 | Resistor_SMD:R_0805_2012Metric_Pad1.15x1.40mm_HandSolder | R101, R102, R103, R104, R105, R106, R107, R108, R109, R110, R111, R112, R113, R114, R115, R116 +19 |
| 34 | SW_SPST | keebs-github:Mx_Alps_100 | SW1, SW2, SW10, SW11, SW12, SW13, SW14, SW15, SW16, SW17, SW19, SW20, SW21, SW23, SW24, SW25 +18 |
| 33 | LED | wombat.pretty:LED_D2.0mm_W4.8mm_H2.5mm_FlatTop_Reverse_Polarity | D101, D102, D103, D104, D105, D106, D107, D108, D109, D110, D111, D112, D113, D114, D115, D116 +17 |
| 12 | SW_SPST | keebs-github:Mx_Alps_125 | SW4, SW18, SW22, SW26, SW38, SW42, SW44, SW46, SW49, SW50, SW51, SW52 |
| 11 | MountingHole | wombat.pretty:MountingHole_2.2mm_M2_DIN965_Pad_Oval | H1, H2, H3, H5, H6, H7, H8, H9, H10, H11, H12 |
| 4 | Mouse_Bite | wombat.pretty:Mouse_Bite_04MM_11 | H101, H102, H103, H104 |
| 3 | LED | LED_SMD:LED_0805_2012Metric_Pad1.15x1.40mm_HandSolder | D151, D152, D153 |
| 2 | Mouse_Bite | wombat.pretty:Mouse_Bite_04MM_06 | H105, H106 |
| 2 | SW_SPST | keebs-github:Mx_Alps_175 | SW3, SW45 |
| 2 | SW_SPST | wombat.pretty:Mx_Alps_225_Inverted_Stabs | SW30, SW34 |
| 1 | 100 | Resistor_SMD:R_0805_2012Metric_Pad1.15x1.40mm_HandSolder | R2 |
| 1 | 10K | Resistor_SMD:R_0805_2012Metric_Pad1.15x1.40mm_HandSolder | R1 |
| 1 | 300 | wombat.pretty:R_0805_2012Metric_Pad1.15x1.40mm_HandSolder_Double_Sided | R154 |
| 1 | Conn_01x05 | Connector_PinSocket_2.00mm:PinSocket_1x05_P2.00mm_Vertical | J1 |
| 1 | FDS6630A | Package_SO:SOIC-8_3.9x4.9mm_P1.27mm | Q1 |
| 1 | LOGO | lib:oshw_logo | G1 |
| 1 | LOGO | lib:wombat_logo | G3 |
| 1 | ProMicro | keebs-github:Pro_Micro | U1 |
| 1 | RESET | Button_Switch_SMD:SW_SPST_EVQP0 | SW101 |
| 1 | SW_SPST | keebs-github:Mx_Alps_225 | SW48 |
| 1 | SW_SPST | keebs-github:Mx_Alps_200 | SW47 |


jpconstantineau/ErgoTravel
A Portable Ergonomic Split Keyboard inspired from the ErgoDox, Let's Split and Minidox


ericrlau/SP56
Bluetooth low engery keyboard. Layout based on Sofle keyboard with some modifications. NRF52840 powered. Designed around Kaihl Choc switches and spacing.

PubInv/krake
The Krake™ is a Wi-Fi–enabled server using an MQTT broker, which means it can be controlled remotely by other devices ("clients") via the internet.

It measures 253.5 × 77.4 mm and has 2 copper layers, 1.6 mm thick.
195 parts, built around the FDS6630A. The full list of its parts is on this page, with links to each part's symbol and footprint where PCBKit's library has them.
From the egladman/wombat-pcb repository on GitHub, at the commit this page was made from: the board is wombat.kicad_pcb. PCBKit opens the board in the browser, with nothing to install.
Its repository states no licence, so its author keeps all rights: ask egladman before reusing the design.