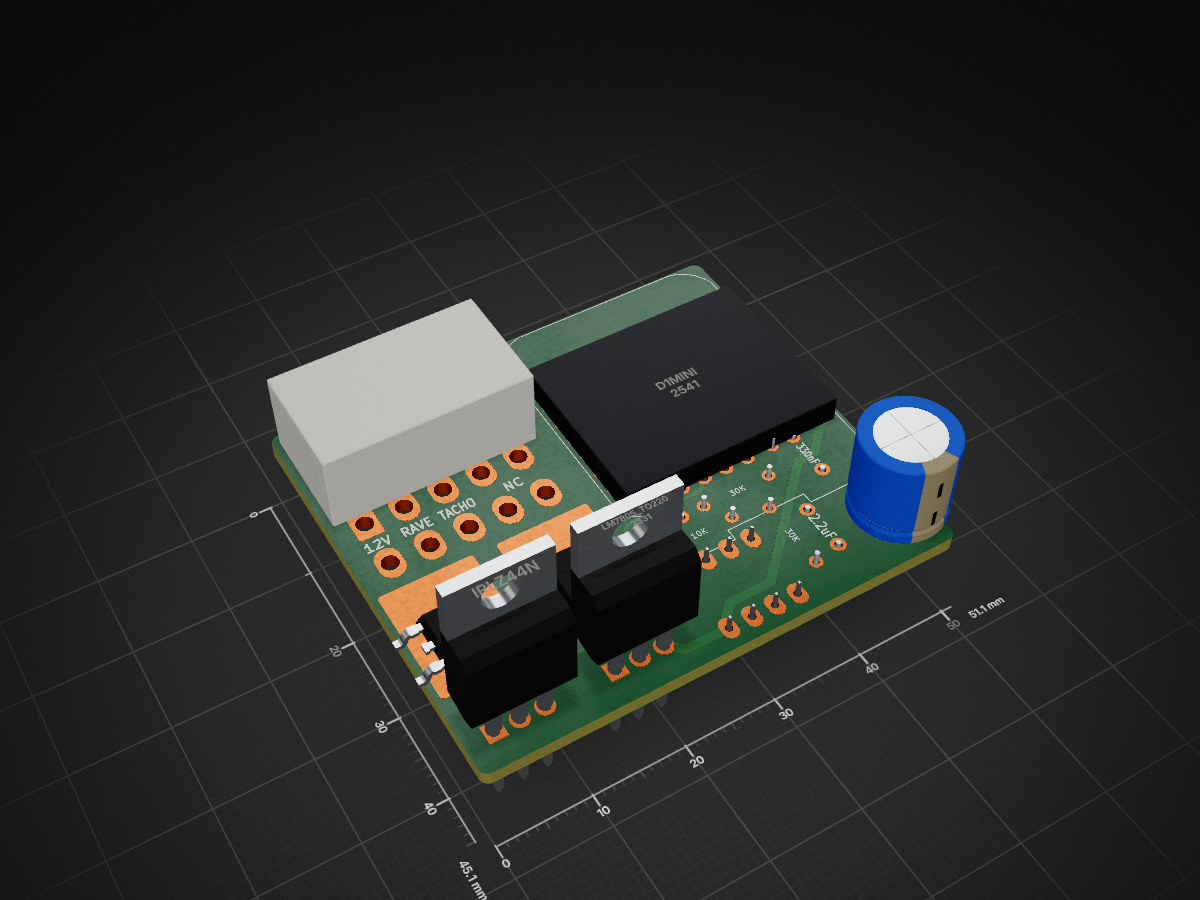
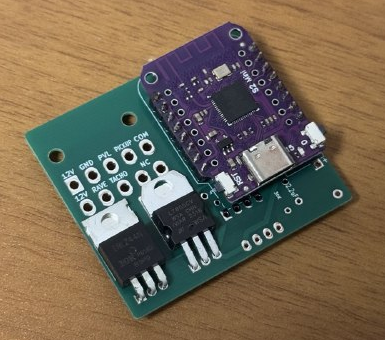
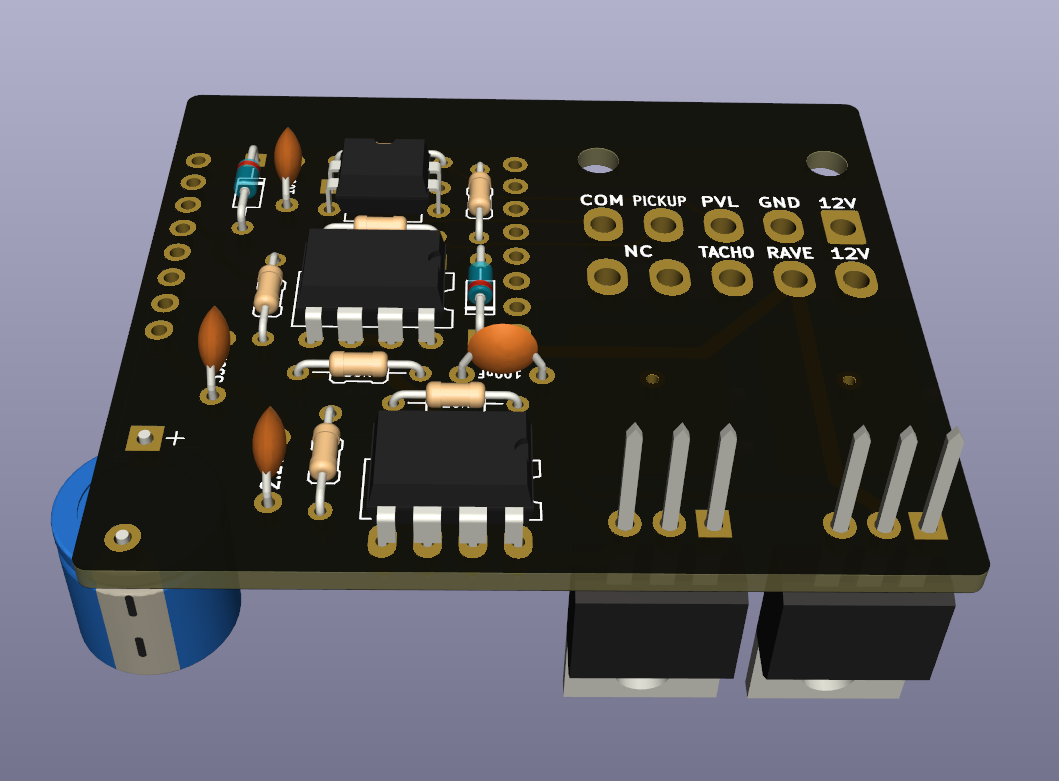
Rave Controller is an open-source printed circuit board by D3stan, from the D3stan/EV-Controller repository on GitHub. It is a 4-layer board of 51.1 × 45.1 mm with 23 parts on 28 nets, routed with 100 tracks and 2 vias.
It is built around the LMC662AIN, TC4422ESM and IRLZ44N. Its parts include 7 resistors, 5 capacitors, 5 ICs, 2 diodes and 1 transistor. It belongs with the audio and music boards and the ESP8266 boards of this library.
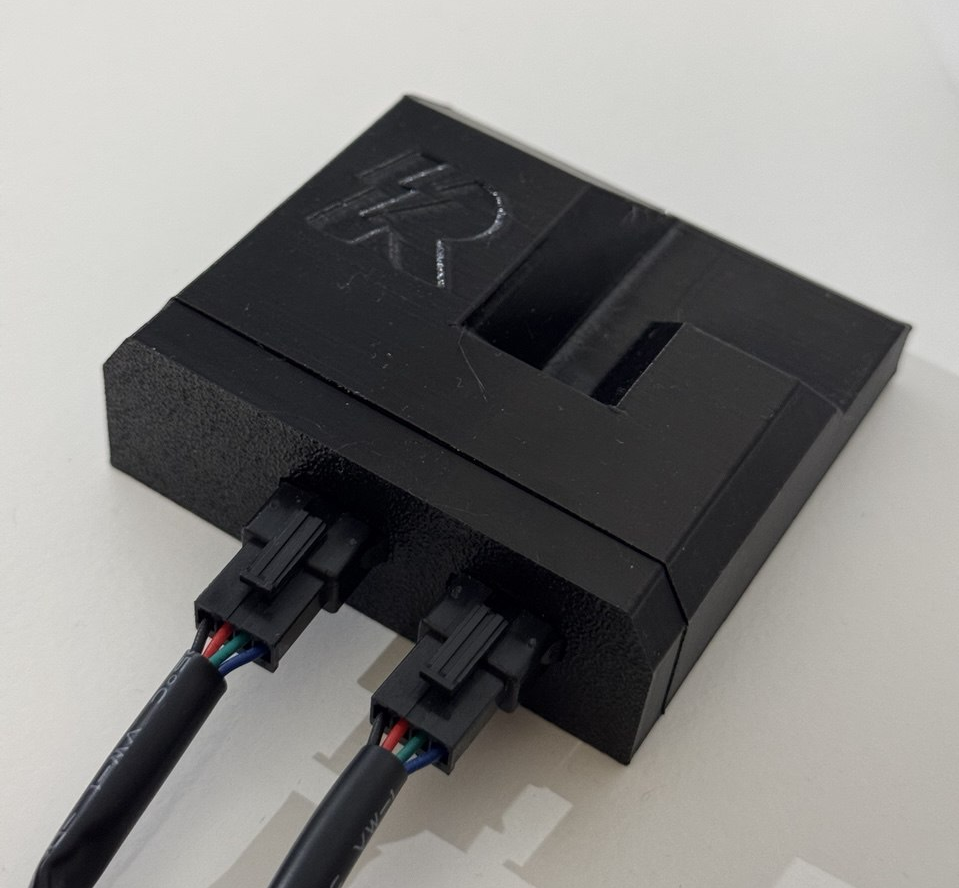
This project is an ESP8266/ESP32-based exhaust valve controller for motorcycles. It offers real-time monitoring and configuration through a web interface, utilizing WebSockets for live data communication. The core functionality is to control the motorcycle's exhaust valve based on configurable RPM thresholds.
Features
RPM-based exhaust valve control with configurable opening and closing thresholds.
Web interface for real-time RPM monitoring and settings adjustment.
WiFi Access Point (AP) mode for initial setup and configuration.
WiFi Station (STA) mode to connect to an existing wireless network.
Secure Over-the-Air (OTA) updates for both firmware and filesystem.
Manual override for valve control directly from the web interface.
Hardware Construction
To build the hardware, you will need to manufacture the PCB and source the electronic components.
1. PCB Manufacturing
The Gerber files required for PCB production are located in the pcb/production/gerber.zip archive. You can upload this file to any PCB manufacturer of your choice.
2. Component Sourcing
The list of all necessary components (Bill of Materials) is available in the pcb/production/bom.csv file. This file can be used to order parts from electronic component distributors.
3. Assembly
Solder the components onto the manufactured PCB. For component placement and orientation, please refer to the following files:
Schematic:pcb/schema.pdf
KiCad Project:pcb/Rave-Controller.kicad_pro (can be opened with KiCad)
For automated pick-and-place assembly, the pcb/production/positions.csv file is also provided.
Open the cloned repository folder in Visual Studio Code.
PlatformIO will automatically detect the platformio.ini file and prompt you to install the required project dependencies.
Once dependencies are installed, select the correct environment for your board (e.g., d1_mini).
Use the PlatformIO "Upload" task to build and flash the firmware to your device. Alternatively, you can run the following command from the integrated terminal:
bash
pio run -e d1_mini --target upload
Initial Setup
On the first boot, the device will create a Wi-Fi Access Point. The default SSID and password can be found in the source code (data/config.json).
Connect your computer or smartphone to this Wi-Fi network.
Open a web browser and navigate to the device's default IP address, which is 42.42.42.42.
From the web interface, you can configure your home Wi-Fi credentials (SSID and password) and set the desired RPM thresholds for the exhaust valve operation.
After saving the new settings, the device will restart, connect to your specified Wi-Fi network, and begin normal operation.
It measures 51.1 × 45.1 mm and has 4 copper layers, 1.6 mm thick.
What parts does the Rave Controller use?
23 parts, built around the LMC662AIN, TC4422ESM and IRLZ44N. The full list of its parts is on this page, with links to each part's symbol and footprint where PCBKit's library has them.
Where can I download the Rave Controller KiCad files?
From the D3stan/EV-Controller repository on GitHub, at the commit this page was made from: the board is pcb/Rave-Controller.kicad_pcb and its schematic pcb/Rave-Controller.kicad_sch. PCBKit opens the board in the browser, with nothing to install.
Can I use the Rave Controller design in my own project?
Its repository states no licence, so its author keeps all rights: ask D3stan before reusing the design.
This repository contains the design an implementation of a SEPIC (Single-Ended Primary-Inductor Converter) to test and compare the application of model predictive control on fourth-order power converters.