

2 layers105 × 105 mm
Neopixel
hackclub/OnBoard
💡 Join 1,000 teenagers and make your first PCB with a $100 grant!
71 parts915

 ctranstrum/lintilla107
Repository for the Lintilla keyboard
Lintilla is an open-source printed circuit board by ctranstrum, from the ctranstrum/lintilla repository on GitHub, published under the CERN-OHL-P-2.0 licence. It is a 2-layer board of 157.3 × 111.6 mm with 71 parts on 35 nets, routed with 508 tracks and 0 vias.
It belongs with the keyboards and input boards of this library.
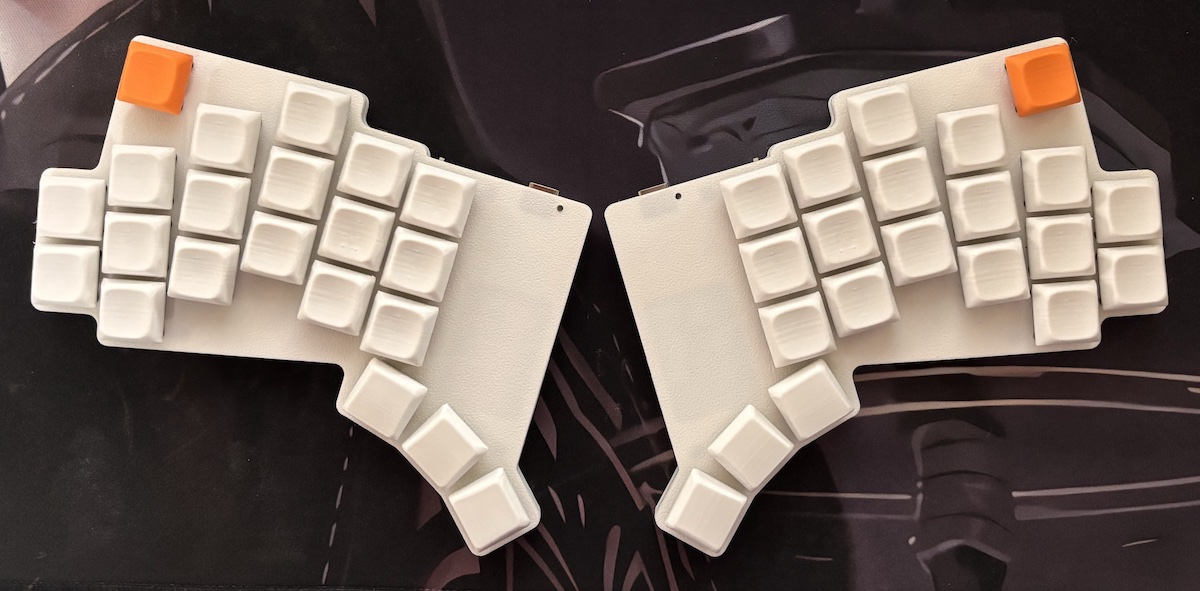
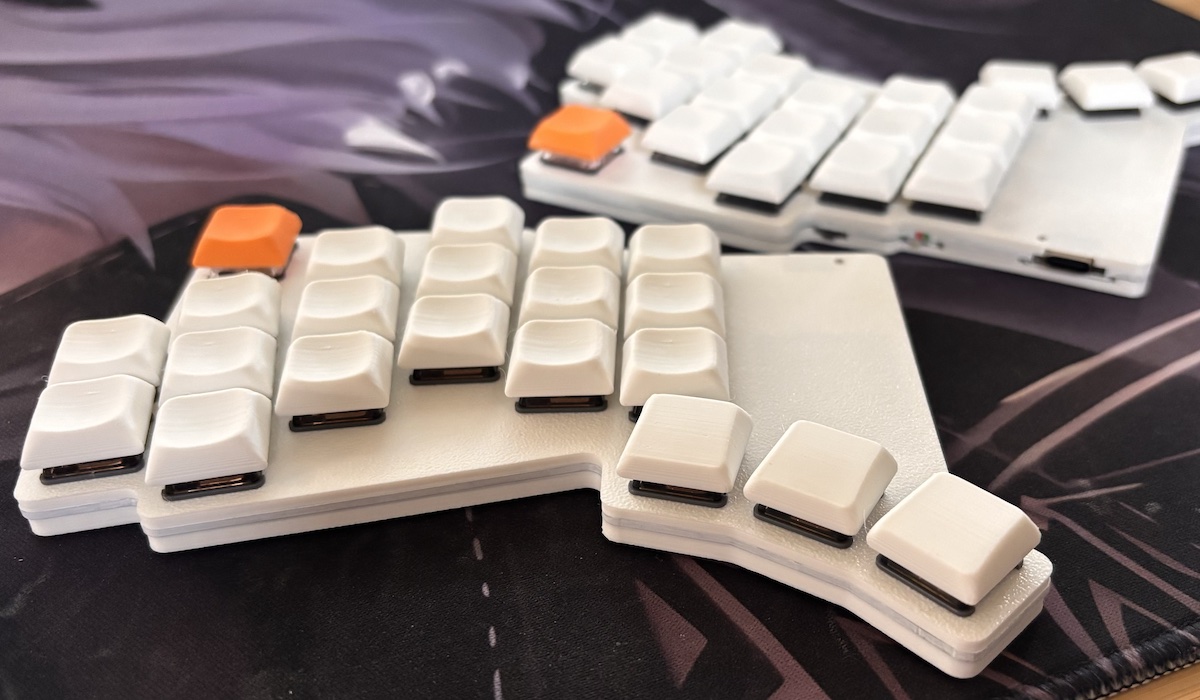
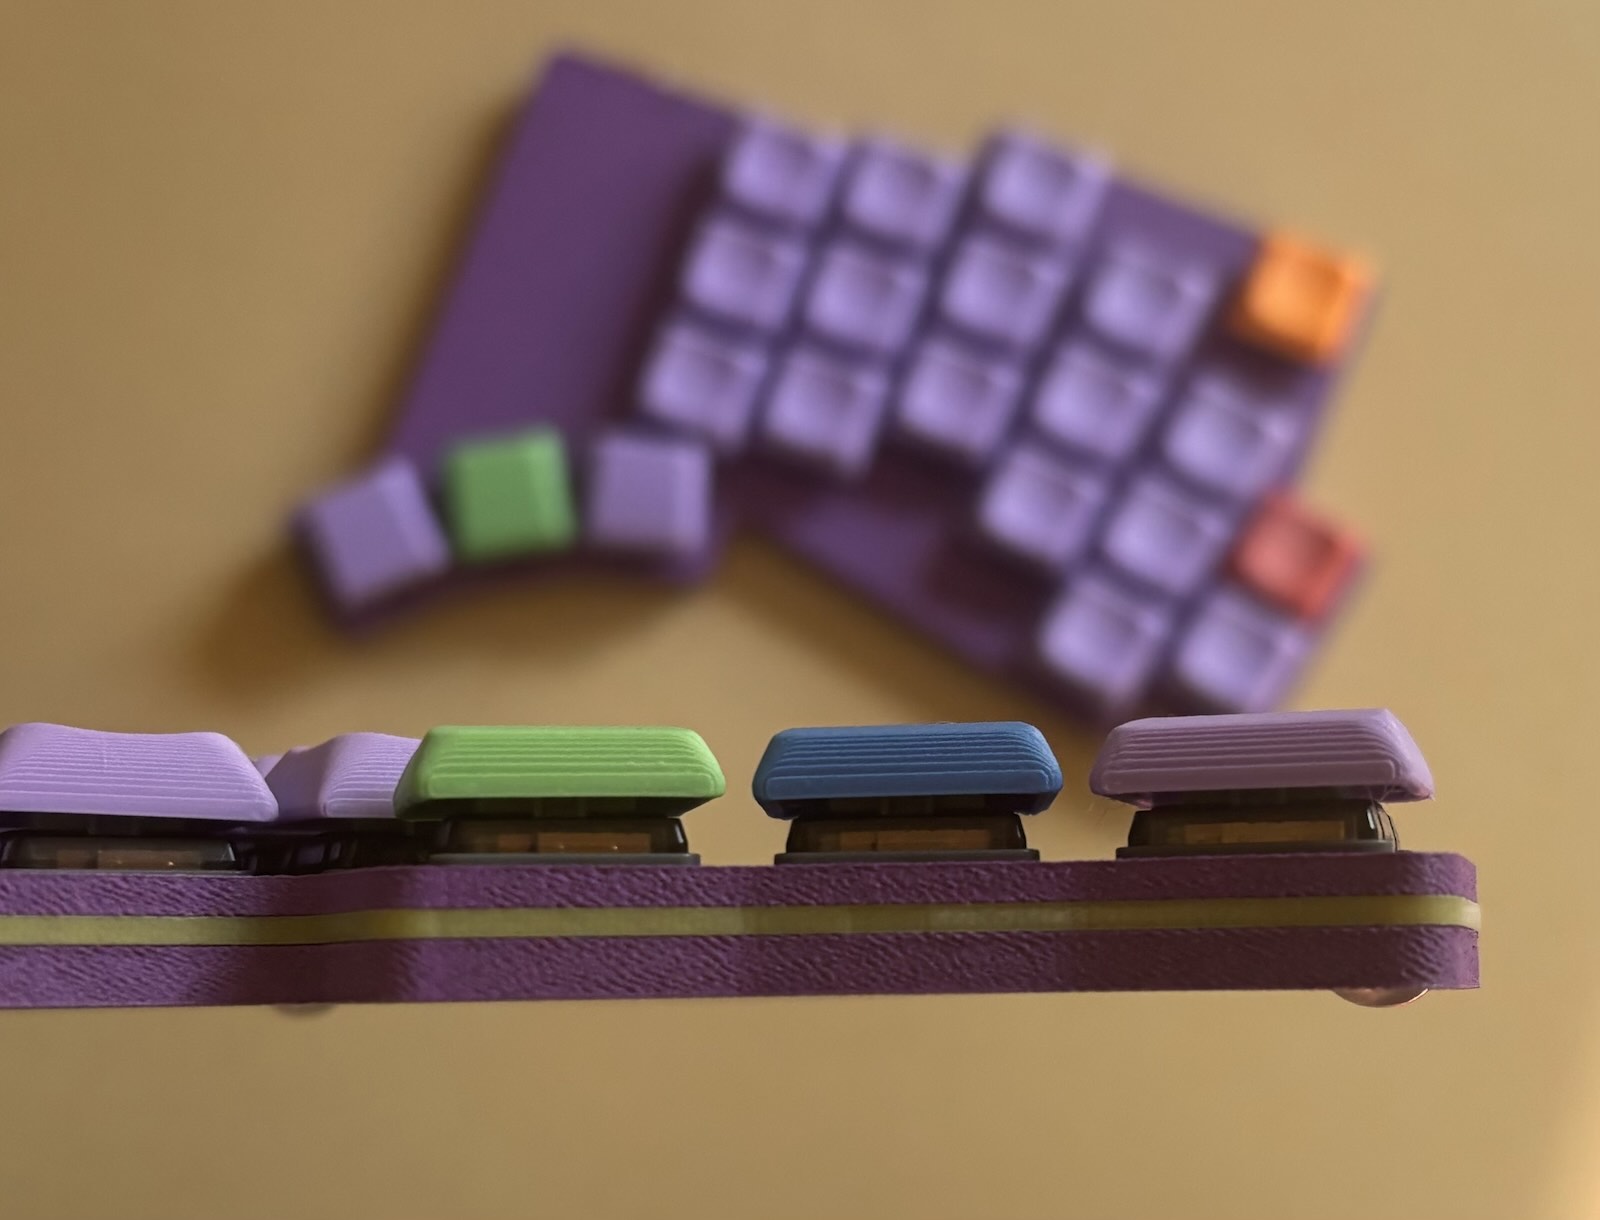
Think the Lintilla might be right for you? Print out the fit guide to see how it feels under your fingers.
Want to build one? You will need to obtain the following components:
| Qty | Description |
|---|---|
| 2 | identical Lintilla PCBs (can be printed by uploading the zip file to JLC) |
| 4 | 3D printed cases, top and bottom for each half |
| 2 | XIAO BLE processors |
| 2 | Panasonic EVQ-PUC02K momentary switches for the reset button |
| 2 | Alps SSSS811101 SPDT slide switches for the battery on/off |
| 2 | 3.7v 250mAh 502030 rechargeable LiPo batteries (max internal space: 5.4x24x34mm) |
| 42 | SOD-123 1N4148W SMD diodes |
| 42 | Kailh Choc Hot Swap Sockets |
| 42 | Choc v1 switches of your choice |
| 42 | Choc v1 keycaps of your choice (note: full MX-sized keycaps will be too big) |
| 8 | M2 hex nuts |
| 8 | M2 x 6mm countersunk screws |
| 8 | 6mm x 1.5mm bumpons |
| ~5-6mm | 1.75mm transparent 3D printer filament for the "fiber optic" led light guide |
Once you have these items, you can follow the instructions in the Build Guide.
After you build the keyboard, you will need the ZMK firmware.
The Lintilla keyboard, with its LED indicator, is perfectly capable of running without a dongle. With a 250mah battery, the central half should last about 2 months between charges, and the peripheral about 4-6 months.
Some people prefer to use a dongle, though, both to allow both halves to last longer between recharging, as well as to provide additional feedback on the battery and bluetooth status and currently active layer and modifiers.
I have tested the Lintilla with the following dongles, though you should be able to get any ZMK-compatible dongle to work with it:
Note that while the Lintilla keyboard uses the XIAO BLE as its processor, you can use any bluetooth-capable ZMK-compatible processor on the dongle. If you found a dongle you like, but it uses the nice!nano processor, for example, it should work just fine with Lintilla.
After I used the Lintilla for about three months, I realized that for me, the design had a few flaws:
To address these concerns, while still preserving the basic structure of the Lintilla key layout, I designed the Charlieflex keyboard, an ergonomic unibody keyboard with between 30 to 32 keys.
After using a 31-key version of Charlieflex for over a year, I made some additional edits to it as well, producing a pair of keyboards named after the Patagona genus of butterfly. One is similar to the Charlieflex, with 30-32 keys and a central directional controller, and the other closer to the Lintilla, with 40-42 keys. Both are wireless unibodies.
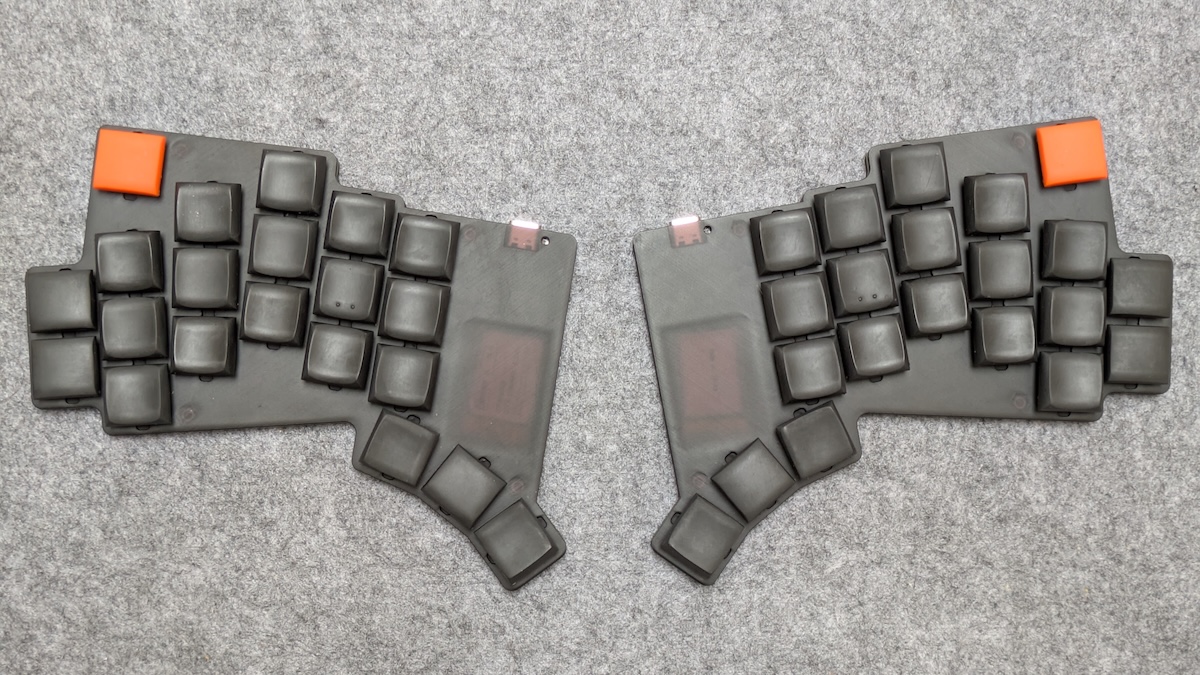
cairn's Lintilla build, using JLC Black Resin for the case, with Nocturnal switches and Chicago Steno keycaps.
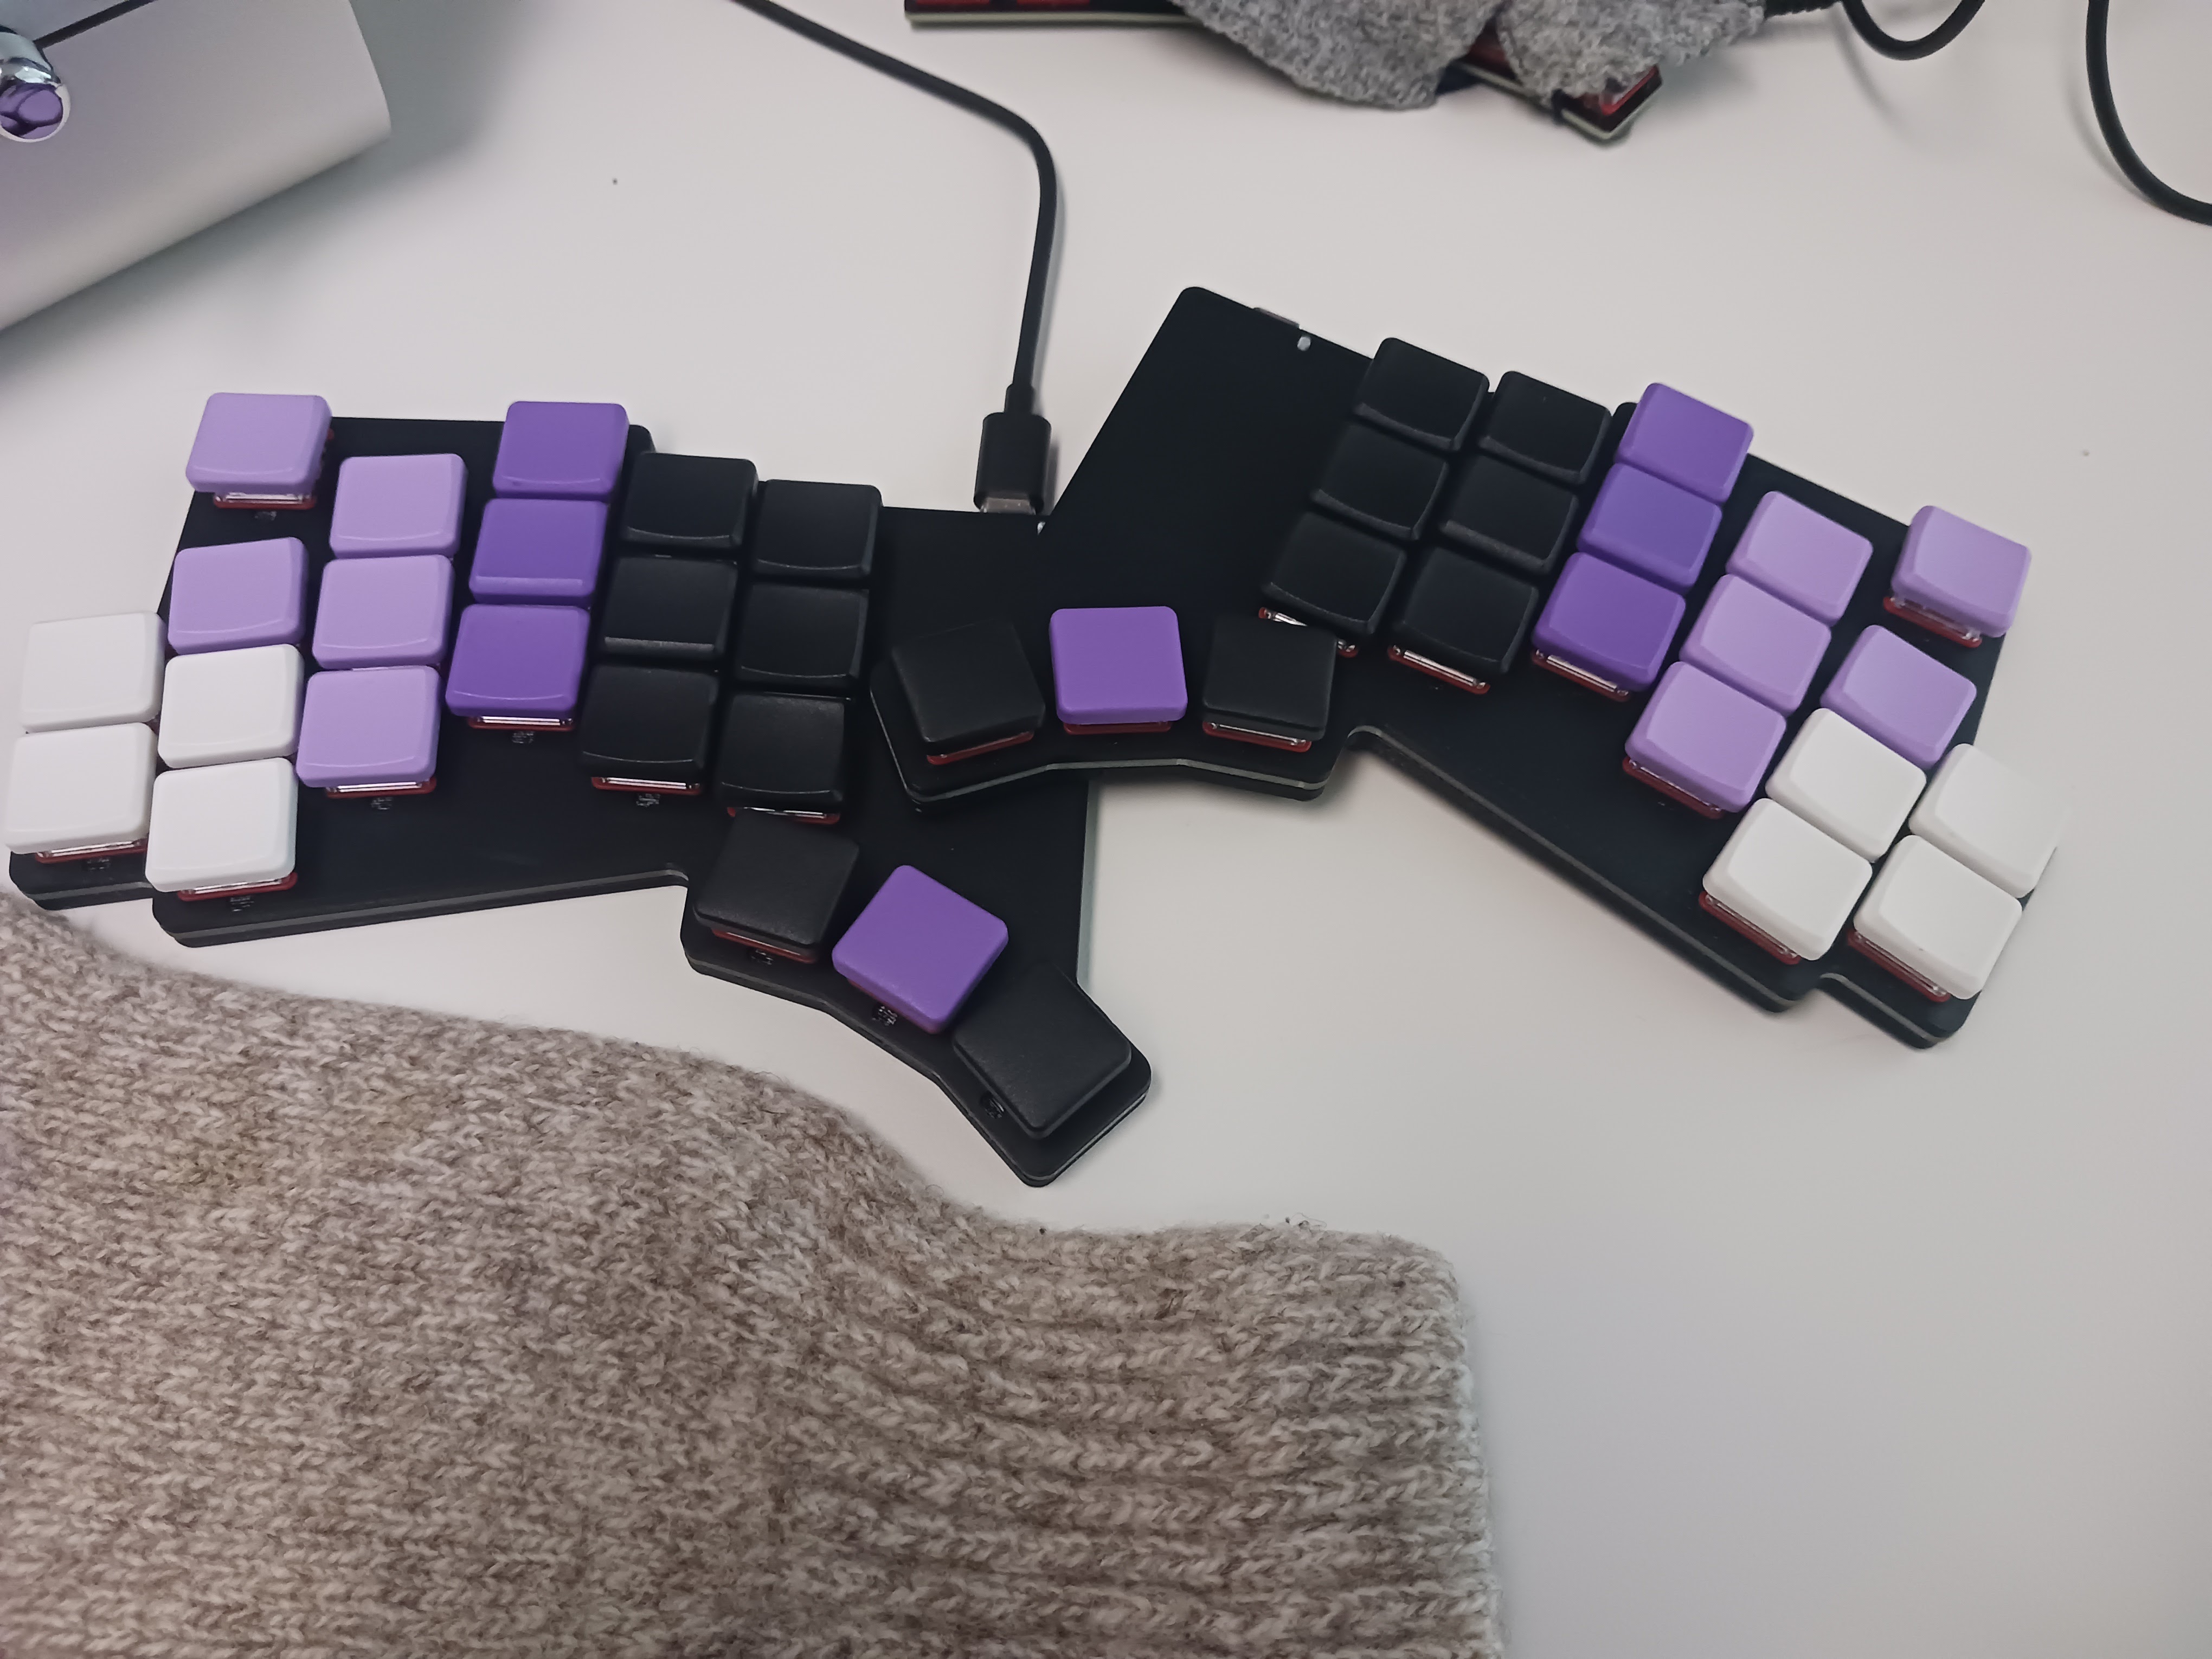
kovas's Lintilla, see some more details and pictures on his website.
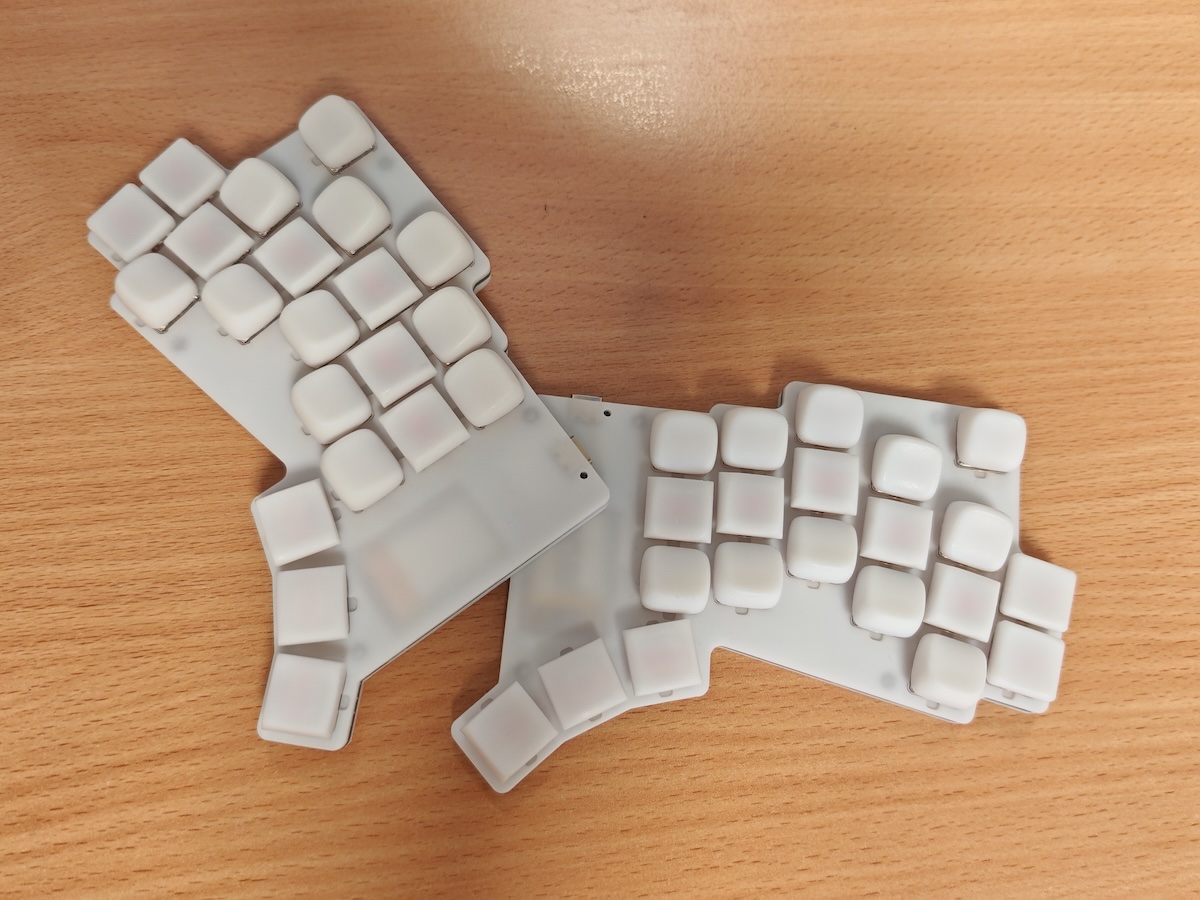
Kris's Lintilla.
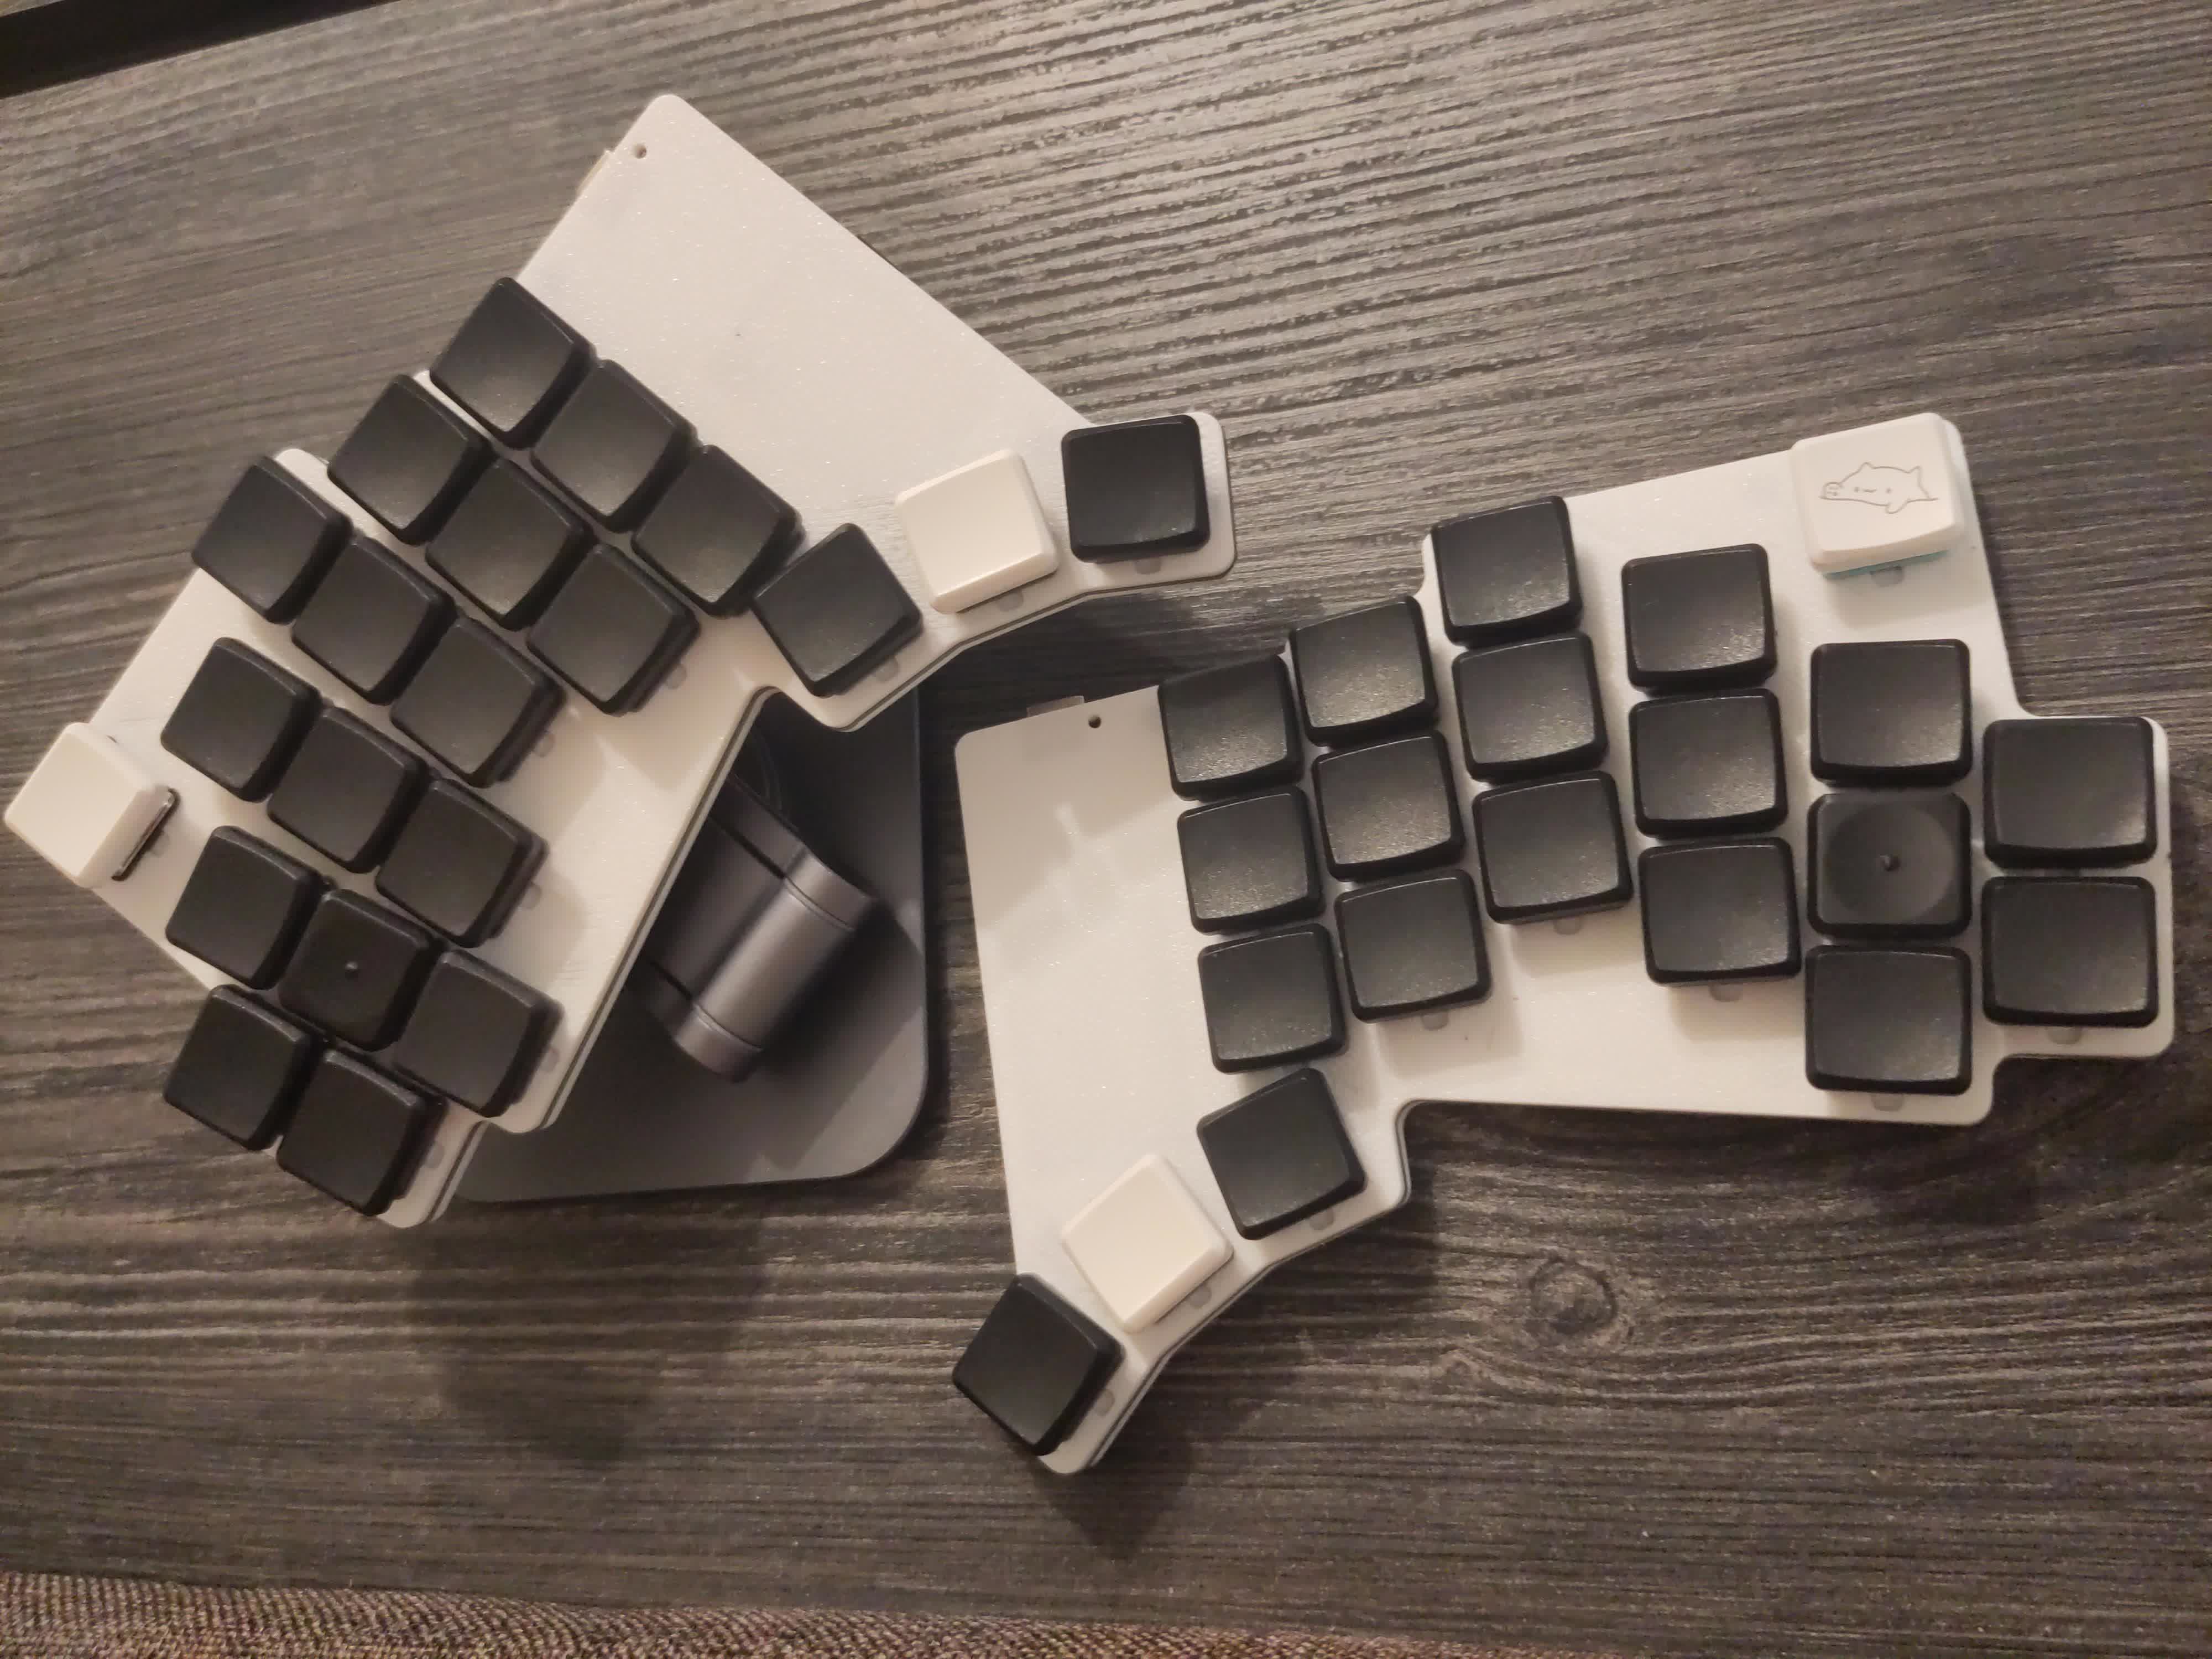
Optional's Lintilla, read some more details on her blog.
Did you build a Lintilla? Send me a photo, and I'd be glad to feature it here.
| Qty | Value | Footprint | References |
|---|---|---|---|
| 21 | ComboDiode | SW1, SW2, SW3, SW4, SW10, SW11, SW12, SW13, SW14, SW15, SW16, SW17, SW18, SW19, SW20, SW21 +5 | |
| 21 | PG1350 | S1, S2, S3, S4, S10, S11, S12, S13, S14, S15, S16, S17, S18, S19, S20, S21 +5 | |
| 6 | SMDPad | PAD1, PAD2, PAD3, PAD4, PAD5, PAD6 | |
| 5 | VIA-0.6mm | VIA-0.6mm | V1, V2, V3, V4, V5 |
| 4 | MountingHole_2.2mm_M2_Pad_Via | , , , | |
| 4 | LOGO | Graphics:Lintilla | G***, G***, G***, G*** |
| 4 | LOGO | Graphics:Allitnil | G***, G***, G***, G*** |
| 2 | E73:SPDT_C128955 | T1, T2 | |
| 2 | Panasonic_EVQPUL_EVQPUC | Panasonic_EVQPUL_EVQPUC | B1, B2 |
| 1 | xiao-ble | MCU1 | |
| 1 | arc_guide | ARC1 |
It measures 157.3 × 111.6 mm and has 2 copper layers, 1.6 mm thick.
71 parts. The full list of its parts is on this page, with links to each part's symbol and footprint where PCBKit's library has them.
From the ctranstrum/lintilla repository on GitHub, at the commit this page was made from: the board is pcb/lintilla.kicad_pcb. PCBKit opens the board in the browser, with nothing to install.
Its repository publishes it under the CERN-OHL-P-2.0 licence: you may reuse it on that licence's terms (keep the author's notice, and for a copyleft licence share your changes alike).
hackclub/OnBoard
💡 Join 1,000 teenagers and make your first PCB with a $100 grant!


hydrabus/hydrabus
HydraBus open source multi-tool for anyone interested in learning/developping/debugging/hacking/Penetration Testing for basic or advanced embedded hardware

beekeeb/Allium58
The Allium58 is created based on the Lily58 Pro, designed to enhance wireless capabilities and provide compatibility with GLP (Gateron Low Profile) hotswap sockets.


siderakb/ergo-snm-keyboard
ErgoSNM is a split ergonomic keyboard integrated with trackball, wireless is in beta

cnlohr/cnhardware
My dumping grounds for all my kicad projects and random hardware bringup.