Skip to the content
PCBKitNew board
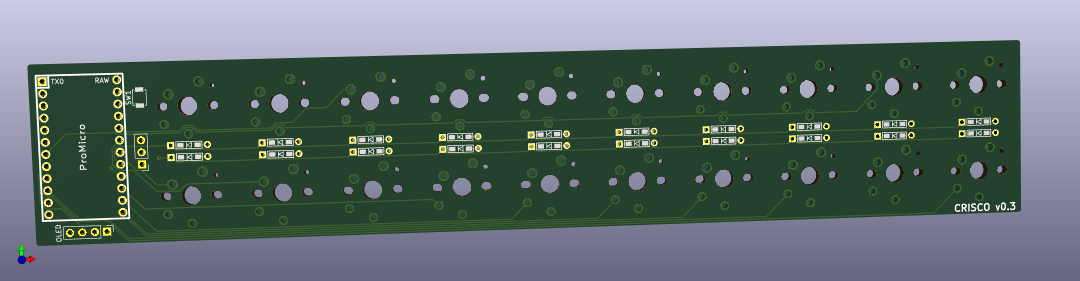
2 layers213.4 × 38.1 mmCrisco, the printed circuit board in 3D

20% chorded keyboard

Size
213.4 × 38.1 mm
Copper layers
2
Thickness
1.6 mm
Parts
45
Nets
42
Pads
333
Tracks, vias
412, 2
Routed
Yes
KiCad
KiCad 5 (file 20171130)
Created
28 Dec 2021
Updated
24 Mar 2023

Overview

Crisco is an open-source printed circuit board by ch604, from the ch604/crisco repository on GitHub, published under the Apache-2.0 licence. It is a 2-layer board of 213.4 × 38.1 mm with 45 parts on 42 nets, routed with 412 tracks and 2 vias.

Its parts include 20 diodes, 2 connectors, 1 IC and 1 switch. It belongs with the keyboards and input and lEDs and displays boards and the AVR (ATmega, ATtiny) boards of this library.

README

README.md

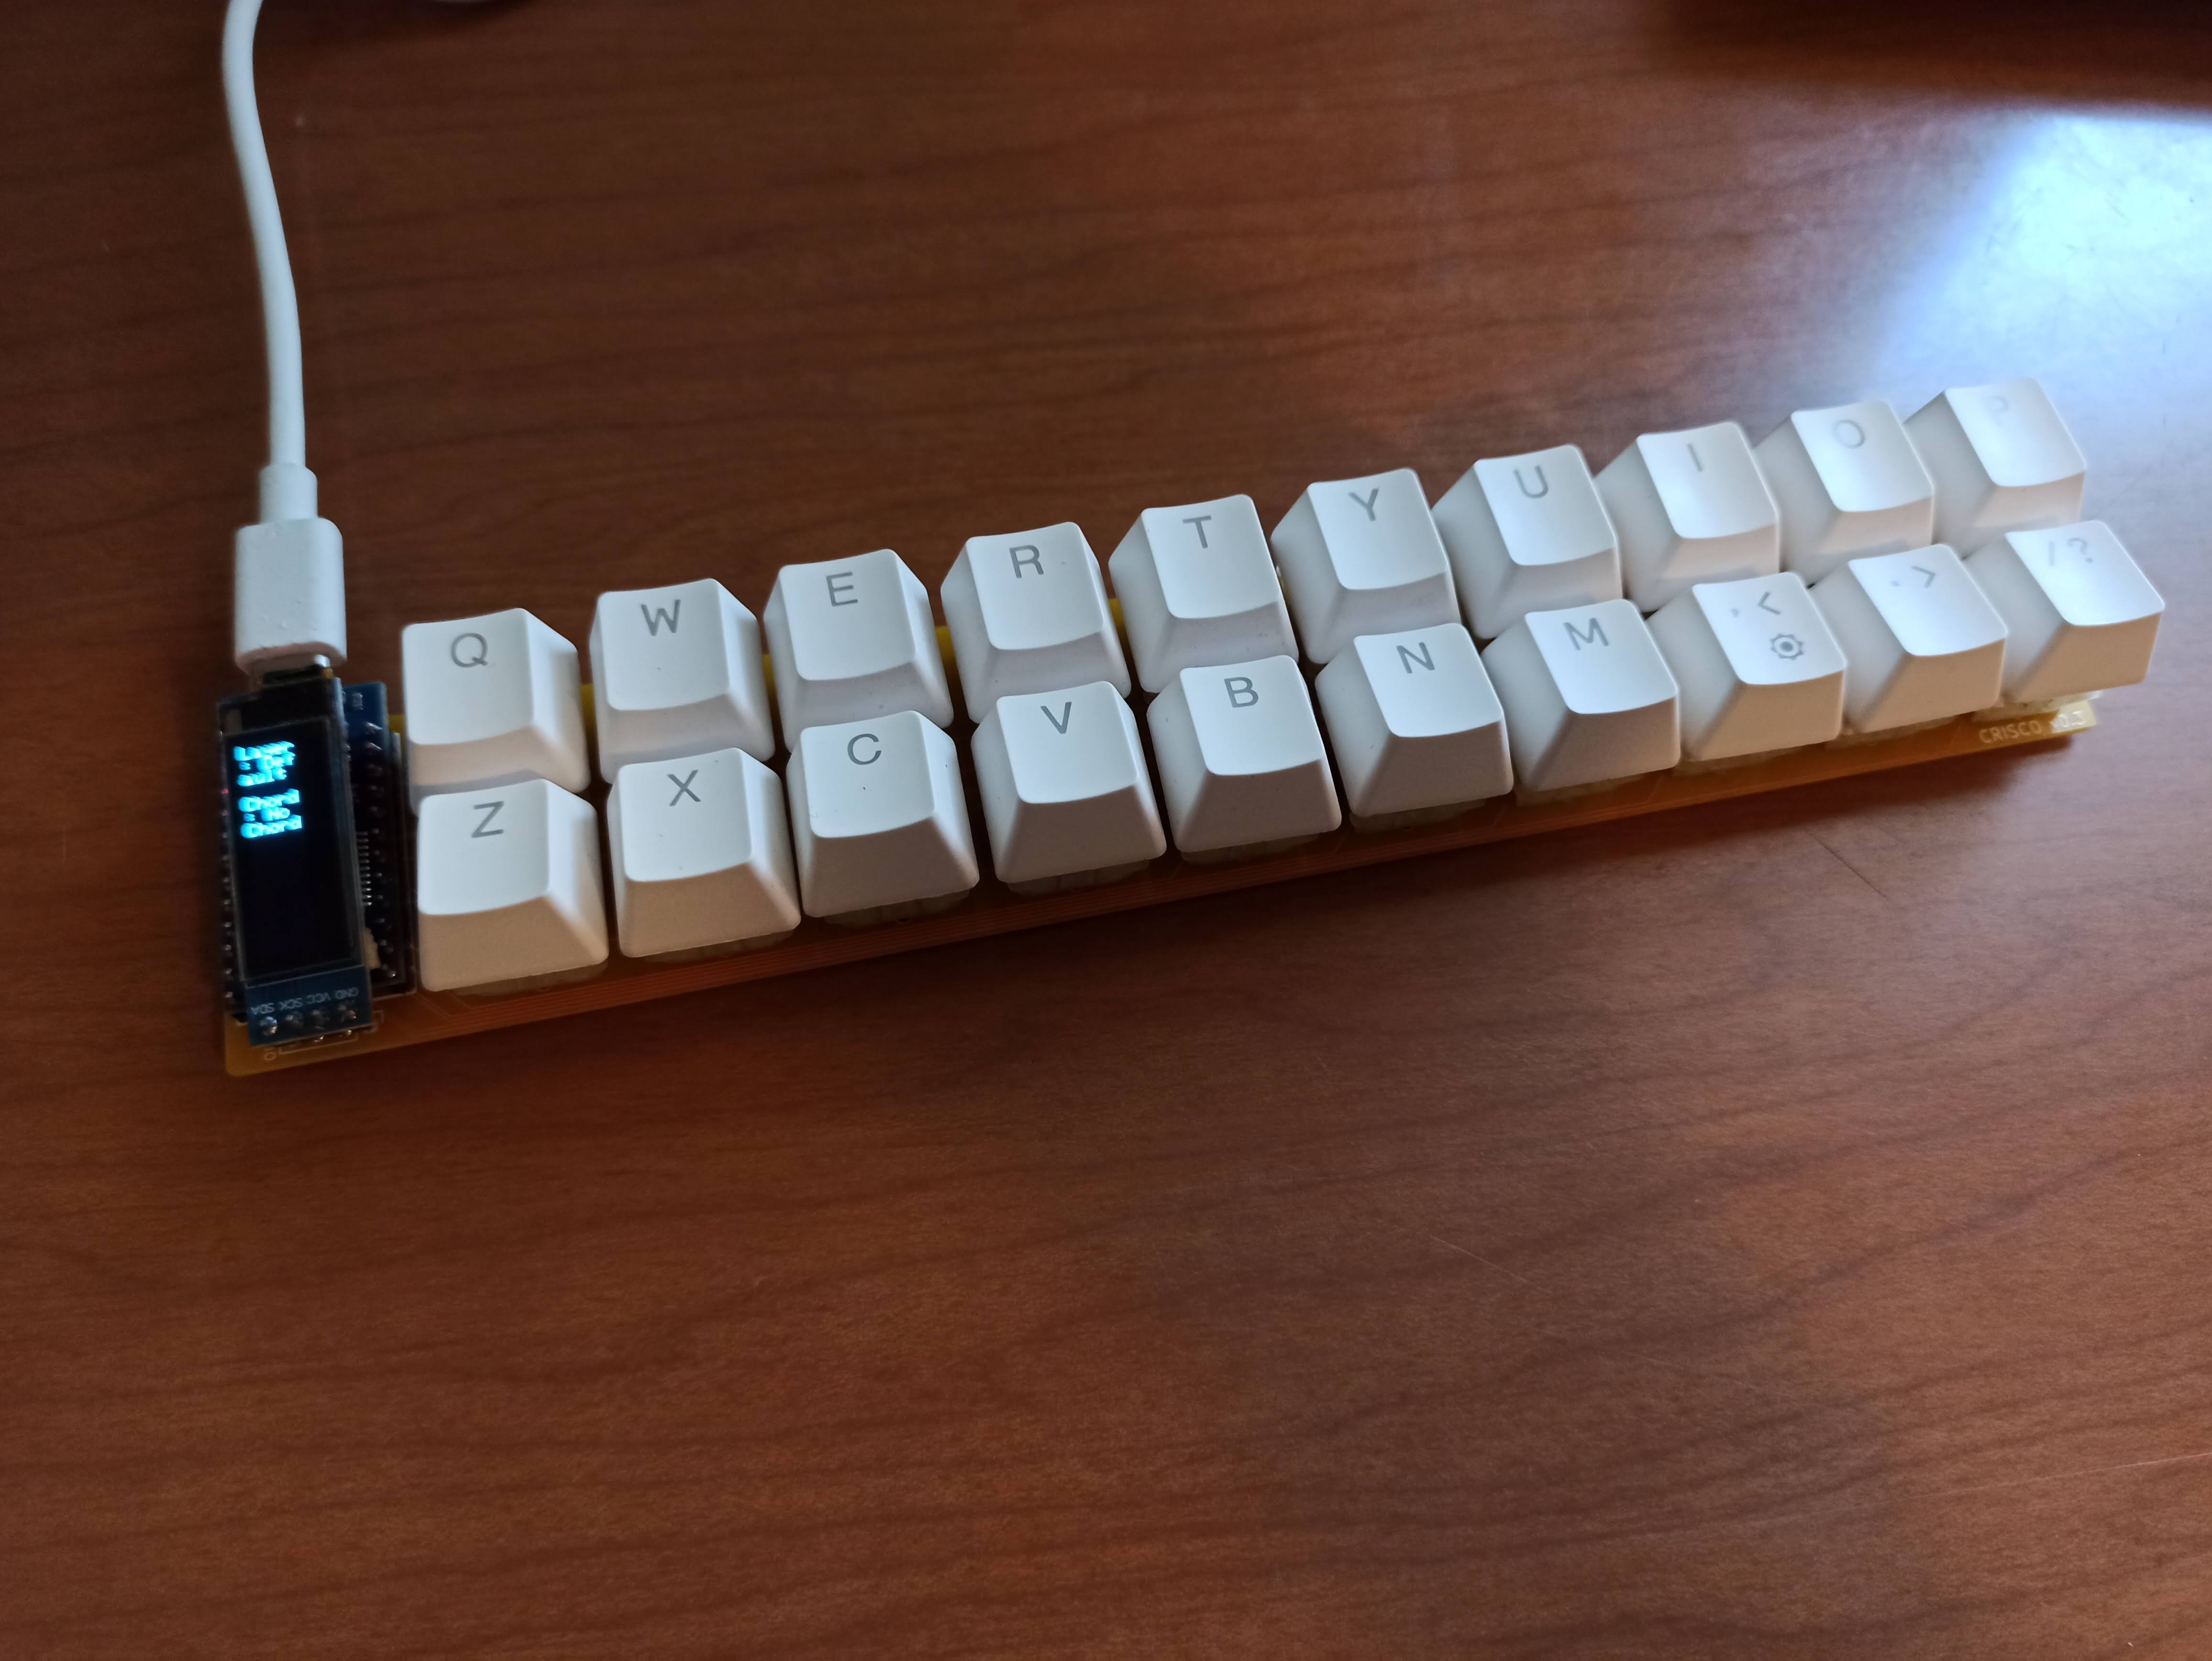
Crisco Crisco Assembled

Crisco is a 20% chorded keyboard inspired by the Butterstick, originally created by Germ at gboards.ca. The Crisco has a greater saturated fat content and is therefore bigger than it's cousin, being promicro-based instead of SMD, and MX switch spaced. But, it boasts LED strip support, and an OLED 128x32 display.

Butterstick's open source firmware in the qmk repo was used to help create firmware for the Crisco. Thanks also to the cookpad-pad repo, which jump started the PCB design.

Download the latest gerber

BOM:

  • 1x Arduino Pro Micro (or compatible)
  • 20x 1N4148 or 1N4007 through-hole or SMD diodes (or similar)
  • 20x 5-pin MX/Choc switches (choc is better for chorded typing because of lower travel)
  • 20x MX/Choc keycaps (I recommend even height keycaps like DSA if you choose MX switches)
  • 6x 8x2mm rubber feet (or similar, or check out this cool case https://www.thingiverse.com/thing:5538732)
  • 1x B3U-1000P reset switch (optional, or similar; I've used a 2x3x4mm switch with mild success)
  • capton tape or electrical tape (optional for the next two components)
  • 1x 128x32 SSD1306 OLED display (optional)
  • 11 LEDs worth of WS2812B 60/m RGB LED strip (optional, or 5 LEDs at 30/m)

INSTRUCTIONS:

  • Solder the diodes D1 through D20 to the top side of the board (on top of the silk screen).
  • Solder the legs for the Pro Micro and the Pro Micro itself on the top side of the board, component side up, with the USB port towards the top edge of the board. Check the silk screen for proper pin orientation.
  • Solder the switches in place.
  • Add some capton tape to the top of the Pro Micro.
  • Solder the OLED screen on top of the Pro Micro with the pins to the bottom of the board. Ground will be the square pad.
  • Cut and solder the LED strip to the bottom of the board. Ground is the square pad, and "Din" on the strip should go to the middle pin. Keep the strip in place with some more capton tape.
  • Apply rubber feet to the bottom of the board to keep it from moving around. If you added the LED strip, you may need some thicker feet.
  • Copy the firmware folder contents into your qmk keyboards directory under a new 'crisco' folder. If you used a 30/m strip instead of 60/m, then change config.h to reflect 5 LEDs instead of 11. Regardless of whether you added LEDs or the OLED display, you shouldn't need to turn anything on or off for those specifically. It will work just fine with or without.
  • Compile and flash the firmware.
  • Show it off to your discord buddies..
  • Get frustrated with the keymap...
  • Put it in a drawer for a few months....
  • Sell it on /r/mechmarket.....
  • Repeat!

HOW DO I TYPE ON THIS THING?

The default keymap is more or less identical to the original butterstick keymap. The keymap doesn't indicate, but backspace is "vbnm" chorded. I reccomend checking out the keymap file, though its keynames are inherited from steno machines: https://github.com/ch604/crisco/blob/main/firmware/keymaps/default/keymap.c

Parts

45
QtyValueFootprintReferences
20D_Smallcrisco:D3_TH_SMDD1, D2, D3, D4, D5, D10, D11, D12, D13, D14, D15, D16, D17, D18, D19, D20 +4
20MX-1UMX_Alps_Hybrid:MX-Choc-1U-NoLEDMX1, MX2, MX3, MX4, MX5, MX10, MX11, MX12, MX13, MX14, MX15, MX16, MX17, MX18, MX19, MX20 +4
1LEDConnector_PinHeader_2.54mm:PinHeader_1x03_P2.54mm_VerticalJ1
1LOGOcrisco:digestG***
1OLEDConnector_PinHeader_2.54mm:PinHeader_1x04_P2.54mm_VerticalJ2
1ProMicroKeebio-Parts:ArduinoProMicro-TopSideU1
1SW_PushButton_Switch_SMD:SW_SPST_B3U-1000PSW1

Questions

How big is the Crisco PCB?

It measures 213.4 × 38.1 mm and has 2 copper layers, 1.6 mm thick.

What parts does the Crisco use?

45 parts. The full list of its parts is on this page, with links to each part's symbol and footprint where PCBKit's library has them.

Where can I download the Crisco KiCad files?

From the ch604/crisco repository on GitHub, at the commit this page was made from: the board is crisco.kicad_pcb. PCBKit opens the board in the browser, with nothing to install.

Can I use the Crisco design in my own project?

Its repository publishes it under the Apache-2.0 licence: you may reuse it on that licence's terms (keep the author's notice, and for a copyleft licence share your changes alike).

Similar boards

  • 2 layers30 × 61.3 mmModuleV440, the printed circuit board in 3D

    ModuleV440

    stuartpittaway/diyBMSv4

    Version 4 of the diyBMS

    45 parts1.1k
  • 2 layers97 × 78.5 mmDumbpad, the printed circuit board in 3D

    Dumbpad

    imchipwood/dumbpad

    Simple 4x4 numpad with rotary encoder. Powered by QMK via ATmega32u4 Pro Micro

    45 parts517GPL-2.0
  • 2 layers49.8 × 88.9 mmLDG WING FOLD PLACARD, the printed circuit board in 3D

    LDG WING FOLD PLACARD

    jrsteensen/OpenHornet

    OpenHornet 1:1 F/A-18C Simulator Repository

    45 parts431
  • 2 layers26.5 × 34.4 mmPicoLoaderNSB, the printed circuit board in 3D

    PicoLoaderNSB

    makeo/PicoLoader

    A cheap and easy to install modchip for the Nintendo GameCube!

    45 parts320GPL-2.0
  • 2 layers40.2 × 19 mmOMGS3 Carrier R1, the printed circuit board in 3D

    OMGS3 Carrier R1

    UnexpectedMaker/esp32s3

    Assorted files for my ESP32-S3 development boards

    45 parts296
  • 2 layers63.5 × 63.5 mmMain pcb, the printed circuit board in 3D

    Main pcb

    peterkrull/quad

    Firmware, hardware and documentation for my autonomous quad copter project

    45 parts210GPL-3.0
  • 2 layers99.1 × 81.9 mmRC6502 Terminal, the printed circuit board in 3D

    RC6502 Terminal

    tebl/RC6502-Apple-1-Replica

    An expandable SBC-version of the Apple 1 computer, easy to get started with and lot of cool stuff that can be added to it!

    45 parts193GPL-3.0
  • 2 layers116.1 × 94.7 mmMiniDox, the printed circuit board in 3D

    MiniDox

    That-Canadian/MiniDox_PCB

    MiniDox Keyboard, PCB files

    45 parts169WTFPL