

4 layers300 × 270 mm
 buffis/betsubetsu23
BetsuBetsu is an Open Source Audio+Video splitter for streaming/recording video from Arcade games (Jamma).
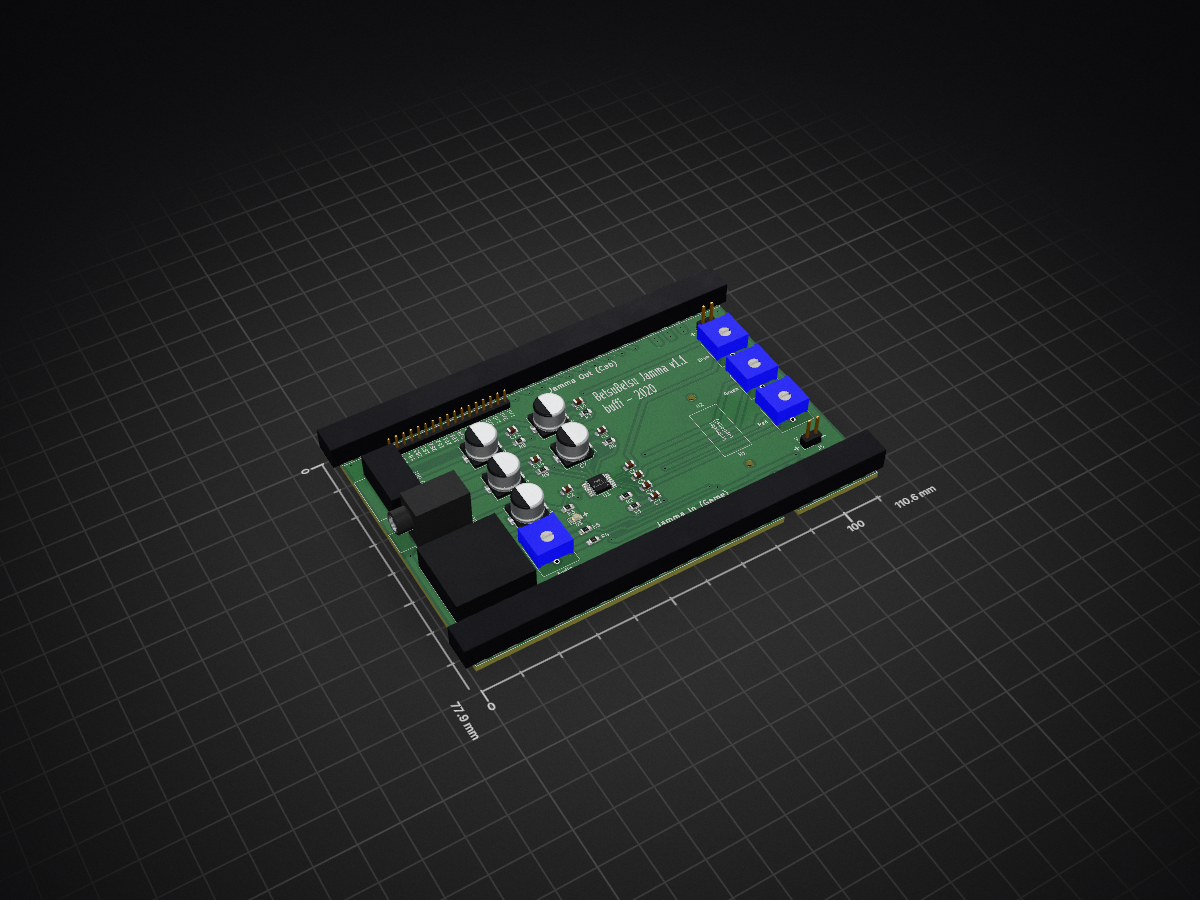
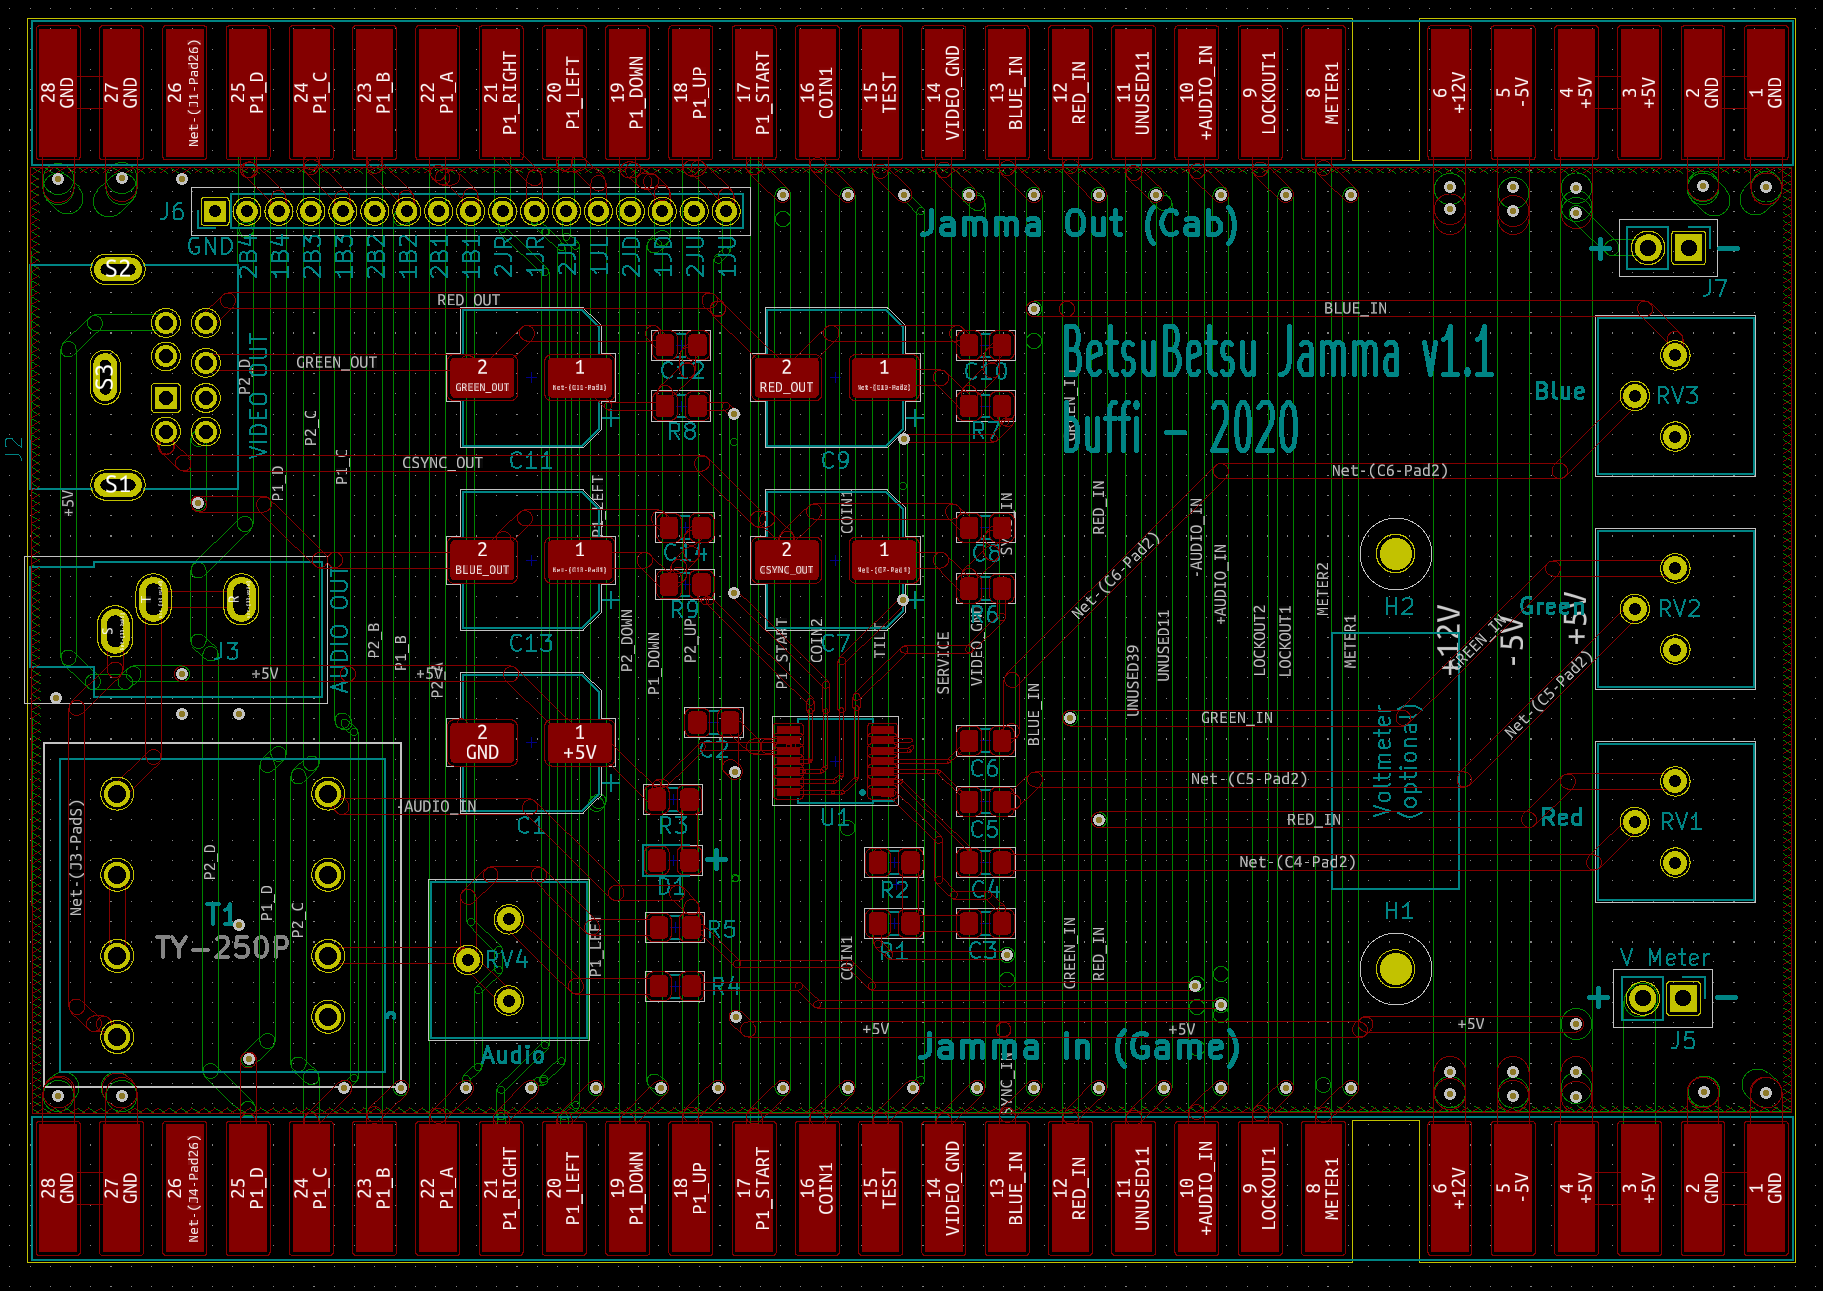
Betsubetsu is an open-source printed circuit board by buffis, from the buffis/betsubetsu repository on GitHub. It is a 2-layer board of 110.6 × 77.9 mm with 39 parts on 70 nets, routed with 500 tracks and 68 vias.
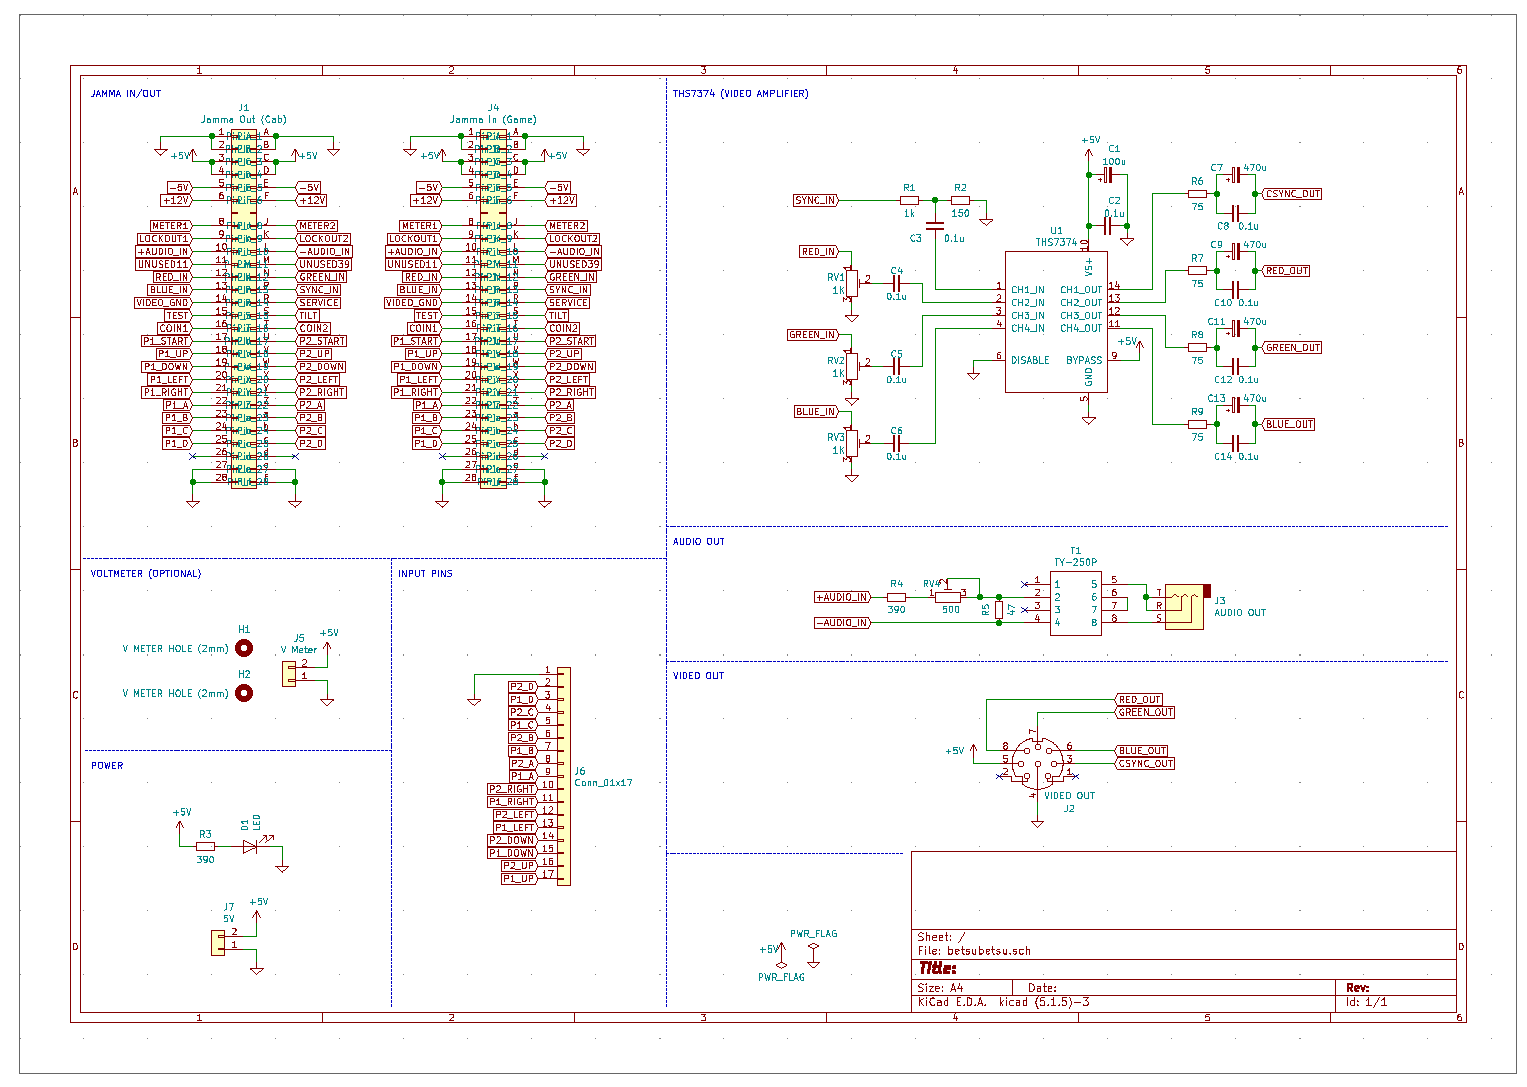
It is built around the THS7374 and TY-250P. Its parts include 14 capacitors, 9 resistors, 7 connectors, 1 IC and 1 diode.
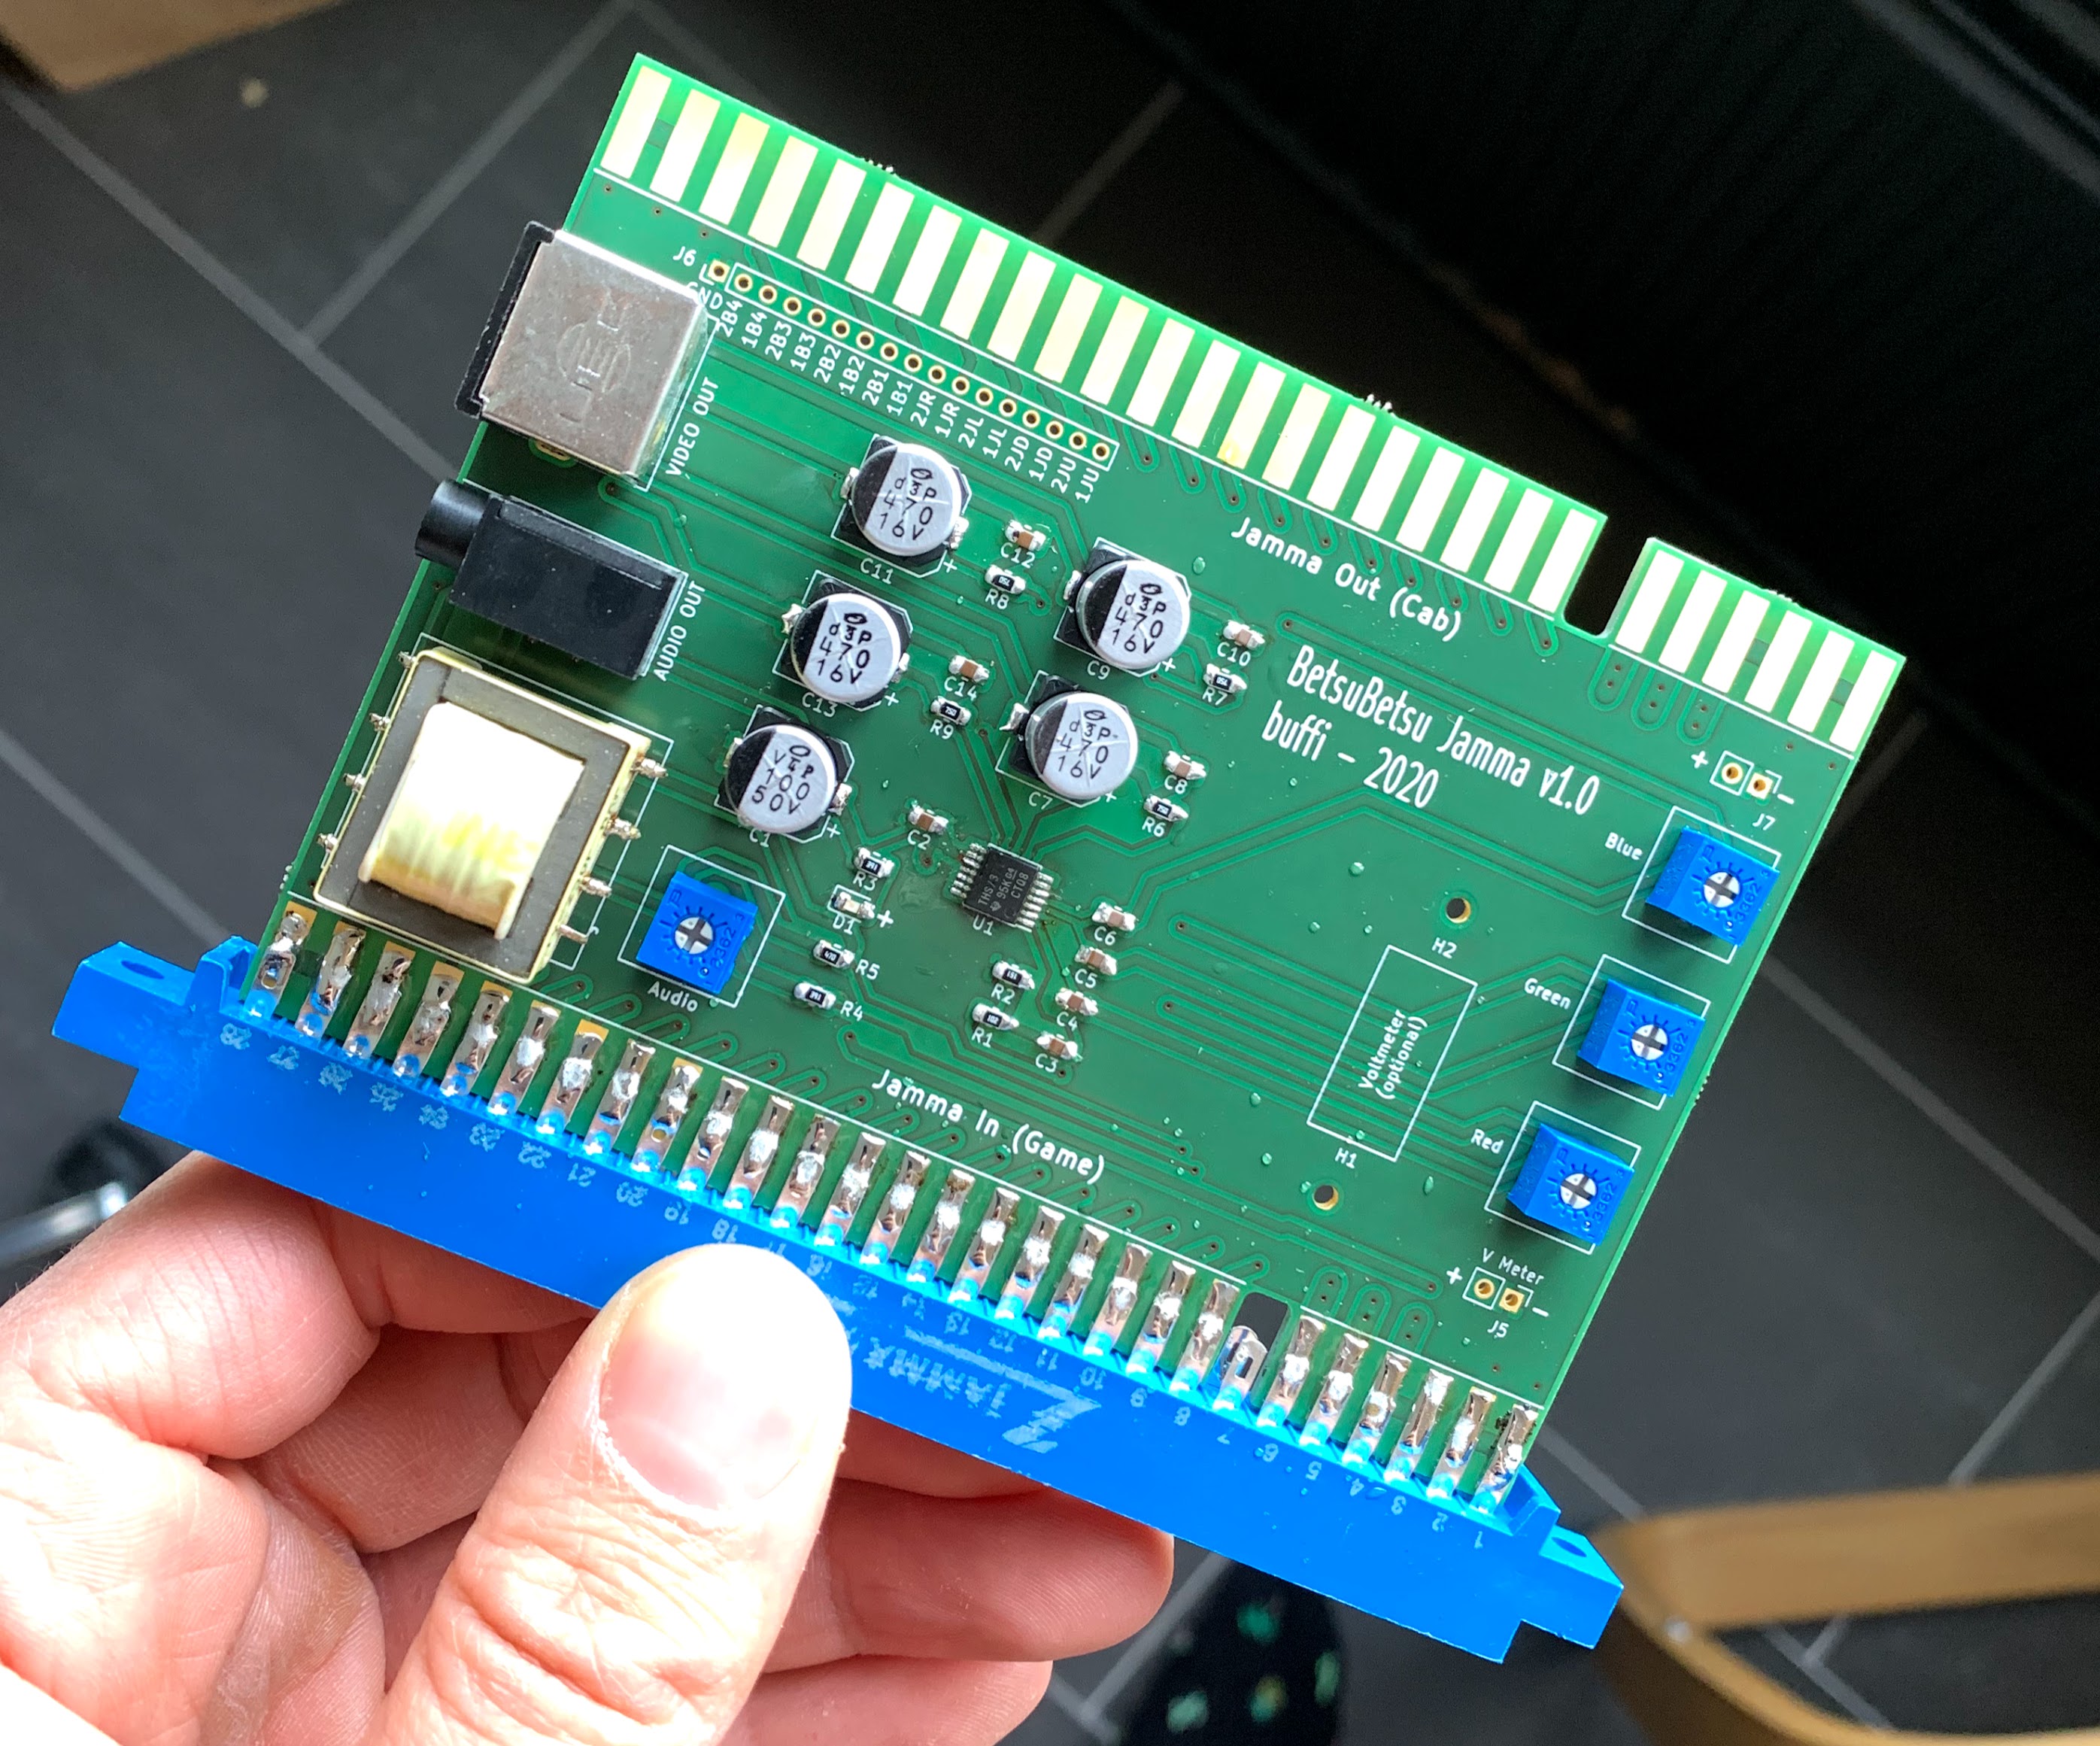
BetsuBetsu is an Open Source Audio+Video splitter for streaming/recording video from Arcade games (Jamma).
It plugs in between the game and cabinet, and can then be connected to any upscaler + PC for streaming/recording.
https://docs.google.com/spreadsheets/d/1Nb6cgpz1vrsEBL83Tl52jcXvUmsp_AzcXZ7w7m8aYmA/edit?usp=sharing
BetsuBetsu + OSSC + Elgato 60 Pro. Scaled to fit inside 1080p in OBS. Audio is wired from Betsu Betsu to PC Line in directly. https://www.youtube.com/watch?v=HWDo_Xj9CUc
BetsuBetsu + XRGB-Mini + Elgato 60 Pro. Scaled to fit inside 1080p in OBS. Audio is wired from Betsu Betsu to PC Line in directly. https://www.youtube.com/watch?v=Qm8Wi2TviPc
Arcade-projects thread: https://www.arcade-projects.com/forums/index.php?thread/10551-betsu-betsu-open-source-arcade-audio-video-splitter-for-capture-streaming/
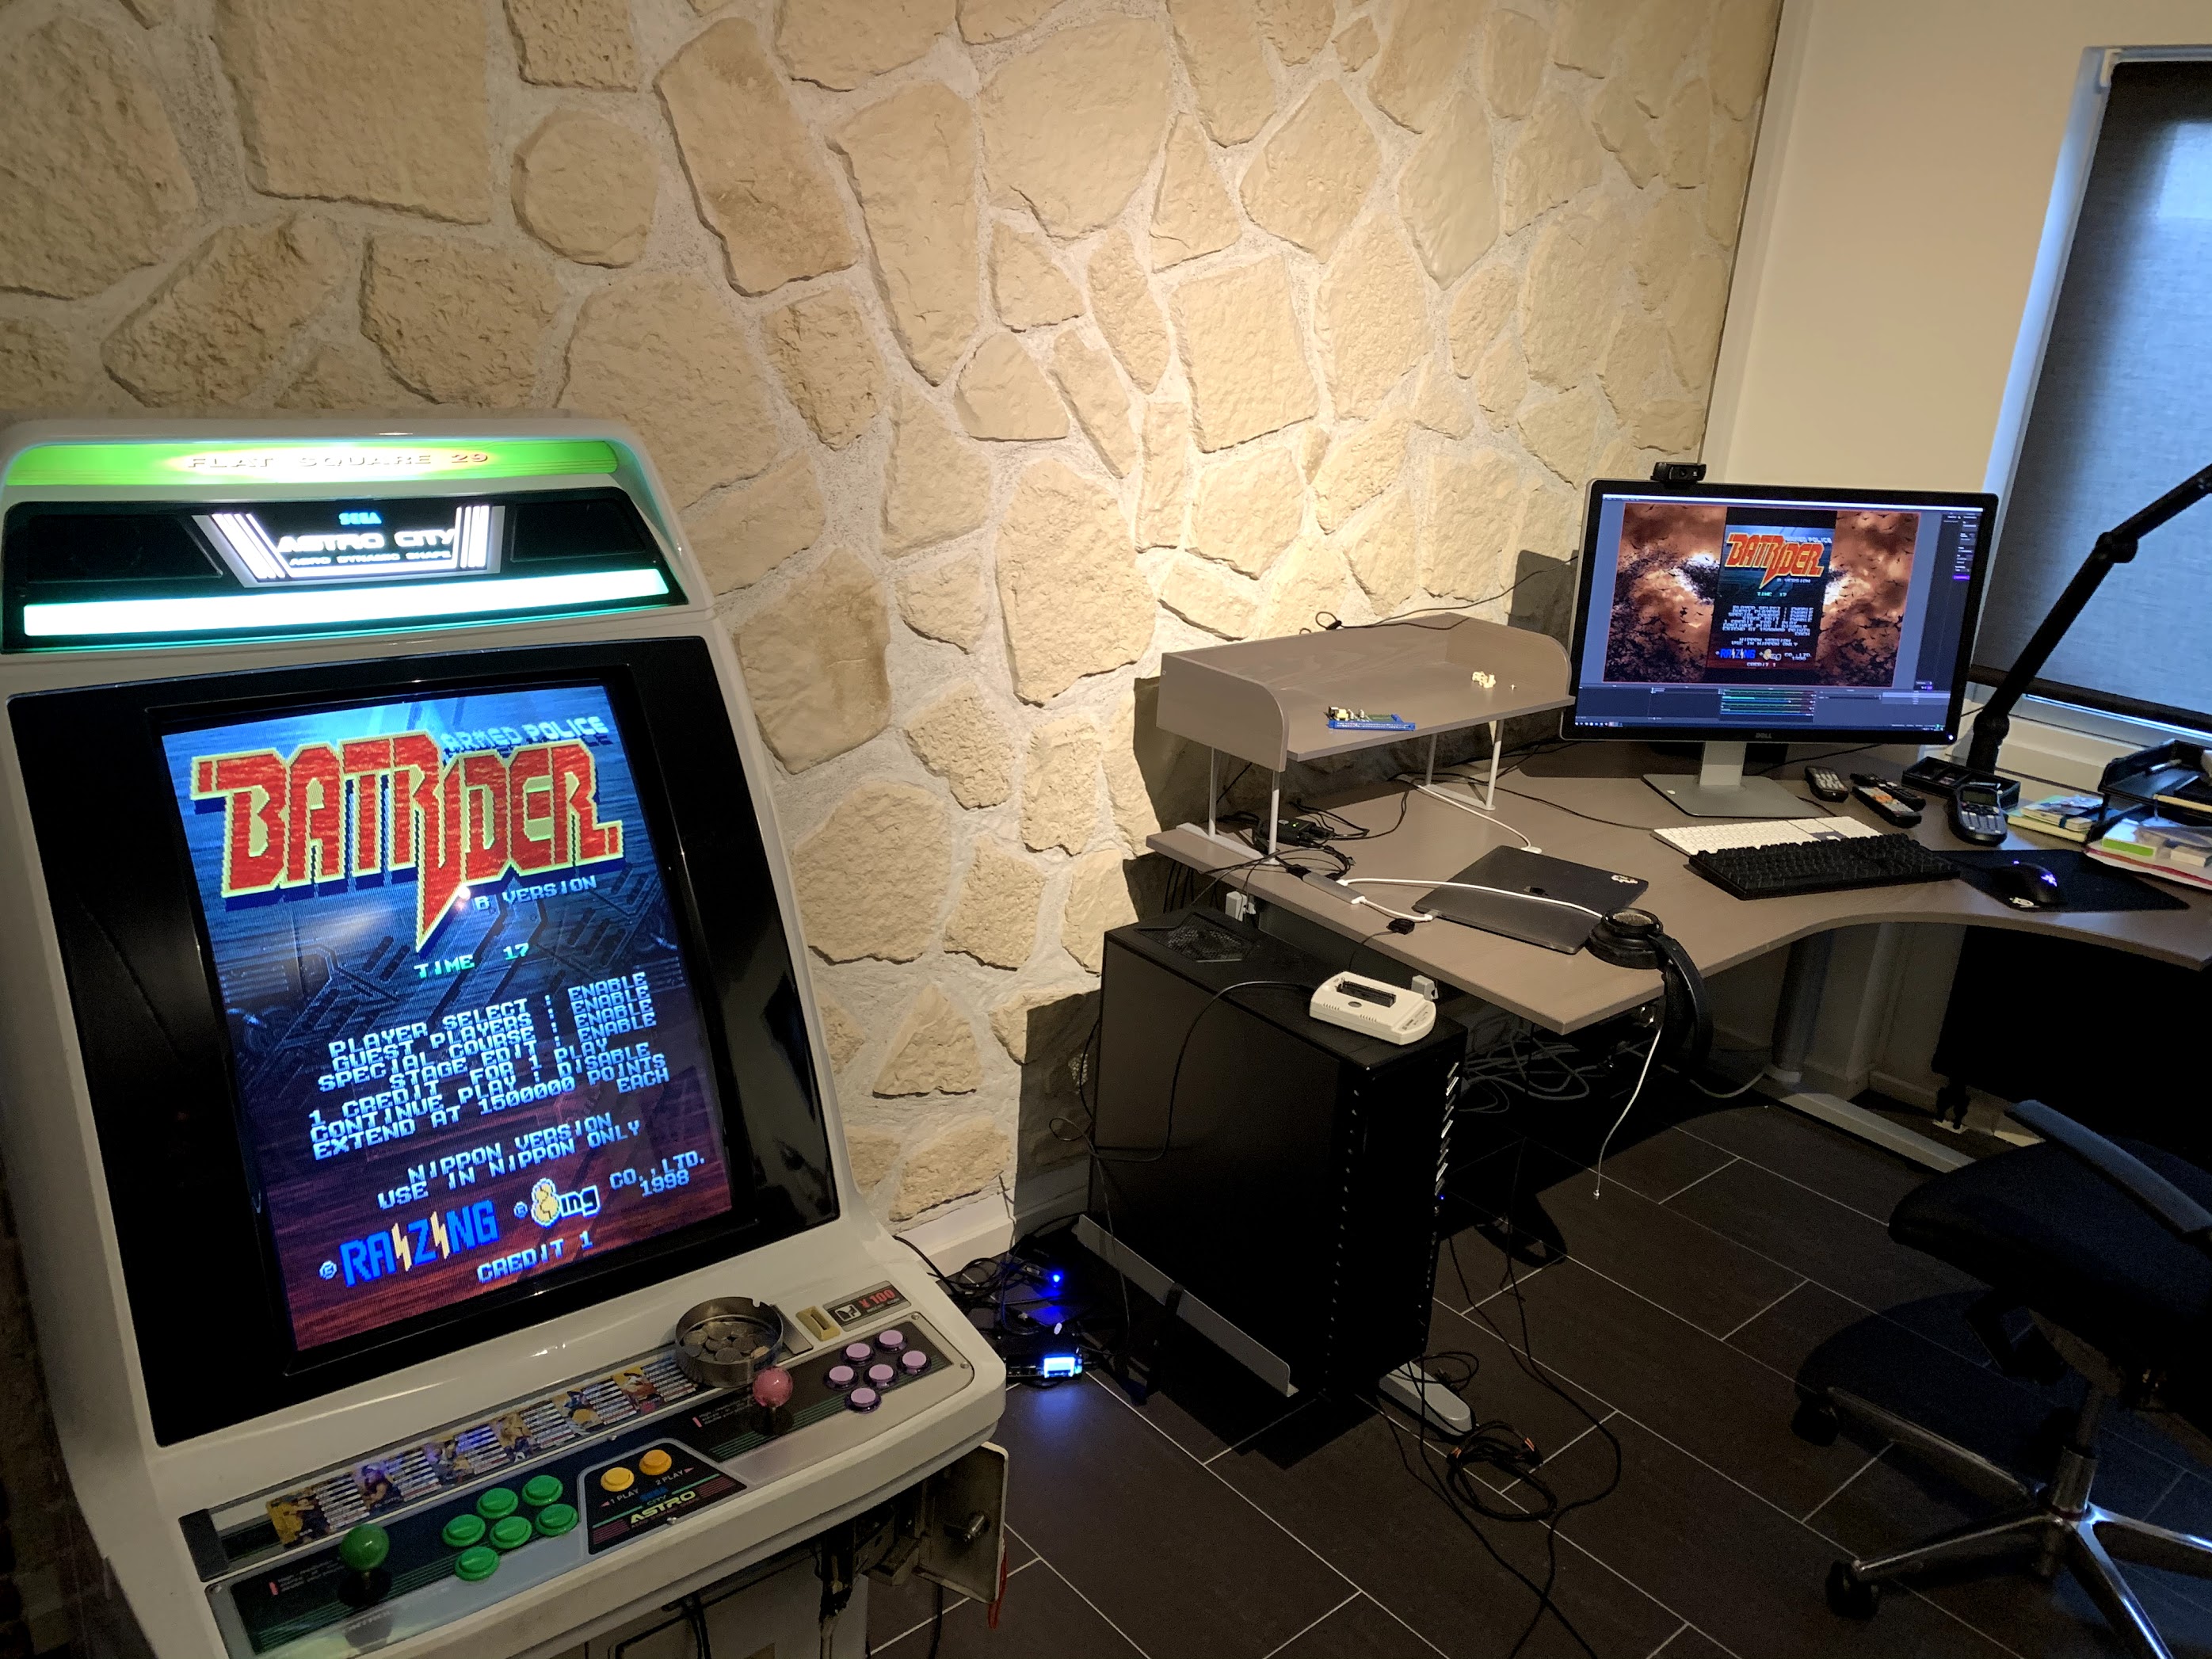
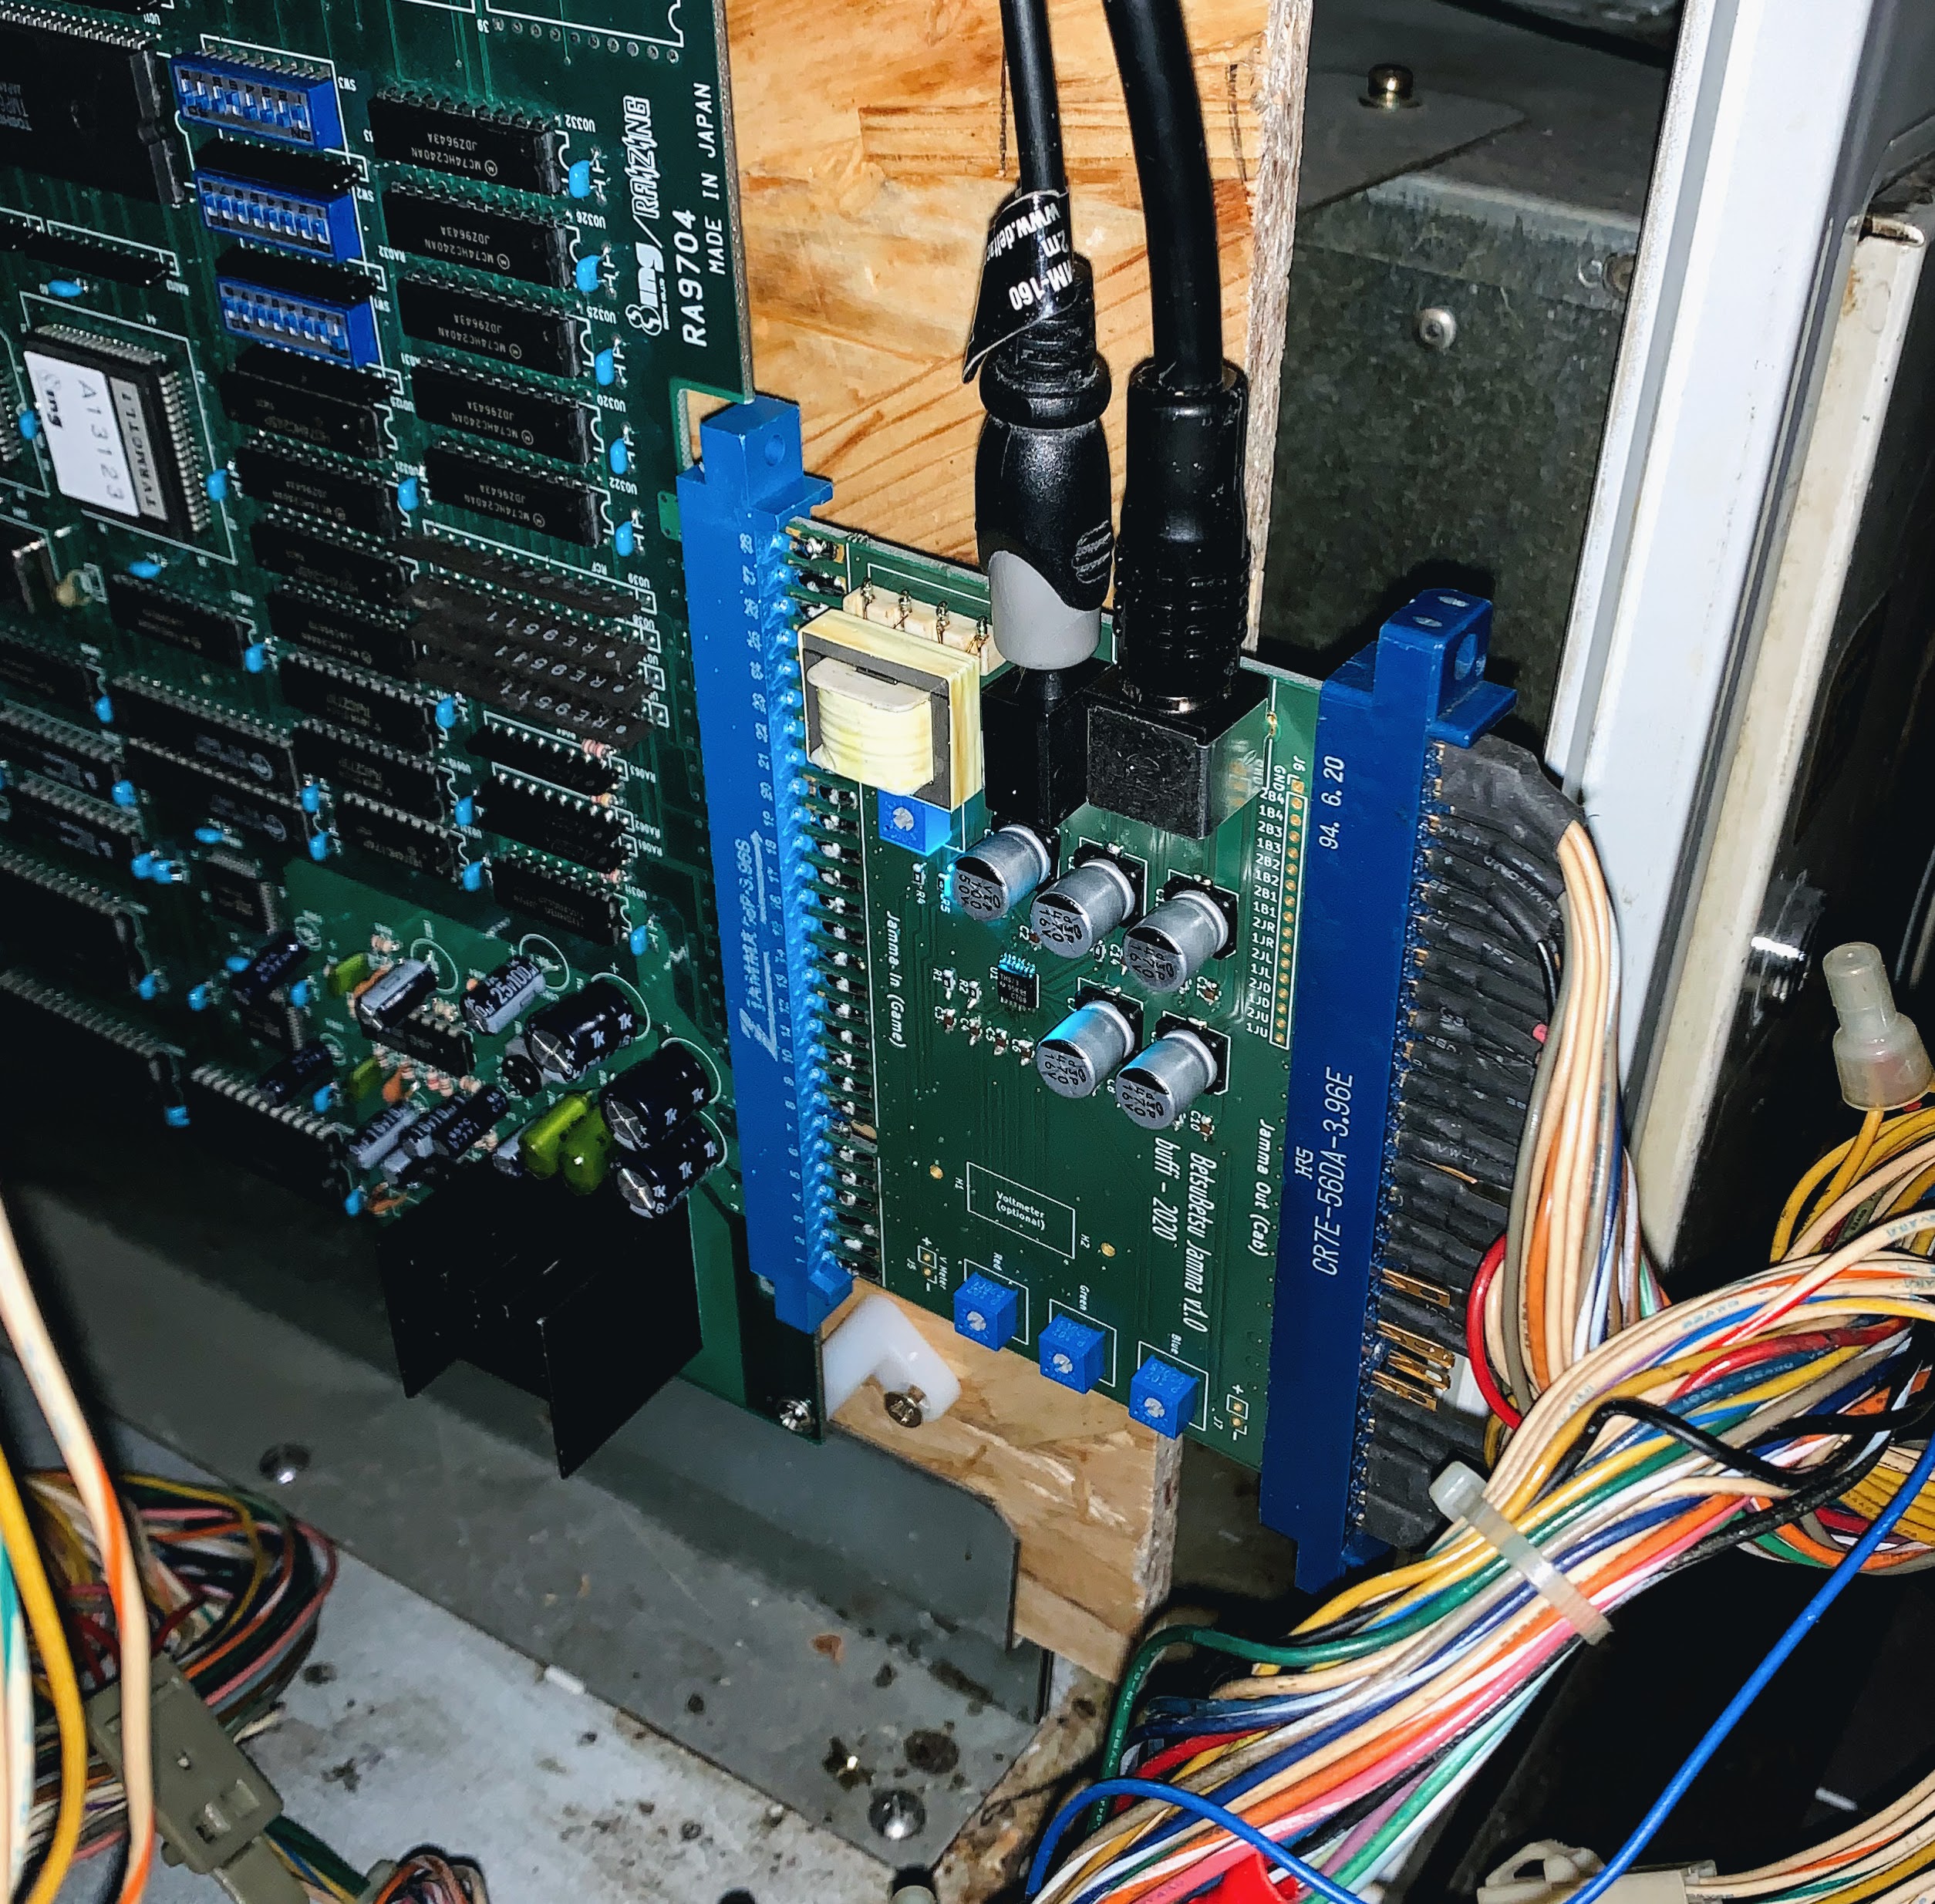
Action shot of prototype board in cab:
| Qty | Value | Footprint | References |
|---|---|---|---|
| 9 | 0.1u | Capacitor_SMD:C_0805_2012Metric_Pad1.15x1.40mm_HandSolder | C2, C3, C4, C5, C6, C8, C10, C12, C14 |
| 4 | 470u | Capacitor_SMD:CP_Elec_8x6.7 | C7, C9, C11, C13 |
| 4 | 75 | Resistor_SMD:R_0805_2012Metric_Pad1.15x1.40mm_HandSolder | R6, R7, R8, R9 |
| 3 | 1K | Potentiometer_THT:Potentiometer_Bourns_3386P_Vertical | RV1, RV2, RV3 |
| 2 | 390 | Resistor_SMD:R_0805_2012Metric_Pad1.15x1.40mm_HandSolder | R3, R4 |
| 2 | V METER HOLE (2mm) | MountingHole:MountingHole_2mm | H1, H2 |
| 1 | 100u | Capacitor_SMD:CP_Elec_8x6.7 | C1 |
| 1 | 150 | Resistor_SMD:R_0805_2012Metric_Pad1.15x1.40mm_HandSolder | R2 |
| 1 | 1k | Resistor_SMD:R_0805_2012Metric_Pad1.15x1.40mm_HandSolder | R1 |
| 1 | 47 | Resistor_SMD:R_0805_2012Metric_Pad1.15x1.40mm_HandSolder | R5 |
| 1 | 500 | Potentiometer_THT:Potentiometer_Bourns_3386P_Vertical | RV4 |
| 1 | 5V | Connector_PinHeader_2.54mm:PinHeader_1x02_P2.54mm_Vertical | J7 |
| 1 | AUDIO OUT | Connector_Audio:Jack_3.5mm_CUI_SJ1-3533NG_Horizontal | J3 |
| 1 | Conn_01x17 | Connector_PinHeader_2.00mm:PinHeader_1x17_P2.00mm_Vertical | J6 |
| 1 | Jamma In (Game) | jamma_connector:JAMMA-56 | J4 |
| 1 | Jamma Out (Cab) | jamma_connector:JAMMA-56 | J1 |
| 1 | LED | LED_SMD:LED_0805_2012Metric_Pad1.15x1.40mm_HandSolder | D1 |
| 1 | THS7374 | Package_SO:TSSOP-14_4.4x5mm_P0.65mm | U1 |
| 1 | TY-250P | SamacSys_Parts:TY250P | T1 |
| 1 | V Meter | Connector_PinHeader_2.54mm:PinHeader_1x02_P2.54mm_Vertical | J5 |
| 1 | VIDEO OUT | MD-80SM-Connector:MD-80SM | J2 |
It measures 110.6 × 77.9 mm and has 2 copper layers, 1.6 mm thick.
39 parts, built around the THS7374 and TY-250P. The full list of its parts is on this page, with links to each part's symbol and footprint where PCBKit's library has them.
From the buffis/betsubetsu repository on GitHub, at the commit this page was made from: the board is betsubetsu.kicad_pcb. PCBKit opens the board in the browser, with nothing to install.
Its repository states no licence, so its author keeps all rights: ask buffis before reusing the design.

RIP-Felix/MEGA-AV-main
Timeline of events: ACE9921 & Villahed94 developed the original Mega Amp 1.0. Inception for a mod board that combines the Mega Amp with an RGB video amplifier was Bob from RetroRGB's idea.

Shank-Mods/Wii-BVM-Card
A simplified version of the BKM-129X compatible board.

borti4938/n64rgb_flex
This repository contains all you need files to build your own DIY N64RGBv3 / N64RGBFlex board. Firmware is supplied in this repository, too.


jamvanderloeff/RGB-to-NTSC
Converts RGB 15kHz video in the form of VGA or SCART into NTSC and/or PAL composite and s-video using

arithmaldor/SCART-Splitter
A simple THS7374 based SCART splitter, can easily be adapter to a variety of connectors.
