

2 layers82.2 × 57.8 mm
 Aryan-git-byte/codemate-v2
[ Note: the components from the quartz component and robu are budled with my other order of different project, otherwise if u are ordering it for yourself , it will be 100 rs each ]
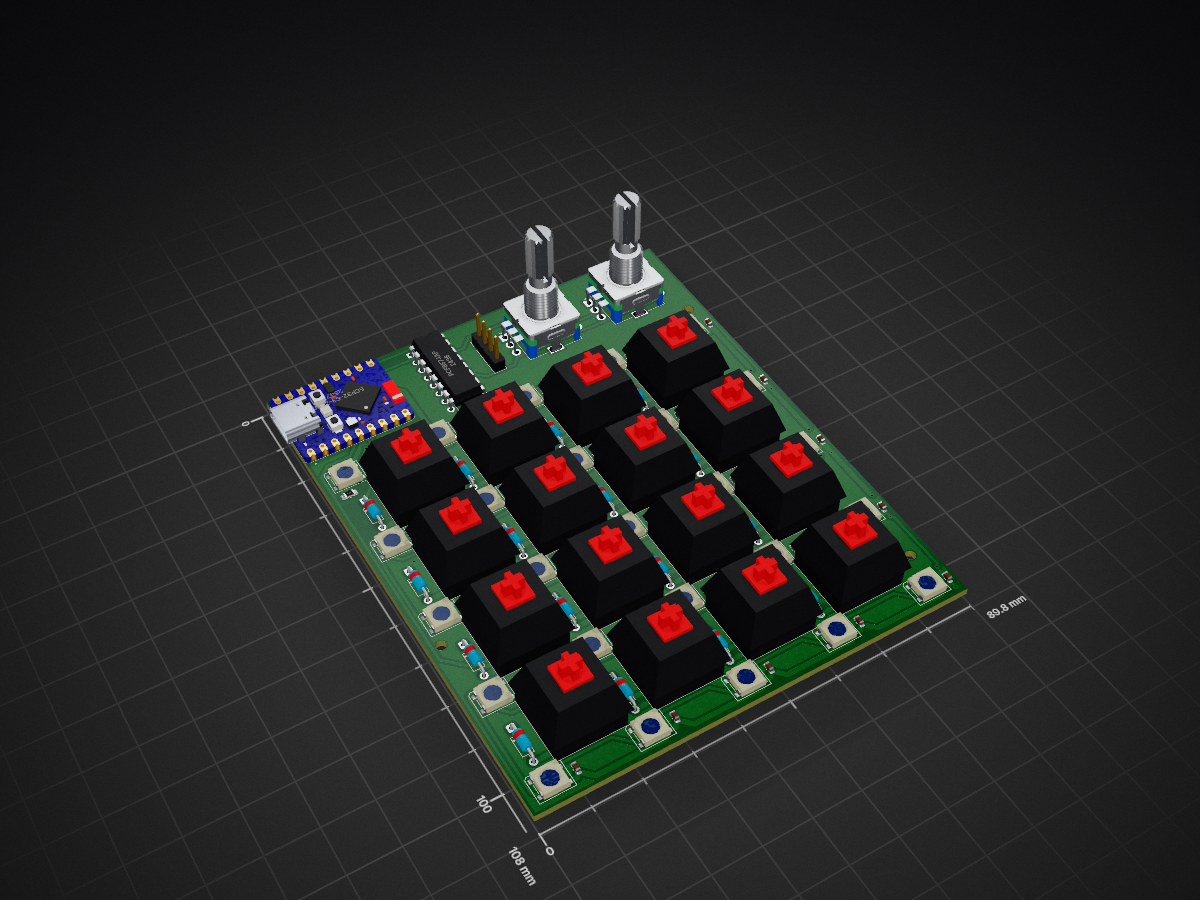
Codemate v2 is an open-source printed circuit board by Aryan-git-byte, from the Aryan-git-byte/codemate-v2 repository on GitHub, published under the MIT licence. It is a 2-layer board of 89.8 × 108 mm with 91 parts on 71 nets, routed with 614 tracks and 55 vias.
It is built around the PCF8574AP and WS2812B. Its parts include 41 diodes, 25 capacitors, 18 switches, 2 ICs and 1 resistor. It belongs with the ESP32 boards of this library.
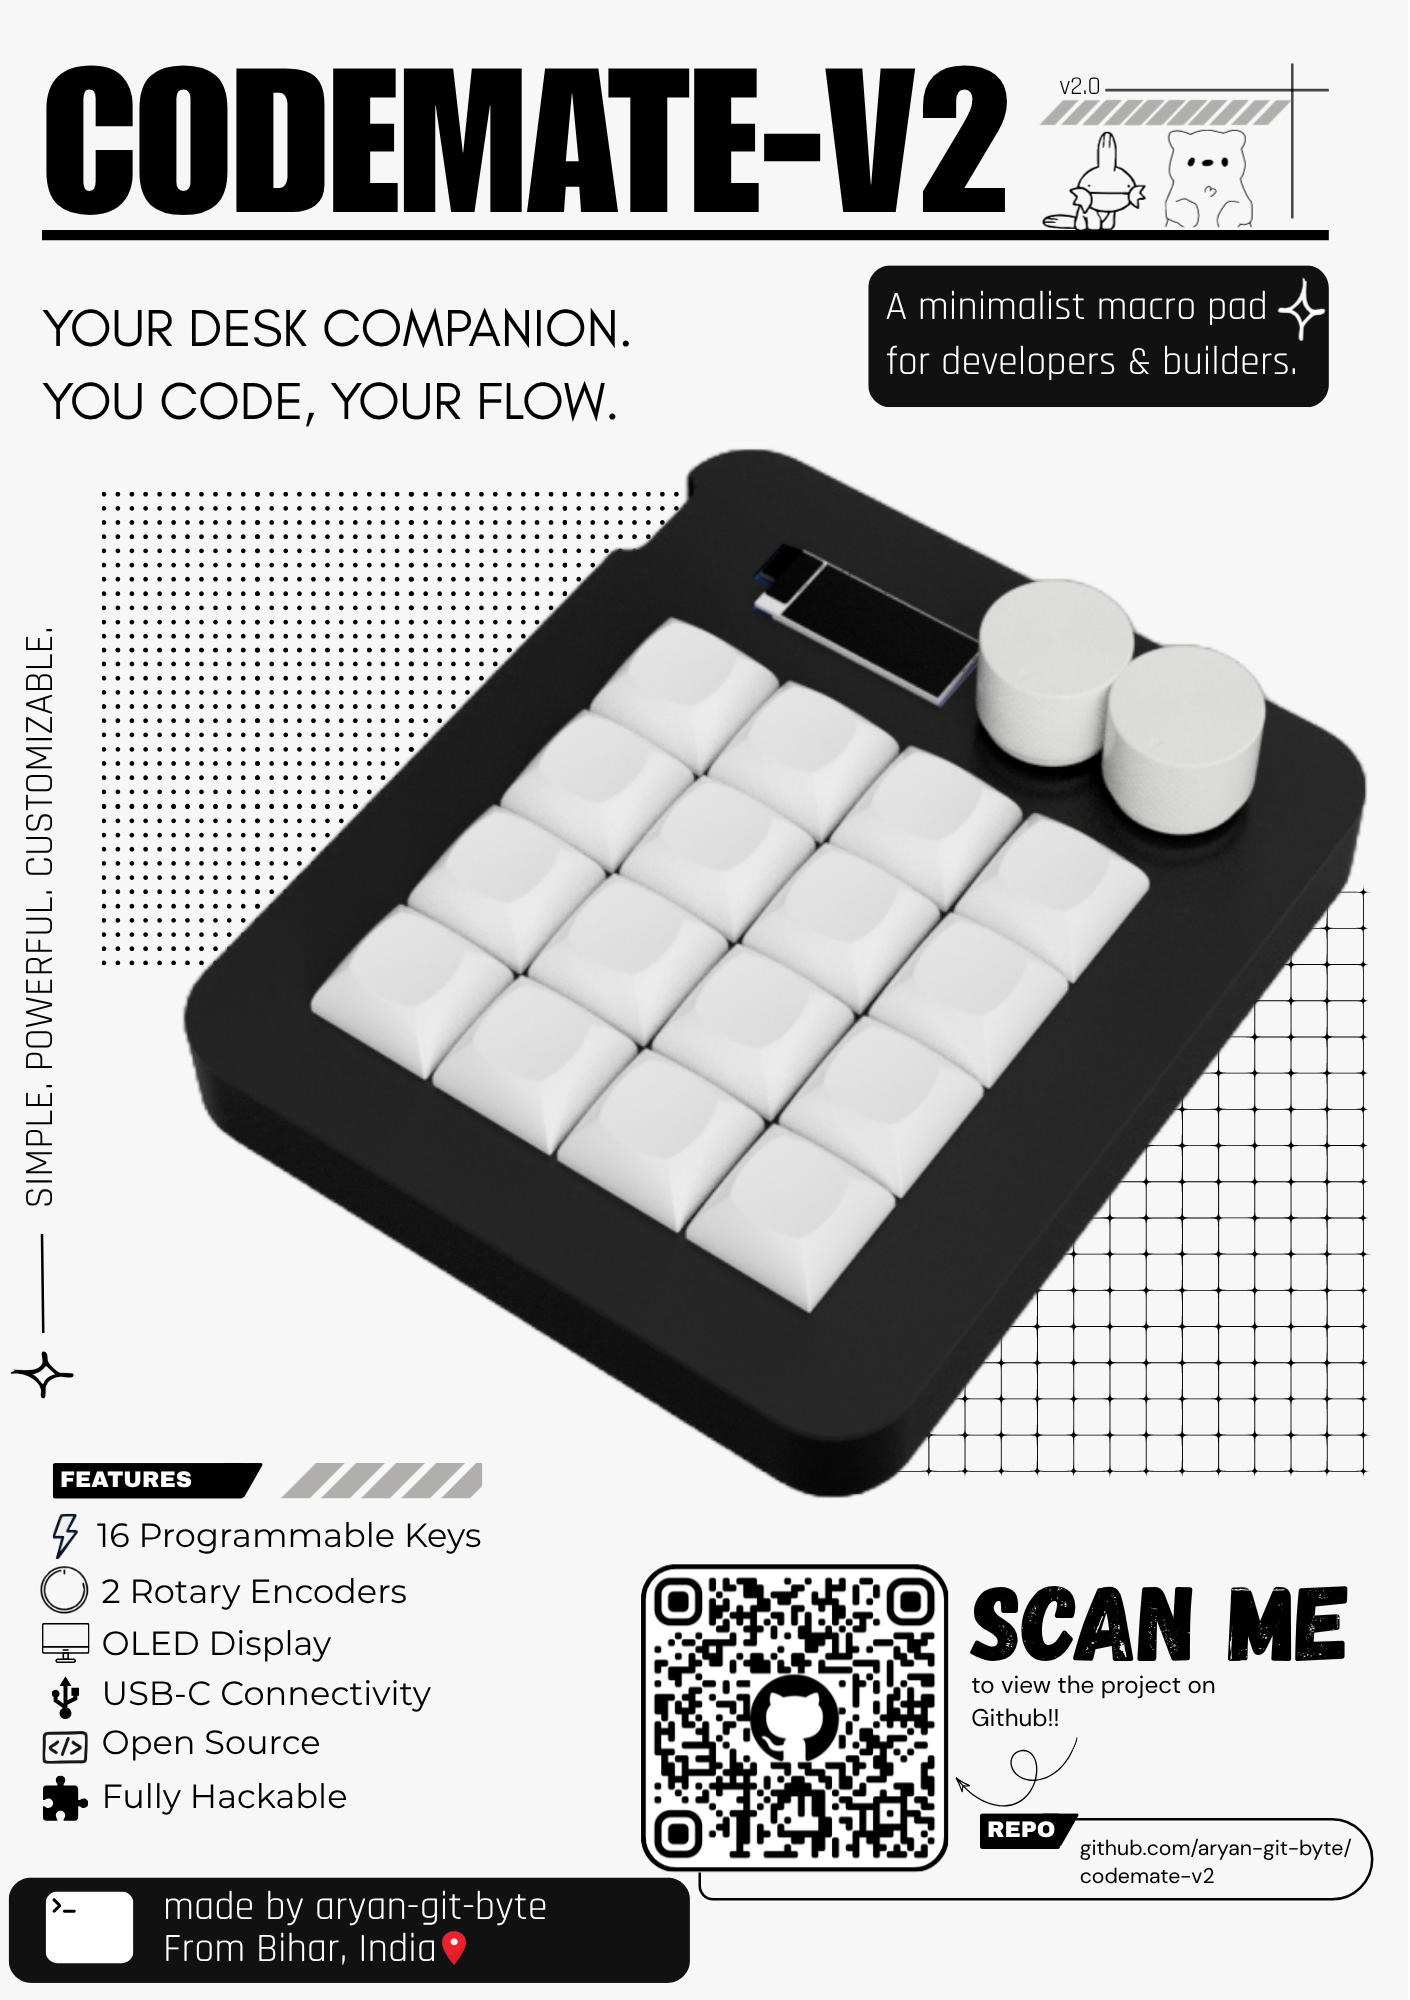
Yo, this is a 4x4 custom macropad that you can use for making ur life ezz, lol it has 16 macros, 2 rotary encoders, RGB lights and an OLED display. and also it is a successor of my previous macropad Codemate.
whether you are a programmer, 3d modeller, editor or whatever u can easily use this macropad with just a little bit tweak in its firmware.
this is the schematic of the project, which u can see here:
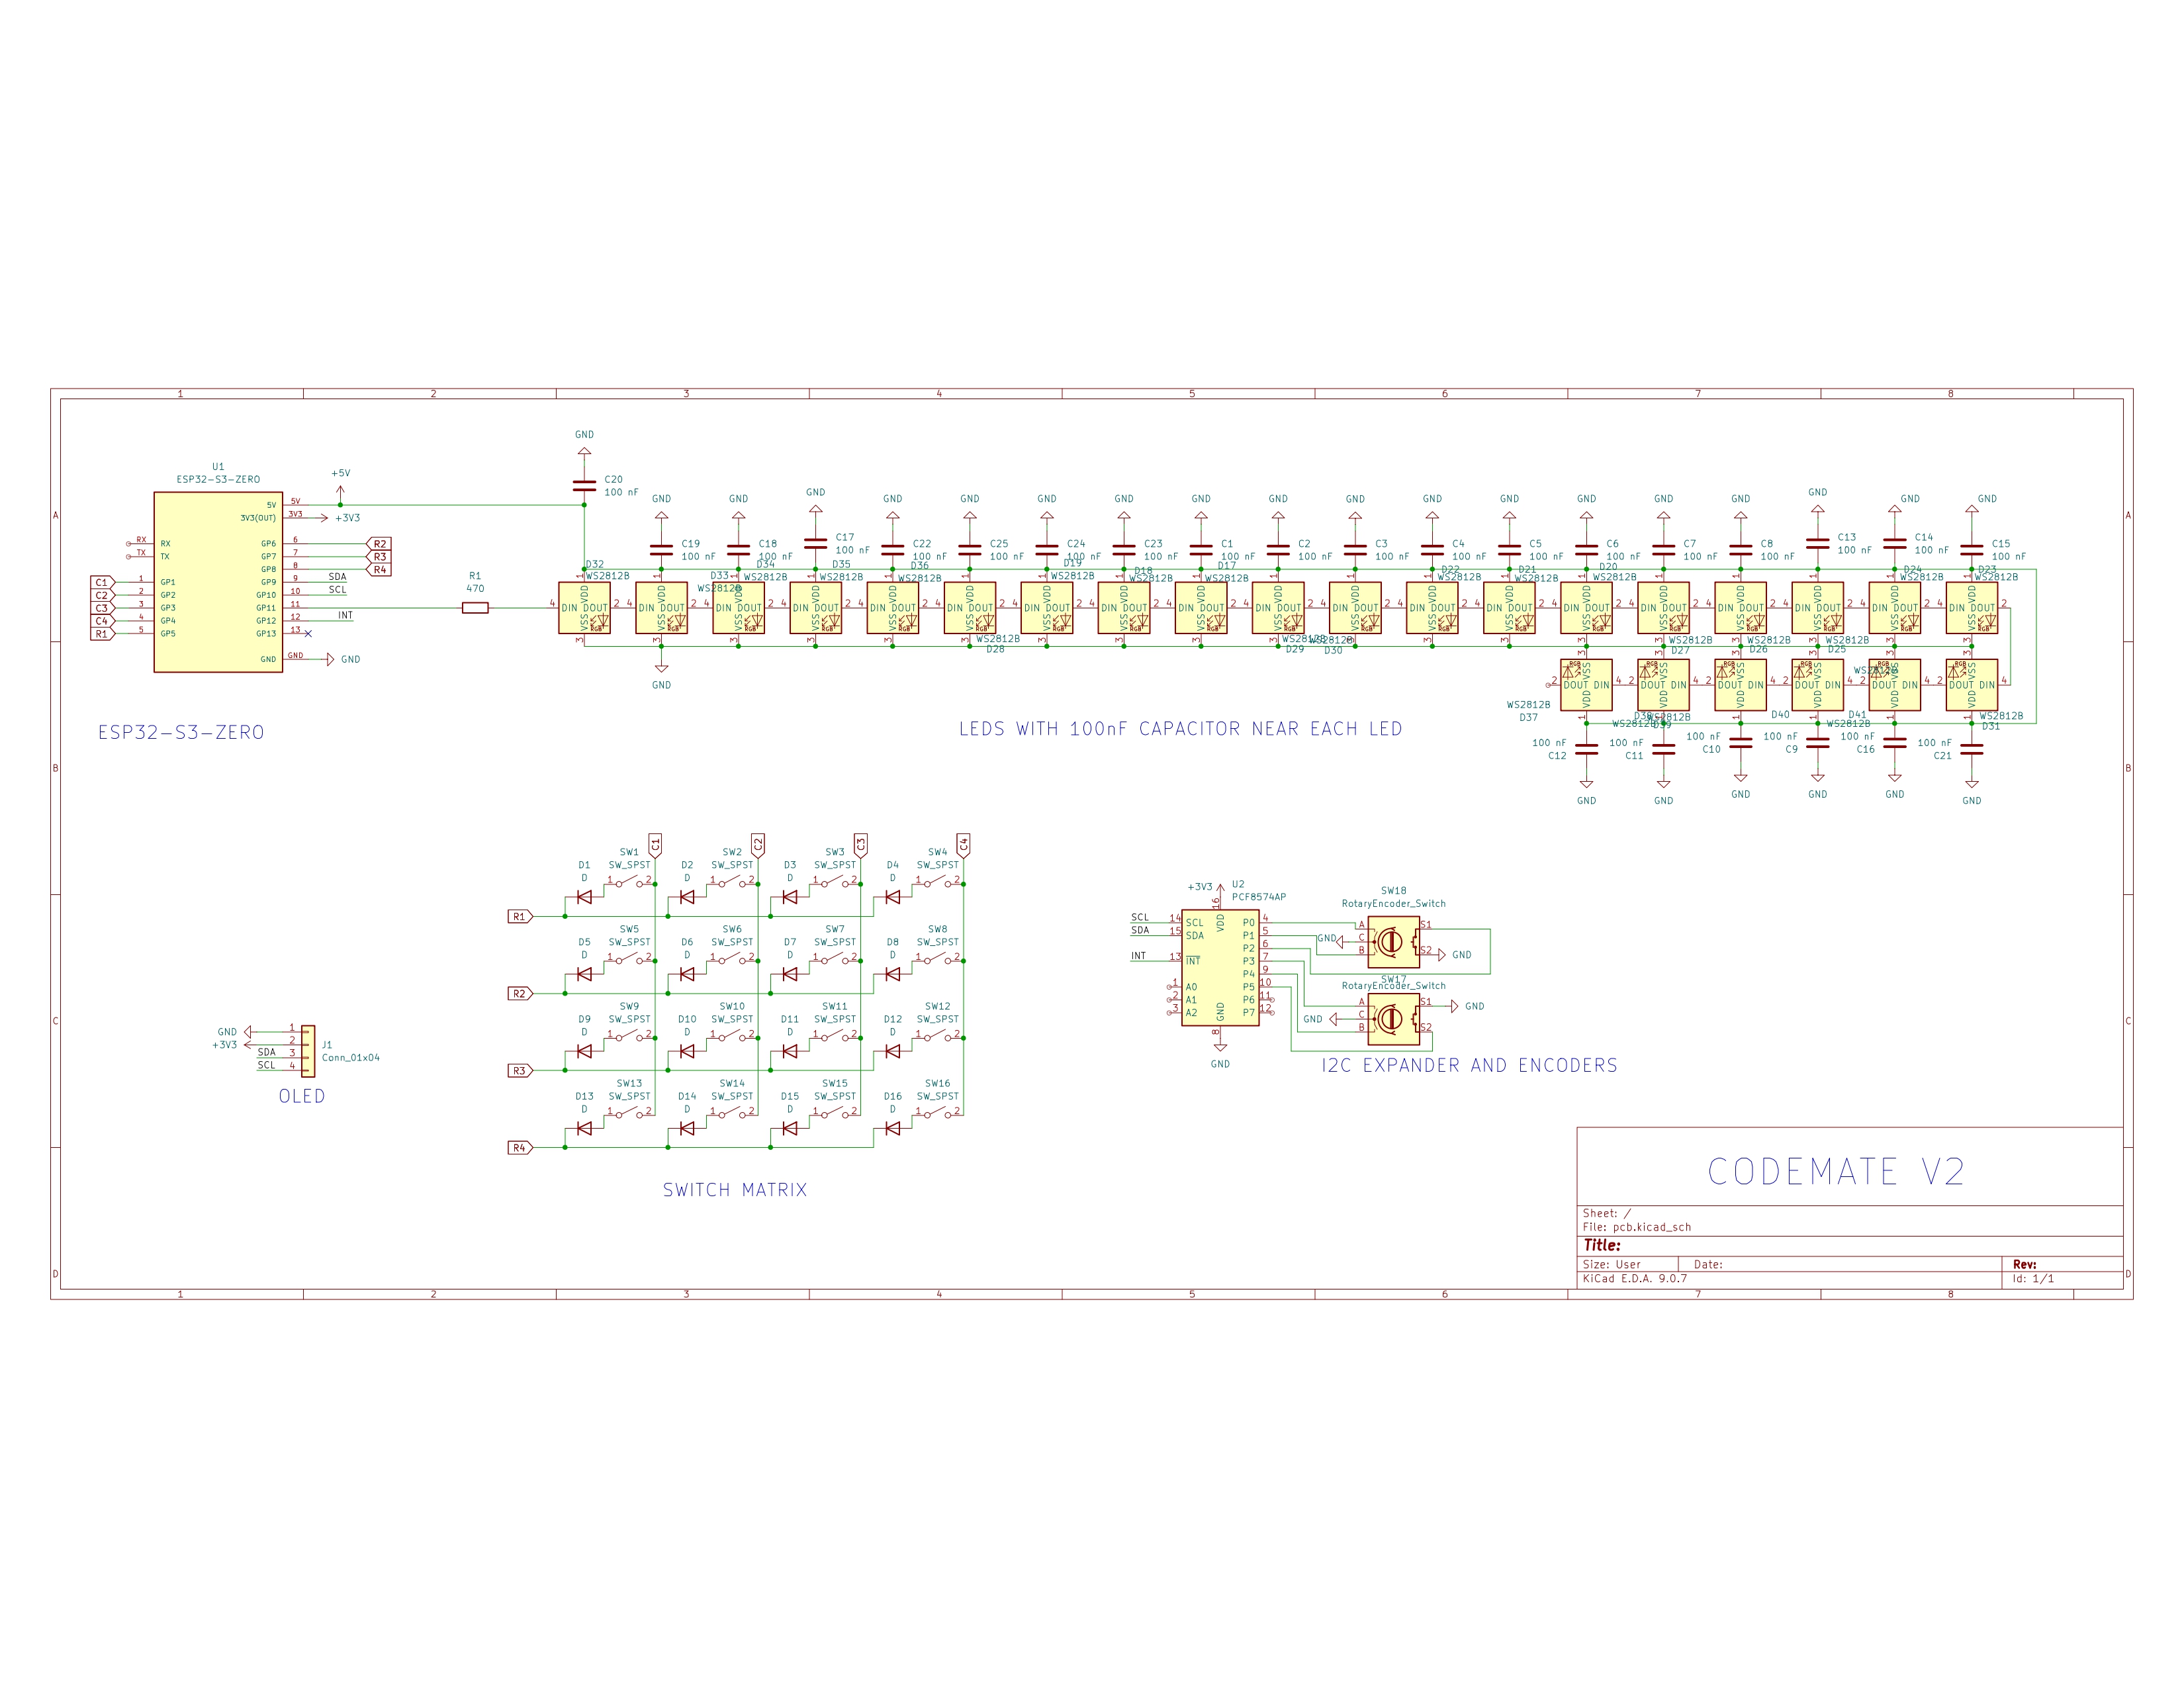 you can see the MCU, the key matrix, the LEDs, encoders, everything in this schematic.
cuz i believe that having a macropad can ezz my workflow and also give make it faster and more efficient.
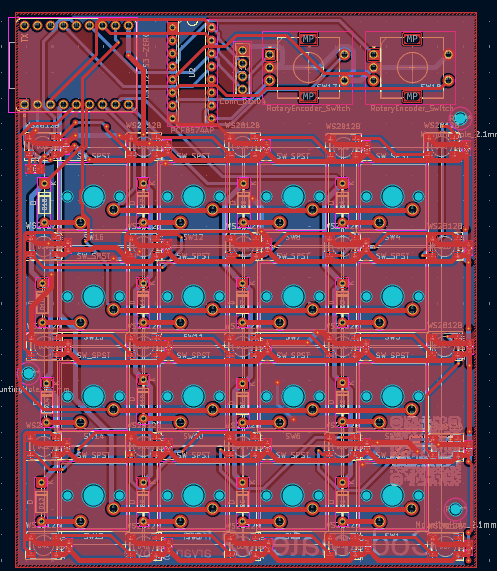
for this i am using a 2 layer pcb board:
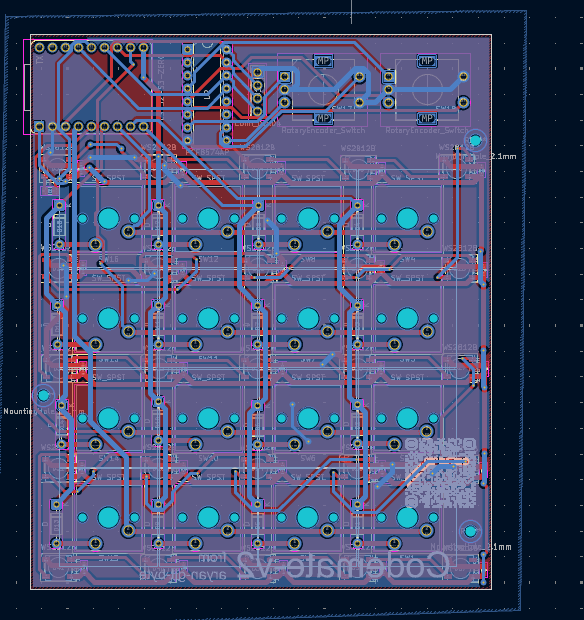
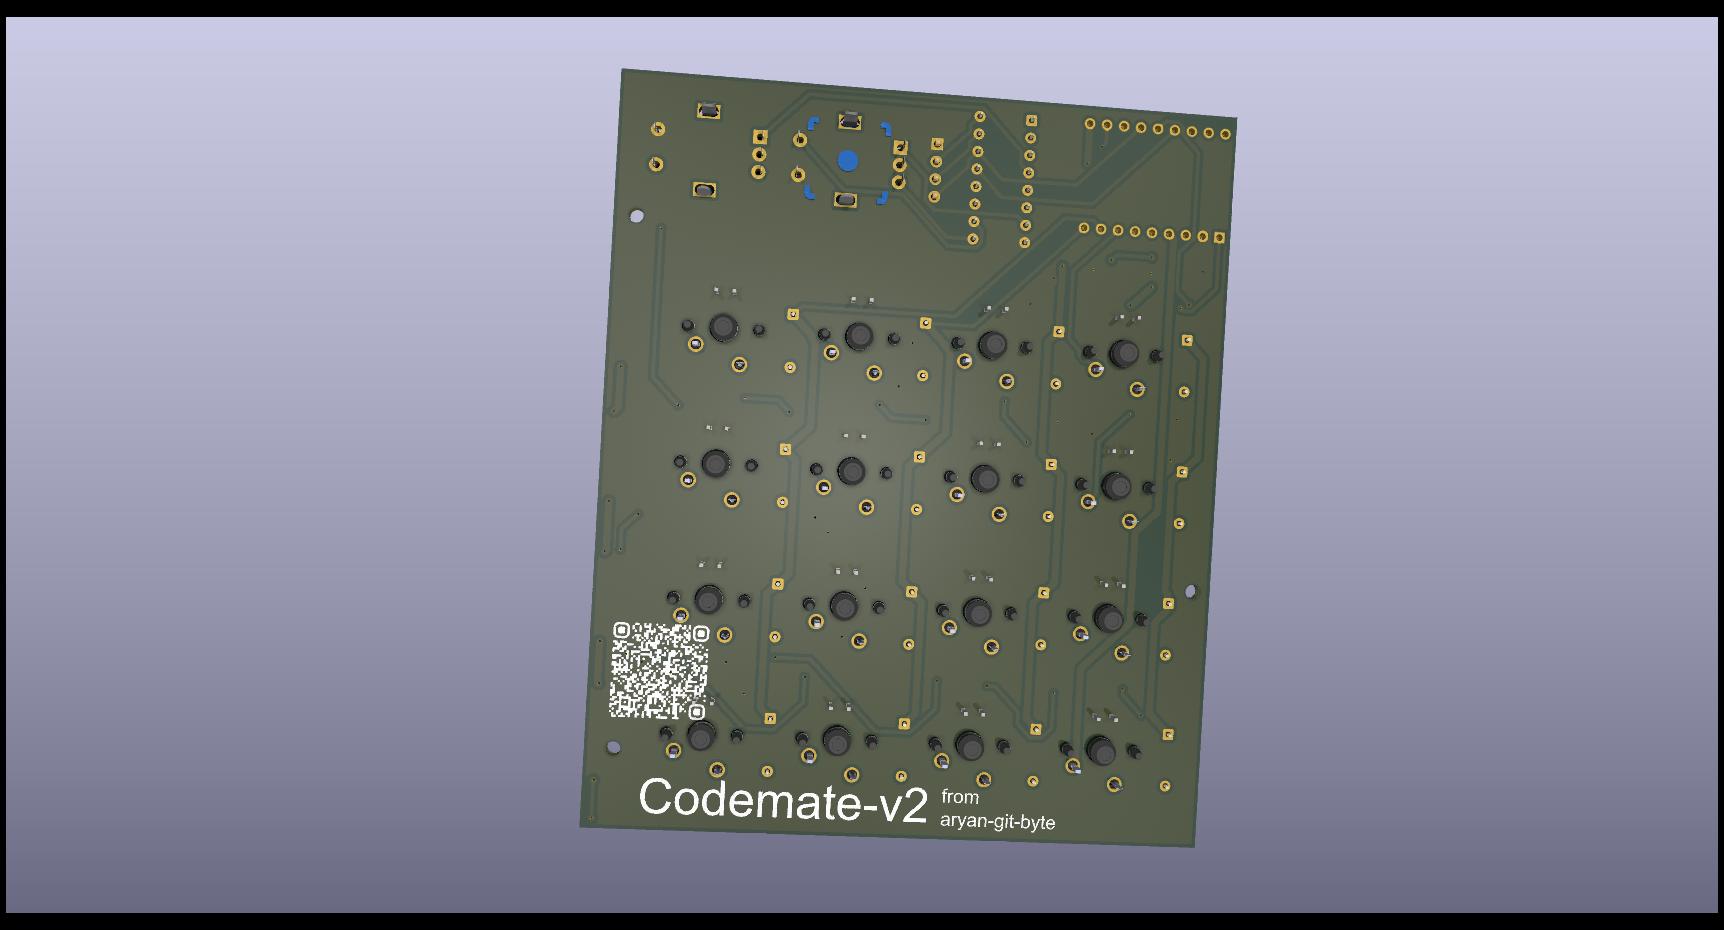
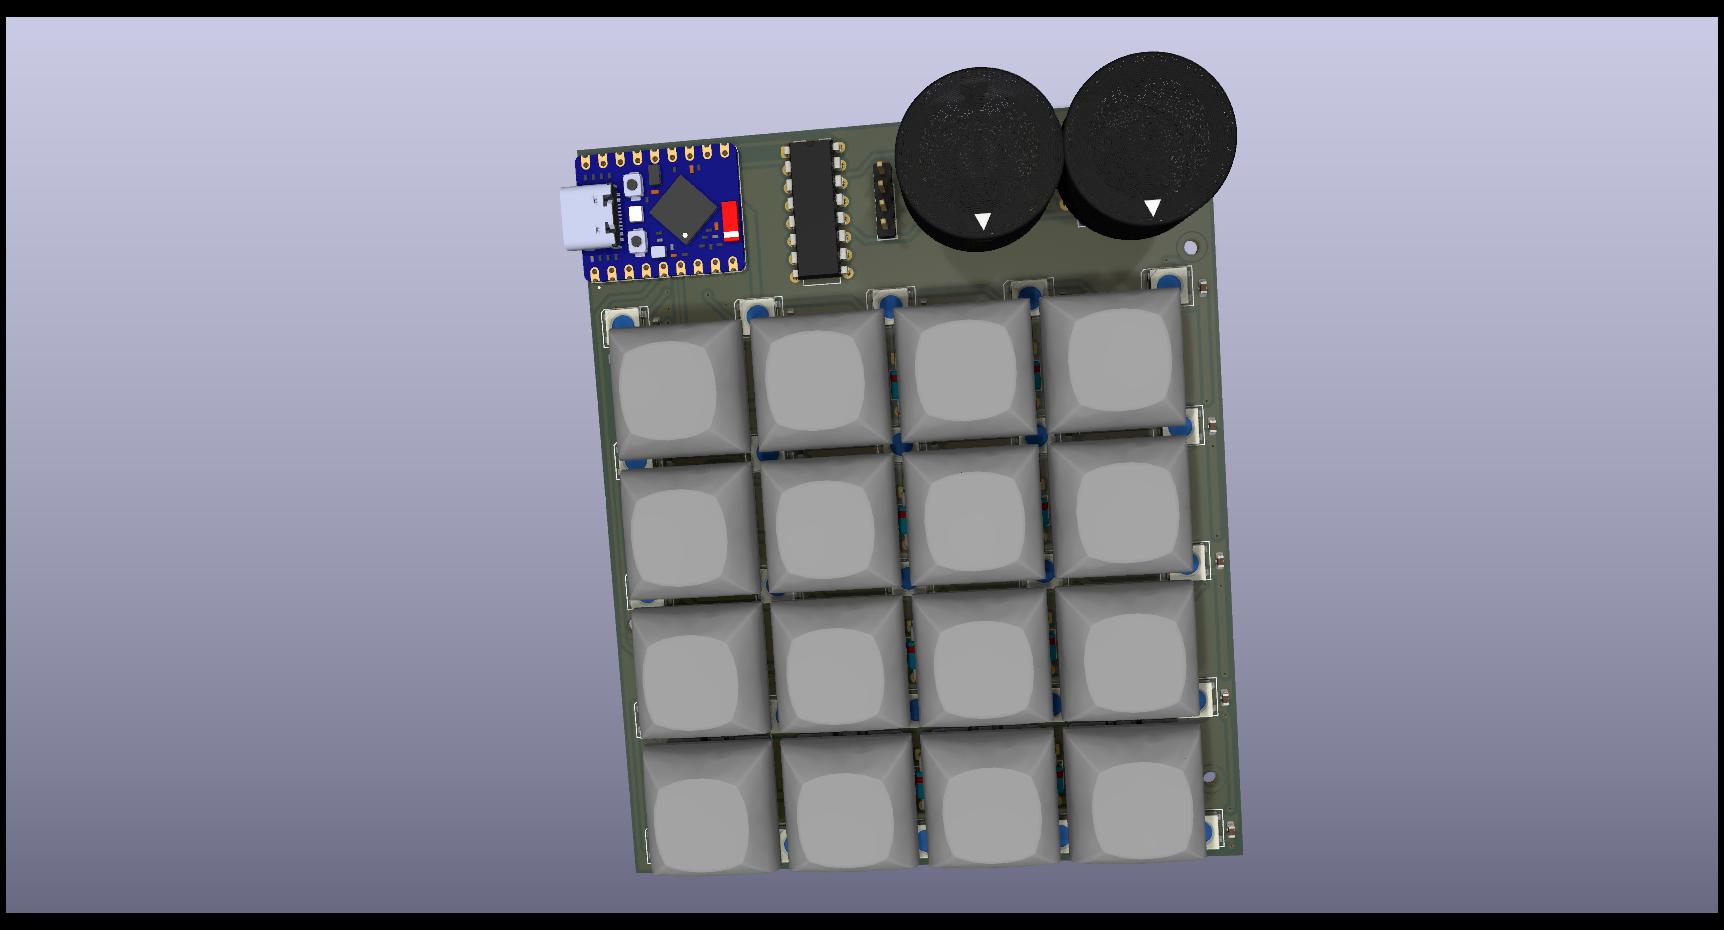
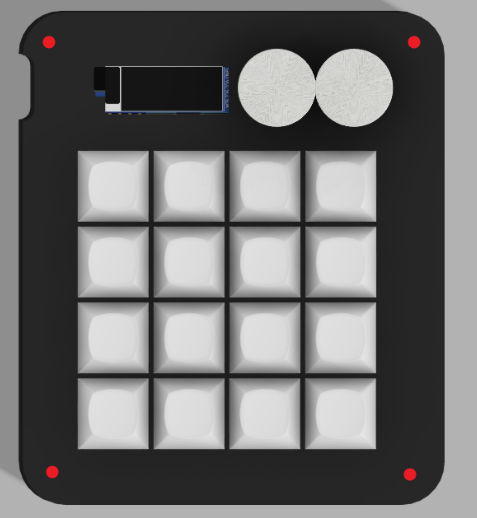
written in Arduino framework for ESP32-S3 Zero using these libraries:
https://raw.githubusercontent.com/espressif/arduino-esp32/gh-pages/package_esp32_index.jsonESP32S3 Dev Modulefirmware/firmware.ino from this repo| item name | quantity | unit price | link | total price |
|---|---|---|---|---|
| Esp32-s3 zero development board | 1 | 620 rs | link | 620 rs |
| Blue MX cherry switches ( pack of 10) | 2 | 350 rs | link | 700 rs |
| Oled 0.91" | 1 | 198 rs | link | 198 rs |
| PCF8574AP | 1 | 124 rs | link | 128 rs |
| EC11 rotary encoder | 2 | 64 rs | link | 128 rs |
| WS2812B | 40 | 4.72 rs | link | 188.80 rs |
| 470 ohm 0805 resistor (pack of 20) | 1 | 8 rs | link | 8 rs |
| 100 nF Capacitor 0603 (pack of 20) | 2 | 11 rs | link | 22 rs |
| Diode (1N4148) | 25 | 3 rs | link | 75 rs |
| hubtroncs shipping charge | 1 | 75 rs | 75 rs | |
| Meckkeys shipping charge | 1 | 100 rs | 100 rs | |
| FlyRobo shipping | 1 | 59 rs | 59 rs |
[ Note: the components from the quartz component and robu are budled with my other order of different project, otherwise if u are ordering it for yourself , it will be 100 rs each ]
Total: 2301 rs , (24 usd)
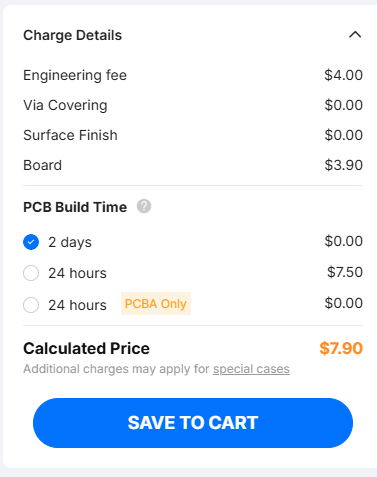
7 usd, shipping will be another 10 usd, but i m getting this shipped along with my different pcb.
| Qty | Value | Footprint | References |
|---|---|---|---|
| 25 | 100 nF | Capacitor_SMD:C_0603_1608Metric | C1, C2, C10, C11, C12, C13, C14, C15, C16, C17, C18, C19, C20, C21, C22, C23 +9 |
| 25 | WS2812B | LED_SMD:LED_WS2812B_PLCC4_5.0x5.0mm_P3.2mm | D17, D18, D19, D20, D21, D22, D23, D24, D25, D26, D27, D28, D29, D30, D31, D32 +9 |
| 16 | D | Diode_THT:D_DO-35_SOD27_P7.62mm_Horizontal | D1, D2, D3, D4, D5, D6, D7, D8, D9, D10, D11, D12, D13, D14, D15, D16 |
| 16 | SW_SPST | Button_Switch_Keyboard:SW_Cherry_MX_1.00u_PCB | SW1, SW2, SW3, SW4, SW5, SW6, SW7, SW8, SW9, SW10, SW11, SW12, SW13, SW14, SW15, SW16 |
| 2 | RotaryEncoder_Switch | Rotary_Encoder:RotaryEncoder_Alps_EC11E-Switch_Vertical_H20mm | SW17, SW18 |
| 1 | 470 | Resistor_SMD:R_0805_2012Metric_Pad1.20x1.40mm_HandSolder | R1 |
| 1 | Conn_01x04 | Connector_PinHeader_2.54mm:PinHeader_1x04_P2.54mm_Vertical | J1 |
| 1 | ESP32-S3-ZERO | resources:MODULE_ESP32-S3-ZERO | U1 |
| 1 | PCF8574AP | Package_DIP:DIP-16_W7.62mm | U2 |
The 88 most common of 91 parts.
It measures 89.8 × 108 mm and has 2 copper layers, 1.6 mm thick.
91 parts, built around the PCF8574AP and WS2812B. The full list of its parts is on this page, with links to each part's symbol and footprint where PCBKit's library has them.
From the Aryan-git-byte/codemate-v2 repository on GitHub, at the commit this page was made from: the board is kicad/pcb/pcb.kicad_pcb and its schematic kicad/pcb/pcb.kicad_sch. PCBKit opens the board in the browser, with nothing to install.
Its repository publishes it under the MIT licence: you may reuse it on that licence's terms (keep the author's notice, and for a copyleft licence share your changes alike).


AudioMorphology/Europi
Opensource sequencer software for Raspberry Pi equipped with Eurorack-compatible hardware

AaronC81/delta-pico
Powerful scientific calculator based on the Raspberry Pi Pico


cutec-chris/PiScope
Goto Telescope with Raspberry PI HQ Camera and exchangable Objective Holders for DSLR Objectives

kellerkindt/bluepill_sensor
Bluepill stm31f103 ethernet sensor extension board with SW written in Rust