2 layers159.5 × 30 mm
Type f
google/mozc-devices
Circuit diagrams and firmware source code for Gboard DIY keyboards
25 parts3kApache-2.0

 andr-line/zmk-config-matrix
The files are adapted to me, the bottom keys for example are shifted by one since I always typed like that. Also one of my controllers was faulty so I had to add an additional pin that is not needed normaly (pin 101).
This keyboard final is an open-source printed circuit board by andr-line, from the andr-line/zmk-config-matrix repository on GitHub. It is a 2-layer board of 85 × 69 mm with 25 parts on 25 nets, routed with 217 tracks and 0 vias.
Its parts include 18 switches and 6 connectors. It belongs with the keyboards and input boards of this library.
This is my attempt at making a keyboard that is as compact as possible but still useable, meaning that all the letter keys are still where they should be (just ortholinear). The pcb design is in hardware as a kicad file or as the finished gerber files I needed for pcbway.
This is my first keyboard, it‘s not perfect. The pcb does not include an off switch or reset button since I didn‘t find them important, as I will be using the keyboard quasy always and it did not really degrade the battery life too much for me. If you try to build this keyboard, add a reset button since pairing is extremely difficult without one.
The files are adapted to me, the bottom keys for example are shifted by one since I always typed like that. Also one of my controllers was faulty so I had to add an additional pin that is not needed normaly (pin 101).
Recently I found the 36 key keyboard by dilshod which is basically the same keyboard but with better execution. I am also planning on making a new version / revision that uses the kailh PG1316S switches (that are not yet commonly available as far as I know) as seen in mikeholschers mikefive keyboard as they could potentially reduce the thickness greatly.
You will need 36 choc v1 (Kailh 1350) switches, two nice!nano controllers, two batteries as recommended on the nice!keyboards site (I used the 301230 battery found on aliexpress as it fits nicely underneath the nice!nanos) and the machine pins to mount the nice!nano controllers to the board.
On the side where the silk screen (labels of the controllers pins) on the board are on top (will be covered by the battery) you have to solder the solder bridges as indicated by their frames. On the other board (where the silk screen is on the bottom) you have to solder them in the other way (solder the middle pad to the one that is not in the same frame). Then you have to solder the nice!nanos and batteries, and finally solder all the switches. Make sure that all solder connections are good.
If you haven't flashed the firmware yet, do it now and test if it works. You can connect each half via usb cable to test the hardware. If for some reason one of the pins of the nice!nano should breake (as was the case for me) you can use the 101, 102 and 107 pins in the middle of the nice!nano as backup (and change the files accordingly). To connect the two halves together you must reset them at the same time. This is very difficult without a reset button hence you should add one before ordering the pcbs. I managed to do it by bridging the reset pin using a pair of metal scissors on both halves simultaneously. Once this has worked you should be good to go. I recommend the above keymap editor to configure the keymap as it greatly simplifies the process.
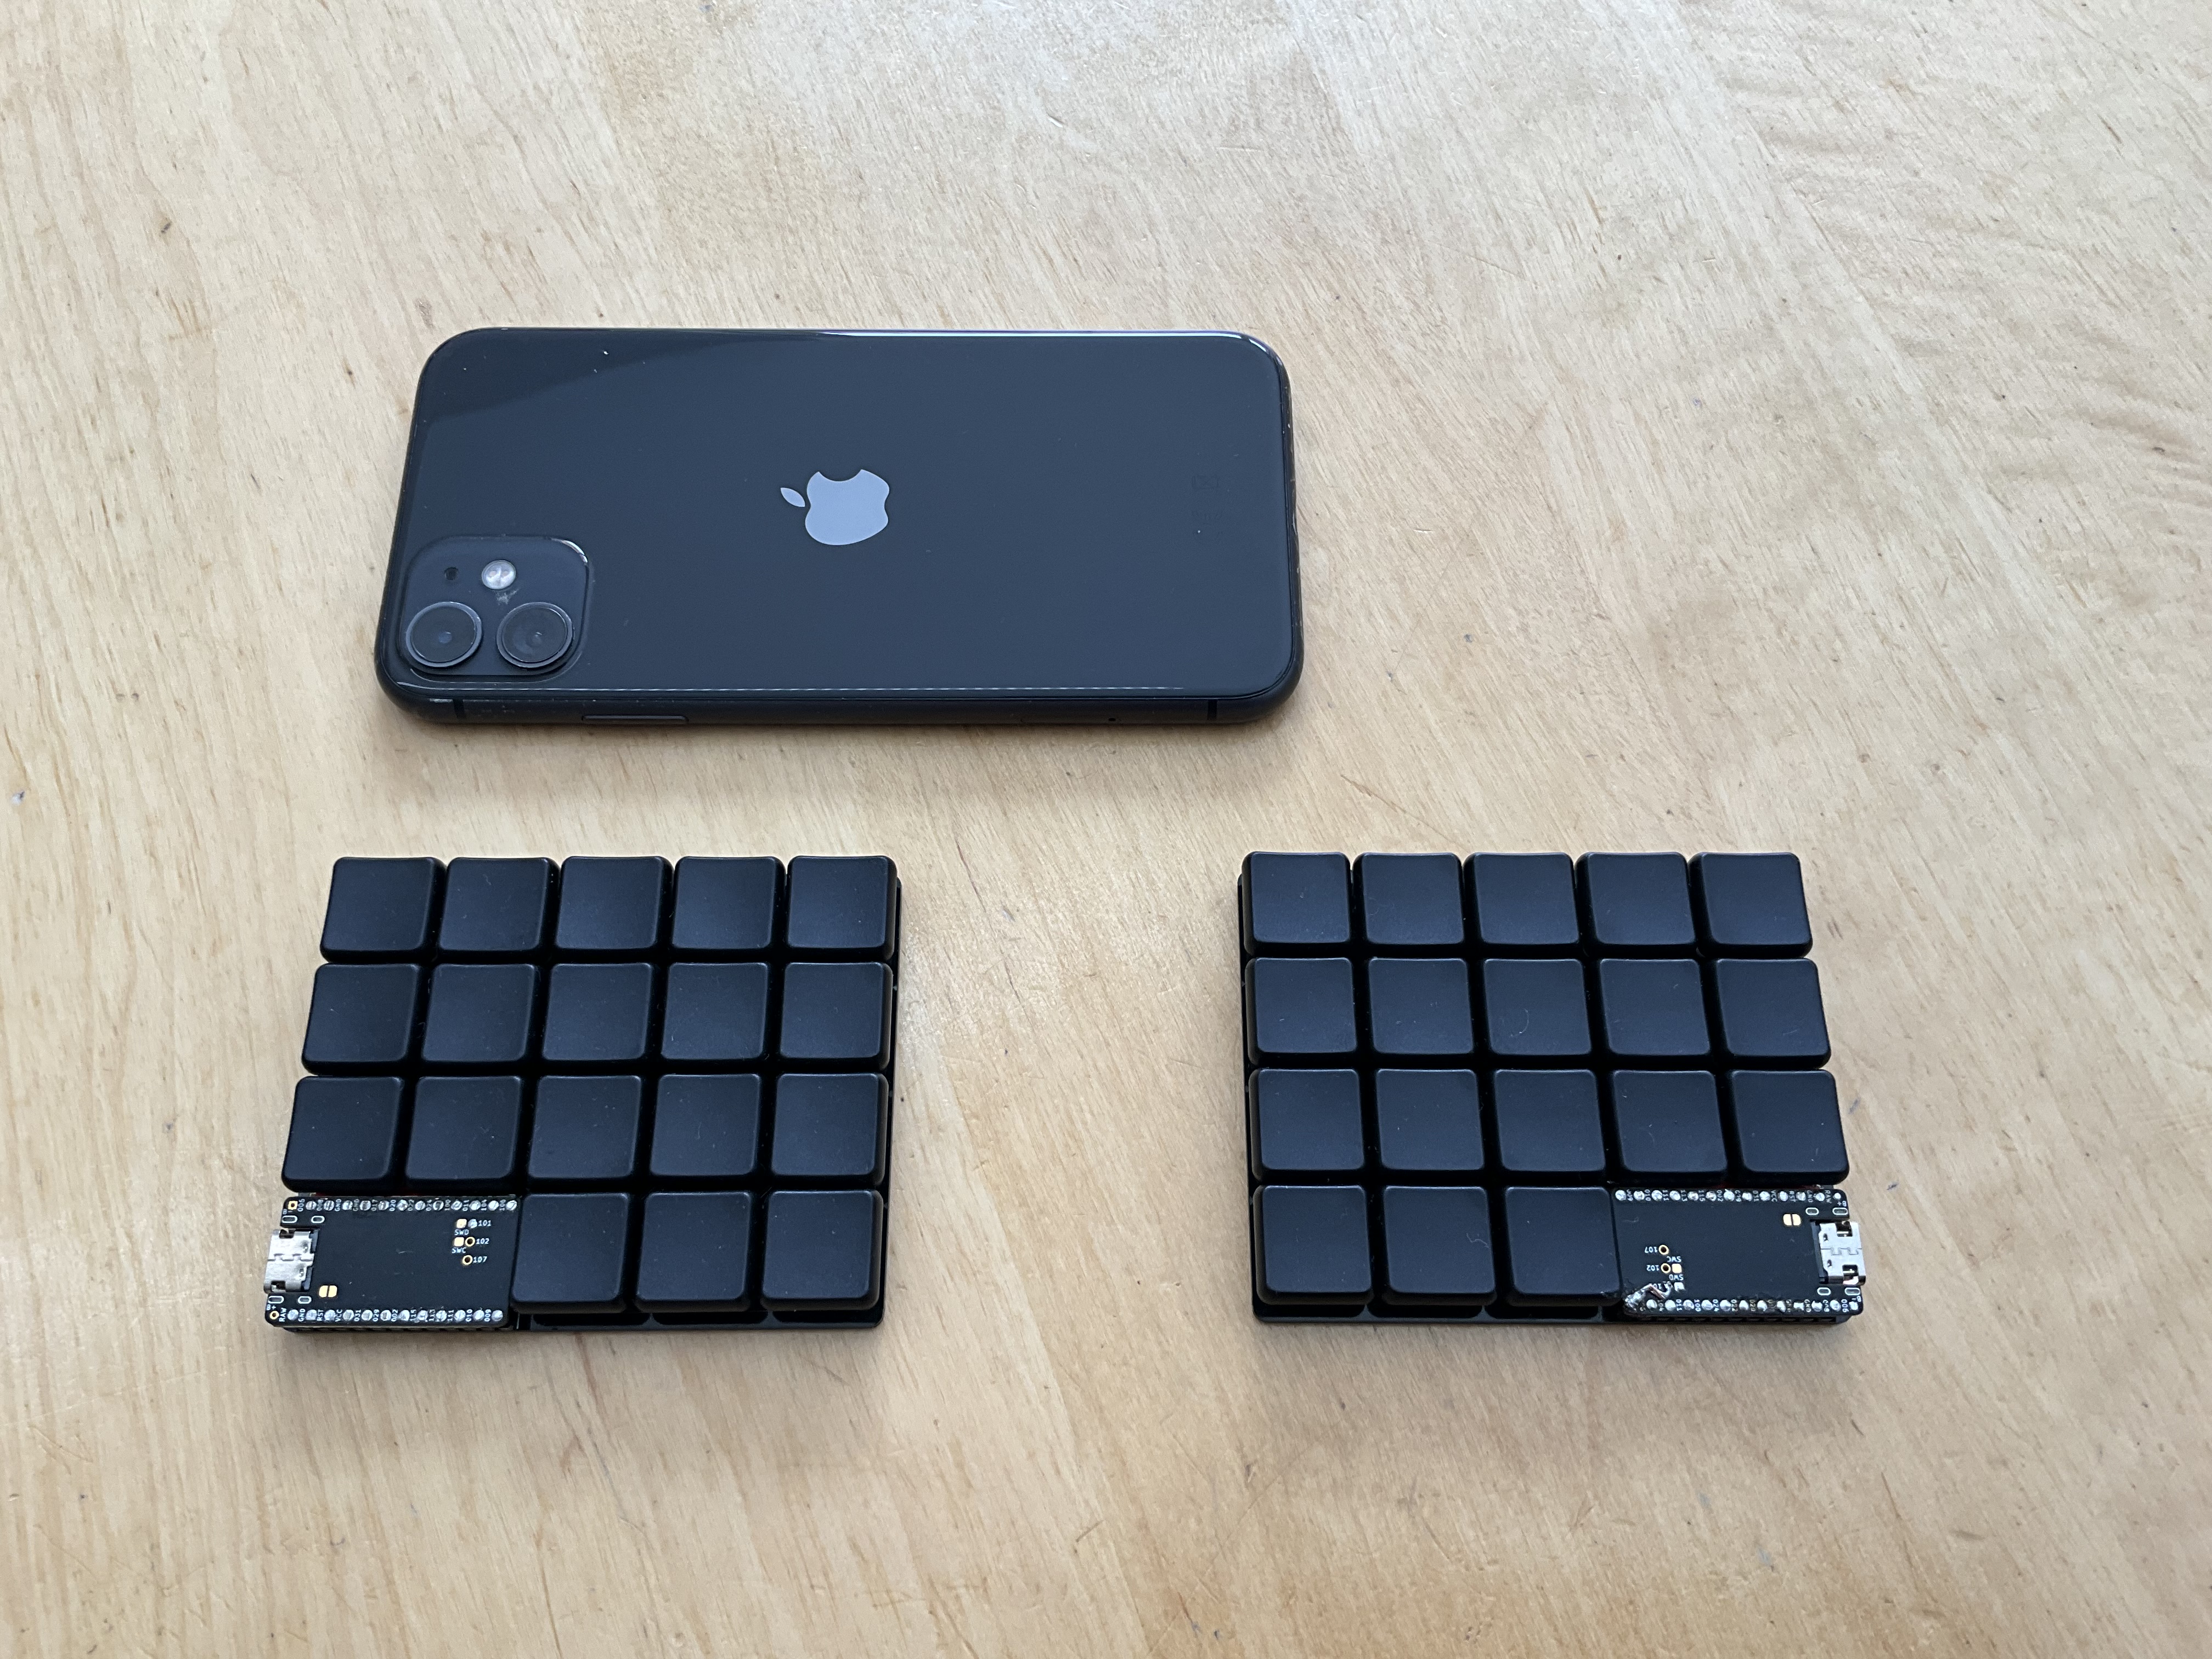
The keyboard looks like this, with an iPhone 11 for size comparison.
| Qty | Value | Footprint | References |
|---|---|---|---|
| 18 | Kailh_PG1232 | lib:Kailh_PG1232 | S1, S2, S3, S4, S5, S6, S7, S10, S11, S12, S13, S14, S15, S16, S17, S18 +2 |
| 4 | lib:Jumper | J3, J4, J5, J6 | |
| 2 | lib:Kailh_PG1232 | J1, J2 | |
| 1 | ProMicro | MCU1 |
google/mozc-devices
Circuit diagrams and firmware source code for Gboard DIY keyboards

davidphilipbarr/Sweep
Sweep - a small promicro based keyboard inspired by the Ferris.


hackclub/OnBoard
💡 Join 1,000 teenagers and make your first PCB with a $100 grant!

xyphro/UsbGpib
Versatile, cheap and portable USB to GPIB converter (USBTMC class based)


jes/scamp-cpu
A homebrew 16-bit CPU with a homebrew Unix-like-ish operating system.

It measures 85 × 69 mm and has 2 copper layers, 1.6 mm thick.
25 parts. The full list of its parts is on this page, with links to each part's symbol and footprint where PCBKit's library has them.
From the andr-line/zmk-config-matrix repository on GitHub, at the commit this page was made from: the board is hardware/this_keyboard_final.kicad_pcb. PCBKit opens the board in the browser, with nothing to install.
Its repository states no licence, so its author keeps all rights: ask andr-line before reusing the design.