
2 layers70.1 × 43.2 mm
Iaq device
nkitanov/iaq_board
IAQ Board is a DIY (Do-It-Yourself) device for measuring internal air quality
19 parts396

 alcar21/WemosEM122
Cheap power monitor (STC013) with Home Assistant Discover and Wemos D1 Mini / PRO (esp8266)
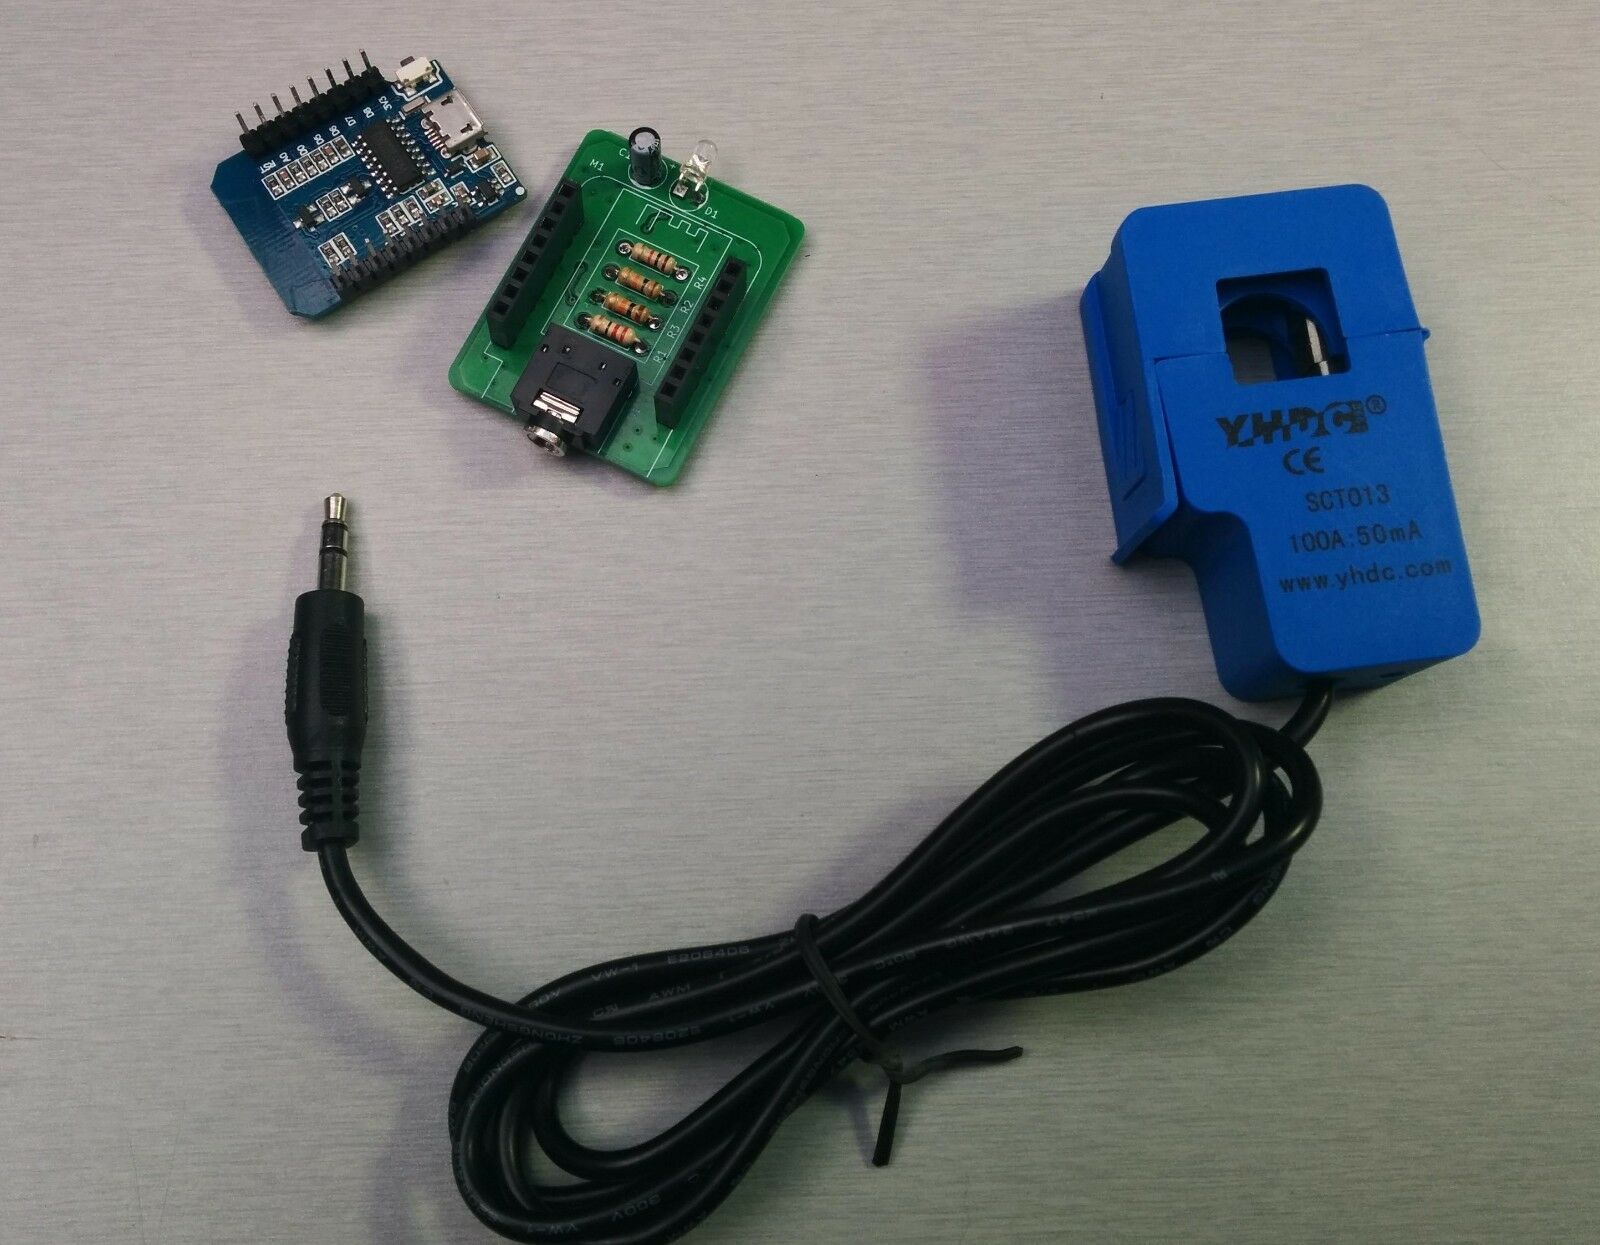
Power Monitor Version 1 is an open-source printed circuit board by alcar21, from the alcar21/WemosEM repository on GitHub. It is a 2-layer board of 32.1 × 40.8 mm with 8 parts on 6 nets, routed with 47 tracks and 38 vias.
It is built around the WEMOS D1 MINI. Its parts include 4 resistors, 1 capacitor, 1 diode and 1 connector. It belongs with the ESP8266 boards of this library.
:warning::warning::warning: Sorry, I have no time to work on this project. I am involved in new projects :warning::warning::warning:
This is a fork of @nephiel and @Mottramlabs projects
Thanks to Dawies www.domology.es for his contributions and his tutorial
The sensor uses a Wemos D1 Mini and PRO and a Non-invasive Split Core Current Transformer type 100A SCT-013-000, available on eBay. You can use Current Transformer type calibrated SCT-013-030 (30A), SCT-013-050 (50A) and others. Recomended Clamp 30A or higger.
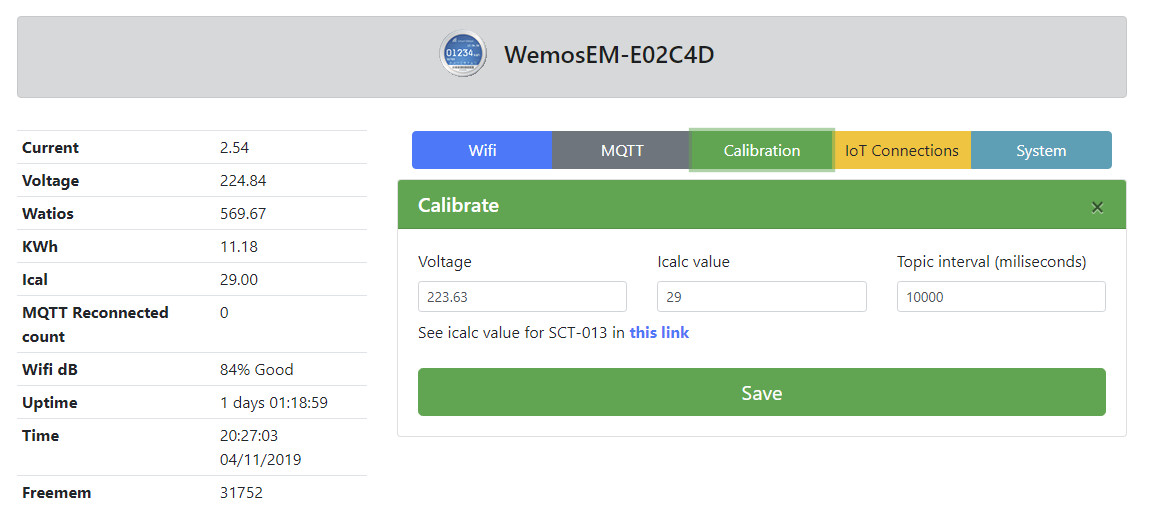
The sensor samples the current value every 10 seconds and publishes it to a topic via an MQTT broker. you can change this value up to 5 seconds If the connection fails, it attempts to reconnect to the WiFi and/or the MQTT Broker as needed.
Original Gerber files for the PCB layout and the source files for Kicad are included, although there may be issues with the custom libraries used.
Software features:
WARNING: If you use calibrated clamp, REMOVE resistance R1 from mains current sensor.
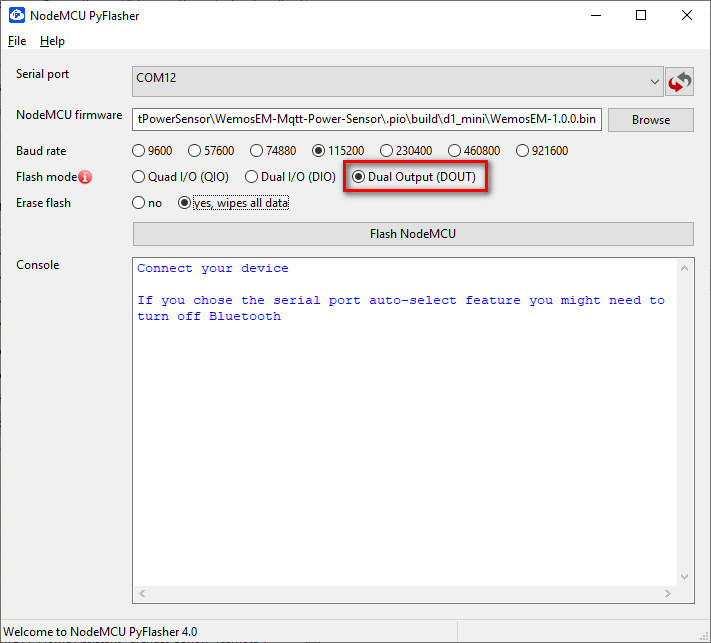
Download latest release You can flash using software nodemcu-pyflasher
If the flash was successful the console will display: Firmware successfully flashed. unplug/replug or reset device to switch back to normal boot mode
Unplug your adapter or device and plug it back in or connect to another power source. Your device is now ready for Initial configuration.
You can see in Tasmota project other options to flash: https://github.com/arendst/Sonoff-Tasmota/wiki/Flashing
WemosEM provides a wireless access point for easy Wi-Fi configuration.
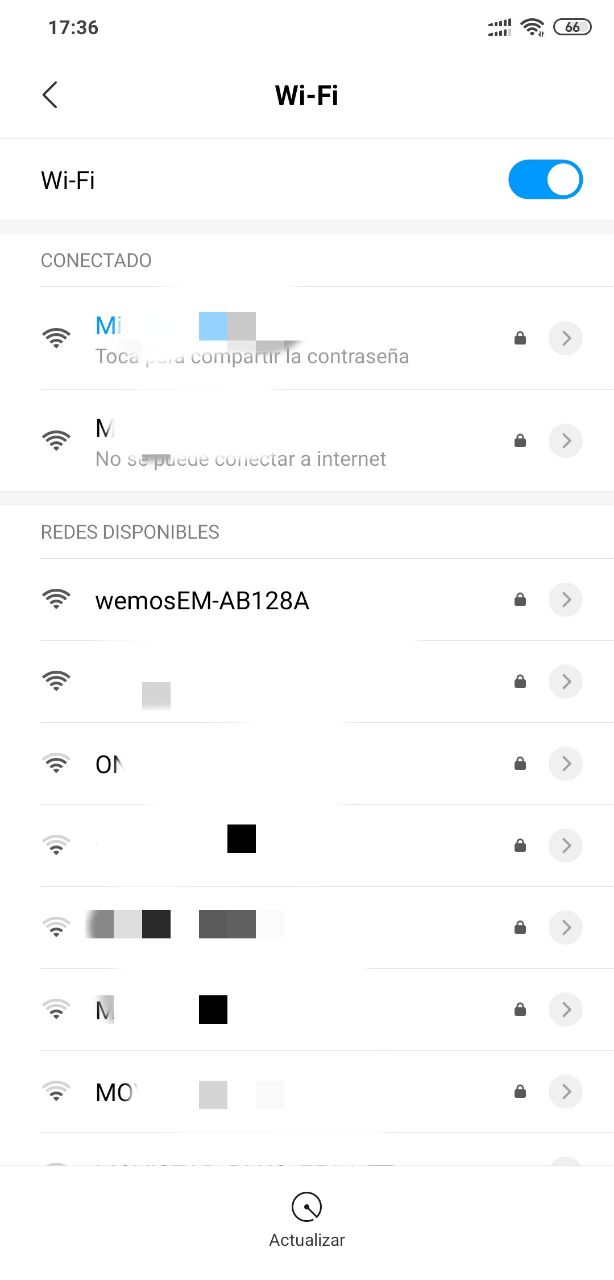
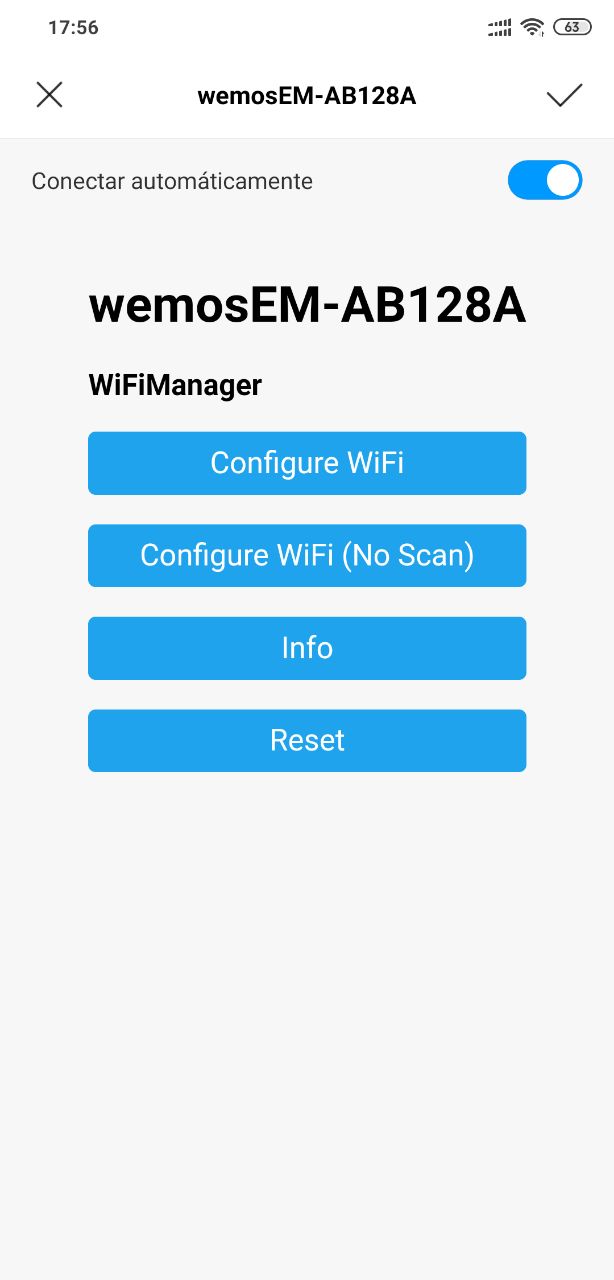
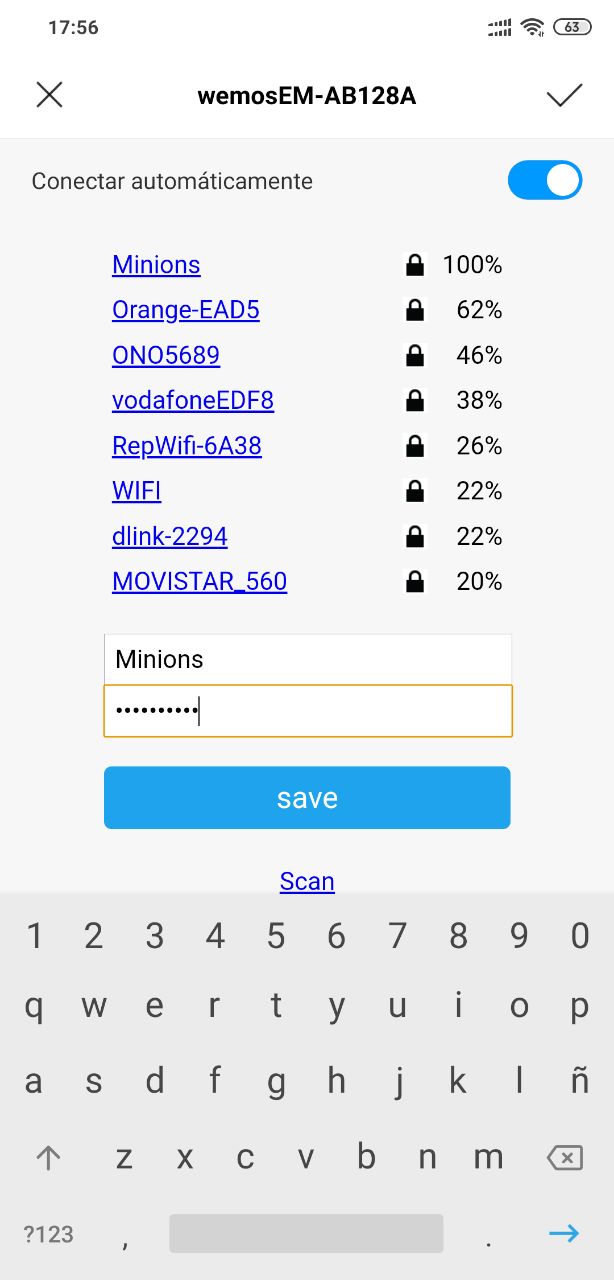
Connect your device to a power source and grab your smartphone (or tablet or laptop or any other web and Wi-Fi capable device). Search for a Wi-Fi AP named wemosEM-xxxxxx (where x is a last part of MAC) and connect to it with password infinito&masalla. In this example the Wi-Fi AP is named wemosEM-AB128A. When it connects to the network, you may get a warning that there is no Internet connection and be prompted to connect to a different network. Do not allow the mobile device to select a different network.
After you have connected to the WemosEM Wi-Fi AP, open http://192.168.4.1 in a web browser on the smartphone (or whatever device you used). Some devices might prompt you to sign in to Wi-Fi network which should also open the above address.
At this page you can have WemosEM scan for available Wi-Fi networks. Select and setup you wifi network. Click save and you wemos will connect to your wifi.
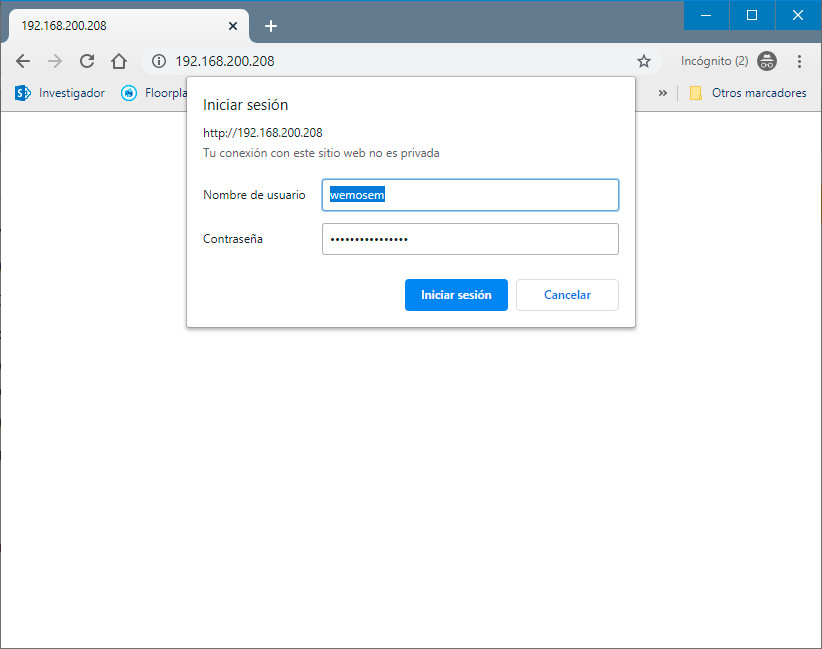 Finally, connect with IP or http://wemosem-xxxxxx.local/ and enter default user and passwor:
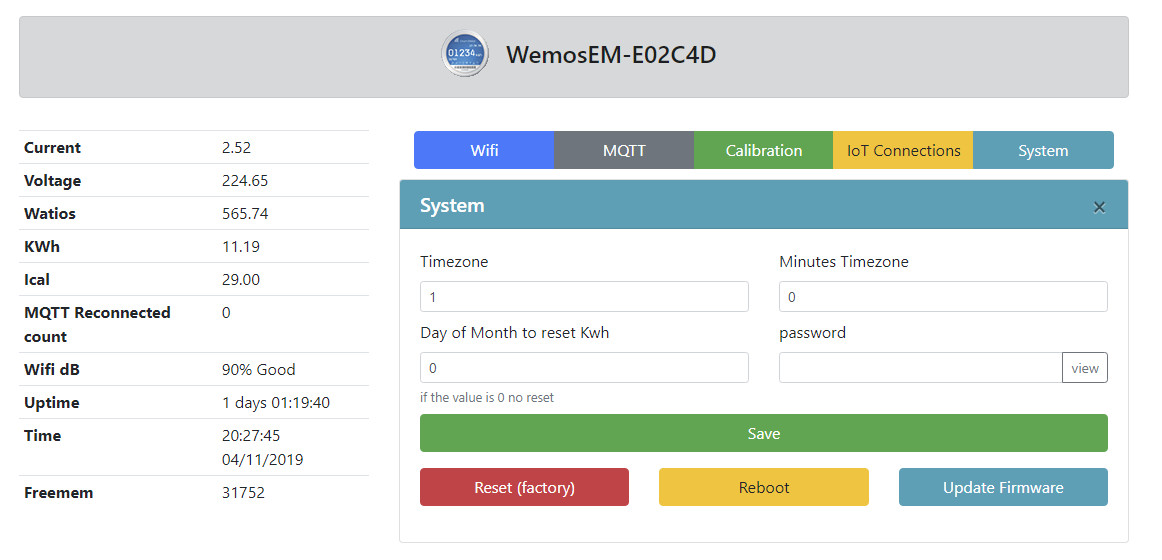
Password is updatable in configuration system tab.
you can view the ICAL value in http://lechacal.com/wiki/index.php/Current_Transformer_Conditioner
| CT | Output Type | Rburden | Rgain (for 5V) | ICAL (for 5V) | Rgain (for 3.3V) | ICAL (for 3.3V) |
|---|---|---|---|---|---|---|
| SCT-013-005 | Voltage | None | 130 kΩ | 2.83 | None* | 5.0 |
| SCT-013-010 | Voltage | None | 130 kΩ | 5.66 | None* | 10.0 |
| SCT-013-015 | Voltage | None | 130 kΩ | 8.49 | None* | 15.0 |
| SCT-013-020 | Voltage | None | 130 kΩ | 11.31 | None* | 20.0 |
| SCT-013-025 | Voltage | None | 130 kΩ | 14.14 | None* | 25.0 |
| SCT-013-030 | Voltage | None | 130 kΩ | 16.96 | None* | 30.0 |
| SCT-013-050 | Voltage | None | 130 kΩ | 28.28 | None* | 50.0 |
| SCT-013-060 | Voltage | None | 130 kΩ | 33.94 | None* | 60.0 |
| SCT-006 | Current | 10 Ω | 17 kΩ | 11.62 | 28 kΩ | 17.5 |
| SCT-013-000 | Current | 10 Ω | 40 kΩ | 56.57 | 75 kΩ | 85.71 |
| SCT-019 | Current | 10 Ω | 24 kΩ | 116.13 | 40 kΩ | 171.43 |
sensor:
- platform: mqtt
  state_topic: "wemos/wemosEM-XXXXXX/power"
  name: WemosEM-Amperaje
  icon: mdi:current-ac
  unit_of_measurement: "A"
  value_template: "{{ value_json.current }}"
- platform: mqtt
  state_topic: "wemos/wemosEM-XXXXXX/power"
  name: WemosEM-Consumo Actual
  icon: mdi:power-plug
  unit_of_measurement: "W"
  value_template: "{{ value_json.watios }}"
- platform: mqtt
  state_topic: "wemos/wemosEM-XXXXXX/power"
  name: WemosEM-KWh
  icon: mdi:power-plug
  unit_of_measurement: "KWh"
value_template: "{{ value_json.kwh }}"nt Cell | Content Cell |if you have a Shelly EM, add a automation in Home assistant:
  - alias: Update voltage WemosEM
    initial_state: 'on'
    trigger:
    - platform: mqtt
      topic: shellies/shellyem-B9E2E9/emeter/0/voltage

    action:
    - service: mqtt.publish
      data_template:
        topic: "wemos-cmd/wemosEM-XXXXXX/voltage"
        payload: '{{ trigger.payload }}'
if you have a device with Tasmota, add a automation in Home assistant:
  - alias: Update voltage Tasmota-WemosEM
    initial_state: 'on'
    trigger:
    - platform: mqtt
      topic: tele/sonoff01/SENSOR

    action:
    - service: mqtt.publish
      data_template:
        topic: "wemos-cmd/wemosEM-XXXXXX/voltage"
payload: "{{ trigger.payload_json['ENERGY'].Voltage }}"Go to Blynk app on your phone and layout the blynk project with virtual pin number according:
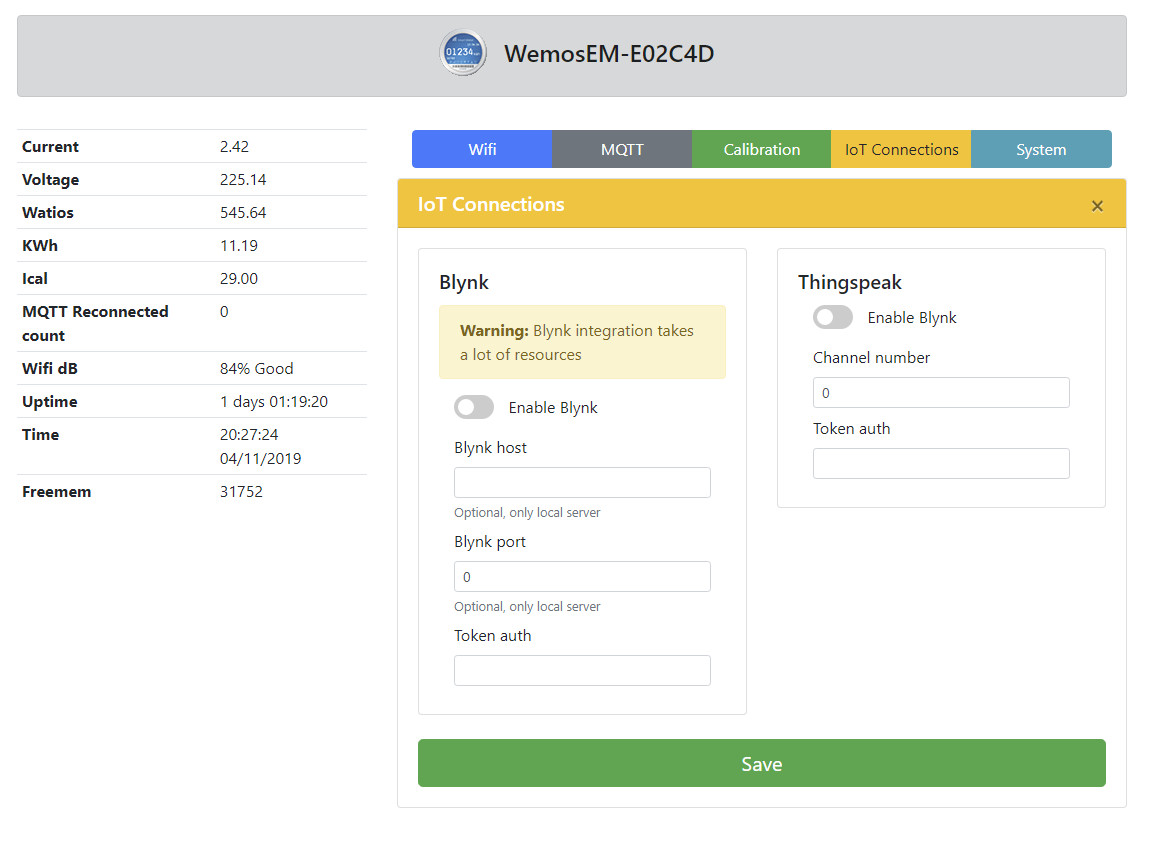
Setup in web interface token auth, optional you can setup server and port server.
Setup in web interface token auth (Write API Key) and Channel number.
| Topic | Description |
|---|---|
| wemos-cmd/wemosEM-XXXXXX/voltage | Set/update voltage (from sonoff, shelly or other devices) |
| wemos-cmd/wemosEM-XXXXXX/status | Get Status of wemosEM |
| wemos-cmd/wemosEM-XXXXXX/resetkwh | reset kwh and store and beforeResetkwh variable |
OTA updates from platformio windows with espota: ~/.platformio/packages/tool-espotapy/espota.py --progress --ip 192.168.4.1 --auth "infinito&masalla" --file wemosEM-1.3.1_core-2.4.bin
This project is developed with platformio. WemosEM not compile with core 2.3 because blynk library require core 2.4.0 or higher.
Commands:
Other options:
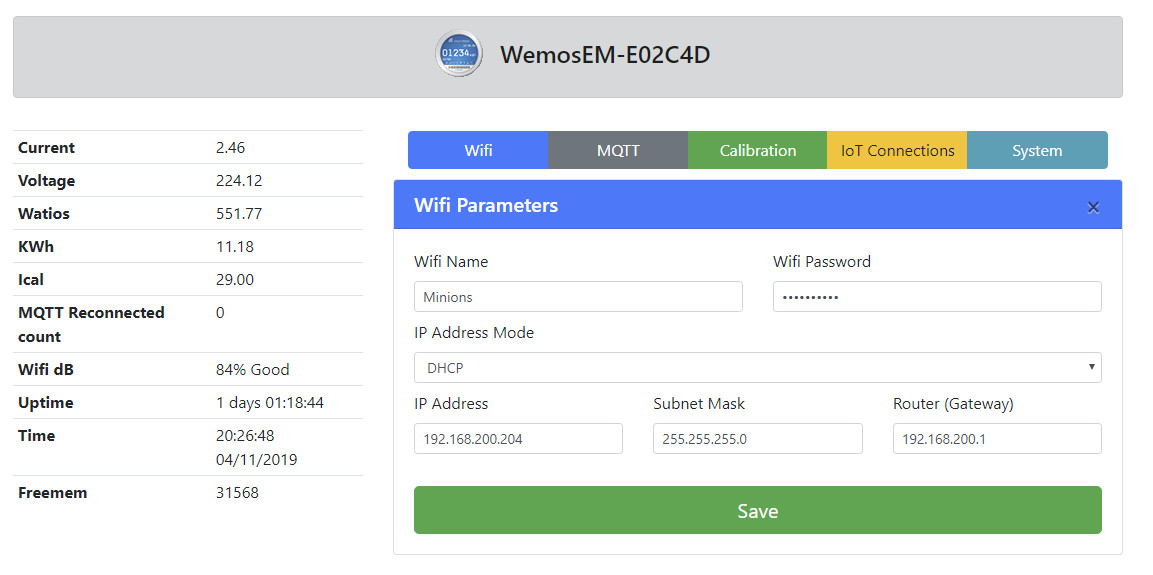
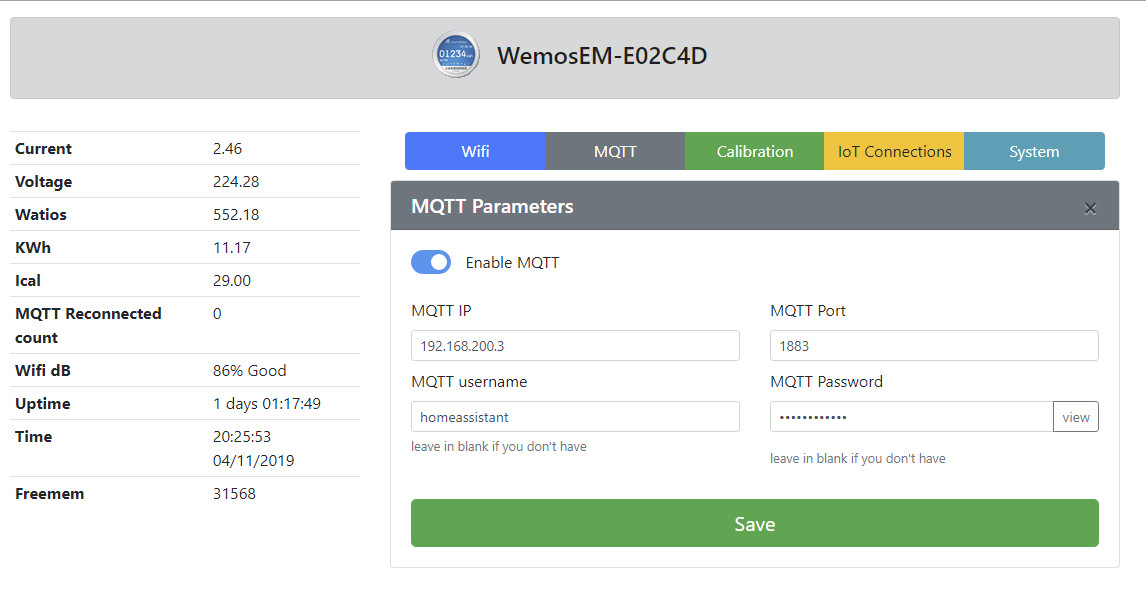
| Qty | Value | Footprint | References |
|---|---|---|---|
| 2 | 10K | DRM_Parts_General:Resistor_THT | R2, R3 |
| 1 | 10uF 10V | DRM_Parts_General:Cap_5mm_THT | C1 |
| 1 | 1K | DRM_Parts_General:Resistor_THT | R4 |
| 1 | 22R | DRM_Parts_General:Resistor_THT | R1 |
| 1 | 3.5mm Jack Socket - PJ-307 | DRM_Connectors:Jack_3.5_PJ-307 | J1 |
| 1 | LED | DRM_LED_Display:LED 5mm | D1 |
| 1 | Wemos_D1_Mini | DRM_ESP8266:Wemos D1 Mini | M1 |
nkitanov/iaq_board
IAQ Board is a DIY (Do-It-Yourself) device for measuring internal air quality

bitfixer/bf-romulator
Romulator - RAM/ROM replacement and debug for 6502 CPU systems


kholia/Easy-Digital-Beacons-v1
A simple and easy Arduino / Pi Pico / ESP8266-powered WSPR, FT8, and FT4 beacon system which uses NTP + DS3231 RTC for timing. Super extensible! Now comes with optional GPS support.

htumanyan/navien
Navien water heater wire protocol for communication with NaviLink and other attached devices


ftl/atu100wifi
A wifi adapter device for David Fainitski's ATU-100 antenna tuner (https://github.com/Dfinitski/N7DDC-ATU-100-mini-and-extended-boards)
It measures 32.1 × 40.8 mm and has 2 copper layers, 1.6 mm thick.
8 parts, built around the WEMOS D1 MINI. The full list of its parts is on this page, with links to each part's symbol and footprint where PCBKit's library has them.
From the alcar21/WemosEM repository on GitHub, at the commit this page was made from: the board is KiCad PCB Files/Power Monitor Version 1.kicad_pcb. PCBKit opens the board in the browser, with nothing to install.
Its repository states no licence, so its author keeps all rights: ask alcar21 before reusing the design.