2 layers52.2 × 52.2 mm
Base
google/mozc-devices
Circuit diagrams and firmware source code for Gboard DIY keyboards
43 parts3kApache-2.0

 achyudh/karma94
A 36-key wireless split ergonomic mechanical keyboard
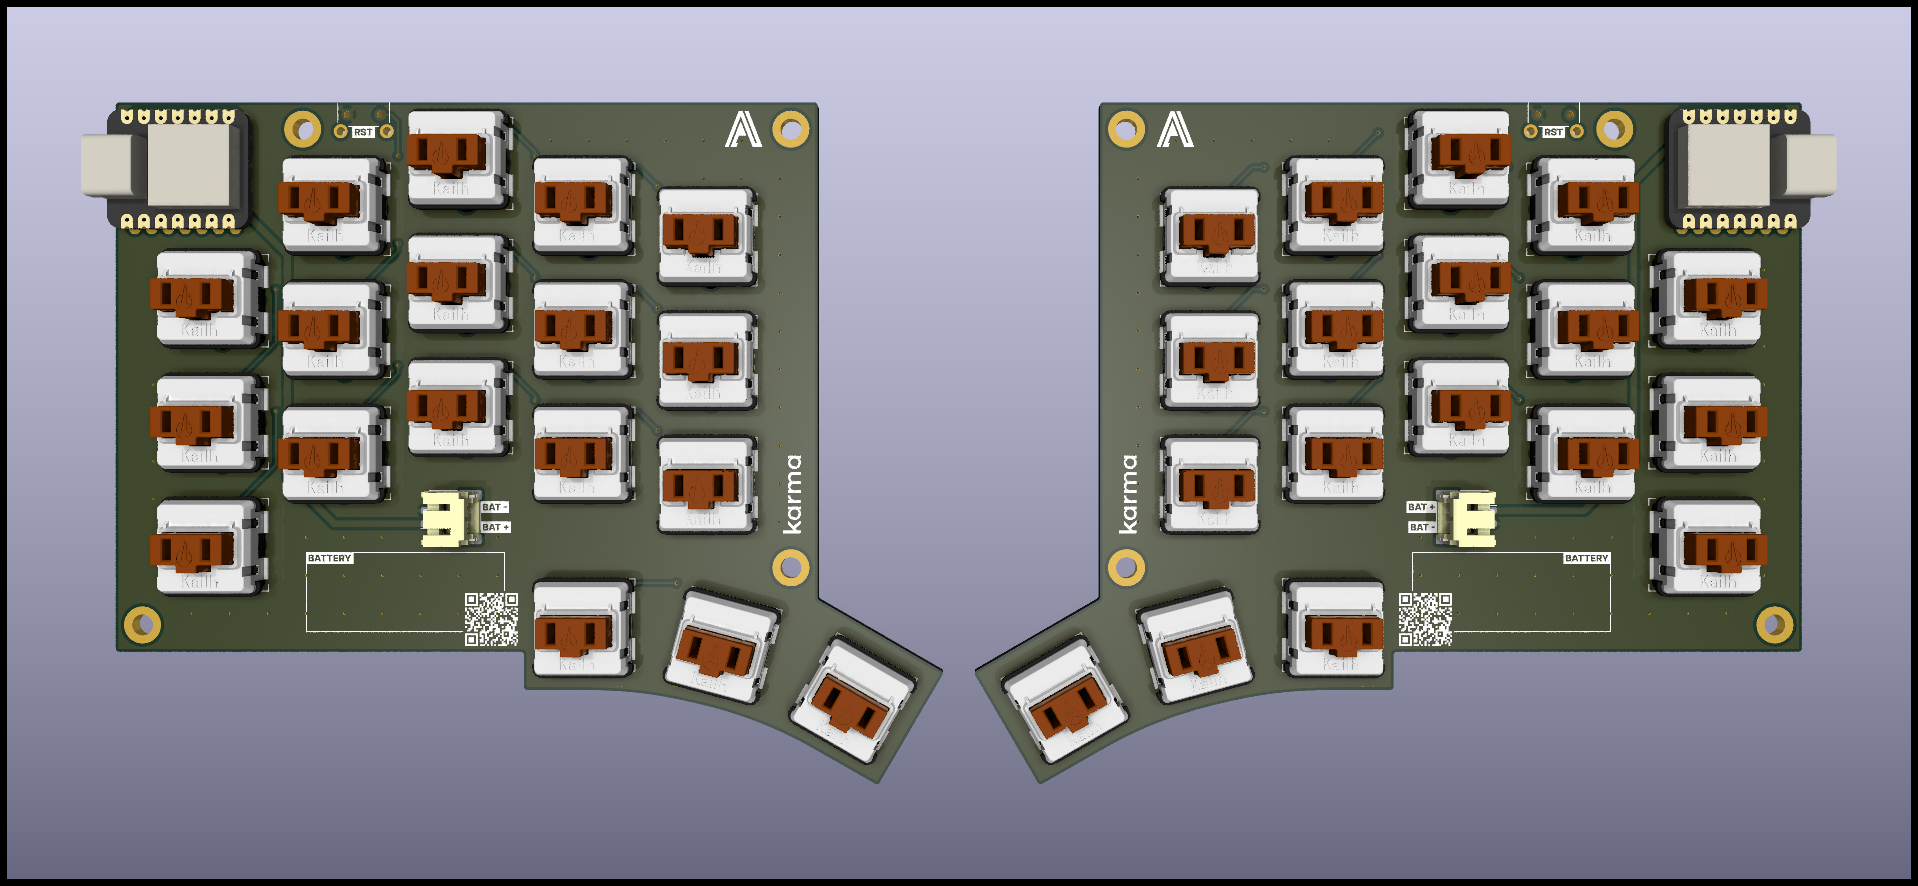
Pcb left is an open-source printed circuit board by achyudh, from the achyudh/karma repository on GitHub, published under the CERN-OHL-S-2.0 licence. It is a 2-layer board of 124.8 × 104.4 mm with 43 parts on 36 nets, routed with 194 tracks and 68 vias.
Its parts include 1 IC and 1 connector. It belongs with the keyboards and input boards and the nRF52 and nRF5x boards of this library.
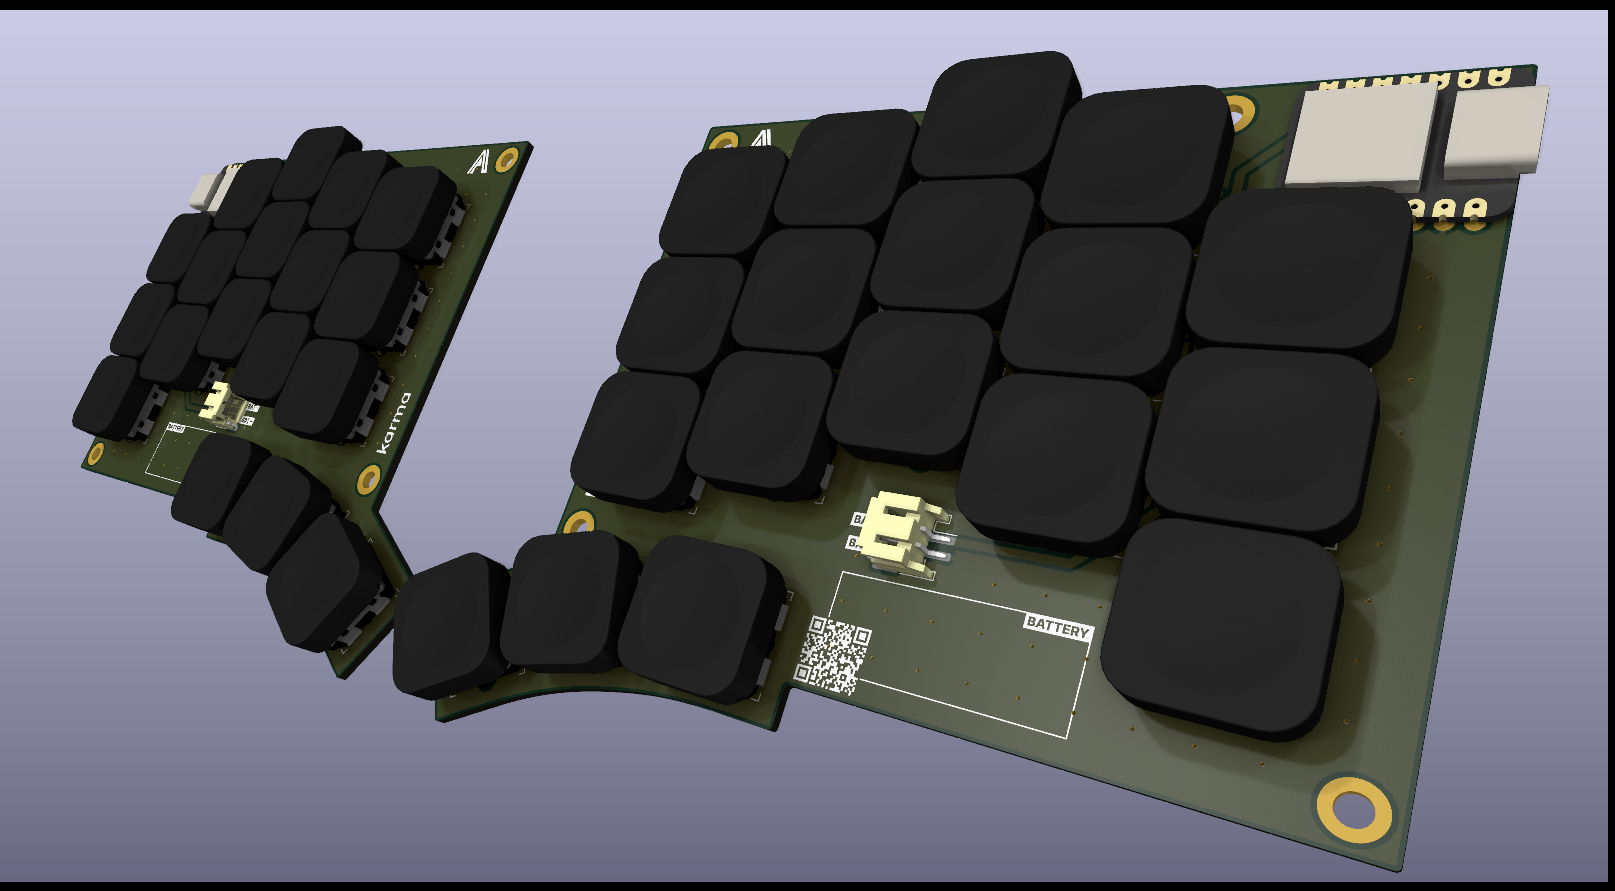
Karma is a 36-key wireless split ergonomic mechanical keyboard inspired by two very popular ergonomic keyboards: Corne and TOTEM.
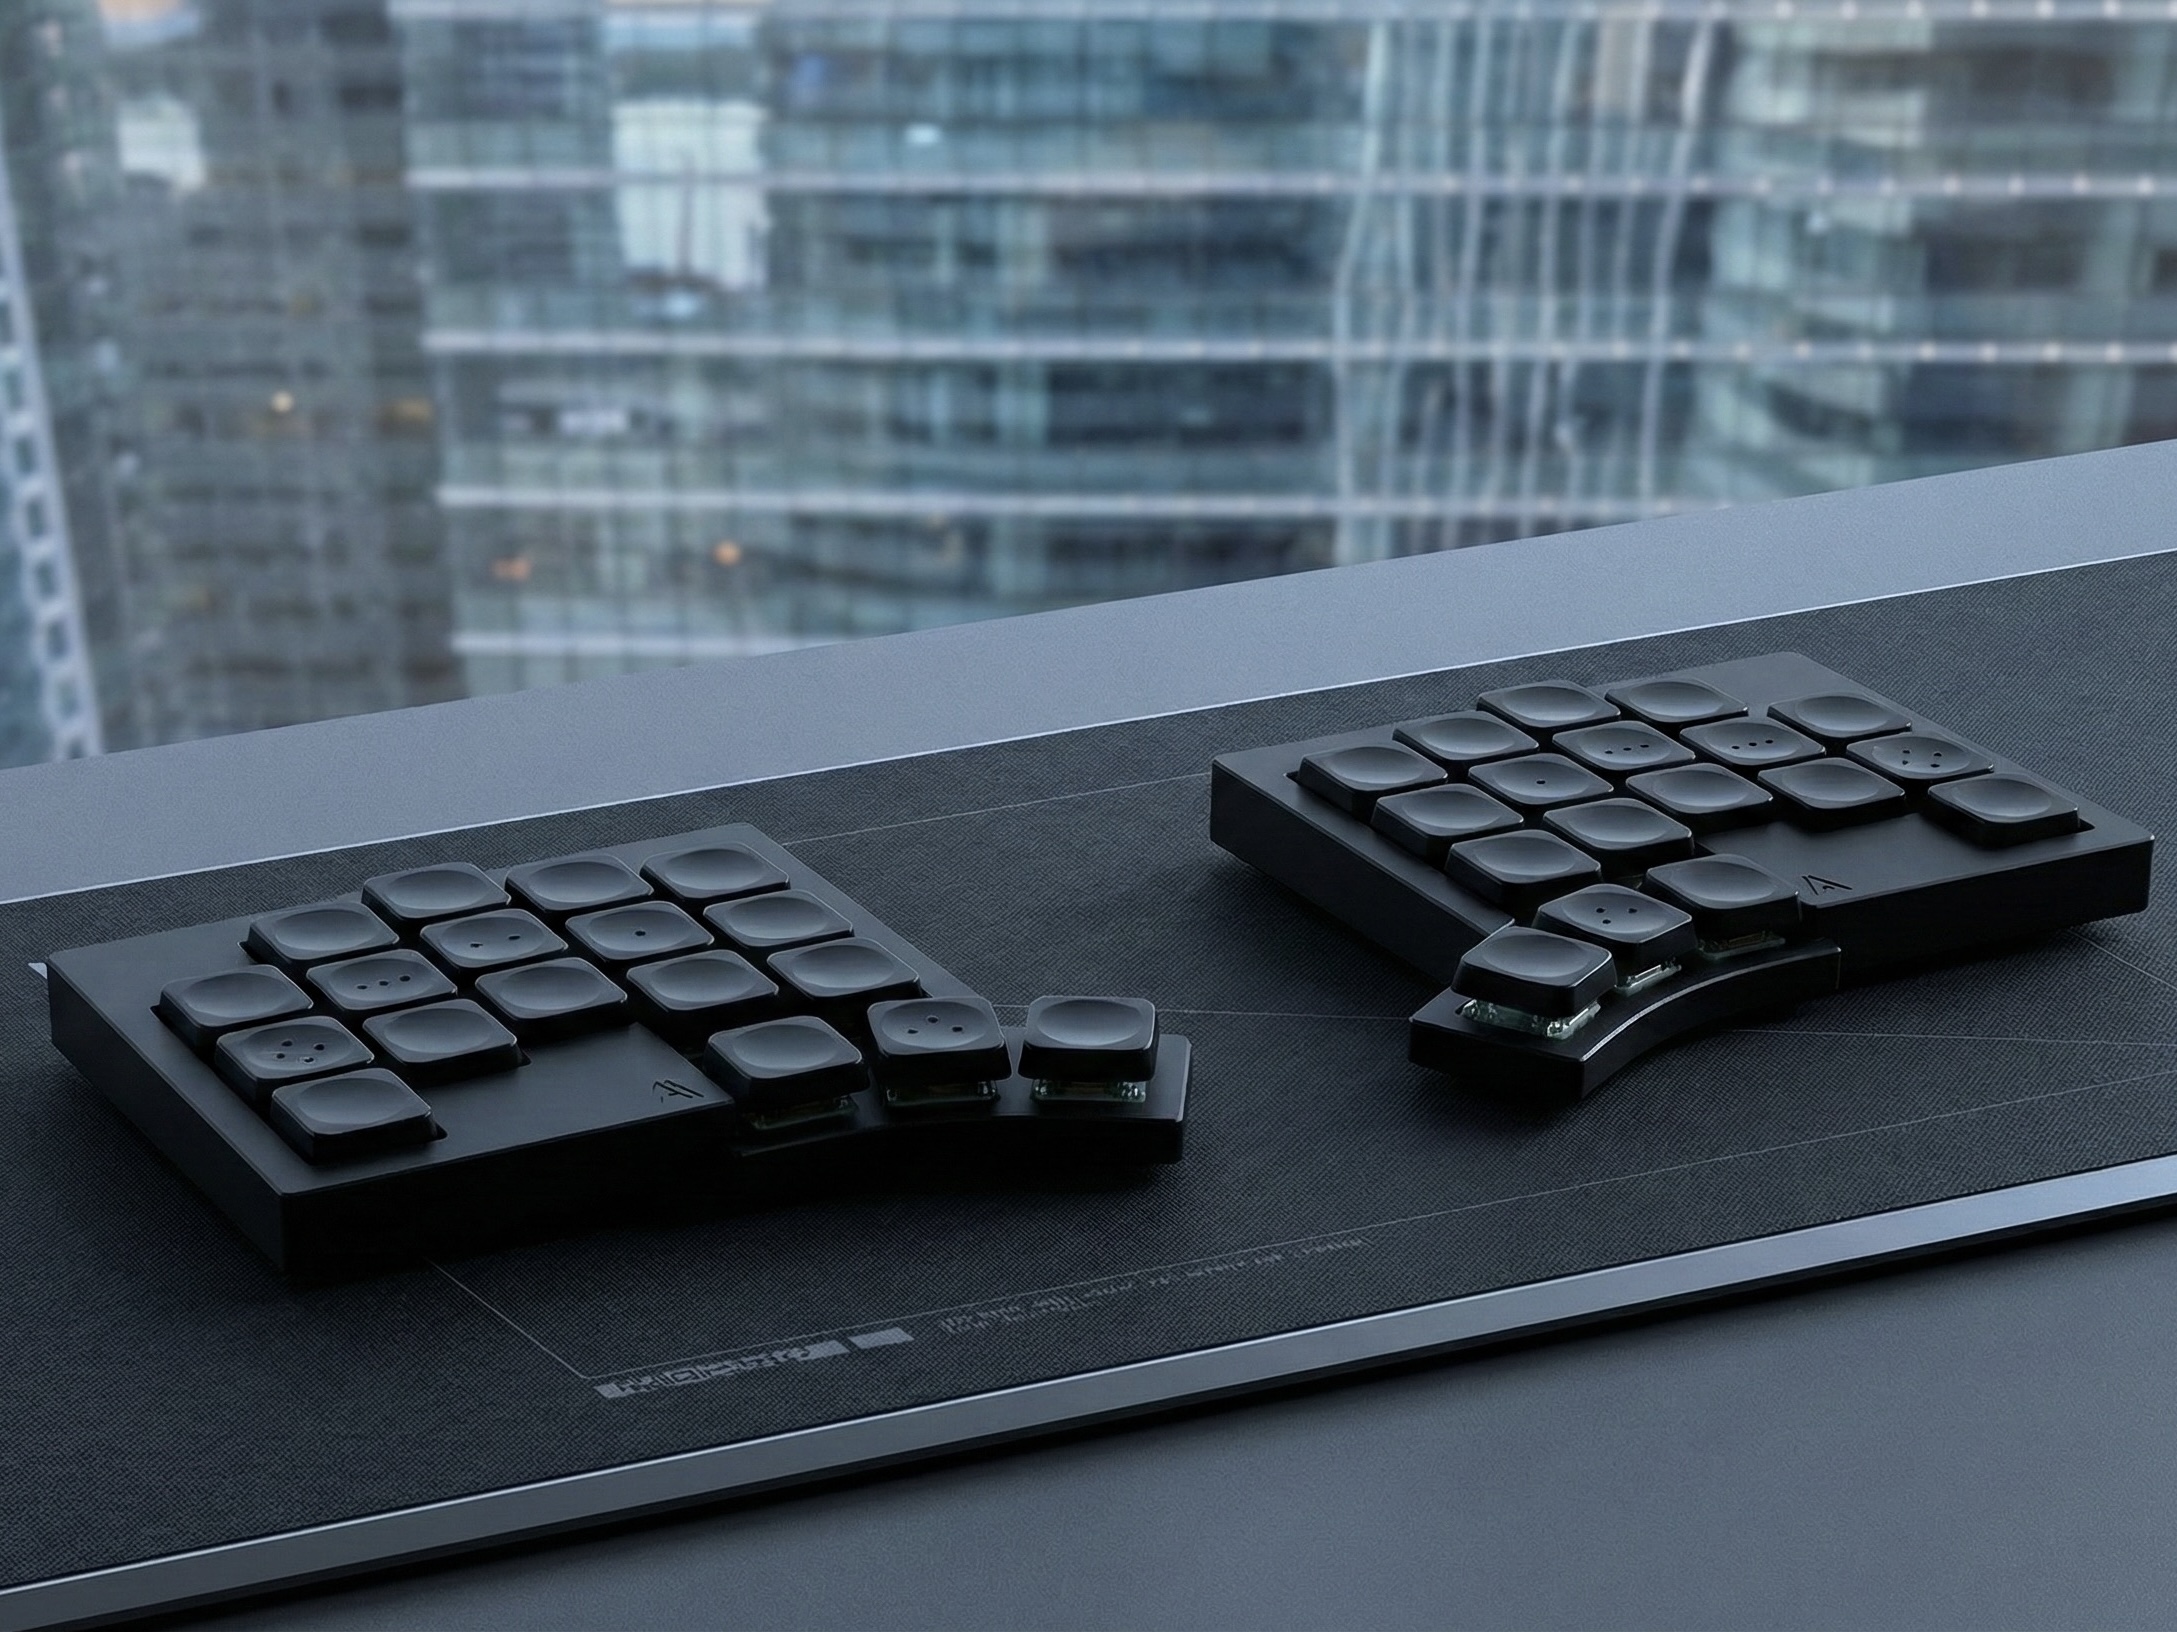
The Karma keyboard supports the ZMK open-source firmware. You can find my ZMK configuration for this keyboard in this repo.
To build the Karma keyboard, you'll need the following components:
| Part Name | Qty | Remarks |
|---|---|---|
| 2x SEEED XIAO BLE microcontrollers | 2 | |
| Kailh Choc V1 low-profile switches | 36 | Low-profile mechanical switches |
| Keycaps compatible with Kailh Choc V1 | 36 | MX-spaced keycaps are preferred for better fit |
| Hotswap sockets for Kailh Choc V1 | 36 | |
| SOD123 diodes | 36 | |
| JST PH 2-pin SMD Header | 2 | |
| 301230 LiPo Batteries | 2 | Only 1 required for partially wired build |
| 3D-printed case | 2 | |
| M2 screws (5mm length) | 8 | |
| M2 heat-set inserts (2mm height) | 8 | |
| Self-adhesive EVA foam (1mm) | - | A slimmer alternative to rubber feet |
1. Order the Components
2. Solder the Diodes
3. Install the Hotswap Sockets
4. Microcontroller Installation
5. Connect the Batteries
6. Mount the Case
7. Install the Keycaps and Switches
8. Add EVA Foam
9. Final steps
Congratulations! You've completed your Karma keyboard build.
This project is open-source and licensed under the CERN Open Hardware Licence Version 2 - Strongly Reciprocal License. See the LICENSE file for details.
| Qty | Value | Footprint | References |
|---|---|---|---|
| 18 | D_Small | karmalib:Diode_SOD123 | DL1, DL2, DL3, DL4, DL5, DL6, DL7, DL10, DL11, DL12, DL13, DL14, DL15, DL16, DL17, DL18 +2 |
| 18 | SW_Push_45deg | karmalib:Kailh_Socket_PG1350_Optional | SWL1, SWL2, SWL3, SWL4, SWL5, SWL6, SWL7, SWL10, SWL11, SWL12, SWL13, SWL14, SWL15, SWL16, SWL17, SWL18 +2 |
| 1 | BAT | Connector_JST:JST_PH_S2B-PH-SM4-TB_1x02-1MP_P2.00mm_Horizontal | J1 |
| 1 | SW_Push | karmalib:SKHLLCA010 | RSW1 |
| 1 | xiao-ble | karmalib:XIAO_nRF52840_SMD_Cutout | U1 |
The 39 most common of 43 parts.
It measures 124.8 × 104.4 mm and has 2 copper layers, 1.6 mm thick.
43 parts. The full list of its parts is on this page, with links to each part's symbol and footprint where PCBKit's library has them.
From the achyudh/karma repository on GitHub, at the commit this page was made from: the board is pcb-left/pcb-left.kicad_pcb and its schematic pcb-left/pcb-left.kicad_sch. PCBKit opens the board in the browser, with nothing to install.
Its repository publishes it under the CERN-OHL-S-2.0 licence: you may reuse it on that licence's terms (keep the author's notice, and for a copyleft licence share your changes alike).
google/mozc-devices
Circuit diagrams and firmware source code for Gboard DIY keyboards

rusefi/rusefi
rusefi - GPL internal combustion engine control unit


jrsteensen/OpenHornet
OpenHornet 1:1 F/A-18C Simulator Repository


tebl/RC6502-Apple-1-Replica
An expandable SBC-version of the Apple 1 computer, easy to get started with and lot of cool stuff that can be added to it!

nodestark/mdb-esp32-cashless
ESP32-based MDB cashless device for vending machines, supporting EVA DTS DEX/DDCMP telemetry and payments over the MDB protocol via Bluetooth and MQTT

zynthian/zynthian-hw
Zynthian hardware stuff: PCBs, schemes, parts specifications, pin assignment, ...