2 layers90 × 64 mm
SkyEar
aberhe-eng/SkyEar
Lightning strikes somewhere on Earth dozens of times every second, and every strike gives off a burst of very-low-frequency (VLF) radio.
52 parts

 SEC-T/badge-20247
The SEC-T 0x10sion Music Synthesizer Badge is a kit that attendees of SEC-T 0x10sion 2024 must solder together. It is an Arduino-compatible music synthesizer kit with: a touch keyboard built-in speaker/amp audio output…
SEC T 0x10sion Badge is an open-source printed circuit board by SEC-T, from the SEC-T/badge-2024 repository on GitHub. It is a 2-layer board of 99.5 × 79.5 mm with 59 parts on 50 nets, routed with 410 tracks and 23 vias.
It is built around the ATMEGA328P-PU, LM386N-1 and WS2812B. Its parts include 13 resistors, 8 capacitors, 8 diodes, 4 switches and 3 connectors. It belongs with the lEDs and displays and audio and music boards and the AVR (ATmega, ATtiny) boards of this library.


The SEC-T 0x10sion Music Synthesizer Badge is a kit that attendees of SEC-T 0x10sion 2024 must solder together. It is an Arduino-compatible music synthesizer kit with:
It is designed to be perfect for total beginners to learn to solder and complete successfully.
The SEC-T Synth Badge comes with a pre-programmed music synthesizer that makes way cool sounds and music and noise. Once soldering is completed, the SEC-T Synth Badge is a really nice, portable, performing musical instrument!
The SEC-T Synth Badge kit is based on the ArduTouch music synthesizer kit by Mitch Altman / Cornfield Electronics, which is fully Open Hardware, with a CC BY-SA 4.0 license.
The SEC-T Synth Badge makes use of a modified ArduTouch library, which is available for programming in more super nice synthesizer features, and for making your own synthesizers. The library comes with examples (with more to come) that serve as a nice tutorial on how to create your own SEC-T Synth Badge synthesizers (which are Arduino sketches).
The SEC-T Synth Badge is really just an Arduino Uno clone with the features listed above, a couple of extra buttons, and a four of pots (for playing music and controlling the sounds). The ArduTouch Arduino Library is where the real magic comes from!
For those who want to learn more, the documentation teaches the basics of Digital Signal Processing for audio generation.
The SEC-T Synth Badge kit is fully Open Hardware, with a CC BY-SA 4.0 license.
Click on the image below to open a PDF file with detailed instructions on how to assemble your SEC-T 0x10sion Music Synthesizer Badge (which also includes a how-to for re-programming your Synth Badge with a new Arduino sketch):
The Synth Badge comes pre-programmed with a synth called Quadrant.
Quadrant is somewhat like a looper. Every time you play a note it goes into the loop. You can control the speed of the loop, and you can also make the sound warp (detune) every time through the loop.
There is the default patch for Quadrant, plus 4 presets -- all 5 of these have very different sounds!
In addition to changing the loop speed and changing the warp-factor, there are many parameters that you can play with, some of which change the sounds in subtle ways, others which change the sounds a lot.
These demo videos give you a very small taste of the various sounds Quadrant can make.
NOTE: The demo videos use the prototype version of the SEC-T 0x10sion Music Synthesizer Badge kit.
There are some differences between the prototype version and the badges at the event. In particular, the two red buttons are reversed (left and right).
Basic Functionality of Quadrant:
See the next section, "Quadrant Synth User Guide", for a complete description of all that the Quadrant Synth can do.
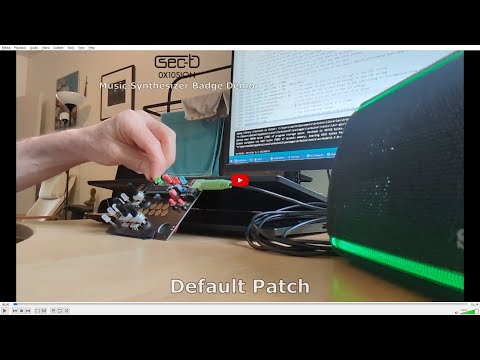
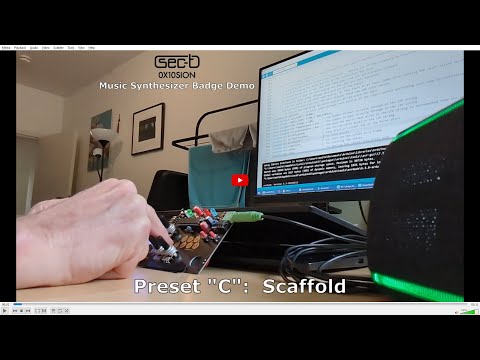
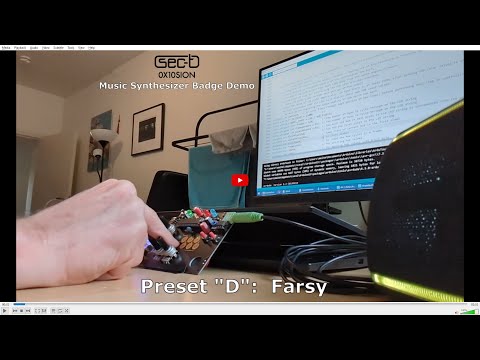
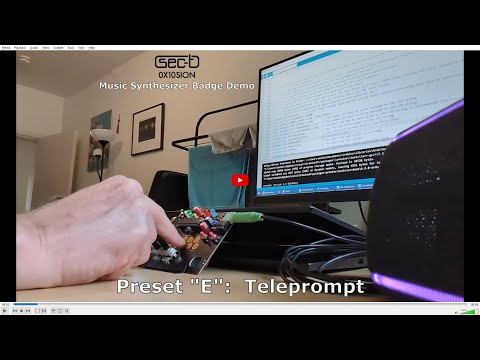
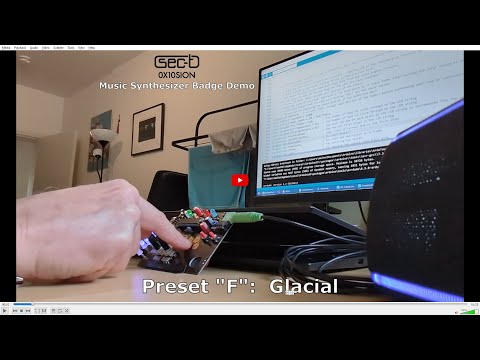
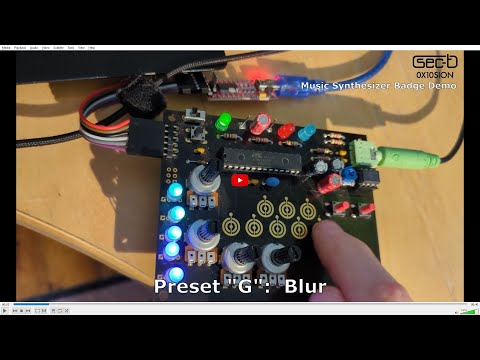
The Synth Badge comes pre-programmed with a synth called Quadrant. Quadrant is a very powerful performing musical instrument.
Click on the image below to learn how to play with it:
The Synth Badge can be re-programmed using the free Arduino software (on Windows, Linux, and MacOS).
The end pages of the Synth Assembly Instructions explain how to do this.
To re-program your Synth Badge you will need to use a USB-Serial TTL adapter.
The Synth Badge comes pre-programmed with the Quadrant synth.
There are 8 other synths that were developed for the open hardware_ArduTouch_ project (which the Synth Badge is based on), all of which will work on the SEC-T Synth Badge. But you should be aware of the following:
All of the documentation for ArduTouch, including the synth sketches, is available on the Cornfield Electronics website:
https://cornfieldelectronics.com/cfe/projects.php#ardutouch
Here is a list of ArduTouch synths that you can program into your Synth Badge:
As noted in the Quadrant Synth User Guide (see the "Quadrant Synth User Guide", above), the User Interface is really annoying.
The following is quoted from the Quadrant Synth User Guide:
You will be annoyed at the User Interface for this synth. Sorry about that. The reason that it is so annoying
is that there are so few Input/Output pins available on the microcontroller. There were only enough I/O pins
for 2 LED indicators, 2 Buttons, and 4 Pots.
I had to come up with a way to control all of the functionality of the Quadrant synth with only the above inputs
and outputs. The result is not ideal. Yet, with some practice, you will find that your Quadrant synth is quite
usable as a really nice performing musical instrument.
FYI: I chose this microcontroller to be the same as the one used in an Arduino Uno: ATmega328. This was so
that the project would be easy to use for beginners, easy to learn for beginners, easy to hack, and also as
inexpensive as possible.
Click on the thumbnail below to to see the PDF file:
| Qty | Value | Footprint | References |
|---|---|---|---|
| 9 | PCB-TOUCHPAD | Library:PCB-TOUCHPAD | TOUCH1, TOUCH2, TOUCH3, TOUCH4, TOUCH5, TOUCH6, TOUCH7, TOUCH8, TOUCH9 |
| 5 | WS2812B | Library:LED_WS2812_5mm_Wide_Pins | LED4, LED5, LED6, LED7, LED8 |
| 4 | @HOLE0, @HOLE1, @HOLE2, @HOLE3 | ||
| 4 | 0.1uF | Library:Cap_Kemet_2.54_MLCC_through-hole | C1, C2, C3, C4 |
| 4 | 10K pot | Library:Potentiometer_TT_P120PK | R10, R11, R12, R13 |
| 3 | 1K | Library:Resistor_THT_0.25W | R2, R3, R4 |
| 2 | 100uF | Library:Cap_Wurth_Electrolytic_100uF | C5, C6 |
| 2 | 1uF | Library:Cap_Rubycon_Electrolytic_1uF | C7, C8 |
| 2 | 270 | Library:Resistor_THT_0.25W | R5, R6 |
| 2 | 4.7K | Library:Resistor_THT_0.25W | R7, R8 |
| 2 | Tact Switch Red | Library:TACTILE_SWITCH_6.3MM | S2, S3 |
| 1 | 10K | Library:Resistor_THT_0.25W | R1 |
| 1 | 10K trim pot | Library:TRIMPOT-Bourns-3306F | R9 |
| 1 | 16.00MHz | Library:CERM_OSC_16MHz | X1 |
| 1 | 1x6 right-angle pin-header | Library:1x06-pin-header_2.54mm_spacing | J1 |
| 1 | ATmega328P-PU | Package_DIP:DIP-28_W7.62mm_Socket | U1 |
| 1 | Battery Holder | Library:BatteryHolder_Eagle_Plastic_Devices_3xAA | B1 |
| 1 | Blue | Library:LED5MM | LED1 |
| 1 | Green | Library:LED5MM | LED3 |
| 1 | ISP | Library:2x3_-pin-header_2.54mm_spacing | J2 |
| 1 | LM386N-1 | Package_DIP:DIP-8_W7.62mm | U2 |
| 1 | LOGO | Library:cornfield-elec-logo_BLK | G*** |
| 1 | LOGO | Library:oshw-logo | G*** |
| 1 | LOGO | Library:CC-BY-SA_logo | G*** |
| 1 | LOGO | Library:sec-t_logo | G*** |
| 1 | LOGO | Library:DesignedWithKiCad_logo | G*** |
| 1 | Red | Library:LED5MM | LED2 |
| 1 | SPEAKER-TERMINALS | Library:SPEAKER-TERMINALS | SPKR1 |
| 1 | SPST | Library:C&K_SPST_OS102011MS2QS1 | S4 |
| 1 | STEREO-AUDIO-3.5MM-SWITCHED | Library:3.5mm_CUI_SJ1-3525NG_Horizontal | J3 |
| 1 | Tact Switch Black | Library:TACTILE_SWITCH_6.3MM | S1 |
aberhe-eng/SkyEar
Lightning strikes somewhere on Earth dozens of times every second, and every strike gives off a burst of very-low-frequency (VLF) radio.

olegantonov/skywave-sdr
Rádio portátil modular de baixo custo: ESP32-S3, OLED, PTT, HF SDR e expansão VHF/UHF. Em desenvolvimento.

digmorepaka/speedy-gauge
atmega328p based gauge for speeduino communication used from https://github.com/sbtoonz/Speeduino-Oled-Display

ghostseven/Draytronics-Daisy-PCB-V1
An open source macro pad with rotary encoders and under glow, designed to be easily built with through hole components.

K-0hm/Chessboard
Code for a chessboard with light and capacitance Touch Sensors.

zmaker/arduino_cookbook
gli sketch del nuovo progetto Arduino Cookbook e dei video di YouTube

coseyfannitutti/discipad
17-key numpad assembled with only through hole components, including usb type-c

matthewcieplak/super-sixteen
Code and schematics for the Super Sixteen Eurorack sequencer
It measures 99.5 × 79.5 mm and has 2 copper layers, 1.55 mm thick.
59 parts, built around the ATMEGA328P-PU, LM386N-1 and WS2812B. The full list of its parts is on this page, with links to each part's symbol and footprint where PCBKit's library has them.
From the SEC-T/badge-2024 repository on GitHub, at the commit this page was made from: the board is KiCad/SEC-T_0x10sion_Badge.kicad_pcb and its schematic KiCad/SEC-T_0x10sion_Badge.kicad_sch. PCBKit opens the board in the browser, with nothing to install.
Its repository states no licence, so its author keeps all rights: ask SEC-T before reusing the design.