
4 layers19.5 × 10.5 mm
UniversalStepDown
RoboticsBrno/RB0005-UniversalStepDown
Universal step-down module
15 parts26CC-BY-SA-4.0

 RoboticsBrno/RB0004-NeopixelBooster9
Booster for Neopixel LED strips
NeopixelBooster is an open-source printed circuit board by RoboticsBrno, from the RoboticsBrno/RB0004-NeopixelBooster repository on GitHub, published under the CC-BY-SA-4.0 licence. It is a 4-layer board of 26 × 10 mm with 25 parts on 10 nets, routed with 22 tracks and 121 vias.
It is built around the SY8105ADC. Its parts include 10 capacitors, 6 connectors, 4 resistors, 1 IC and 1 diode. It belongs with the lEDs and displays boards of this library.
Probably all of us makers love WS2812B - the addressable LEDs, which are often called "Neopixel" based on the brand created by Adafruit. They are so much fun to play with! Especially when you can buy them in strips for less than 18 USD/5 meters!
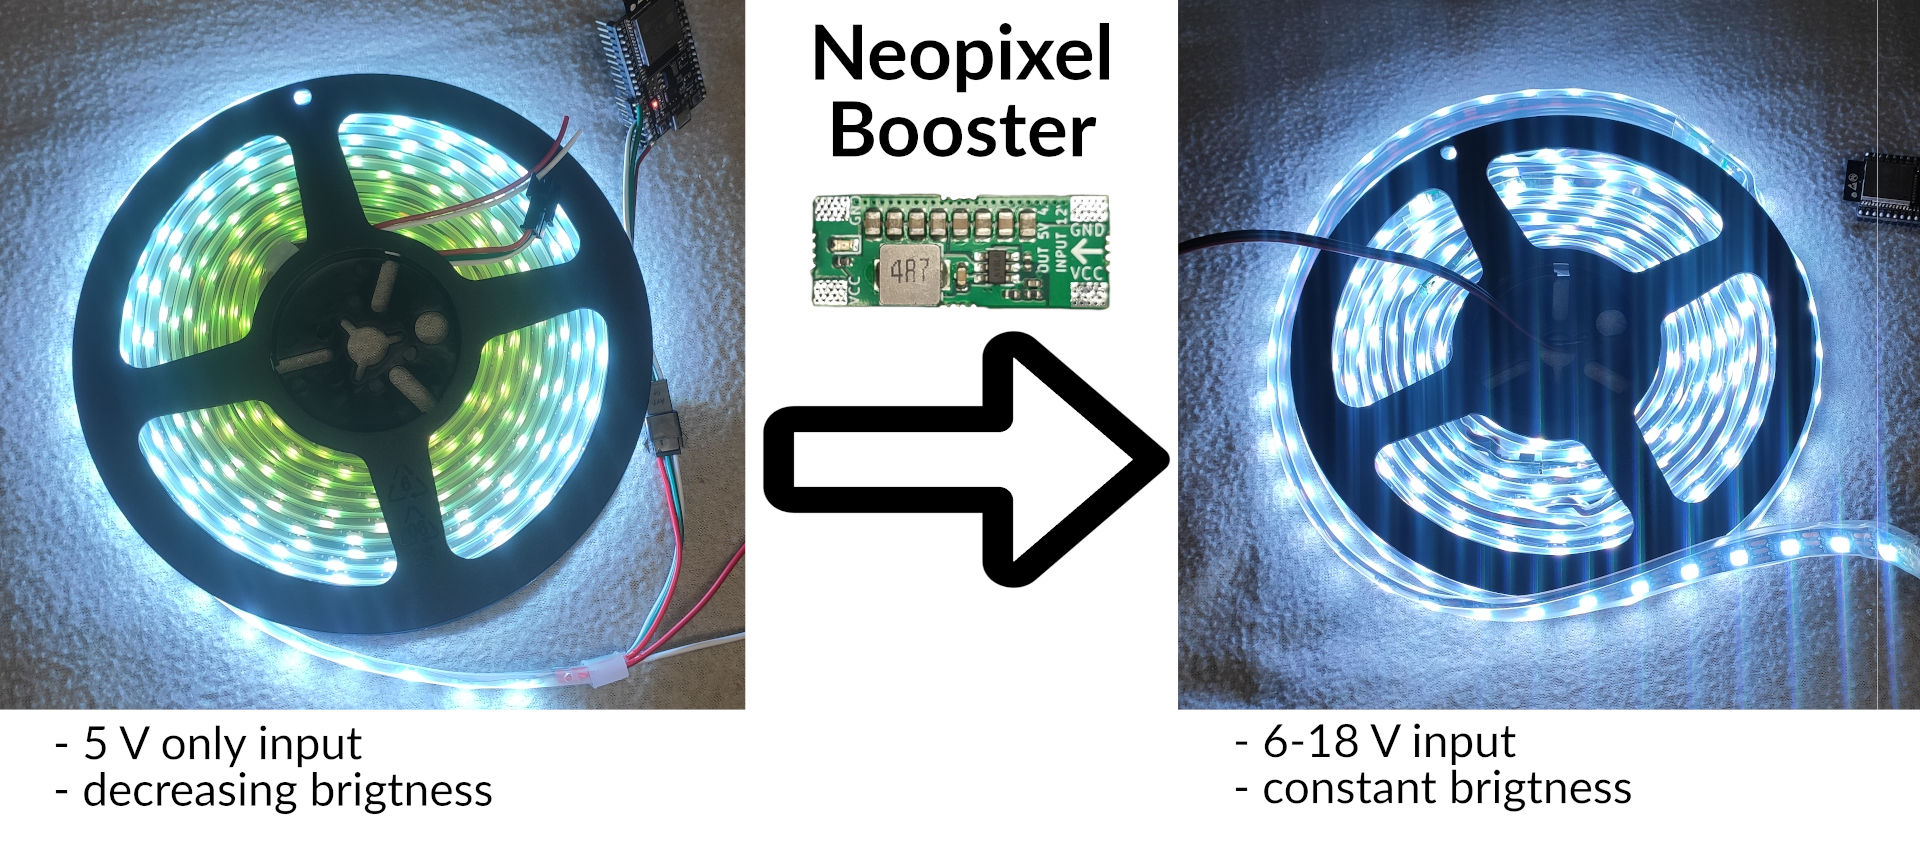
These LEDs are, however, power-hungry, and the strips are not the best design. Therefore you often struggle to power them - you need a 5V power supply with a large current rating. And these aren't easy to get. And if you get one, the strips behave weirdly - the end of the strip has more reddish colors compared to it's beginning.
This is where RB0004 - Neopixel Booster comes in: it solves all the problems above.
View this project on CADLAB.io.
If you are interested in much in-depth explanation of the problem with some measurements, see the page about strips properties.
Each of the LEDs consumes around 60-70 mA in the full brightness (based on the temperature and batch you have). Therefore, if you have 300 LEDs in a strip, they will consume 18-21 A! That's a lot of current. When you push current through a wire, there is a voltage drop according to Ohm's law. The copper wire on the strips is relatively thin and narrow. Therefore, there will be a significant voltage drop. It is quite common that you supply your strip with 5 V, but you will measure only 2.5 V at the end of the strip. That means your LEDs can't shine the full brightness.
But why they turn red? There is a red, green, and blue LED in the chip. Each of the LED colors has a different forward voltage drop - the blue one has the larges one, and it is usually around 3 V. That means if the LED is supplied with less than 3V, it cannot light up the blue channel and thus, it is missing from the final color.
You could solve that by just bonding a thick wire to the back of the strip. However, a suitable wire for 21 A will be pretty thick (around 3.5 mm²). Therefore, it is better to power the whole strip with higher voltage, thus lower the current flowing in the wires and only lower the voltage locally for a few LEDs. And that's what exactly Neopixel Booster does.
You run an extra wire around your LED strip and connect multiple Neopixel Boosters in the strip to power it by segments:

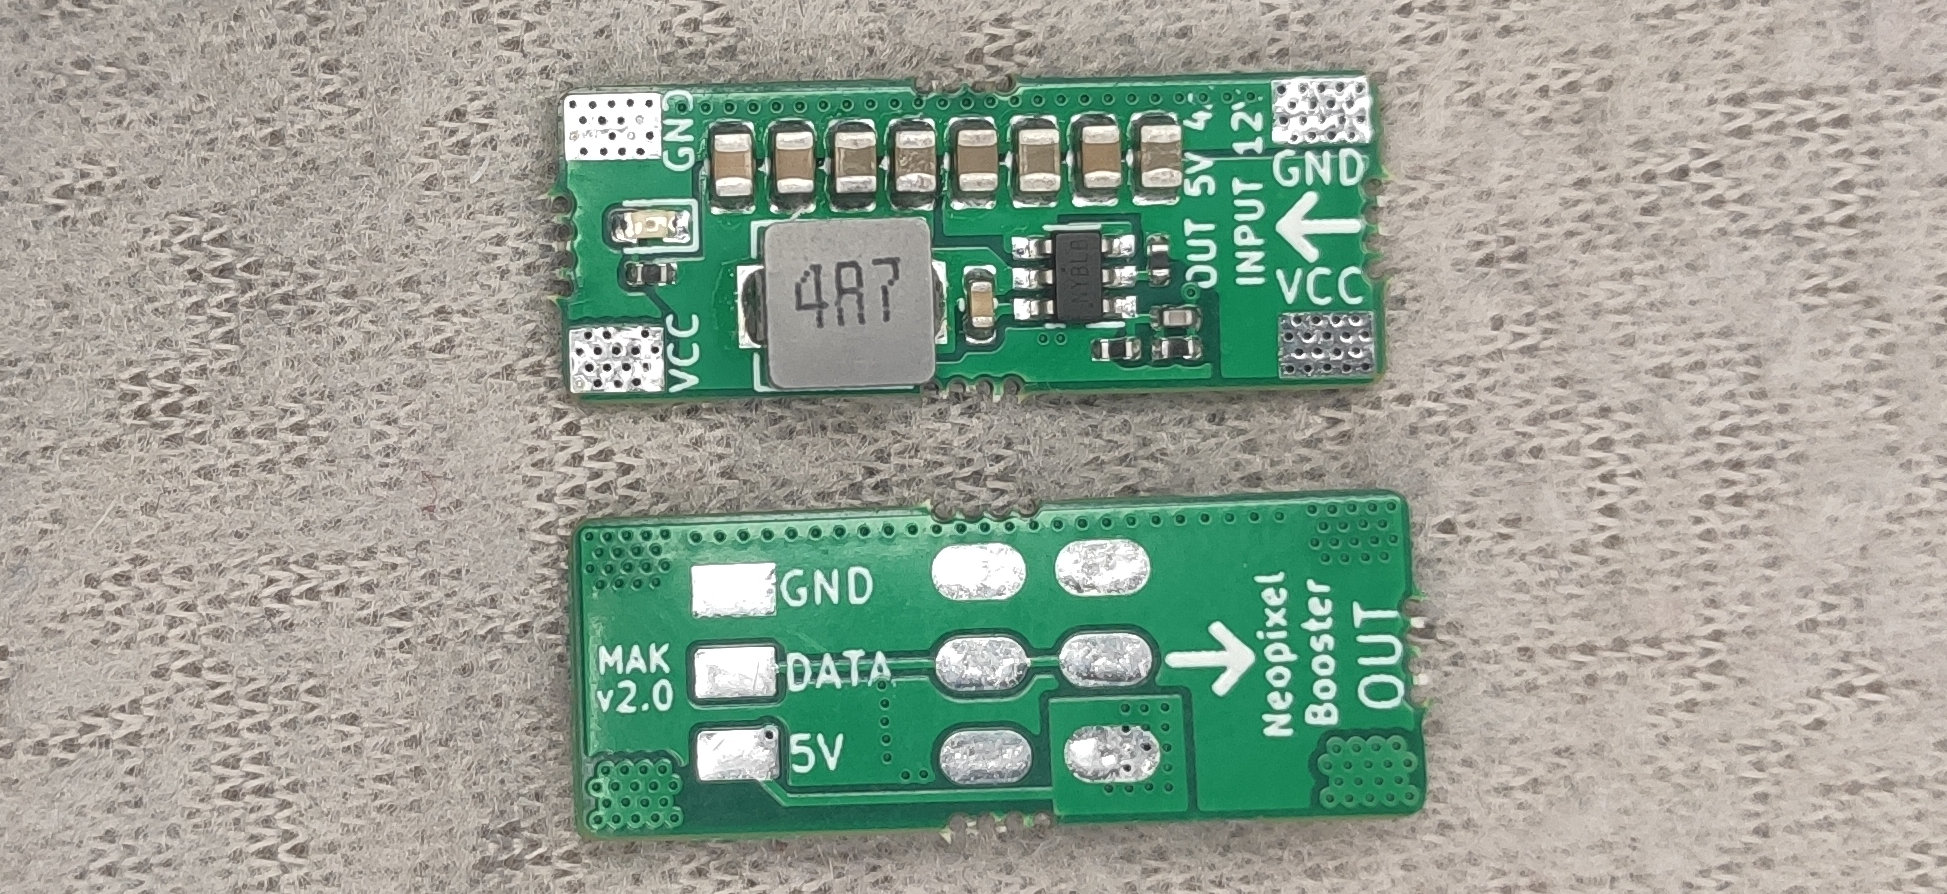

Once you buy a kit from us, follow the assembly guide , and within an hour, you can have your boosted strips.
We recommend not to exceed 60 LEDs per one Neopixel Booster. It is best for convenient assembly to put one Neopixel Booster for each 50 cm of the strip, but if you want to go cheap, it is OK to apply it every meter.
RB0004 –
NeopixexlBooster by
Jan Mrázek and Martin Kousal is licensed under CC
BY-NC-SA 4.0
 .
| Qty | Value | Footprint | References |
|---|---|---|---|
| 7 | 22u | Capacitor_SMD:C_0805_2012Metric | C4, C5, C6, C7, C8, C9, C10 |
| 2 | 27k | Resistor_SMD:R_0402_1005Metric | R2, R3 |
| 2 | G*** | neopixelBooster:right-arrow | svg2mod, svg2mod |
| 2 | GND | neopixelBooster:InputPads | J3, J4 |
| 2 | NeopixelStripPads | neopixelBooster:LedStripPads | P1, P2 |
| 1 | +12 | neopixelBooster:InputPads | J2 |
| 1 | 100n | Capacitor_SMD:C_0603_1608Metric | C2 |
| 1 | 10u | Capacitor_SMD:C_0805_2012Metric | C1 |
| 1 | 200k | Resistor_SMD:R_0402_1005Metric | R1 |
| 1 | 47k | Resistor_SMD:R_0402_1005Metric | R4 |
| 1 | 47p | Capacitor_SMD:C_0402_1005Metric | C3 |
| 1 | 4u7 | neopixelBooster:MWSA0503S | L1 |
| 1 | ESP_INPUT | neopixelBooster:3PinConnector | J5 |
| 1 | LED | LED_SMD:LED_0603_1608Metric | D1 |
| 1 | SY8105 | Package_TO_SOT_SMD:TSOT-23-6 | U1 |
RoboticsBrno/RB0005-UniversalStepDown
Universal step-down module


aminjahanpour/flight_computer_pcb
This repo contains KiCad files for an open source flight computer PCB.

menloresearch/asimov-1
v1 of Asimov, an open-source humanoid robot

opentac/opentac
OpenTac: open tools to design, fabricate, read and simulate flex-PCB tactile skins that sense normal and shear force, for any robot surface.

ManiacalLabs/AllPixel
Firmware and Board Designs for the AllPixel LED Controller Board: Please direct questions and support requests to https://forum.maniacallabs.com/c/hardware - The Issues list here should be reserved for actual bugs.


It measures 26 × 10 mm and has 4 copper layers, 1.6 mm thick.
25 parts, built around the SY8105ADC. The full list of its parts is on this page, with links to each part's symbol and footprint where PCBKit's library has them.
From the RoboticsBrno/RB0004-NeopixelBooster repository on GitHub, at the commit this page was made from: the board is neopixelBooster/neopixelBooster.kicad_pcb and its schematic neopixelBooster/neopixelBooster.kicad_sch. PCBKit opens the board in the browser, with nothing to install.
Its repository publishes it under the CC-BY-SA-4.0 licence: you may reuse it on that licence's terms (keep the author's notice, and for a copyleft licence share your changes alike).