
2 layers20.5 × 24.8 mm

 Pimentoso/mini4wdchrono30
Software for Arduino based 3-lane lap timer for Tamiya Mini4wd.
Pro micro shield is an open-source printed circuit board by Pimentoso, from the Pimentoso/mini4wdchrono repository on GitHub, published under the MIT licence. It is a 2-layer board of 34.5 × 45.8 mm with 8 parts on 22 nets, routed with 38 tracks and 0 vias.
Its parts include 3 connectors, 1 resistor and 1 IC. It belongs with the AVR (ATmega, ATtiny) boards of this library.

Mini4wdChrono is a free, open-source desktop application for timing and managing Mini 4WD races on three-lane Japan Cup tracks. It combines Arduino-based lap detection with an interface designed for race organizers and large-screen displays.
The hardware is designed to be affordable and straightforward to assemble while maintaining accurate timing. An Arduino running Firmata connects the sensors and optional start button, LED strip, and buzzer to the application.
See the project wiki for complete assembly and setup instructions:
Download a packaged build for your operating system from the GitHub Releases page. Available platforms may vary by release.
For more detail, see the software quick-start guide and tournament rules.
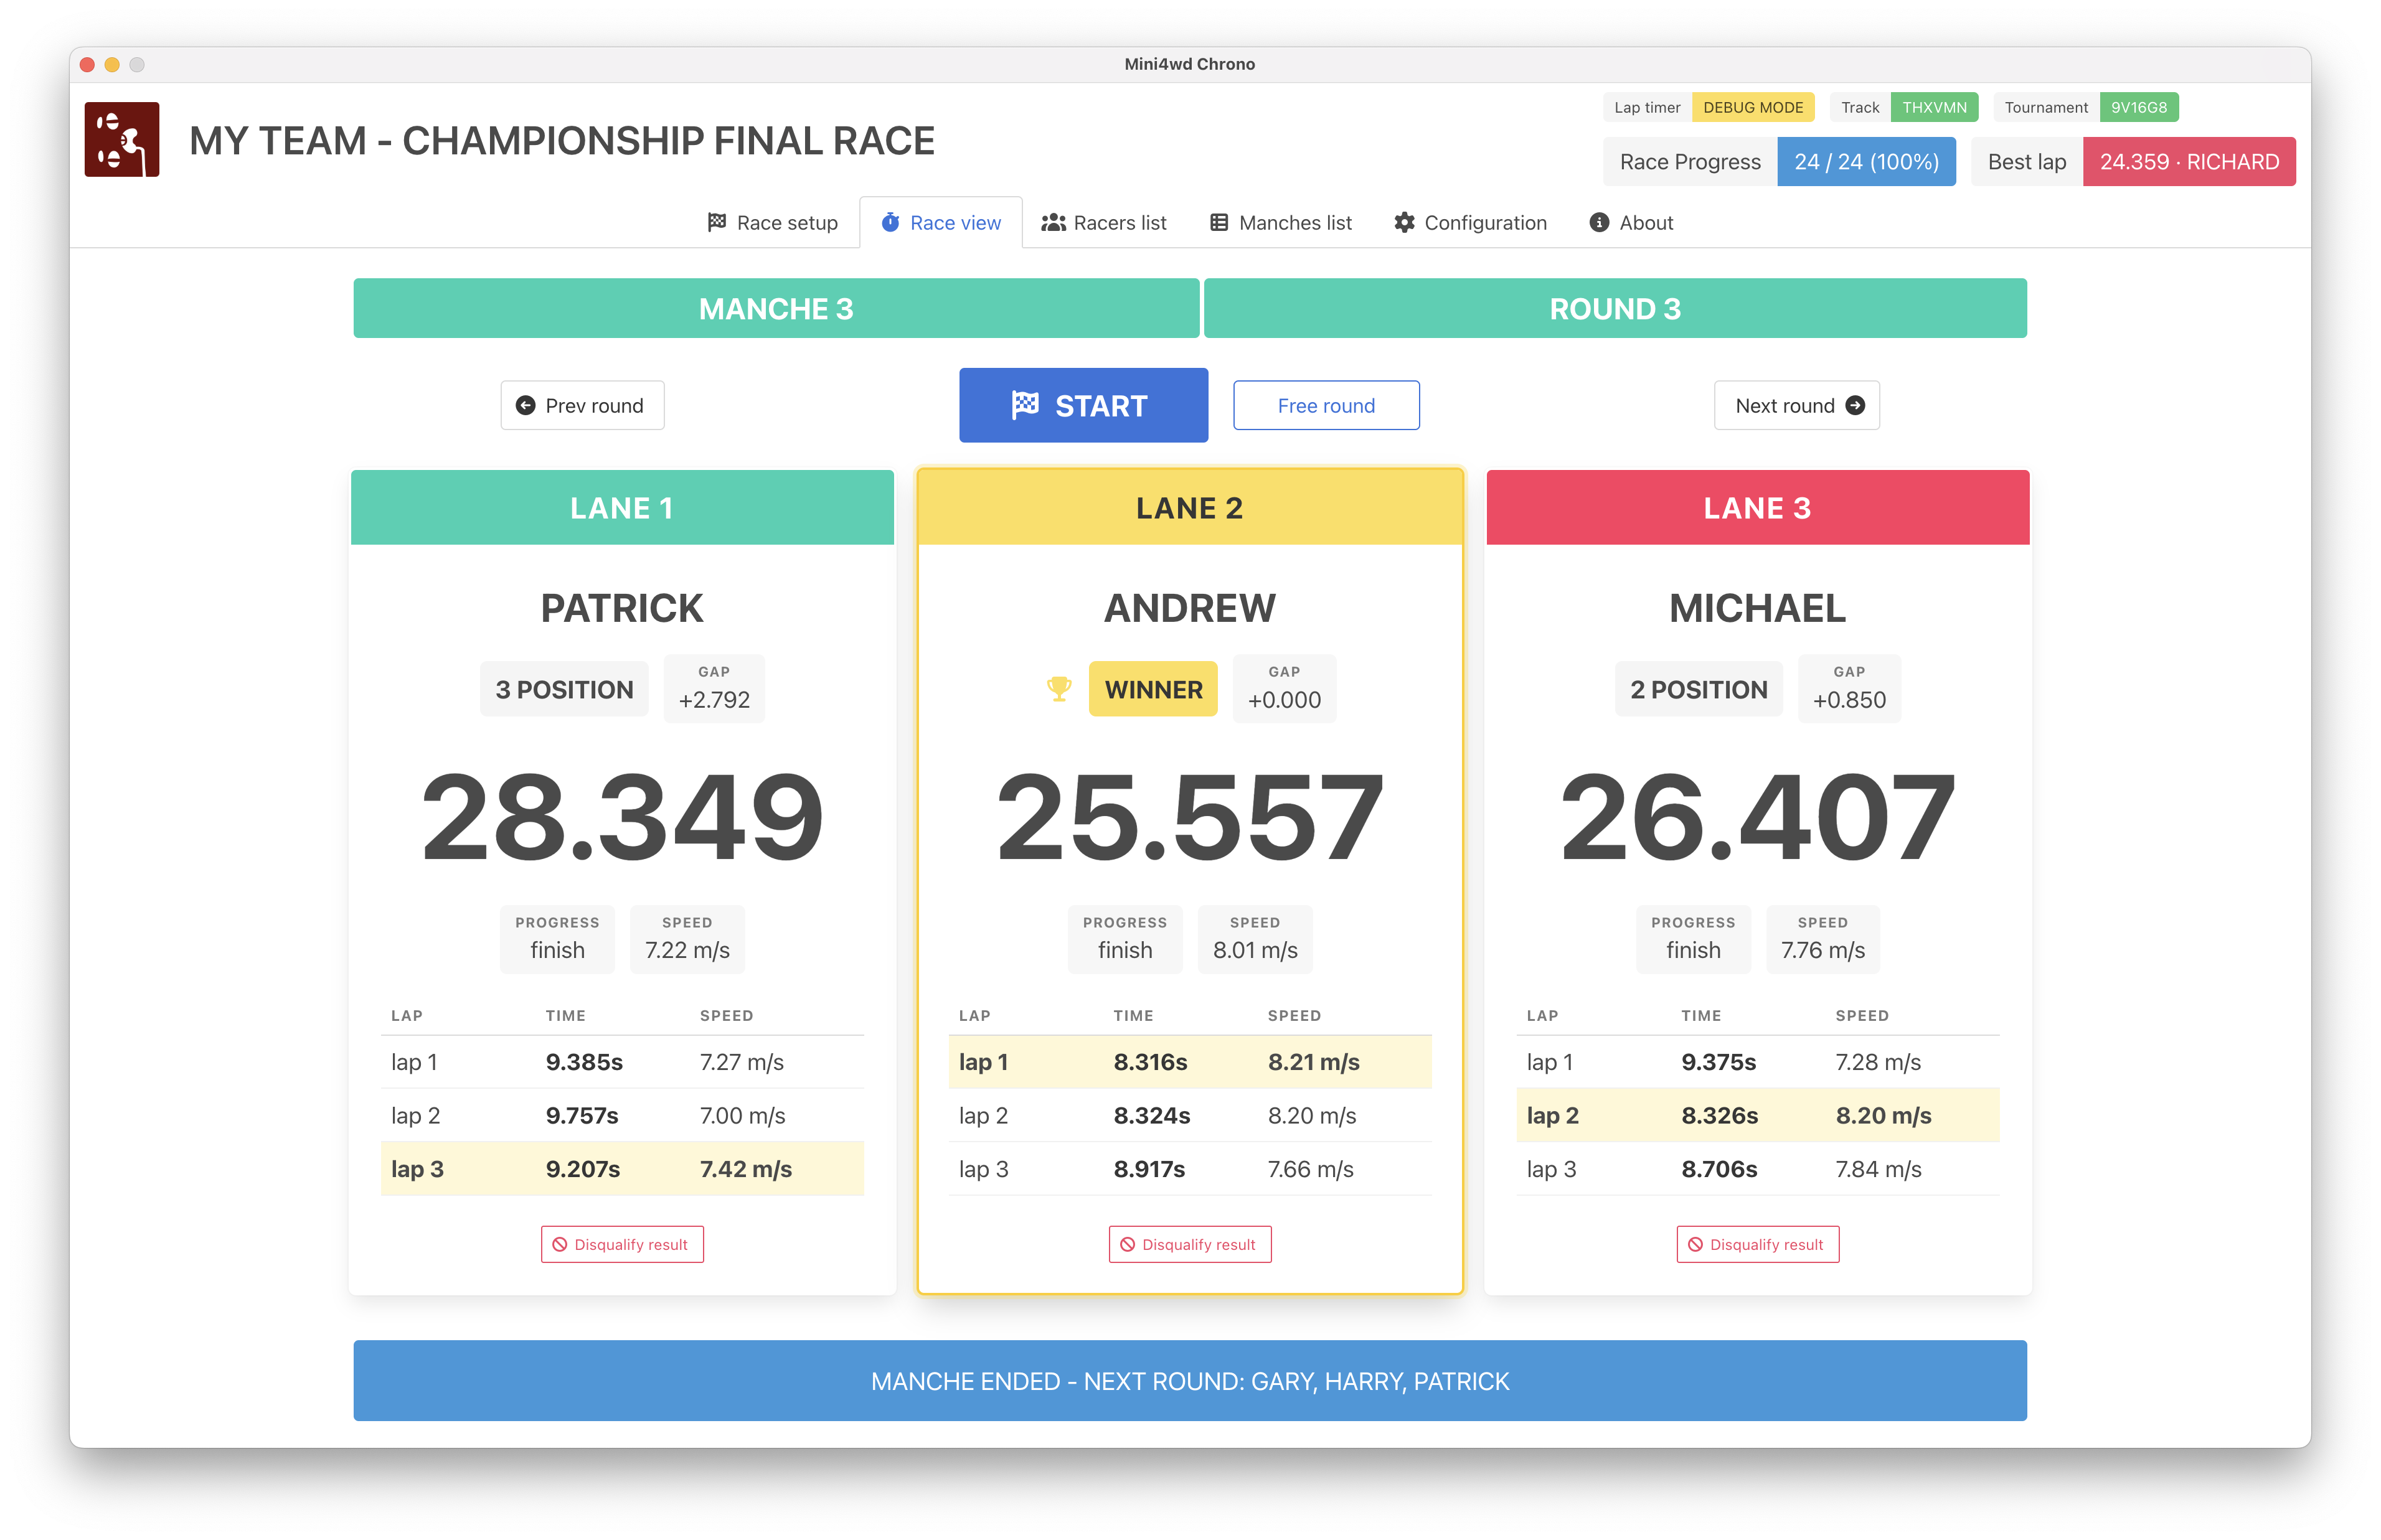
Position, gap to the leader, average speed, and split times.
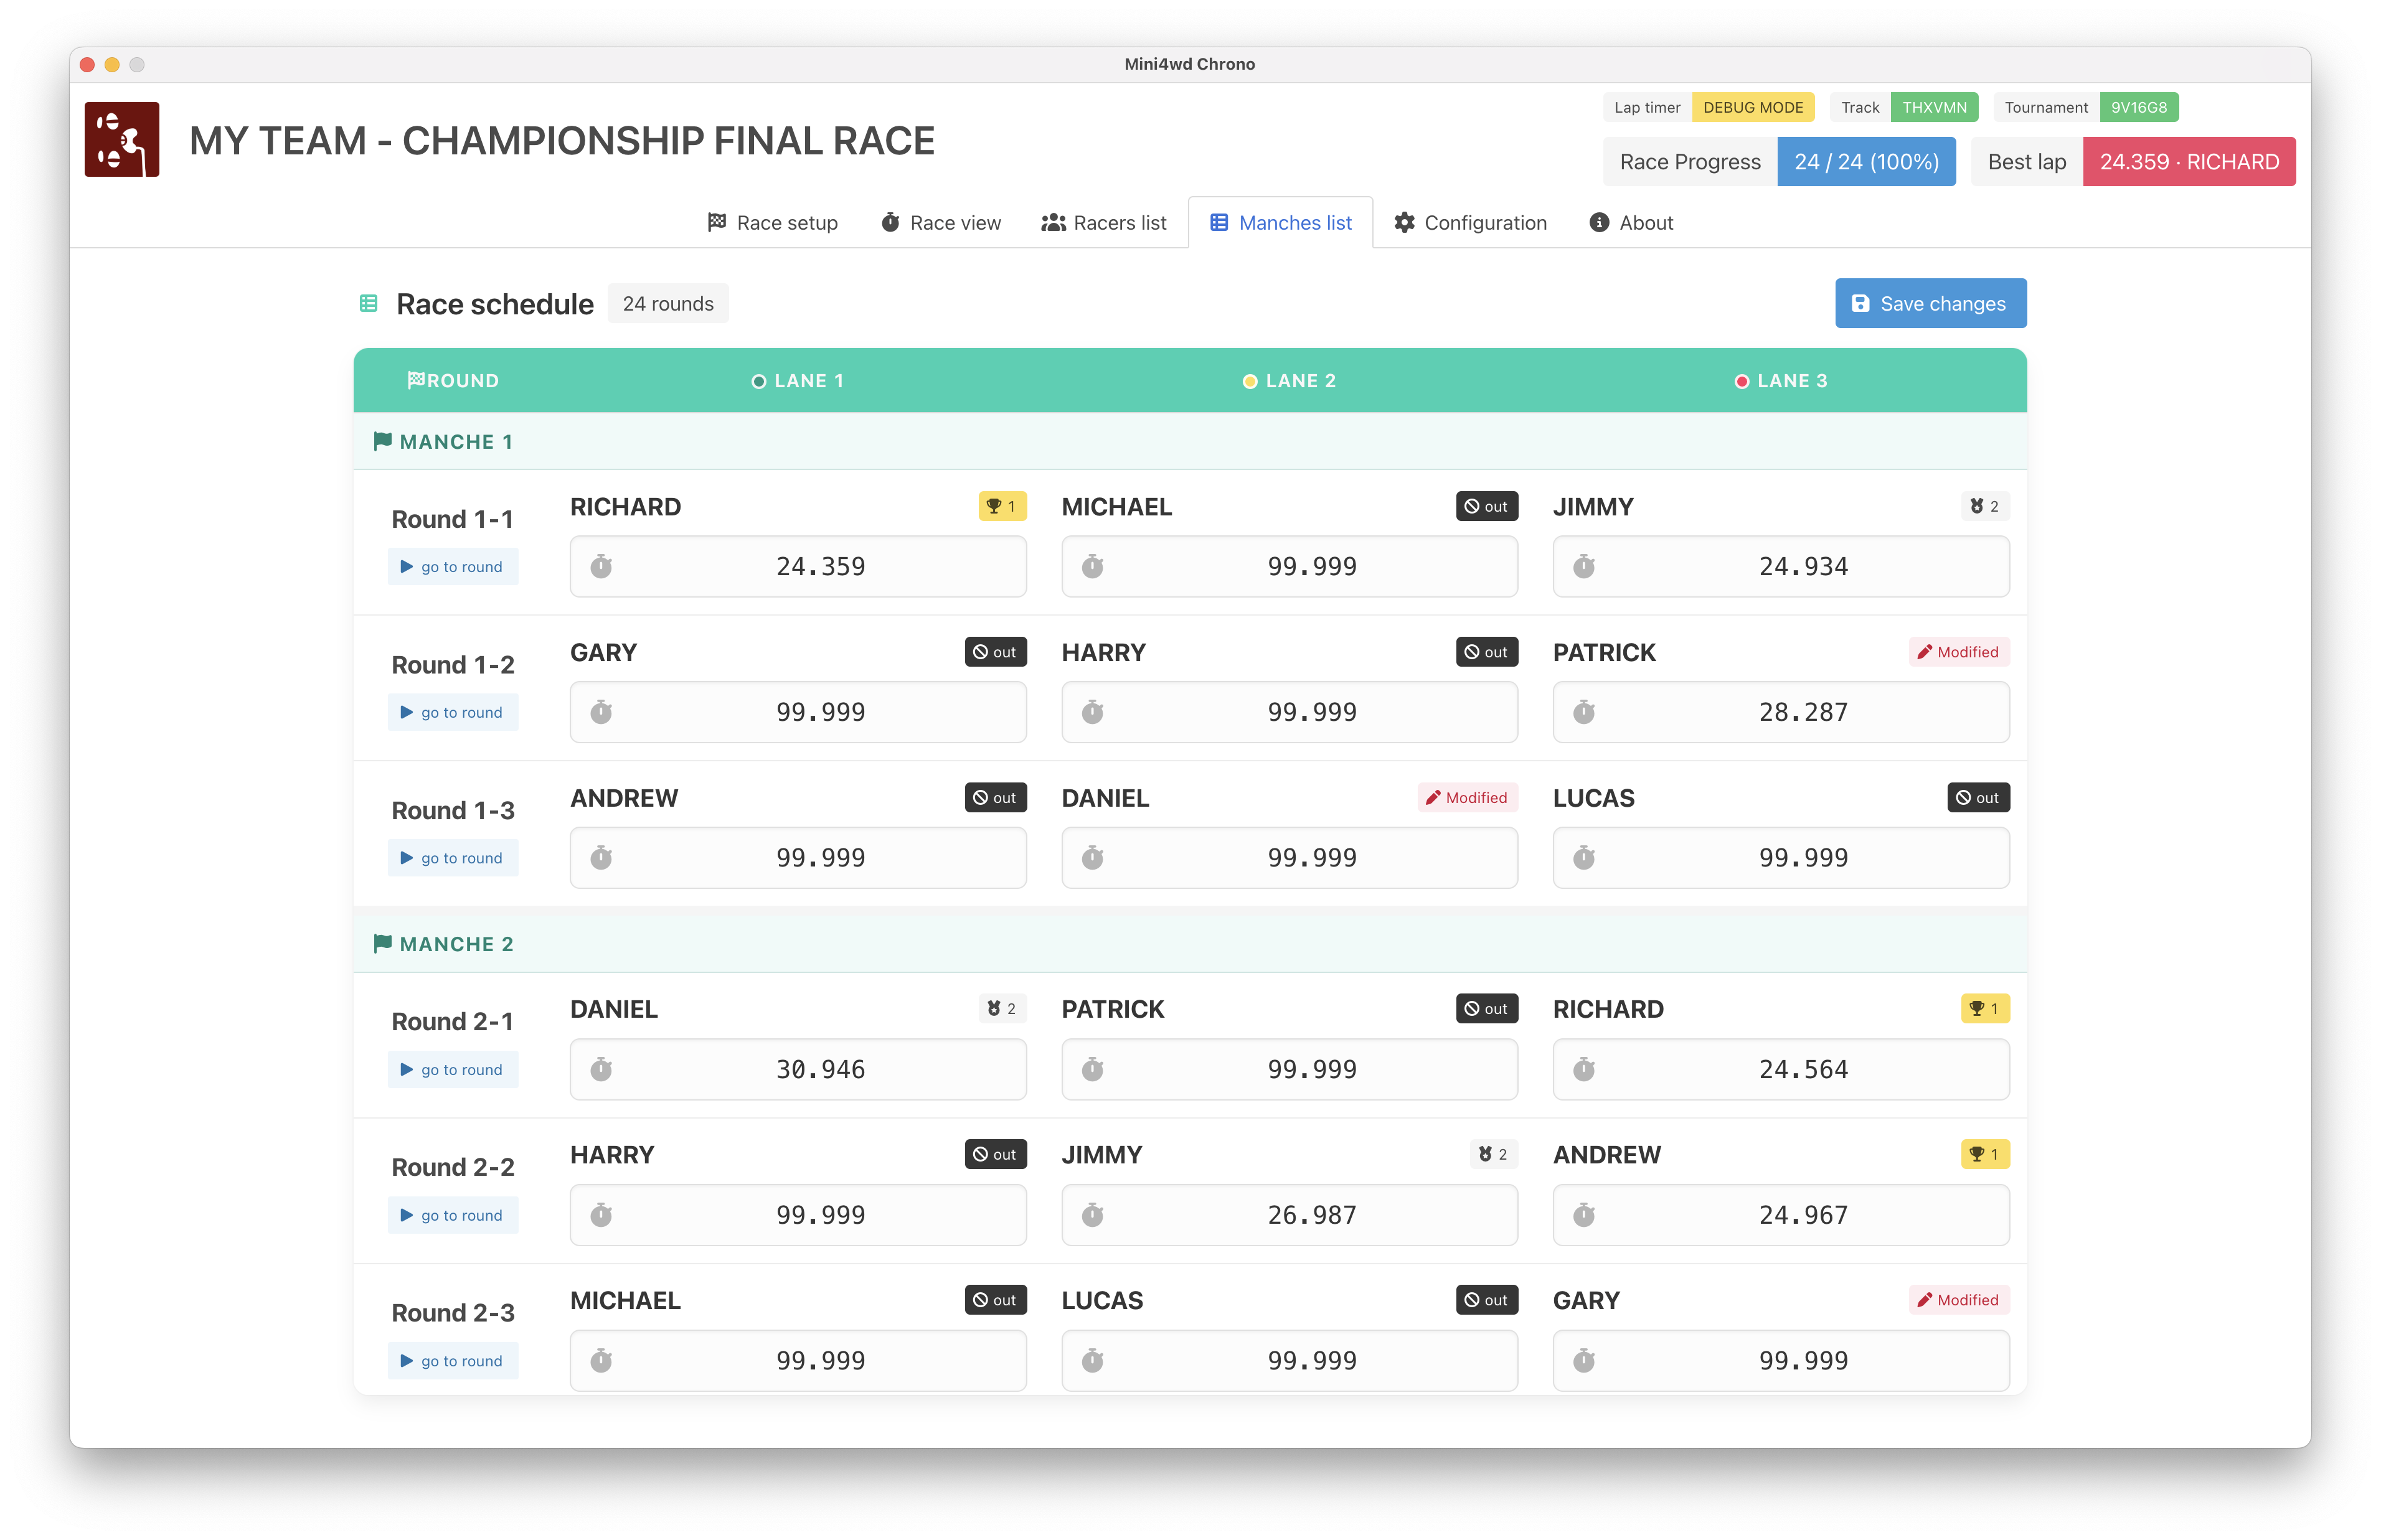
Player rankings with each racer's best time highlighted.
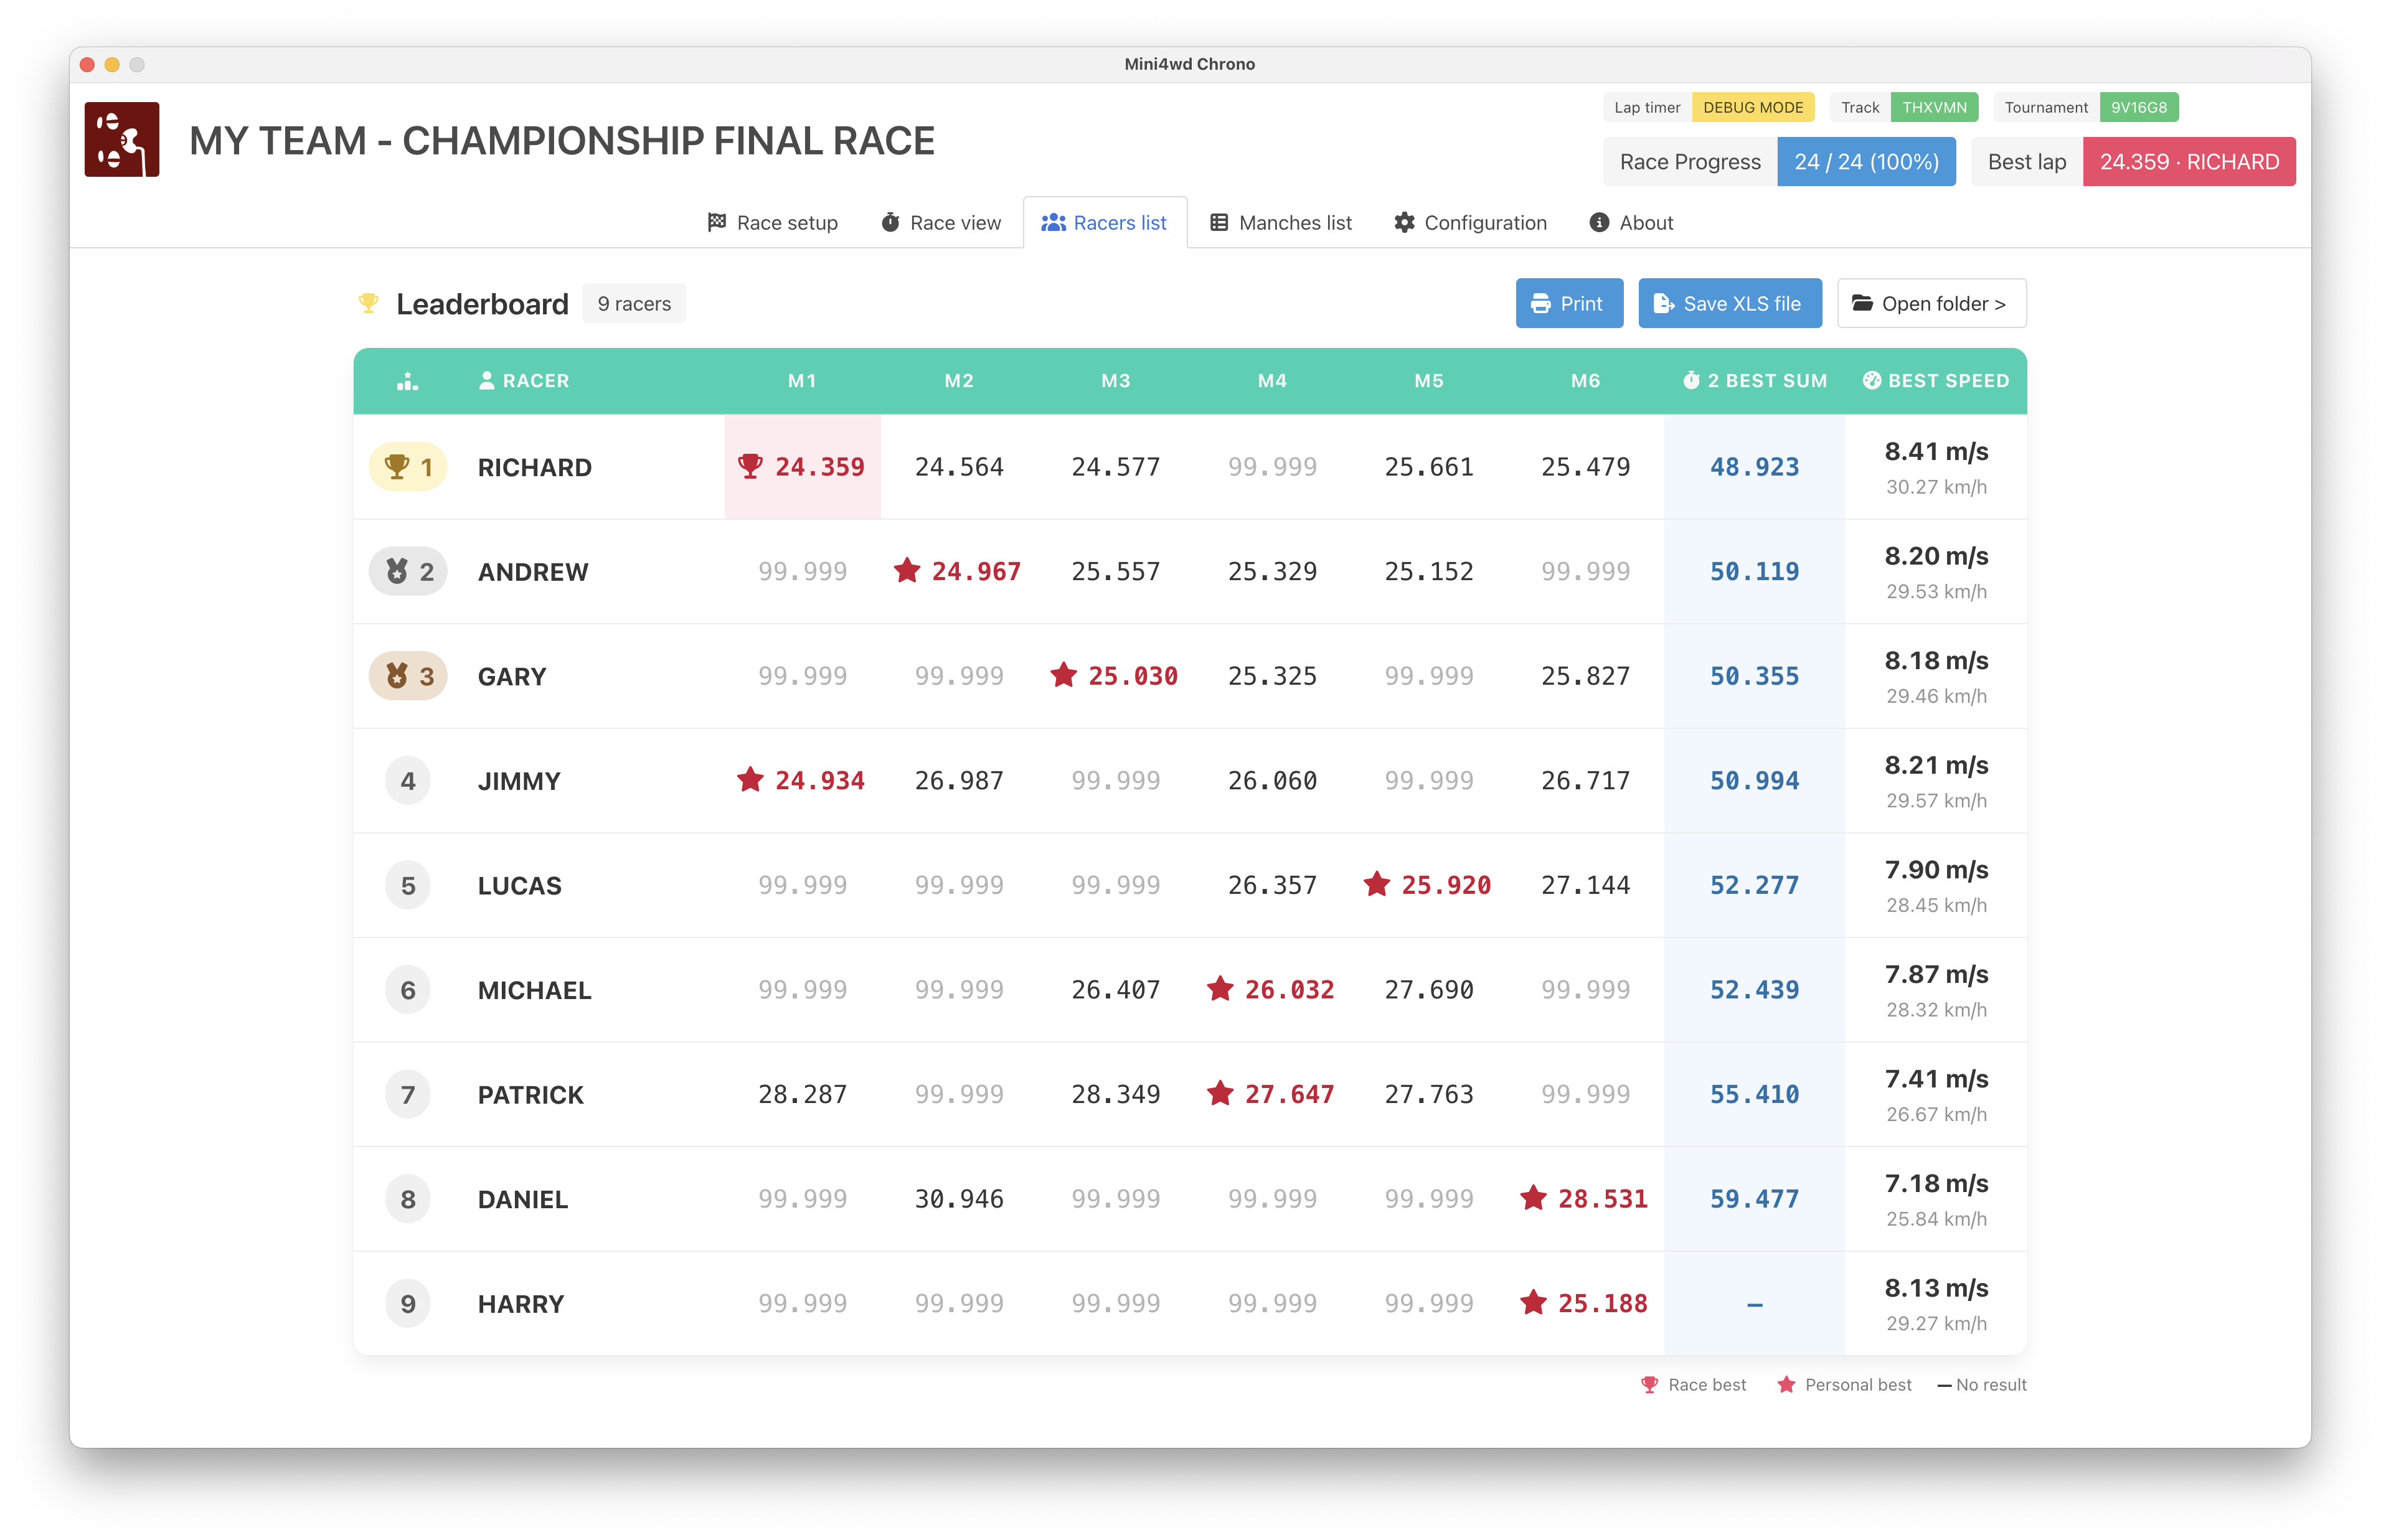
An overview of every round with editable results.
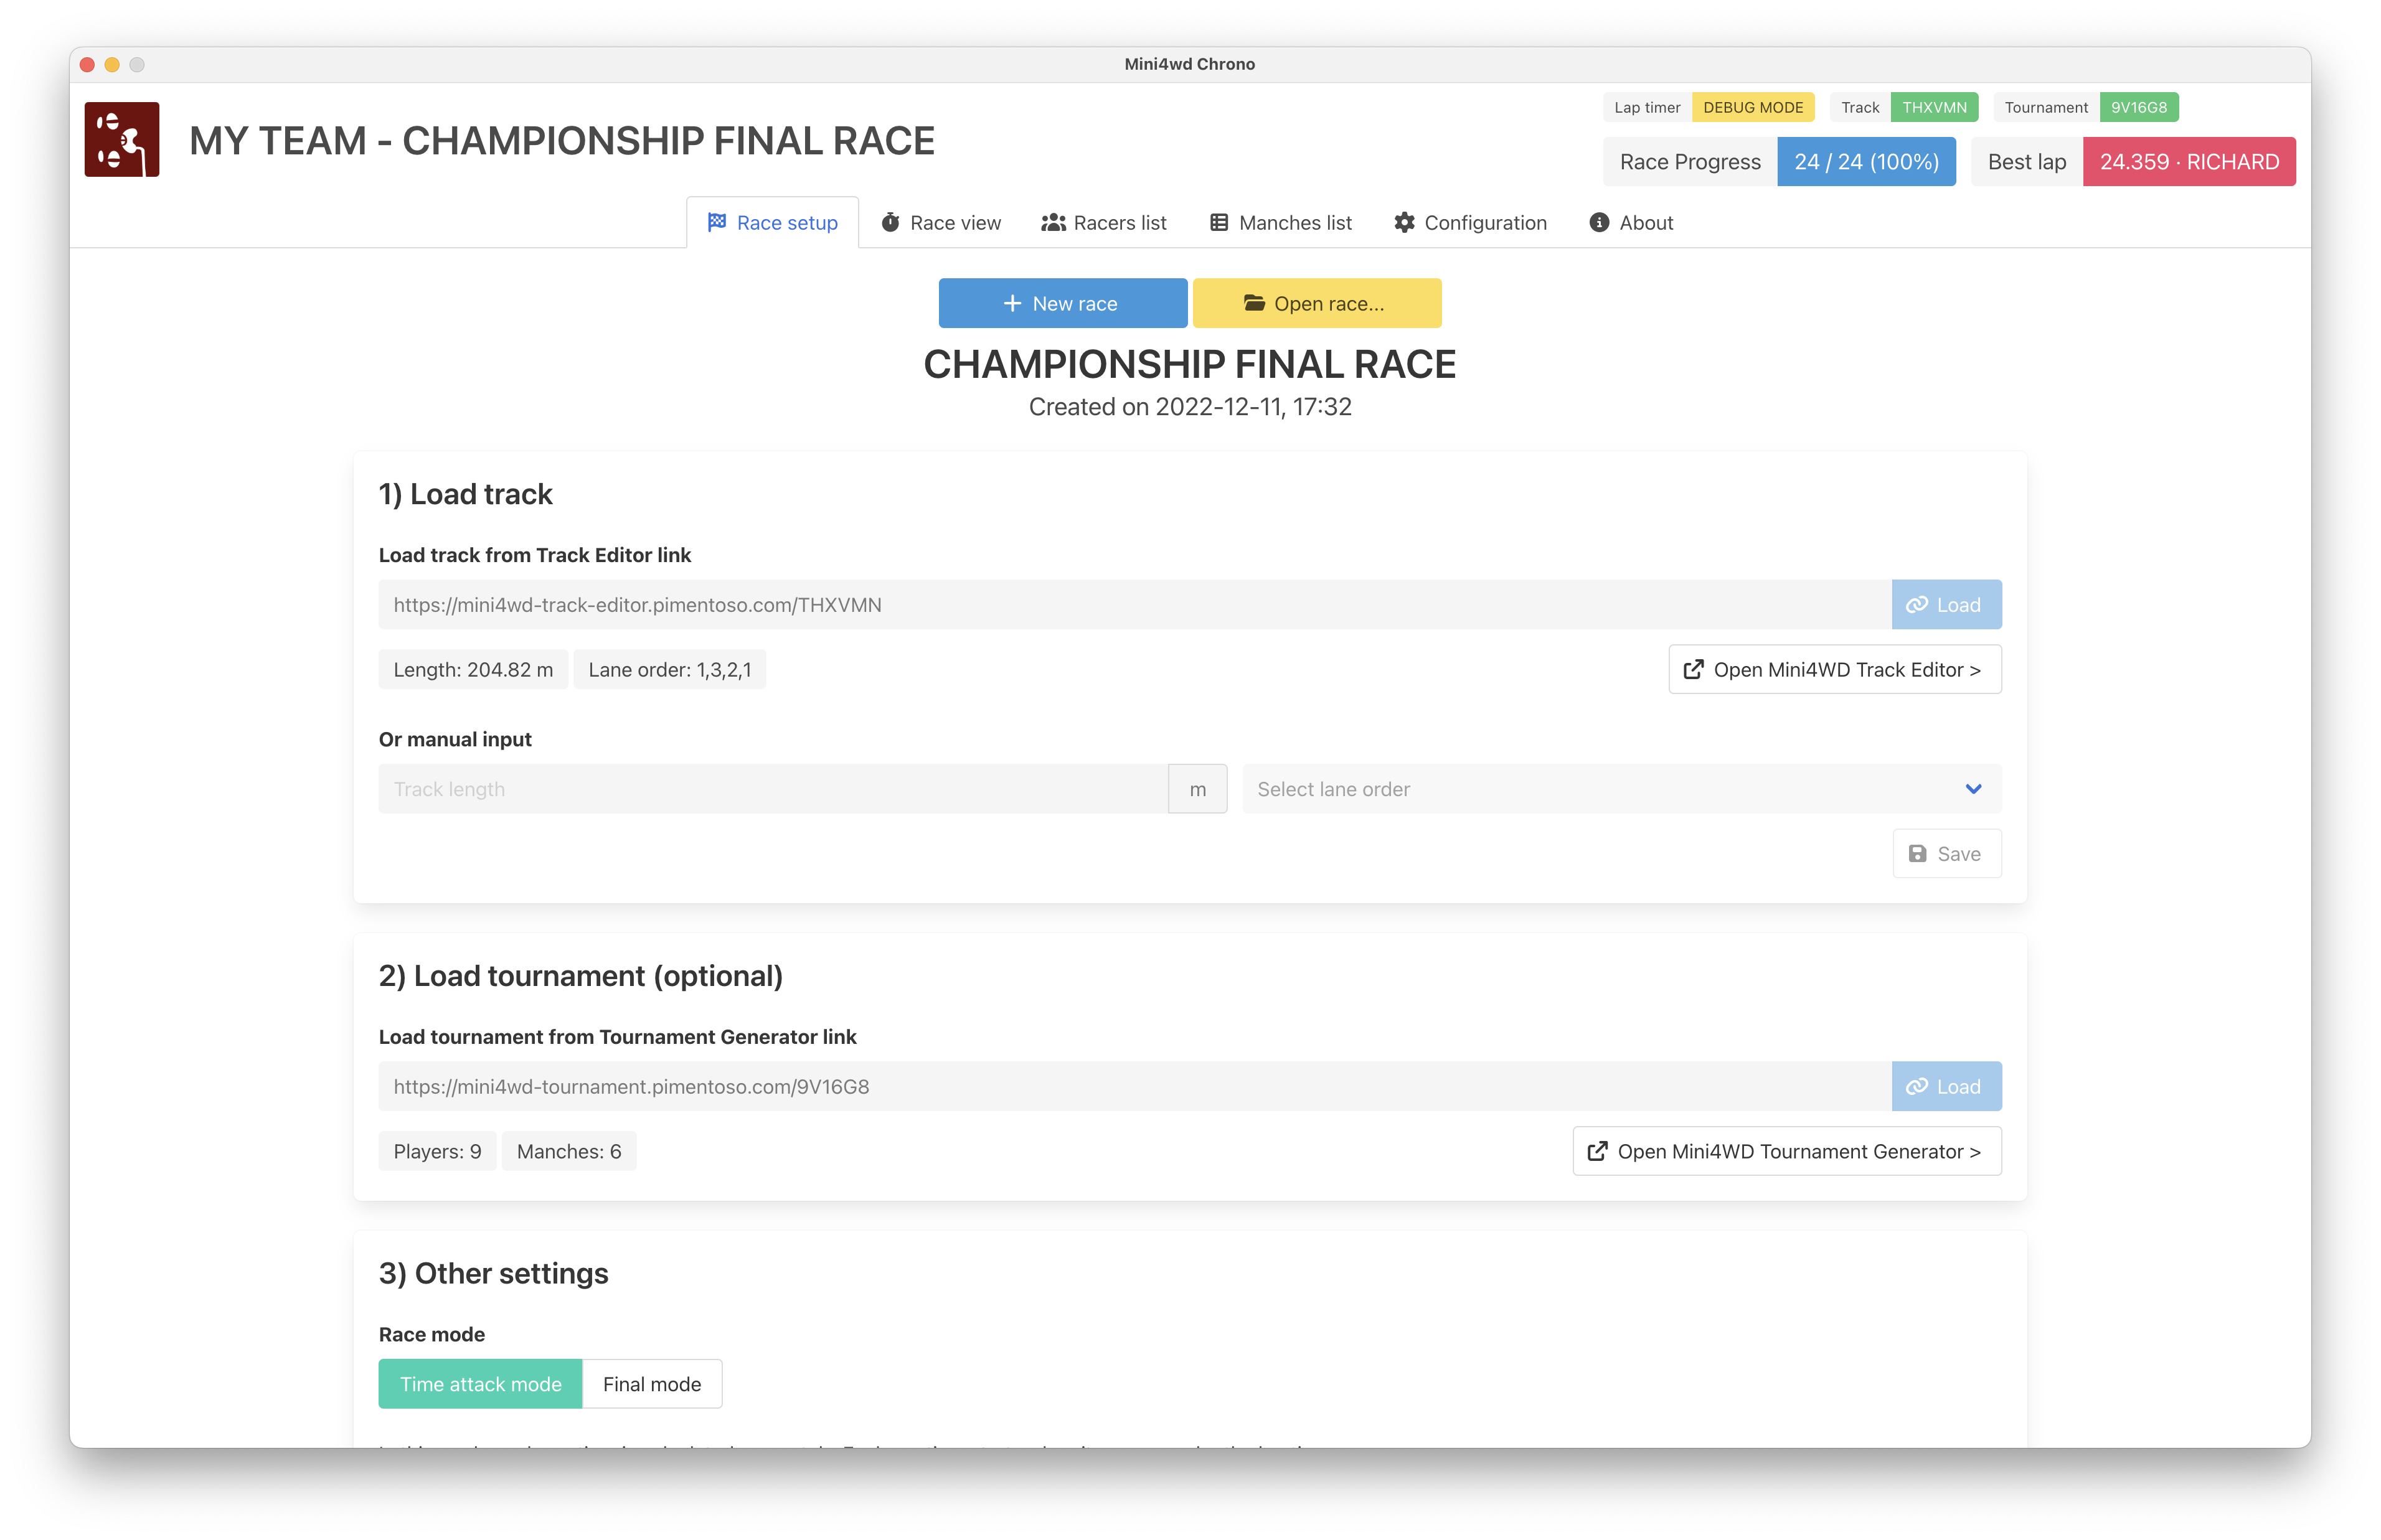
Track, tournament, timing, and race-mode configuration.
Mini4wdChrono requires Node.js 22.13.0 and npm 9 or later. Node.js is managed with asdf; install asdf and its Node.js plugin, then run the following from the repository root to install the pinned version:
asdf plugin add nodejs
asdf install
Use the setup instructions for your operating system before installing the project.
Install the Xcode Command Line Tools, then install Homebrew if it is not already available:
xcode-select --installAfter the Command Line Tools installation completes, use Homebrew to install Git and the Arduino IDE:
brew install git
brew install --cask arduino-ideRun the following commands from an elevated PowerShell window. They install Git, Python, the Visual C++ build tools required by native dependencies, and the Arduino IDE:
winget install --id Git.Git --exact --accept-package-agreements --accept-source-agreements
winget install --id Python.Python.3.11 --exact --accept-package-agreements --accept-source-agreements
winget install --id Microsoft.VisualStudio.2022.BuildTools --exact `
  --accept-package-agreements --accept-source-agreements `
  --override "--wait --passive --add Microsoft.VisualStudio.Workload.VCTools --includeRecommended"
winget install --id ArduinoSA.IDE.stable --exact --accept-package-agreements --accept-source-agreements
winget install --id OpenJS.NodeJS.22 --exact --accept-package-agreements --accept-source-agreements
Close and reopen PowerShell after the installations finish so the new commands
are available on PATH.
The following commands prepare an Ubuntu or Debian system. They install the compiler toolchain, Git, and zip:
sudo apt update
sudo apt install -y build-essential ca-certificates curl git zip
sudo usermod -aG dialout "$USER"
Sign out and back in after adding your account to the dialout group. This
allows Mini4wdChrono to access the Arduino serial port without making the device
world-writable. Install the Arduino IDE
from Arduino's official download if you need to flash the board.
For other Linux distributions, install equivalent packages with the system's package manager.
After preparing the operating system, clone the repository, install the locked dependencies, and start Electron:
git clone https://github.com/Pimentoso/mini4wdchrono.git
cd mini4wdchrono
npm ci
npm start
Connect a Firmata-compatible Arduino over USB to test hardware integration.
Use npm run watch to reload the application while developing. Run the linter
before submitting changes:
npm run lint:fix
npm run lintwindow.js — Electron main process, persistence, serial hardware, and IPCpreload.js — restricted renderer-facing IPC APIjs/ — renderer UI and race-management logicindex.html — application markuputils/ — release packaging scriptsThe build scripts install the locked dependencies, package the application, and
create a zip file in release-builds/.
| Platform | Command | Output |
|---|---|---|
| macOS x64 | ./utils/build-darwin.sh | Mini4wdChrono-mac-x64.zip |
| Linux x64 | ./utils/build-linux-x64.sh | Mini4wdChrono-linux-x64.zip |
| Windows x64 | .\utils\build-win64.ps1 | Mini4wdChrono-windows-x64.zip |
Run each script on its target operating system. Cross-platform packaging is not supported by these scripts.
Bug reports and pull requests are welcome. Before opening a pull request:
npm run lint:fix followed by npm run lint.Please use GitHub Issues for bugs and feature requests.
Mini4wdChrono is available under the MIT License.
| Qty | Value | Footprint | References |
|---|---|---|---|
| 3 | MountingHole | MountingHole:MountingHole_2.2mm_M2 | H1, H2, H3 |
| 1 | Conn_01x06_Female | Connector_PinHeader_2.54mm:PinHeader_1x06_P2.54mm_Vertical | J1 |
| 1 | Conn_01x09_Female | Connector_PinHeader_2.54mm:PinHeader_1x09_P2.54mm_Vertical | J3 |
| 1 | Conn_01x12_Female | Connector_PinHeader_2.54mm:PinHeader_1x12_P2.54mm_Vertical | J2 |
| 1 | ProMicro | promicro:ArduinoProMicro | U1 |
| 1 | R | Resistor_THT:R_Axial_DIN0207_L6.3mm_D2.5mm_P15.24mm_Horizontal | R1 |

joeycastillo/Sensor-Watch
A board replacement for the classic Casio F-91W wristwatch

rusefi/rusefi
rusefi - GPL internal combustion engine control unit

hoglet67/RGBtoHDMI
Bare-metal Raspberry Pi project that provides pixel-perfect sampling of Retro Computer RGB/YUV video and conversion to HDMI

shanteacontrols/OpenDeck
A platform for building interactive control and sensing devices using MIDI and OSC built with Zephyr RTOS.

hackclub/OnBoard
💡 Join 1,000 teenagers and make your first PCB with a $100 grant!

dangiu/PicoMemcard
Emulating PSX Memory Card (or controller) using a Raspberry Pi Pico

OLIMEX/DIY-LAPTOP
Do It Yourself Open Source Hardware and Software Modular Hacker's Friendly Laptop
It measures 34.5 × 45.8 mm and has 2 copper layers, 1.6 mm thick.
8 parts. The full list of its parts is on this page, with links to each part's symbol and footprint where PCBKit's library has them.
From the Pimentoso/mini4wdchrono repository on GitHub, at the commit this page was made from: the board is resources/kicad/pro_micro_shield/pro_micro_shield.kicad_pcb and its schematic resources/kicad/pro_micro_shield/pro_micro_shield.kicad_sch. PCBKit opens the board in the browser, with nothing to install.
Its repository publishes it under the MIT licence: you may reuse it on that licence's terms (keep the author's notice, and for a copyleft licence share your changes alike).