Skip to the content
2 layersLED ADAPTER 01, the printed circuit board in 3D

Adapter Mount for the LED-501 mount from Instrument Systems

Copper layers
2
Thickness
1.6 mm
Parts
3
Nets
2
Pads
6
Tracks, vias
0, 0
Pours
2
Routed
Not yet
KiCad
KiCad 9.0 (file 20241229)
Created
11 Dec 2024
Updated
27 May 2025

Overview

LED ADAPTER 01 is an open-source printed circuit board by Nighthater, from the Nighthater/LED-501_SMD-Adapter repository on GitHub, published under the CC0-1.0 licence. It is a 2-layer board with 3 parts on 2 nets.

Its parts include 2 connectors and 1 diode. It belongs with the interfaces and adapters boards of this library.

README

README.md

LED-501 SMD Adapter

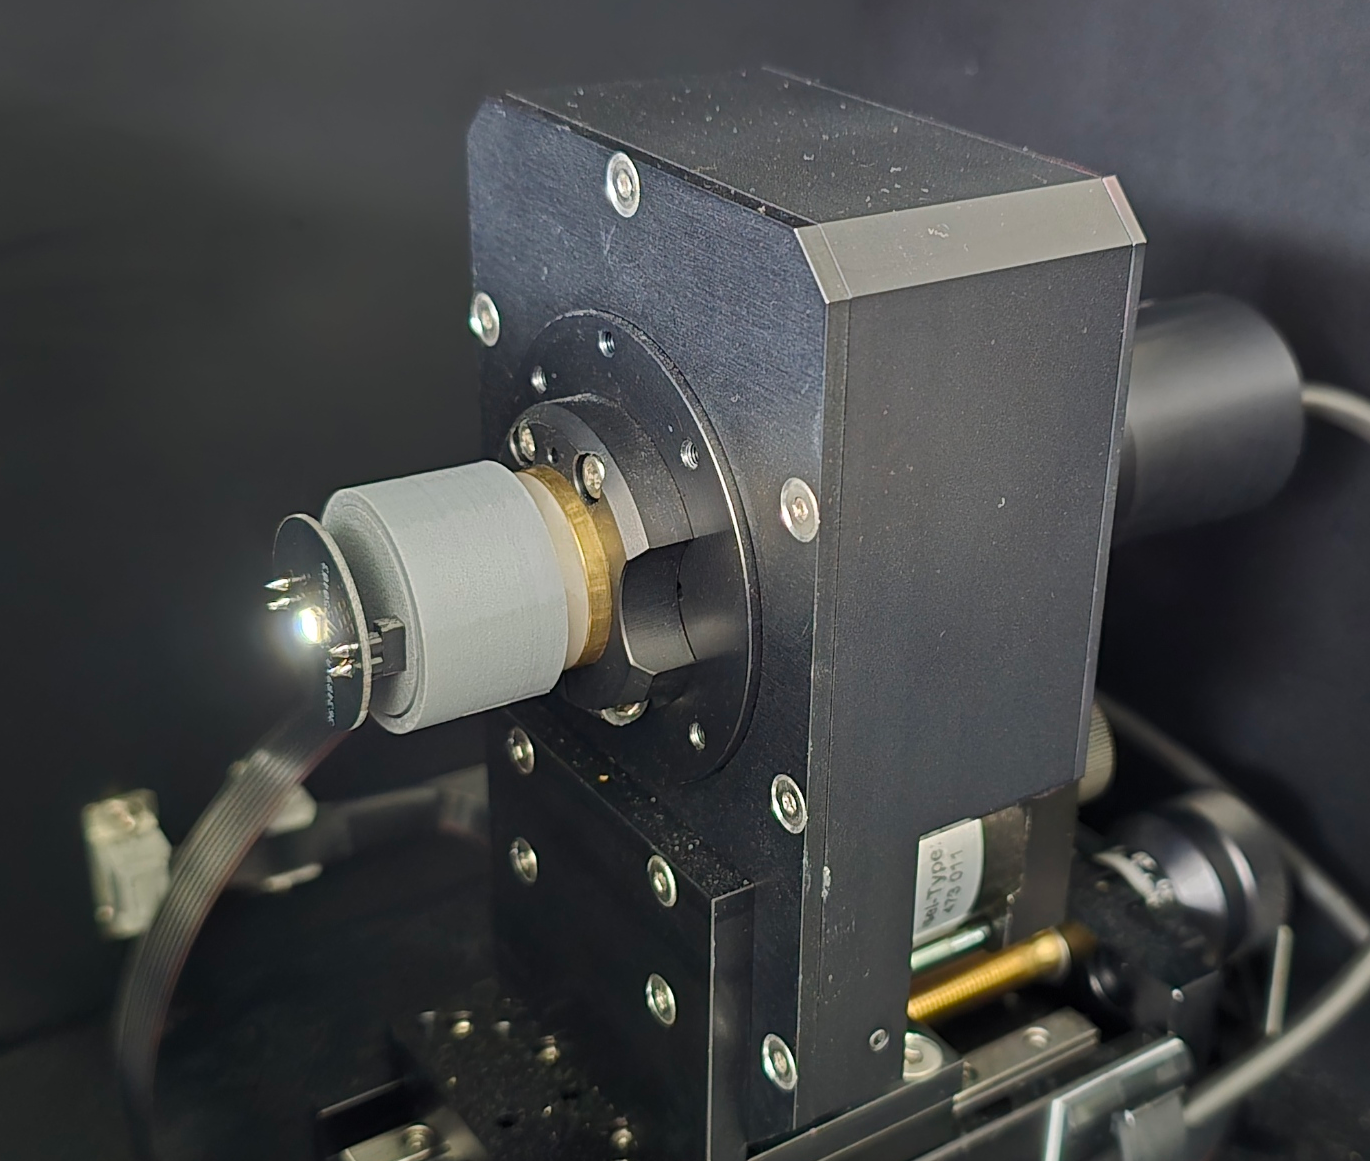
Adapter Mount for the LED-501 mount from Instrument Systems

Fit any SMD LED or other Parts onto this mount

Parts Needed:

  • 3D Printer (To Manufacture the Adapter and Assembly Tools, any 3D Print service does the job)
  • 2x Standard 2.54mm Female 01x02 Pin Headers
  • 2x Standard 2.54mm Male 01x02 Pin Headers
  • PCBs
  • SMD LEDs
  • 5mm THT LED (Serves as adapter for the LED-501 mount)
  • Flat Side cutter (Knipex 78 61 125 or similar)
  • Superglue
  • Soldering Iron for Headers
  • Hot Air Station for SMD LEDs

Custom PCBs

If you want to test other SMD LEDs than the included 2835 footprint, you can create your own LED Board. Doing this is simple and can be done in any EDA Software within minutes.

Specifications
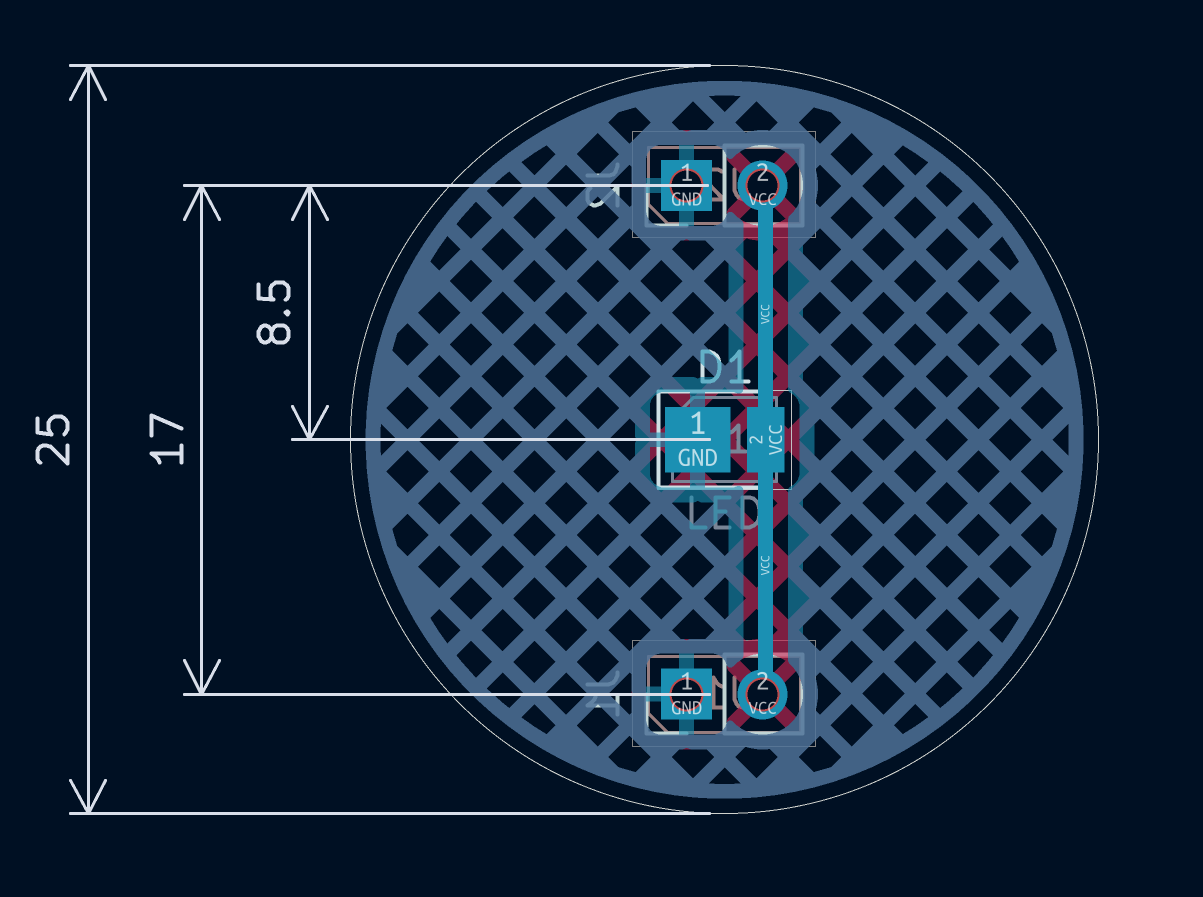
  • The PCB Outline is a 25mm Circle.
  • The LED is placed in the exact centre of the circle.
  • The Header pins are placed +/- 8.5mm from the Centre.
  • Make sure the GND and VCC contacts are each on the same side as the Base PCB. (e.g. GND Both Left, VCC Both Right) You can swap polarities by roating the PCB.

Assembly

Printing Instructions

All parts, except the Adapter (010) can be printed directly without supports. Be sure to enable rectangular supports for the Adapter.

If you cannot get a somewhat even surface for the PCB to sit on after removing the supports, try angling the adapter 45°, print at a low layerheight (< 0.12 mm) and use a raft and supports (Increase the threshold angle!) for adhesion.

Bottom PCB
  • Take The Round Assembly Tool Spacer (100) and place the PCB into the Marked Section onto the Assembly Tool.
  • Use the PCB Holder (110) to fix the PCB in place
  • Insert the 5mm LED and fix it in place using the LED Holder Guide (120), then place and fix the LED with the holder (130)
  • Solder the LED in place
  • Remove the Assembly Tools
  • Use a flat side cutter (Knipex 78 61 125 or similar) to cut off the top LED portion
  • Place the PCB into the Heaxagonal Tool (200)
  • Insert the Female 2.54mm 1x2 headers
  • The Headers should face in the opposite direction from the Leads (The LED Leads go upwards, the Headers downwards)
  • Place the Assembly upside down onto a flat surface, the headers are now aligned
  • Solder the Headers onto the PCB
  • Glue the PCB into the Adapter Part (010)
  • Glue the Front cover (020) onto the Adapter
  • To protect the LED Leads from damage, you can use the Contact Cover (030)
Top PCB
  • Solder your SMD LED onto the Top PCB
  • Insert the Male 2.54mm 1x2 headers facing away from the SMD LED
  • Put the PCB with the headers into the Base PCB, ensuring that the contacts are aligned
  • Solder the Headers

The Adapter is now finished and ready for use

Parts

3
QtyValueFootprintReferences
2Conn_01x02_PinConnector_PinHeader_2.54mm:PinHeader_1x02_P2.54mm_VerticalJ1, J2
1LEDLED_THT:LED_D5.0mmD1

More from Nighthater/LED-501_SMD-Adapter

1
  • 2 layersLED ADAPTER 02, the printed circuit board in 3D

    LED ADAPTER 02

    Nighthater/LED-501_SMD-Adapter

    Adapter Mount for the LED-501 mount from Instrument Systems

    3 partsCC0-1.0

Similar boards

  • 2 layers40 × 30 mmBlinky, the printed circuit board in 3D

    Blinky

    earthtojake/text-to-cad

    Design physical products with AI

    3 parts26kMIT
  • 2 layers51.9 × 16 mmPassive2-rpi non standard adapter, the printed circuit board in 3D

    Passive2-rpi non standard adapter

    hzeller/rpi-rgb-led-matrix

    Controlling up to three chains of 64x64, 32x32, 16x32 or similar RGB LED displays using Raspberry Pi GPIO

    3 parts4.4kGPL-2.0
  • 2 layers16.3 × 16.3 mmSensor, the printed circuit board in 3D

    Sensor

    scottbez1/splitflap

    DIY split-flap display

    3 parts4.2k
  • 2 layersSub, the printed circuit board in 3D

    Sub

    atopile/atopile

    Design circuit boards with code! ✨ Get software-like design reuse 🚀, validation, version control and collaboration in hardware; starting with electronics ⚡️

    3 parts4kMIT
  • 2 layers85 × 30 mmDual stomp, the printed circuit board in 3D

    Dual stomp

    torvalds/GuitarPedal

    Linus learns analog circuits

    3 parts2.5kGPL-2.0
  • 2 layers124.5 × 33.7 mm172319-1 connector, the printed circuit board in 3D

    172319-1 connector

    rusefi/rusefi

    rusefi - GPL internal combustion engine control unit

    3 parts1.2k
  • 2 layers10.5 × 83 mmProgrammingAdapter, the printed circuit board in 3D

    ProgrammingAdapter

    stuartpittaway/diyBMSv4

    Version 4 of the diyBMS

    3 parts1.1k
  • 2 layers21.2 × 51.3 mmPico reset, the printed circuit board in 3D

    Pico reset

    hackclub/sprig

    🍃 Learn to code by making games in a JavaScript web-based game editor.

    3 parts1.1kMIT

Questions

What parts does the LED ADAPTER 01 use?

3 parts. The full list of its parts is on this page, with links to each part's symbol and footprint where PCBKit's library has them.

Where can I download the LED ADAPTER 01 KiCad files?

From the Nighthater/LED-501_SMD-Adapter repository on GitHub, at the commit this page was made from: the board is PCBs/LED Adapter Baseboard/LED-ADAPTER_01.kicad_pcb and its schematic PCBs/LED Adapter Baseboard/LED-ADAPTER_01.kicad_sch. PCBKit opens the board in the browser, with nothing to install.

Can I use the LED ADAPTER 01 design in my own project?

Its repository publishes it under the CC0-1.0 licence: you may reuse it on that licence's terms (keep the author's notice, and for a copyleft licence share your changes alike).