
2 layers304.8 × 170.8 mm

 NemoAndrea/time-wasting-it
Raspberry Pi powered light clock that reimagines the ''Time Wasting, It..." artwork by Bo Andrea. in modern hardware.
Clock board is an open-source printed circuit board by NemoAndrea, from the NemoAndrea/time-wasting-it repository on GitHub. It is a 2-layer board of 49.5 × 27.9 mm with 57 parts on 7 nets, routed with 252 tracks and 0 vias.
It is built around the IRLZ44N. Its parts include 14 resistors, 12 transistors, 12 inductors and 2 switches. It belongs with the lEDs and displays boards and the Raspberry Pi (Linux) boards of this library.
'Time, wasting-it' is a simple, raspberry pi-powered clock that uses lights instead of hands or digits to convey the time. At random points in time (configurable), the clock will show a playful light pattern. The demonstration and original build uses incandescent lights, but other types of lights can be used without modification.

The project is a reimaging of the original artwork "Time, wasting it..." by Bo Andrea. The rebuilt version uses modern hardware to capture the original functionality, which was encoded by much lower level components. The main features (time to light method) and animations (random light patterns at random intervals) are carried over from this original art concept. The original description of the artwork was (in Dutch):
"Koperdraad, buisgloeilampen, microprocessor. Meestal wordt slaafs de tijd aangegeven, zo nu en dan echter..."
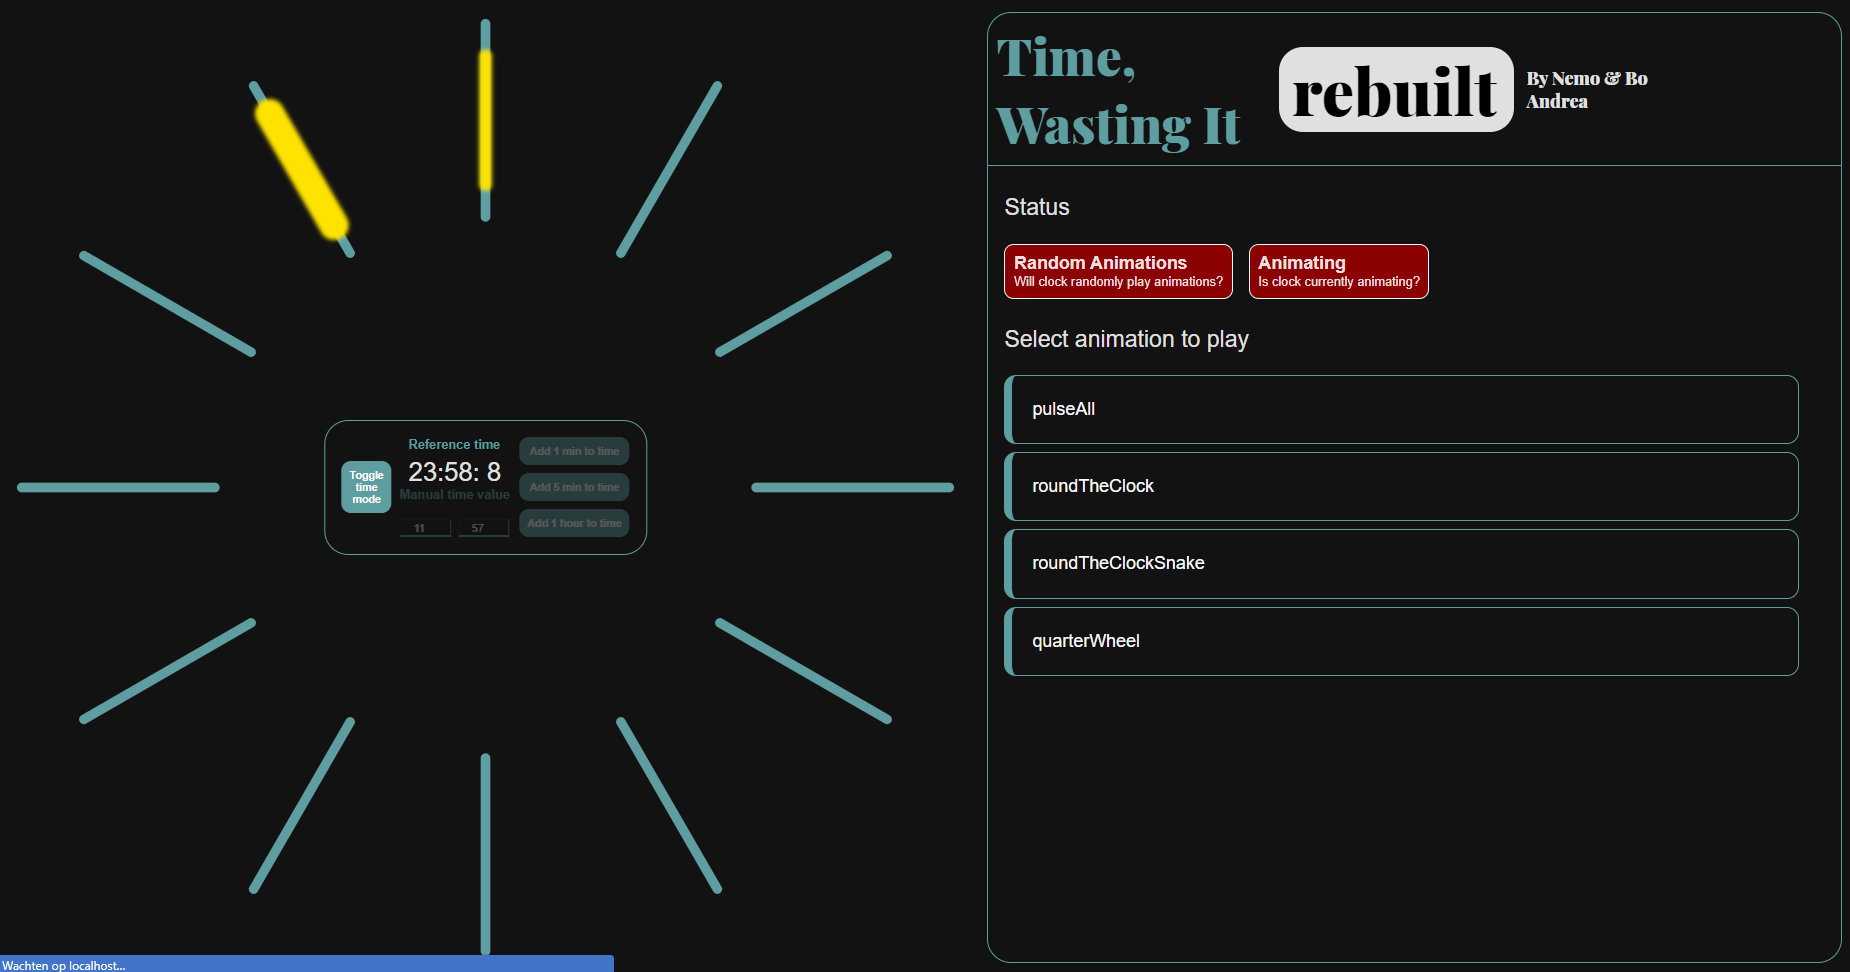
The light clock synchronises with internet time, and hence will automatically adjust to winter and summer time. The clock runs a web interface that can be accessed via SSH and exposes manual controls to the user. A different time can be set, some of the config options can be seen at a glance, and an animation can be played back. The web interface also has a virtual mimic of the current clock lights (intensity/PWM) settings, which is handy for debugging if you are hooking up your own custom lights.
Assembling your own clock is not very difficult, provided you have soldering tools, a bit of time, and basic SSH knowledge.
Briefly, you will need the following components
gerber files in this repositoryFor a more detailed list of the required components and assembly guide, consult the hardware setup section 📖
The software setup for the project (assuming the hardware is assembled and ready) and configuration starts with the cloning of this repository onto the Raspberry Pi, and then a few simple commands, outlined in greater detail in the software setup section 📖.
The code is all JavaScript, which at the time was chosen for easy interfacing with the web UI.
The project is complete, and is no longer seeing active development. A running version of the light clock is operational, and has been reliable in use for almost a year (as of time of writing).
| Qty | Value | Footprint | References |
|---|---|---|---|
| 13 | 12V | TerminalBlock_Phoenix:TerminalBlock_Phoenix_MKDS-1,5-2-5.08_1x02_P5.08mm_Horizontal | Lamp_term1, Lamp_term2, Lamp_term3, Lamp_term4, Lamp_term5, Lamp_term6, Lamp_term7, Lamp_term8, Lamp_term9, Lamp_term10, Lamp_term11, Lamp_term12, POWERSUPPLY1 |
| 12 | 500ohm | Resistor_THT:R_Axial_DIN0207_L6.3mm_D2.5mm_P10.16mm_Horizontal | R1, R2, R3, R4, R5, R6, R7, R8, R9, R10, R11, R12 |
| 12 | IRLZ44N | Package_TO_SOT_THT:TO-220-3_Horizontal_TabDown | Q1, Q2, Q3, Q4, Q5, Q6, Q7, Q8, Q9, Q10, Q11, Q12 |
| 12 | LED | LED_THT:LED_D3.0mm | L1, L2, L3, L4, L5, L6, L7, L8, L9, L10, L11, L12 |
| 3 | MountingHole_2.7mm_M2.5 | MountingHole:MountingHole_2.7mm_M2.5 | MNT M2.5, MNT M2.5, MNT M2.5 |
| 2 | 1k | Resistor_THT:R_Axial_DIN0207_L6.3mm_D2.5mm_P10.16mm_Horizontal | R13, R14 |
| 2 | SW_Push | Button_Switch_THT:SW_PUSH_6mm | SW1, SW2 |
| 1 | Raspberry_Pi_Zero_for_clock | project_libs:Raspberry_Pi_Zero_for_clock | Pi ZeroW |


pscrespo/Morpheus-STM32
A small 3D printer controller board for use with a "blue pill" STM32F1 generic board. Inspired on http://reprap.org/wiki/SinapTec


MitchBradley/Esp32PrinterController
PCB design for 3D printer controller using ESP32 processor


robinolejnik/dmx-ledstrip-dimmer-32ch
Arduino Mini and TLC5940 based 32 channel 12V PWM dimmer with DMX512 and RDM support.

Moragor/BatteryAnalyzer_MkII
Updated Version of the battery analyzer, now with constant current
It measures 49.5 × 27.9 mm and has 2 copper layers, 1.6 mm thick.
57 parts, built around the IRLZ44N. The full list of its parts is on this page, with links to each part's symbol and footprint where PCBKit's library has them.
From the NemoAndrea/time-wasting-it repository on GitHub, at the commit this page was made from: the board is pcb/kicad/clock_board.kicad_pcb. PCBKit opens the board in the browser, with nothing to install.
Its repository states no licence, so its author keeps all rights: ask NemoAndrea before reusing the design.