Skip to the content
2 layers128.3 × 108 mmOm keyboard, the printed circuit board in 3D

Right now I'm iterating on a 34 key split that uses MX spacing horiontally and choc spacing vertically. Uses the splay from the Absolem keyboard and the lowered thumb keys of the Draculad.

Size
128.3 × 108 mm
Copper layers
2
Thickness
1.6 mm
Parts
62
Nets
86
Pads
263
Tracks, vias
584, 58
Pours
2
Routed
Yes
KiCad
KiCad 6 (file 20211014)
Created
9 Jan 2022
Updated
12 Dec 2022

Overview

Om keyboard is an open-source printed circuit board by Albert-IV, from the Albert-IV/om-keyboard repository on GitHub, published under the MIT licence. It is a 2-layer board of 128.3 × 108 mm with 62 parts on 86 nets, routed with 584 tracks and 58 vias.

It is built around the LTC4054ES5-4.2#PBF, 1N914WT and AO3407, with the USBLC6-2P6 among its other parts. Its parts include 17 switches, 10 resistors, 4 connectors, 3 capacitors and 3 ICs. It belongs with the keyboards and input boards and the nRF52 and nRF5x boards of this library.

Main components

4

README

README.md

Om Keyboard

Right now I'm iterating on a 34 key split that uses MX spacing horiontally and choc spacing vertically. Uses the splay from the Absolem keyboard and the lowered thumb keys of the Draculad.

Photos

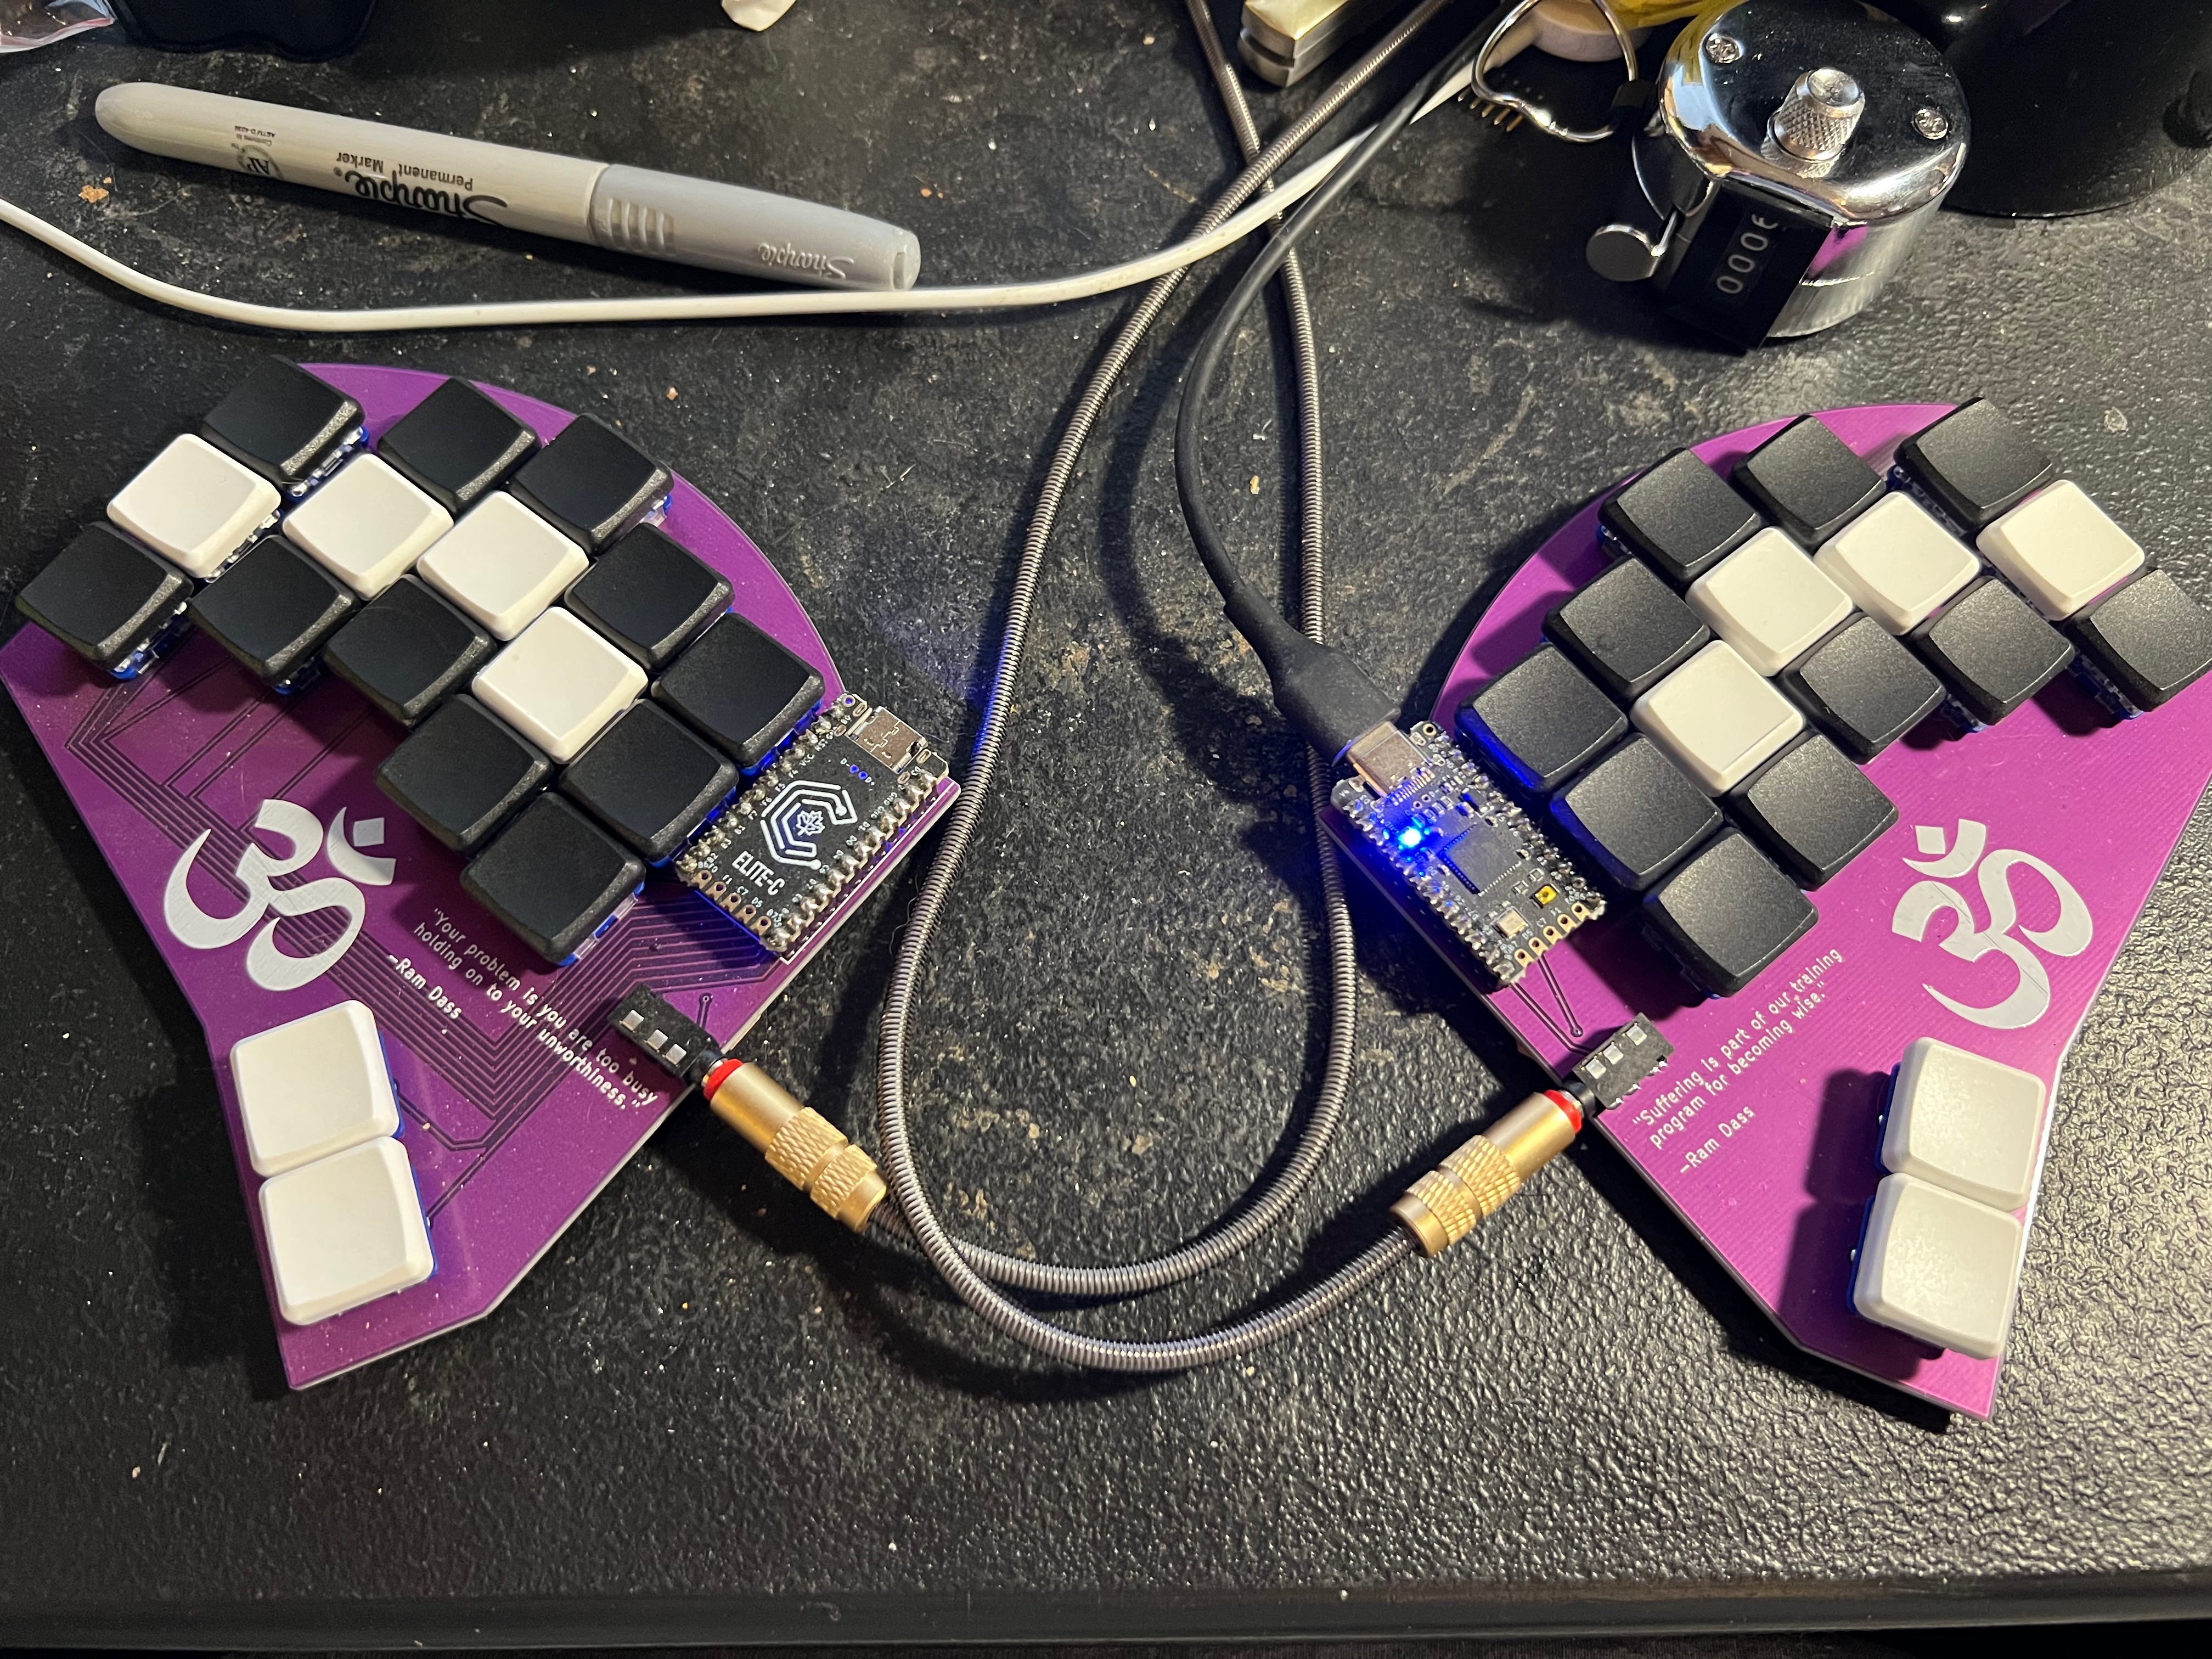
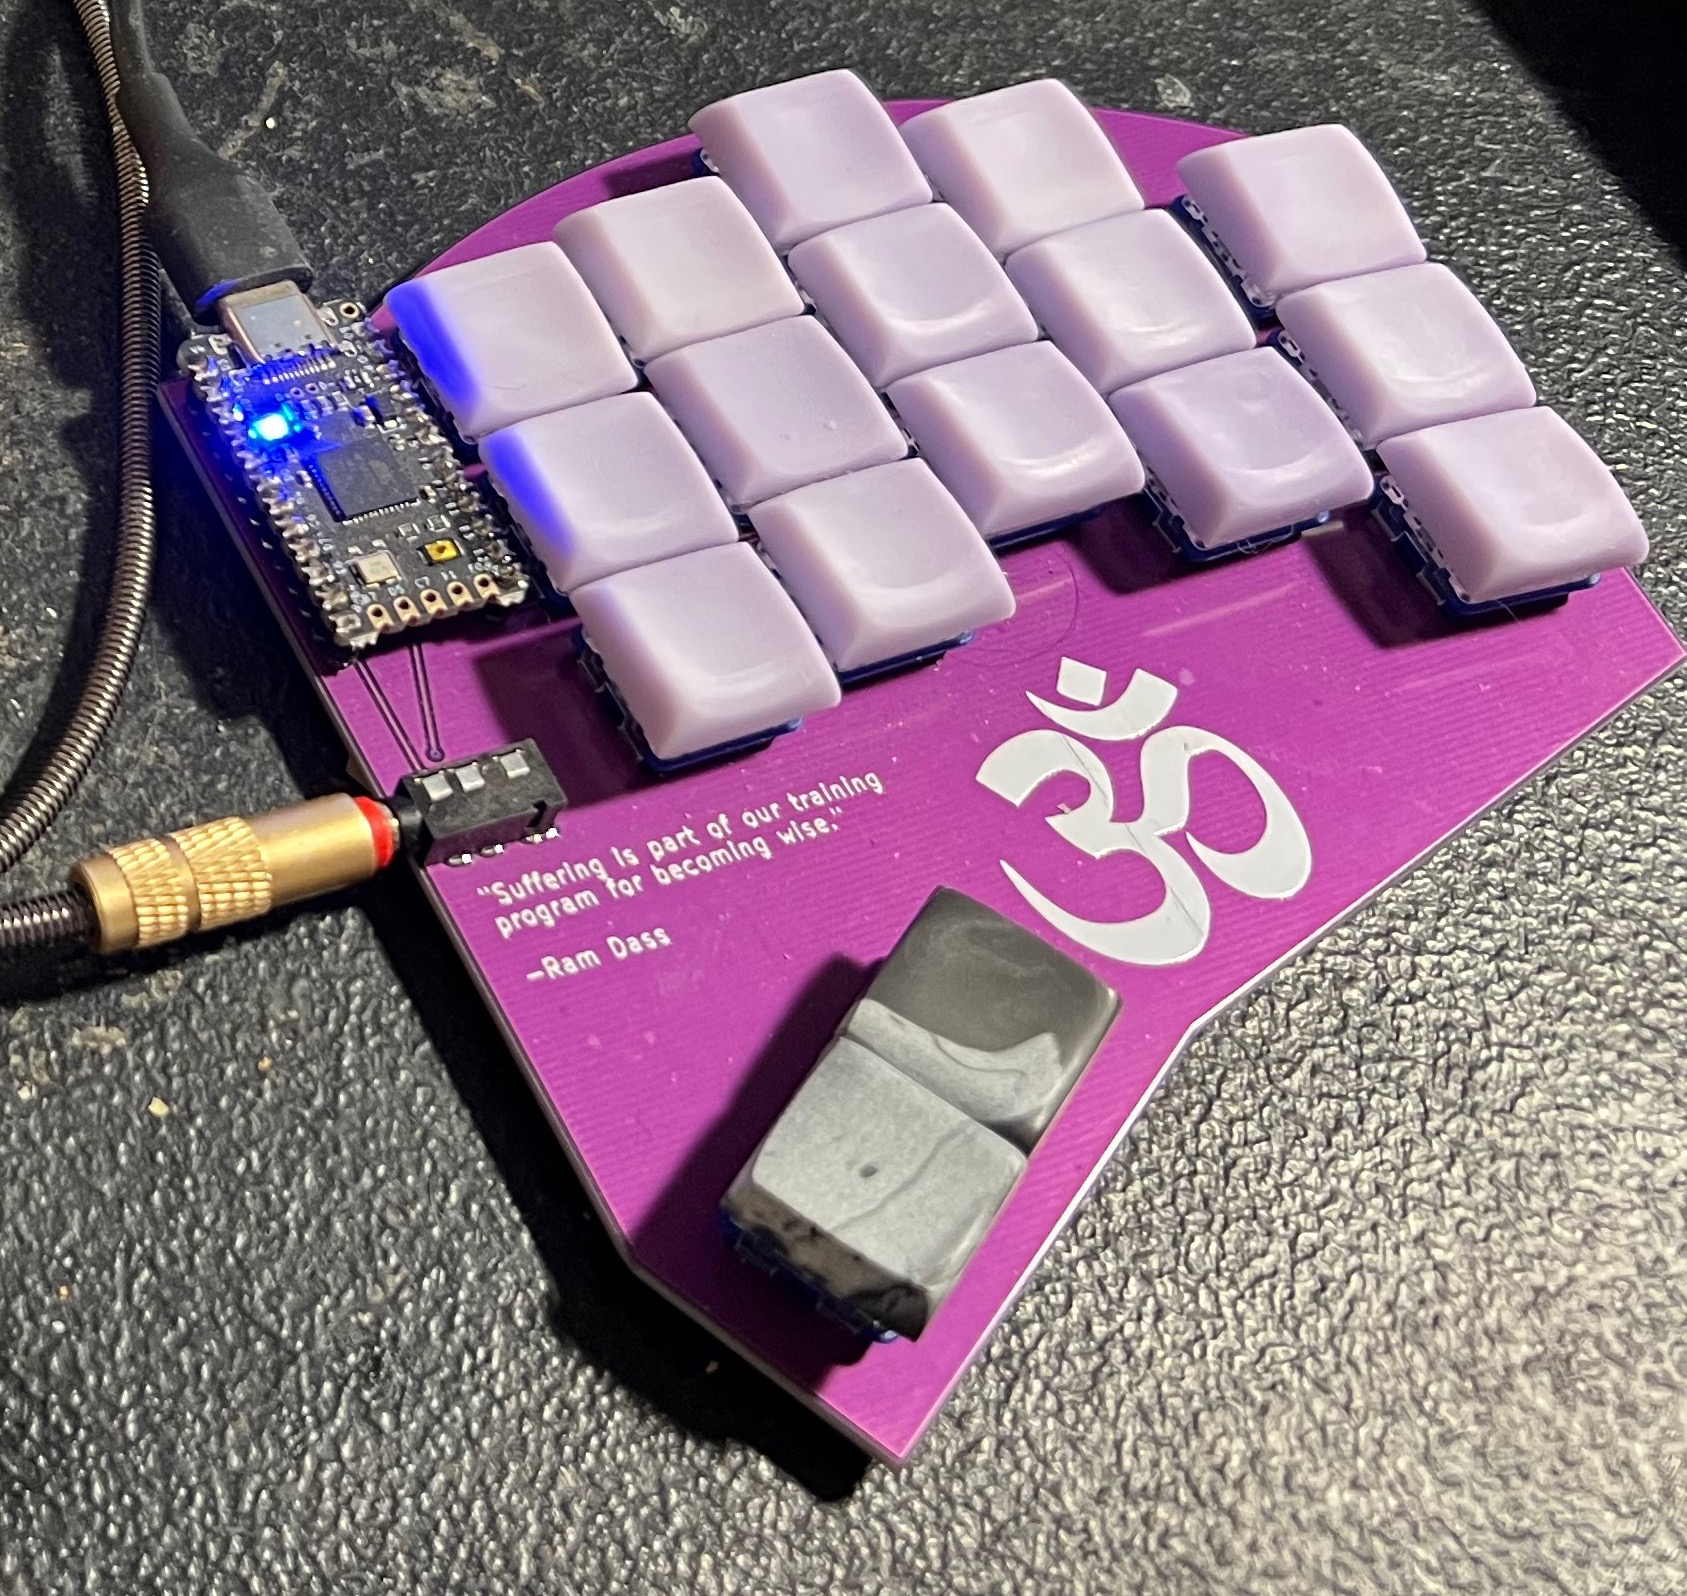
Rev 1 Photos
Left Side

Right Side

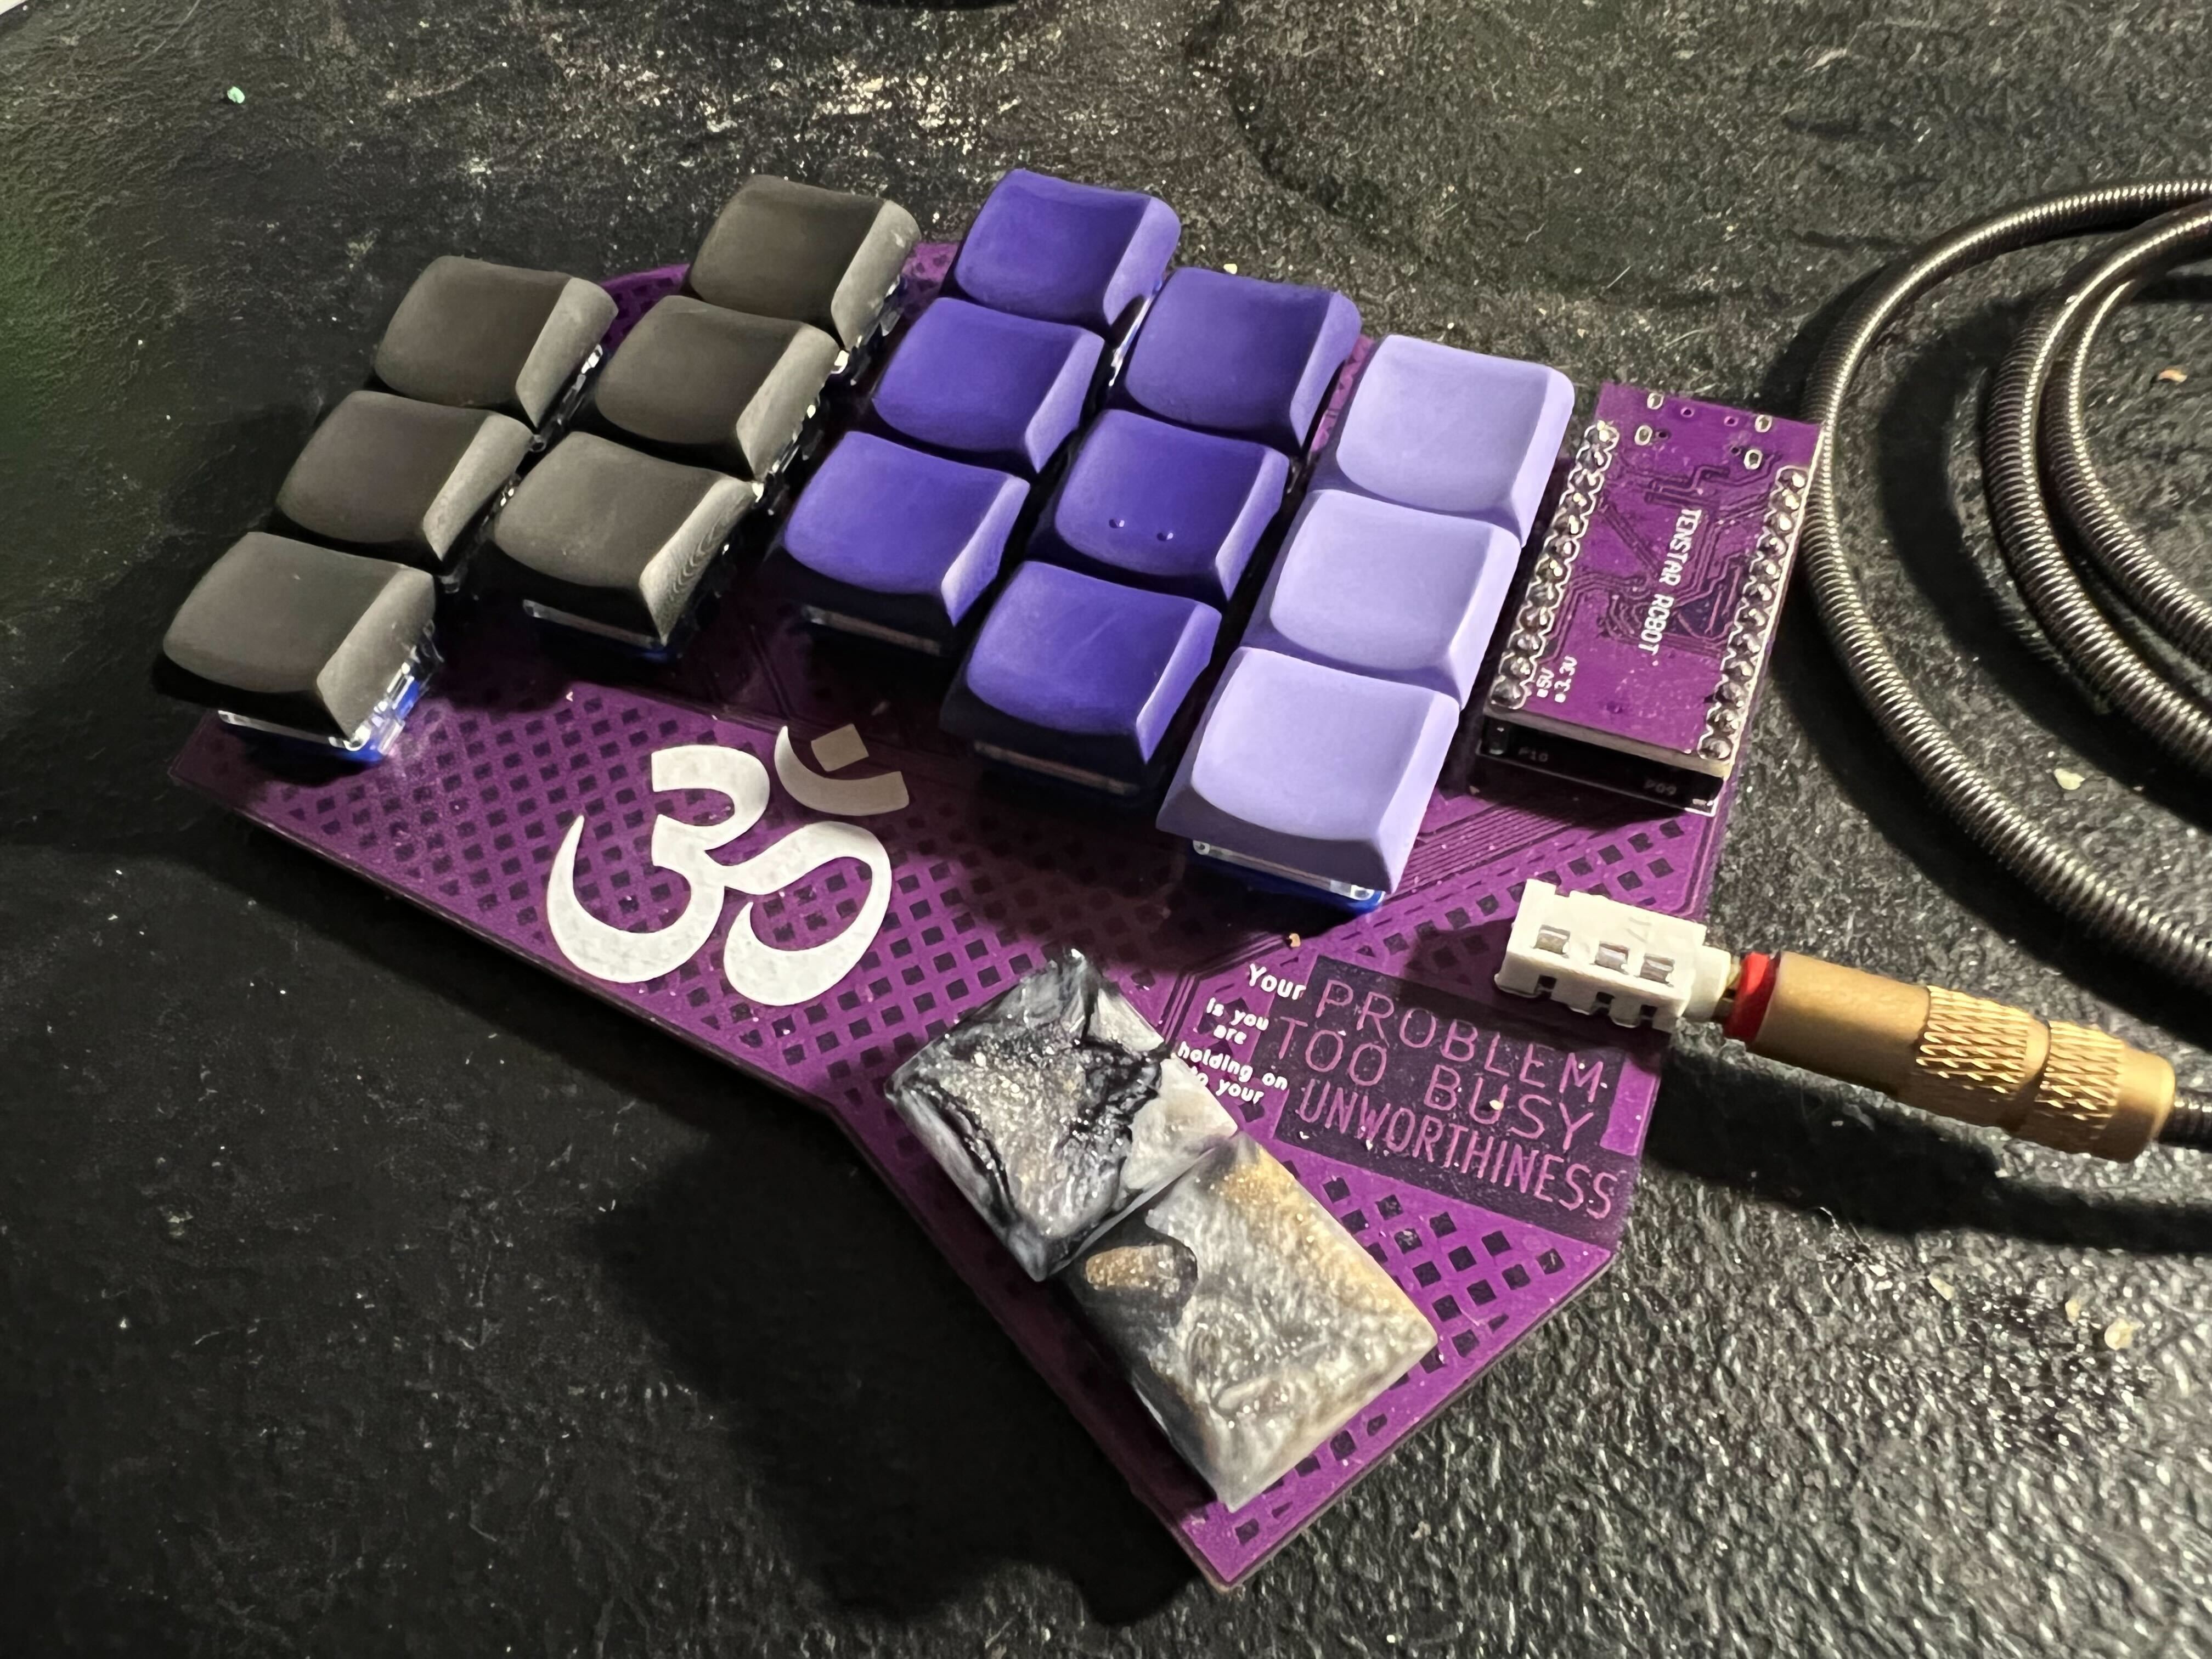
Rev 0 Photos

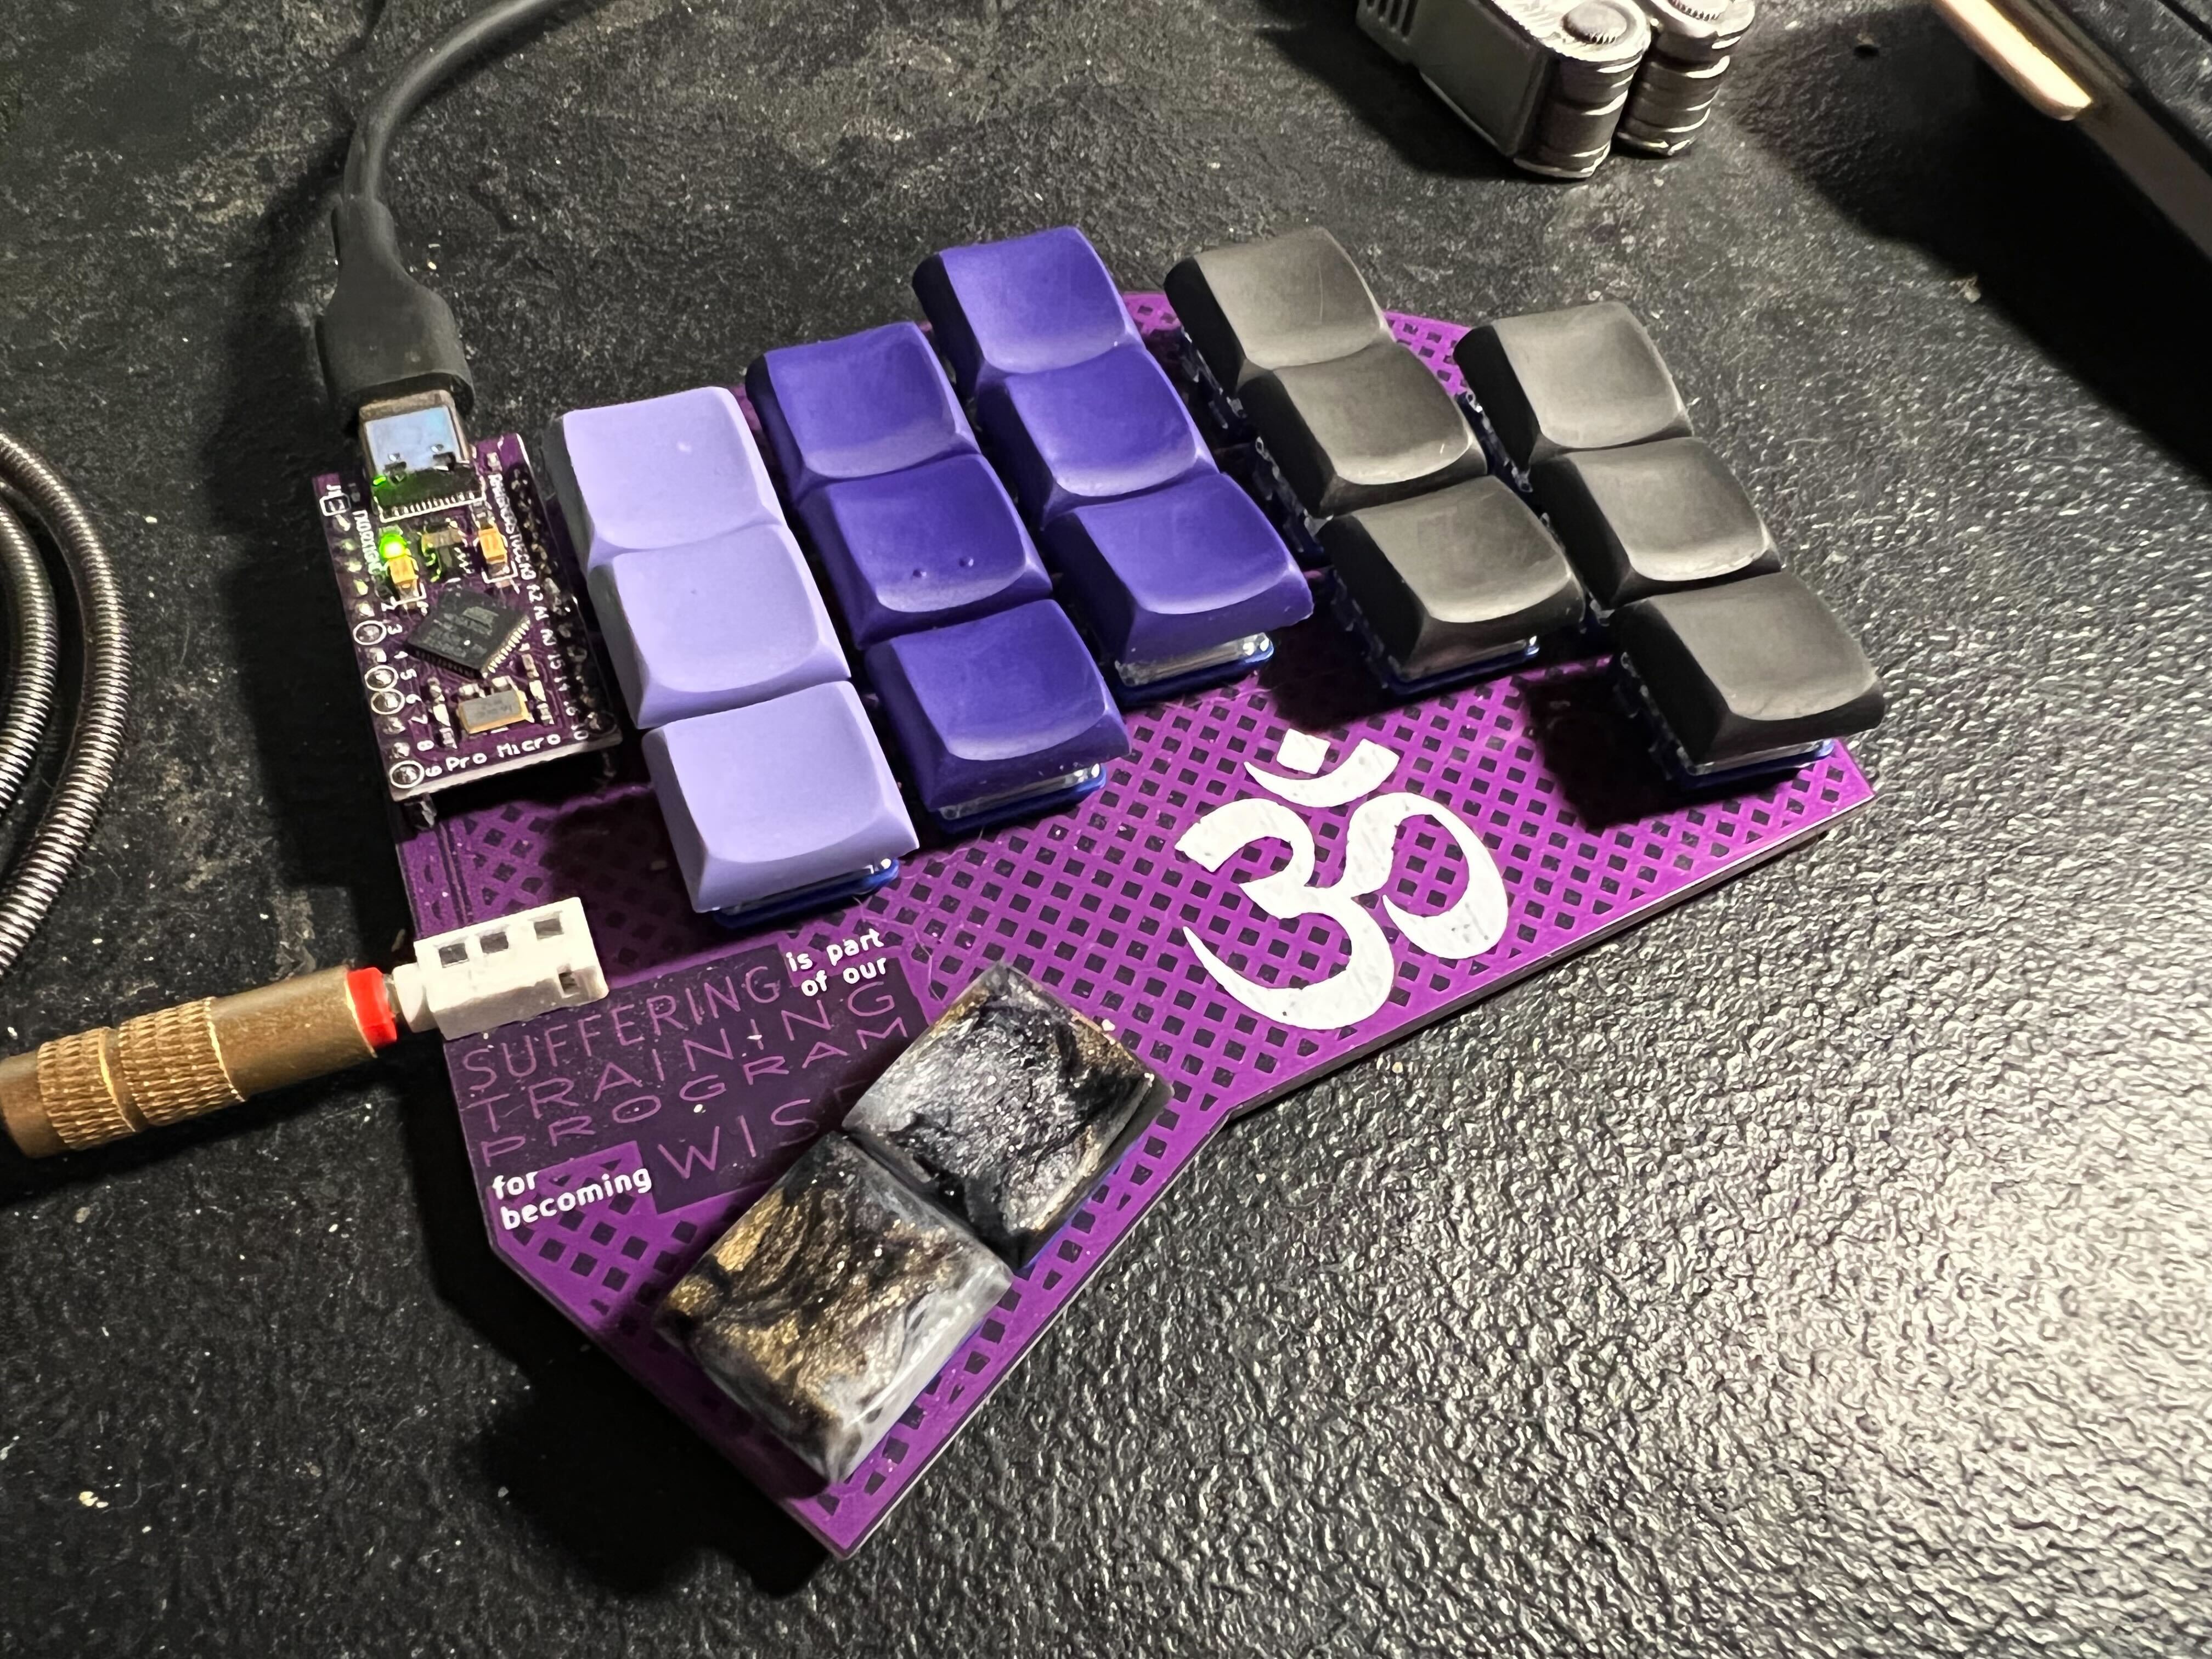
MBK Build

Build with purple CS caps

Notes

Rev 1

Rev 0 was a pretty good success, though there are other tweaks that need to be made.

Pinkies were not staggered enough I've found after trying out the Osprette keyboard. The Osprette features a home pinky location that's equal to the bottom key of the ring finger and feels really comfortable / right. Attempted to do the same for the pointer finger keys, however with such advanced stagger could not comfortably reach the bottom inner column keys. 30-key keyboards maybe have a point?

Additionally wanted to change the location of the ring finger as well. Right now my ring finger naturally wants to rest on the outer ridge of the ring finger home key. To compensate, I moved the key about a third of a U over, increasing the spave to hopefully feel correct. Looking at the spacing, this begs for splay, but will save this for the next iteration for now.

Lastly I wanted to change the thumbs a touch though not a ton as they felt pretty good. I do feel like they may be a little low, but possibly not. With MBK profile keycaps the thumbs weren't ultra comfortable, but once moved to CS felt great. Actuating the key leverages the top joint of your thumb rather than the thumb tip, which for some may be optimal. I chew my fingers a lot, so avoiding having to actuate with the side of my thumb nail where there may be hangnails is a feature, not a bug.

I still did move the thumbs up a touch. Just a smidge. It's hard to tell, as I had a key incorrectly placed inside my Ergogen config that made thumb positioning unreliable and reliant on other keys locations. Future iterations will have a corrected config which will be rock solid, but for now I eyeballed positioning and hope it works out. I do want to play with thumb rotation, but I'm unsure how to measure that. When using arm rests my thumb arc looks one way, and while resting on the table the thumbs arc in a slightly different line. May want to use some combination of the two? Not sure.

Next iteration will leverage cardboard cutouts, so that I can put in switches and test drive on next layout iteration to fully dial in positioning. Overall rev0 did feel comfortable, but not 100% perfect. I may play with an Osprette-like pinky cluster in the future, bumping the key count to 36 keys temporarily.

Rev 0

Initial prototype using 34 keys, choc spacing vertically and MX spacing horizontally with a deep thumb a la Draculad and a touch of splay stolen from the Absolum.

PCB's were ordered from JLCPCB and built roughly Feb 23-24th 2022. Used as a daily driver for about a month before making iterations for Rev 1

Parts

62
QtyValueFootprintReferences
171N914WTDiode_SMD:D_SOD-123DIODE1, DIODE2, DIODE3, DIODE4, DIODE5, DIODE6, DIODE7, DIODE8, DIODE10, DIODE11, DIODE12, DIODE13, DIODE14, DIODE15, DIODE16, DIODE17 +1
17Chockleeb-pg1350:pg1350SW1, SW2, SW3, SW4, SW5, SW6, SW7, SW8, SW10, SW11, SW12, SW13, SW14, SW15, SW16, SW17 +1
21KResistor_SMD:R_0603_1608MetricR8, R9
21uFCapacitor_SMD:C_0603_1608MetricC1, C2
22MResistor_SMD:R_0603_1608MetricR3, R7
25.1KResistor_SMD:R_0603_1608MetricR4, R5
2AO3407Package_TO_SOT_SMD:SOT-23Q1, Q2
2JST-BATTConnector_JST:JST_PH_S2B-PH-K_1x02_P2.00mm_HorizontalJ2, J3
1100KResistor_SMD:R_0603_1608MetricR1
110KResistor_SMD:R_0603_1608MetricR10
11MResistor_SMD:R_0603_1608MetricR2
14.7nCapacitor_SMD:C_0805_2012MetricC3
1806/820kResistor_SMD:R_0603_1608MetricR6
1Blue LEDLED_SMD:LED_0603_1608MetricD2
1D_SchottkyDiode_SMD:D_SOD-323D1
1LTC4054ES5-4.2Package_TO_SOT_SMD:TSOT-23-5U3
1Red LEDLED_SMD:LED_0603_1608MetricD3
1SWDConnector_PinSocket_2.00mm:PinSocket_1x04_P2.00mm_VerticalJ4
1SW_Pushom-footprints:SKHLLCA010R_TACT1
1SW_SPDTButton_Switch_SMD:SW_SPDT_PCM12SW_POW1
1USBLC6-2P6Package_TO_SOT_SMD:SOT-666ESD1
1USB_C_Receptaclekeebio-parts:USB-C-12-Pin-MidMountJ1
1XC6206P LDOPackage_TO_SOT_SMD:SOT-23U2
1nRF52840_holyiot_18010kleeb-mcu:holyiot-18010U1

More from Albert-IV/om-keyboard

2
  • 2 layers137 × 108 mmRev2-mini, the printed circuit board in 3D

    Rev2-mini

    Albert-IV/om-keyboard

    Right now I'm iterating on a 34 key split that uses MX spacing horiontally and choc spacing vertically. Uses the splay from the Absolem keyboard and the lowered thumb keys of the Draculad.

    33 parts11MIT
  • 2 layers124.4 × 110.7 mmOm keyboard, the printed circuit board in 3D

    Om keyboard

    Albert-IV/om-keyboard

    Right now I'm iterating on a 34 key split that uses MX spacing horiontally and choc spacing vertically. Uses the splay from the Absolem keyboard and the lowered thumb keys of the Draculad.

    19 parts11MIT

Similar boards

  • 2 layers139.4 × 90.9 mmWubbo, the printed circuit board in 3D

    Wubbo

    kitspace-test-repos/kicad6-file-collection

    58 partsMIT
  • 2 layers51 × 87.2 mmSTM32 NRF24L01 Sleep mode, the printed circuit board in 3D

    STM32 NRF24L01 Sleep mode

    OlegDemk/stm32F401CCU_NTF24L01_RX_TX_Sleep

    The project base on STM32F401CCU microcontroller and NRF24L01 radio module. Project was create on STM32 Cube IDE.

    73 parts
  • 2 layers188.9 × 80.2 mmPandemonium BLE, the printed circuit board in 3D

    Pandemonium BLE

    calvin-mcd/pandemonium

    30% alpha staggered keyboard with big ISO enter and bluetooth support

    121 parts26GPL-3.0
  • 4 layers65 × 30 mmIcepi zero, the printed circuit board in 3D

    Icepi zero

    cheyao/icepi-zero

    An ECP5 FPGA Dev Board in a Pi Zero form

    163 parts869
  • 4 layers100 × 75 mmOpenHW DevKit, the printed circuit board in 3D

    OpenHW DevKit

    openhwfoundation/core-v-mcu-devkit

    This is the CORE-V MCU DevKit project, hosting the open-source artifacts for the CORE-V MCU Development Kit.

    235 parts18
  • 2 layers45.7 × 63.5 mmFeuchtraumabzweigdose, the printed circuit board in 3D

    Feuchtraumabzweigdose

    transportkollektiv/feuchtraumabzweigdose

    A custom GPS Tracker with LoRaWAN/TTN intended for use on a bicycle

    40 parts14CC-BY-4.0
  • 2 layers166 × 70 mmPrototype, the printed circuit board in 3D

    Prototype

    SteveCooling/MidiKeys

    Will be a complete board with decoders for multiplexed sampling of analog sources and up to 61-key keybeds

    75 parts8MIT
  • 4 layers94.1 × 59.1 mmSignalSlinger, the printed circuit board in 3D

    SignalSlinger

    OpenARDF/SignalSlinger

    An Automated Radio Orienteering Transmitter

    116 parts7MIT

Questions

How big is the Om keyboard PCB?

It measures 128.3 × 108 mm and has 2 copper layers, 1.6 mm thick.

What parts does the Om keyboard use?

62 parts, built around the LTC4054ES5-4.2#PBF, 1N914WT, AO3407 and USBLC6-2P6. The full list of its parts is on this page, with links to each part's symbol and footprint where PCBKit's library has them.

Where can I download the Om keyboard KiCad files?

From the Albert-IV/om-keyboard repository on GitHub, at the commit this page was made from: the board is rev3/pcb/om.kicad_pcb and its schematic rev3/pcb/om.kicad_sch. PCBKit opens the board in the browser, with nothing to install.

Can I use the Om keyboard design in my own project?

Its repository publishes it under the MIT licence: you may reuse it on that licence's terms (keep the author's notice, and for a copyleft licence share your changes alike).